Let me tell you, these Easter protein balls are a game-changer for holiday snacking.
These no-bake treats combine the festive spirit of Easter with good-for-you ingredients that’ll keep you satisfied between meals. Naturally sweet dates and protein powder create the perfect base, while pastel-colored coconut coating gives them that Easter egg look.
They’re so simple to make – just blend, roll, and coat. My kids love helping me in the kitchen with these, especially when it comes to rolling the balls in the colored coconut. No fancy equipment or baking skills needed.
It’s a healthier take on Easter treats that still feels special enough for the holiday season.
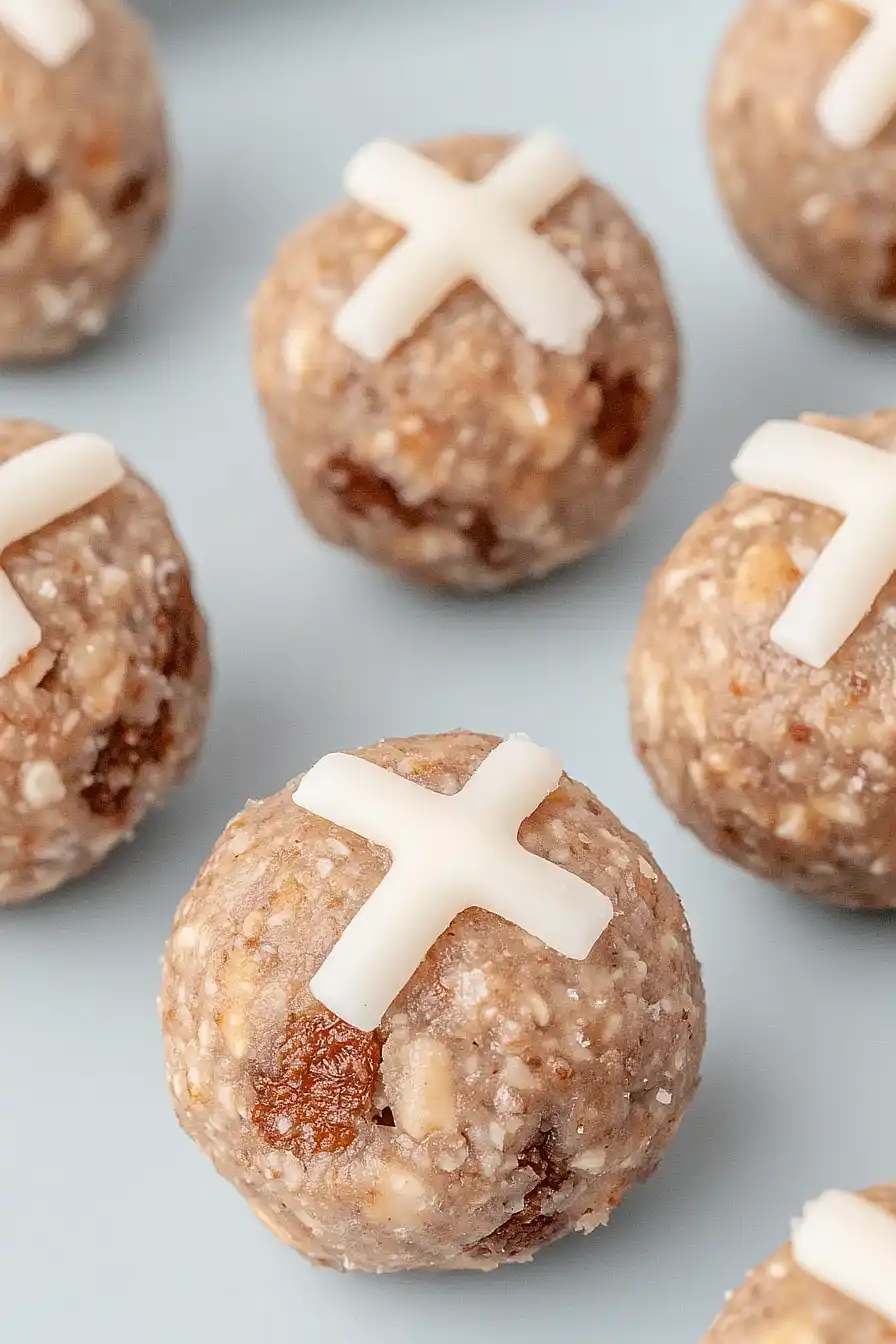
Why You’ll Love These Protein Balls
- Nutritious snacking – These protein balls pack a healthy punch with almond flour, chia seeds, and meal replacement powder, making them perfect for post-workout recovery or an afternoon energy boost.
- No-bake convenience – You don’t need an oven for these treats – just mix, roll, and chill. Perfect for when you want a homemade snack without heating up the kitchen.
- Diet-friendly – They’re naturally gluten-free and packed with protein, healthy fats, and fiber, making them a great option for various dietary preferences.
- Make-ahead friendly – These protein balls store well in the fridge, so you can make a batch on Sunday and enjoy them throughout the week for quick, healthy snacks.
What Kind of Almond Flour Should I Use?
For protein balls, you’ll want to use blanched almond flour rather than almond meal to get the right texture. Blanched almond flour is made from almonds that have had their skins removed, resulting in a finer, more uniform consistency that works better for binding ingredients together. Regular almond meal, which includes the skins, can make your protein balls feel a bit grainy and less cohesive. When shopping, look for packages labeled “super-fine” or “finely ground” almond flour – these will give you the smoothest results. Just make sure to store your almond flour in an airtight container in the fridge or freezer to keep it fresh, as the natural oils can make it go rancid if left at room temperature for too long.

Options for Substitutions
These protein balls are pretty flexible and you can switch things up based on what you have in your pantry:
- Almond flour: You can swap almond flour with other ground nuts like cashews or hazelnuts. Oat flour works too, just note the texture will be slightly different.
- Meal replacement powder: Any protein powder will work here – whey, pea, or hemp protein. Just stick to vanilla flavor to keep the taste similar.
- Peanut butter: Feel free to use any nut butter you like – almond, cashew, or sunflower seed butter for a nut-free option.
- Medjool dates: Other dried fruits work well too – try dried figs or prunes. You might need to adjust the amount based on the sweetness you prefer.
- Tahini: You can replace tahini with extra nut butter or coconut butter. If the mixture seems too dry after substituting, add a tiny bit more coconut oil.
- Coconut oil: Butter or any other neutral oil will work, though coconut oil helps these balls hold together best when chilled.
Watch Out for These Mistakes While Making
The biggest challenge when making protein balls is getting the consistency right – if the mixture is too dry, your balls won’t hold together, and if it’s too wet, they’ll be sticky and difficult to shape. To achieve the perfect texture, start by adding the wet ingredients gradually, mixing well between additions, and adjust as needed with small amounts of almond flour or coconut oil.
Many people rush the rolling process, but taking your time to compress each ball firmly between your palms ensures they won’t fall apart later – aim for about 20-30 seconds per ball. Another common mistake is skipping the chilling step – these protein balls need at least 30 minutes in the fridge to firm up properly, which helps the flavors meld together and makes them easier to handle.
For the best results, store your protein balls in an airtight container in the fridge, where they’ll maintain their texture and taste fresh for up to a week – just remember to let them sit at room temperature for 5 minutes before eating for the best flavor and texture.

What to Serve With Protein Balls?
These protein-packed snacks are perfect for pairing with your morning coffee or afternoon tea break! Since they’re already loaded with nutrients, I like to keep things simple and serve them alongside a warm beverage – they’re especially good with a creamy oat milk latte or chai tea. For a quick breakfast on the go, grab 2-3 protein balls and pair them with a piece of fresh fruit like an apple or banana. If you’re heading to the gym, pack these energy-rich bites with a cold smoothie or protein shake for the perfect pre- or post-workout fuel.
Storage Instructions
Keep Fresh: These protein balls are perfect for meal prep! Pop them in an airtight container and keep them in the fridge for up to 2 weeks. I like to separate layers with parchment paper to prevent them from sticking together.
Freeze: Want to make a bigger batch? These little treats freeze really well! Place them in a freezer-safe container with parchment paper between layers and they’ll stay good for up to 3 months. It’s so handy to have them ready whenever you need a quick snack.
Thaw: When you’re ready to enjoy your frozen protein balls, just transfer them to the fridge the night before. If you’re in a hurry, let them sit at room temperature for about 30 minutes – they’ll be perfect for snacking!
| Preparation Time | 10-15 minutes |
| Cooking Time | 0-0 minutes |
| Total Time | 70-75 minutes |
| Level of Difficulty | Easy |
Estimated Nutrition
Estimated nutrition for the whole recipe (without optional ingredients):
- Calories: 1200-1300
- Protein: 40-50 g
- Fat: 65-75 g
- Carbohydrates: 130-140 g
Ingredients
- 100g finely ground almond flour
- 100g shredded coconut
- 100g vanilla meal replacement powder
- 10g chia seeds
- 1/2 teaspoon ground cinnamon
- 1/4 teaspoon ground nutmeg
- 1 tablespoon melted coconut oil
- Zest and juice of 1 orange
- 1 tablespoon creamy peanut butter
- 3 medjool dates, diced
- 1/2 teaspoon vanilla essence
- 15g sesame seed paste (tahini)
Step 1: Combine Ingredients
Begin the process by putting all the ingredients into a food processor.
Pulse on high until the mixture is well combined into a consistent texture.
Ensure there are no large chunks left and everything is evenly mixed.
Step 2: Form Protein Balls
Once the mixture is ready, wet your hands slightly to prevent sticking and use them to shape the mixture into 14 even balls.
This will ensure they are uniform in size and make for a nice presentation.
Step 3: Refrigerate and Serve
Place the finished Easter protein balls in an airtight container.
Refrigerate them for at least an hour to allow them to firm up before serving.
Enjoy your delicious and healthy treats!
