Finding a dessert that’s both impressive and crazy easy to make can feel impossible, especially when you’re short on time or just don’t want to spend hours in the kitchen. Most pies require baking, chilling, and a whole lot of patience, and let’s be honest, sometimes you just need something sweet without all the fuss.
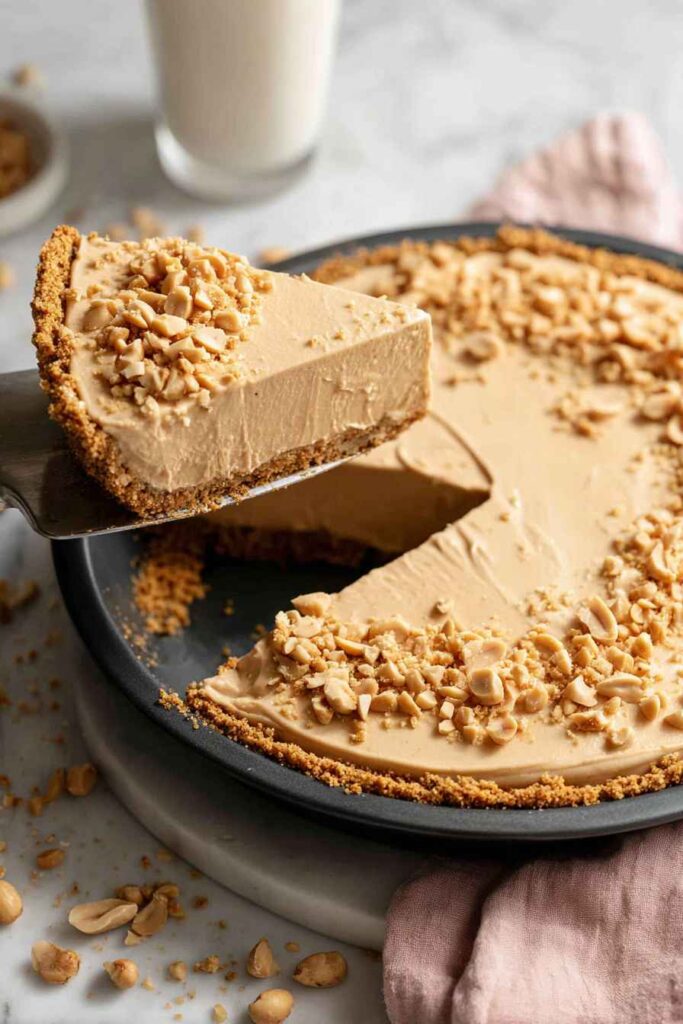
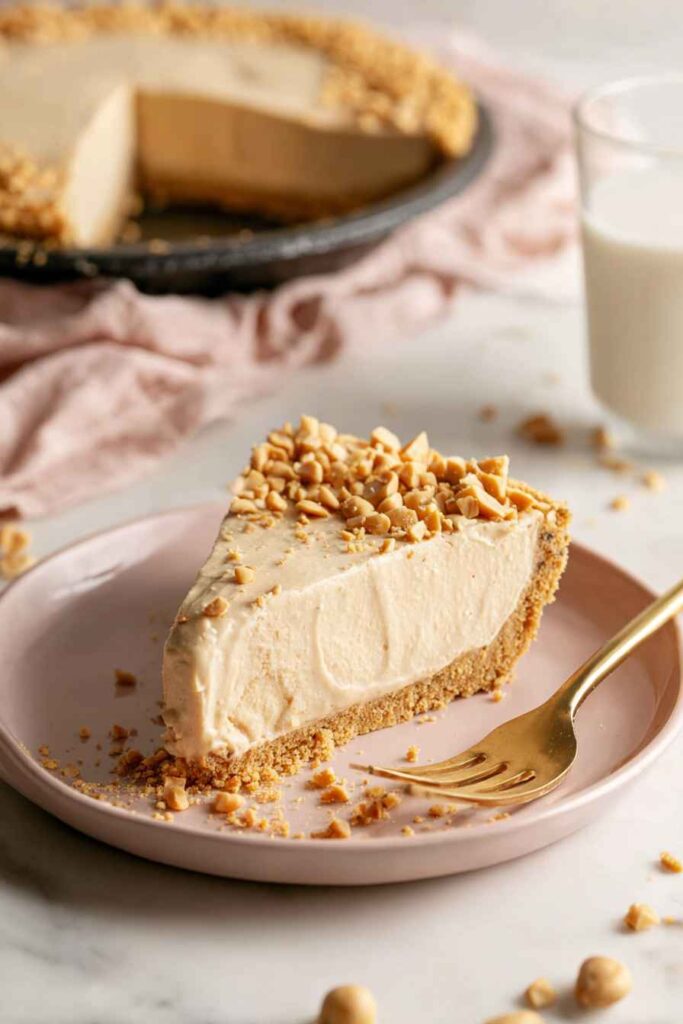
That’s where this peanut butter pie with cool whip comes to the rescue: it requires no baking whatsoever, comes together in minutes with just a handful of ingredients, and tastes like you spent way more effort on it than you actually did.
Why You’ll Love This Peanut Butter Pie
- No-bake dessert – This pie requires zero oven time, making it perfect for hot summer days or when you want a delicious dessert without heating up your kitchen.
- Simple ingredients – With just five basic ingredients, you probably have most of what you need in your pantry and fridge already.
- Creamy, dreamy texture – The combination of peanut butter, cream cheese, and Cool Whip creates an incredibly smooth and fluffy filling that melts in your mouth.
- Crowd-pleaser – Peanut butter lovers go crazy for this pie, and it’s always the first dessert to disappear at potlucks and family gatherings.
- Make-ahead friendly – You can prepare this pie a day or two in advance, which takes the stress out of entertaining and gives you more time to enjoy with your guests.
What Kind of Peanut Butter Should I Use?
For this pie, you’ll want to stick with creamy peanut butter rather than crunchy, as it blends much more smoothly with the cream cheese and creates that silky texture you’re looking for. Regular commercial peanut butter like Jif or Skippy works best here because natural peanut butter tends to be too oily and can make your filling separate or become runny. If you only have natural peanut butter on hand, make sure to stir it really well and maybe drain off some of the excess oil before measuring it out. Whatever you do, avoid using reduced-fat peanut butter since it lacks the richness needed to make this pie taste amazing.
Options for Substitutions
This no-bake pie is super forgiving when it comes to swapping ingredients:
- Graham cracker crust: You can use an Oreo cookie crust for a chocolate-peanut butter combo, or make your own crust with vanilla wafers or Nilla wafers crushed up with melted butter.
- Creamy peanut butter: Crunchy peanut butter works if you like extra texture, or try almond butter or cashew butter for a different nutty flavor. Just stick with regular peanut butter, not the natural kind that separates, as it won’t set up properly.
- Cream cheese: Make sure your cream cheese is fully softened to room temperature – this is important for getting a smooth, lump-free filling. There’s not really a good substitute here since it provides the structure.
- Cool Whip: Homemade whipped cream works great and tastes even better. You can also use any brand of frozen whipped topping. Just make sure it’s fully thawed before mixing.
- Powdered sugar: In a pinch, you can make your own by blending regular granulated sugar in a blender until it’s fine and powdery. You’ll need about 1 cup plus 1 tablespoon of granulated sugar to equal 1 cup powdered.
Watch Out for These Mistakes While Baking
The biggest mistake when making peanut butter pie is not fully softening the cream cheese, which leads to lumps that no amount of mixing can smooth out – leave it at room temperature for at least an hour before starting.
Overmixing the peanut butter and cream cheese mixture can make it dense and heavy, so stop as soon as everything is combined and smooth.
When folding in the Cool Whip, use a gentle hand and a spatula instead of an electric mixer, as aggressive stirring will deflate all those air bubbles that give the pie its light, fluffy texture.
Finally, resist the urge to slice into the pie right away – it needs at least 4 hours in the fridge to set properly, otherwise you’ll end up with a messy, runny slice instead of a clean cut.
What to Serve With Peanut Butter Pie?
Peanut butter pie is pretty rich and sweet on its own, so I like to keep things simple when serving it. A hot cup of coffee or cold glass of milk is really all you need to balance out the creamy, peanut buttery goodness. If you want to dress it up a bit, try drizzling some chocolate sauce over each slice or sprinkling chopped peanuts on top for extra crunch. This pie also works great as part of a dessert spread at parties alongside fresh fruit like strawberries or banana slices, which pair naturally with peanut butter.
Storage Instructions
Store: Keep your peanut butter pie covered in the refrigerator for up to 5 days. I like to use plastic wrap or aluminum foil right over the top, or you can keep it in a pie container if you have one. The pie actually tastes even better after sitting overnight, as all the flavors meld together.
Freeze: This pie freezes really well for up to 2 months. Wrap it tightly in plastic wrap, then again in foil to prevent freezer burn. You can freeze the whole pie or cut it into slices first and wrap individually for easy grab-and-go desserts.
Serve: If you’ve frozen the pie, let it thaw in the fridge for about 4-6 hours or overnight before serving. For the best texture, I like to take it out of the fridge about 10 minutes before slicing so it’s not rock hard and cuts more easily.
| Preparation Time | 15-30 minutes |
| Cooking Time | 120-120 minutes |
| Total Time | 135-150 minutes |
| Level of Difficulty | Easy |
Estimated Nutrition
Estimated nutrition for the whole recipe (without optional ingredients):
- Calories: 3400-3700
- Protein: 45-55 g
- Fat: 230-250 g
- Carbohydrates: 300-330 g
Ingredients
For the crust:
- 1 graham cracker pie shell, 9-inch (pre-made saves time)
For the filling:
- 1 container (8 oz) whipped topping, thawed (or 3 cups homemade whipped cream for a lighter texture)
- 8 oz cream cheese (softened to room temperature for smooth mixing)
- 1 cup confectioners’ sugar (sifted to remove lumps)
- 1 cup smooth peanut butter (I use Jif)
Step 1: Prepare the Pie Crust
- 1 graham cracker pie shell, 9-inch
Remove the graham cracker pie shell from its packaging and place it in the refrigerator or freezer.
A chilled crust will hold its shape better and provide a firmer base for the creamy filling.
Chill for at least 15-30 minutes while you prepare the filling.
Step 2: Combine Cream Cheese and Peanut Butter
- 8 oz cream cheese
- 1 cup smooth peanut butter
In a large mixing bowl, combine the softened cream cheese and smooth peanut butter.
Using an electric mixer on medium speed, beat the two ingredients together for 2-3 minutes until the mixture is completely smooth and well combined with no lumps or streaks.
I like to scrape down the sides of the bowl halfway through to ensure even mixing—this creates a silkier, more uniform base for your filling.
Step 3: Incorporate Sugar and Create the Filling Base
- cream cheese and peanut butter mixture from Step 2
- 1 cup confectioners’ sugar
Add the sifted confectioners’ sugar to the peanut butter and cream cheese mixture from Step 2.
Beat on medium speed for another 1-2 minutes until the sugar is fully incorporated and the mixture is light and fluffy.
This beating incorporates air into the filling, which will give your pie a better texture when combined with the whipped topping.
Step 4: Fold in Whipped Topping and Finish the Filling
- peanut butter filling mixture from Step 3
- 1 container whipped topping, thawed
Gently fold the thawed whipped topping into the peanut butter mixture from Step 3 using a rubber spatula.
Use a gentle hand and fold in two or three additions rather than stirring, which keeps the filling light and airy.
I like to rotate the bowl as I fold to ensure the whipped topping is evenly distributed throughout without deflating it.
Step 5: Fill and Chill the Pie
- chilled pie shell from Step 1
- peanut butter filling mixture from Step 4
Remove the chilled pie crust from the refrigerator and pour the filling into it, spreading it evenly with a spatula to the edges.
Place the filled pie back into the refrigerator and chill for at least 2 hours, or until the filling is firm and set.
For the best texture and flavor, I recommend chilling overnight if you have the time—this allows the flavors to meld and the filling to set completely.


