
I used to think elderberry syrup was just another health trend that would pass me by. My kids were always coming home from school with sniffles, and I’d reached for the usual store-bought remedies without much thought.
Then my friend Sarah mentioned she’d been making her own elderberry syrup with apple cider vinegar, and her family had been staying healthier all season. I was skeptical at first—homemade remedies seemed complicated and time-consuming. But when she told me it only takes about 20 minutes and uses ingredients I already had in my pantry, I figured it was worth a try.
Why You’ll Love This Elderberry Syrup
- Simple, natural ingredients – With just four wholesome ingredients, you know exactly what’s going into your body – no artificial additives or preservatives like store-bought versions.
- Quick and easy to make – This homemade syrup comes together in under 40 minutes, making it perfect for when you want to boost your wellness routine without spending hours in the kitchen.
- Budget-friendly wellness – Making your own elderberry syrup costs a fraction of what you’d pay at the health food store, and you get way more bang for your buck.
- Natural immune support – The combination of elderberries, apple cider vinegar, and honey creates a tasty way to support your family’s wellness, especially during cold and flu season.
- Kid-approved taste – The honey makes this syrup sweet enough that even picky kids will take it willingly – no more fighting over taking their daily dose.
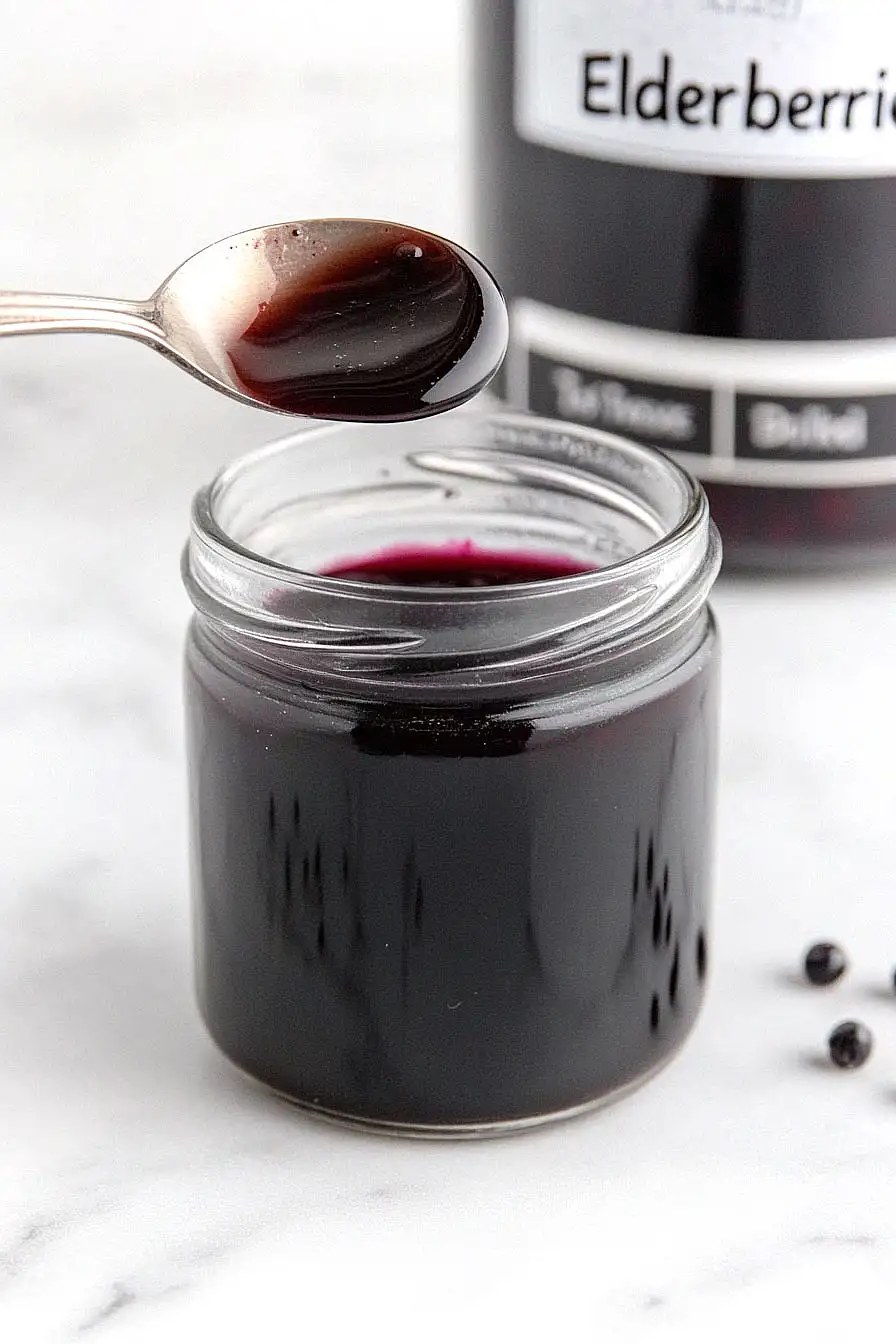
What Kind of Elderberries Should I Use?
For this syrup, you’ll want to stick with dried elderberries rather than fresh ones, as they’re more concentrated and shelf-stable. You can find dried elderberries at most health food stores, online, or sometimes in the bulk section of grocery stores. Make sure you’re buying elderberries specifically labeled for culinary use, as some varieties sold for crafting aren’t meant for consumption. The berries should look dark purple or black and feel relatively firm, not overly shriveled or dusty. If you can’t find elderberries locally, ordering them online is usually your best bet and they’ll keep for months in your pantry when stored properly.
Options for Substitutions
This simple syrup recipe is pretty straightforward, but here are a few swaps you can make:
- Dried elderberries: Stick with dried elderberries for this recipe – they’re really the star here and what gives the syrup its immune-boosting properties. Fresh elderberries can work, but you’d need about 1 cup and the cooking time might vary.
- Raw apple cider vinegar: If you don’t have raw apple cider vinegar, regular apple cider vinegar works fine. You can also use white vinegar, though it won’t have that same mild apple flavor.
- Honey: Maple syrup is a great substitute if you’re avoiding honey or want a different flavor profile. Use the same amount, but add it after the mixture has cooled slightly to preserve its nutrients. Agave nectar works too, though it’s a bit sweeter.
- Water: Some people like to use half water and half fresh lemon juice for extra vitamin C, but this will make the syrup more tart. Start with just 2 tablespoons of lemon juice if you want to try this variation.
Watch Out for These Mistakes While Cooking
The biggest mistake when making elderberry syrup is boiling the mixture too vigorously, which can destroy the beneficial compounds in both the elderberries and honey – keep it at a gentle simmer instead.
Another common error is adding the honey while the mixture is still hot, as high temperatures can break down honey’s natural enzymes, so always let your elderberry liquid cool to room temperature first.
Don’t skip straining the syrup thoroughly through a fine mesh strainer or cheesecloth, because any leftover elderberry bits can make your syrup gritty and unpleasant to drink.
Finally, resist the urge to store your finished syrup at room temperature – it needs to be refrigerated and will keep for about 2-3 months when stored properly in a clean glass jar.
What to Serve With Elderberry Syrup?
This elderberry syrup is perfect drizzled over pancakes, waffles, or French toast for a healthy twist on breakfast. You can also stir a spoonful into plain Greek yogurt with some granola for a quick and nutritious snack. I love adding it to sparkling water or tea for a refreshing drink that’s packed with good-for-you ingredients. It’s also great mixed into oatmeal or chia pudding, giving your morning routine a little extra boost of flavor and wellness benefits.
Storage Instructions
Refrigerate: Your homemade elderberry syrup needs to live in the fridge since it doesn’t have any preservatives. Store it in a clean glass jar or bottle and it’ll stay good for about 2-3 weeks. I like to write the date on a piece of tape so I don’t forget when I made it.
Freeze: You can definitely freeze elderberry syrup if you want to make a big batch! Pour it into ice cube trays for easy single servings, or freeze it in small mason jars leaving some room at the top for expansion. It’ll keep in the freezer for up to 6 months.
Use: Just give the syrup a gentle shake before using since the honey might settle a bit. If you froze it in ice cubes, just pop one out and let it thaw in the fridge overnight. The syrup works great straight from the fridge – no need to warm it up unless you prefer it that way.
| Preparation Time | 5-10 minutes |
| Cooking Time | 20-30 minutes |
| Total Time | 25-40 minutes |
| Level of Difficulty | Easy |
Estimated Nutrition
Estimated nutrition for the whole recipe (without optional ingredients):
- Calories: 300-350
- Protein: 0-1 g
- Fat: 0-1 g
- Carbohydrates: 80-85 g
Ingredients
- 1/2 cup dried elderberries
- 1 1/2 cups water
- 1/4 cup honey
- 1 tbsp raw apple cider vinegar
Step 1: Simmer the Elderberries
- 1/2 cup dried elderberries
- 1 1/2 cups water
Combine the dried elderberries and water in a small saucepan.
Bring the mixture to a gentle simmer over medium heat.
Let it simmer for about 20 minutes, stirring occasionally.
Towards the end of the cooking time, use the back of a spoon or a potato masher to mash the berries and help them release as much juice as possible.
If you notice the mixture getting too thick, add a little more water to ensure you have enough syrup at the end.
Step 2: Strain the Syrup
After simmering, carefully pour the mixture through a fine-mesh strainer or cheesecloth into a bowl or measuring cup.
Press down on the cooked berries to extract all the juice.
Discard the solids once you have strained out as much liquid as possible.
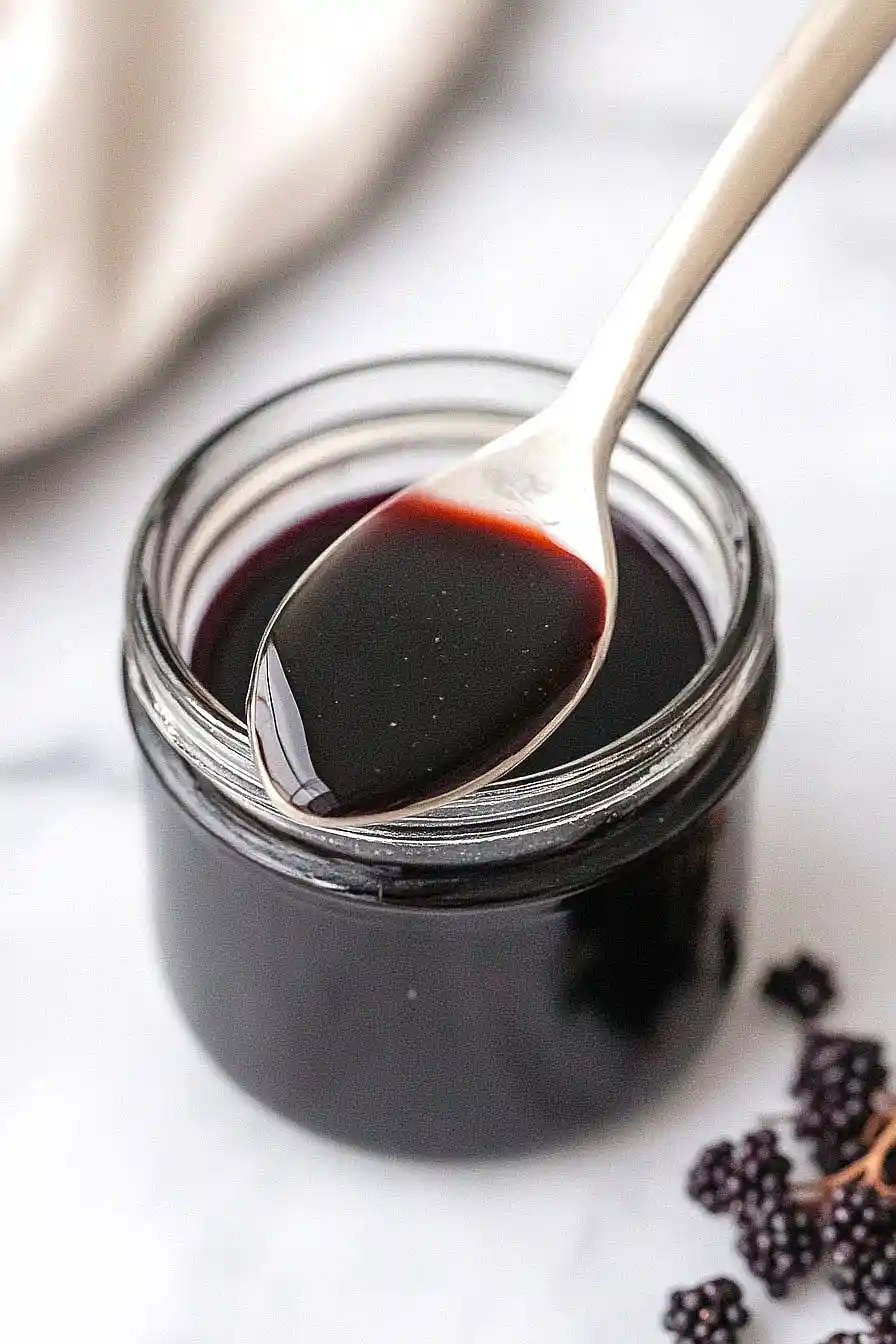
Step 3: Finish and Sweeten the Syrup
- 1/4 cup honey
- 1 tbsp raw apple cider vinegar
Allow the strained elderberry liquid to cool slightly but remain warm.
Stir in the honey and raw apple cider vinegar until the honey dissolves completely.
I like to use raw honey for added natural benefits, but feel free to use your favorite variety.
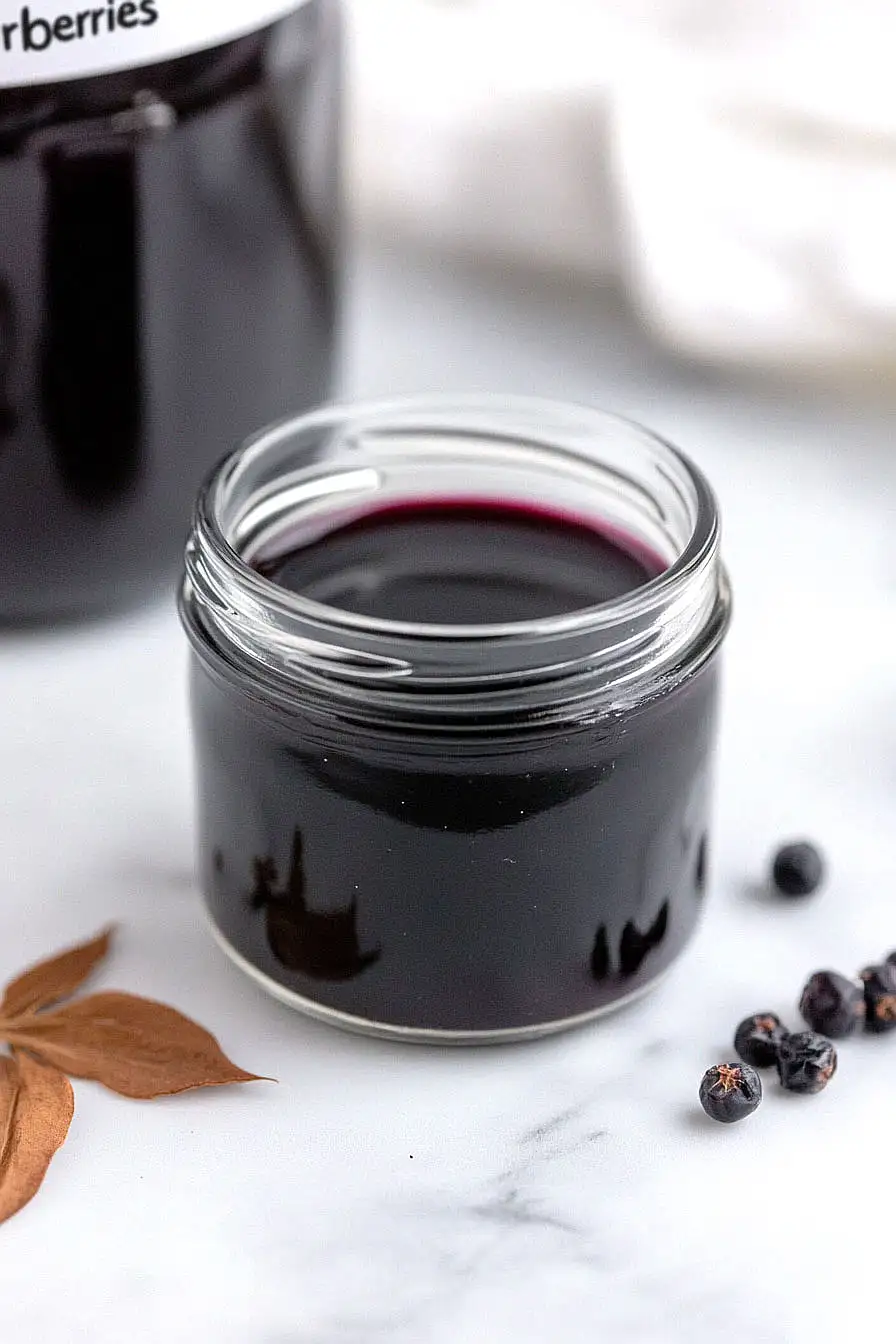
Once mixed, transfer the syrup to a clean jar or bottle and store it in the refrigerator for up to 6 weeks.


")
")
