I didn’t discover Hatch green chiles until I moved to Portland and started shopping at the farmers market. My husband kept talking about how amazing they were, but I figured they were just regular green chiles with fancy marketing.
Boy, was I wrong. Hatch chiles have this earthy, smoky flavor that’s totally different from anything you’ll find in the regular grocery store. The problem is they’re only available for a few weeks each year. That’s why I started freezing bags of them when they’re in season, so I can make dishes like this Instant Pot chicken all year long.

Why You’ll Love This Hatch Green Chile Chicken
- Freezer-friendly convenience – You can use frozen chicken breasts straight from the freezer, making this perfect for those nights when you forgot to thaw dinner.
- One-pot meal – Everything cooks together in your Instant Pot, which means less cleanup and more time to relax after dinner.
- Mild heat with great flavor – The hatch green chiles bring a gentle warmth and smoky taste that’s not too spicy for most people, including kids.
- Quick weeknight dinner – In about an hour, you’ll have tender, shredded chicken that’s perfect for tacos, burritos, or eating straight from the bowl.
- Simple pantry ingredients – Most of these ingredients are things you probably already have on hand, making it easy to whip up without a special grocery trip.
What Kind of Hatch Green Chiles Should I Use?
For this recipe, canned diced hatch green chiles work perfectly and are what I recommend since they’re convenient and already prepped. You can usually find them in the Mexican food aisle of most grocery stores, and they come in mild or hot varieties depending on your heat preference. If you can’t find hatch chiles specifically, regular canned green chiles or even fresh roasted poblanos will work as a substitute. The canned version saves you time since they’re already roasted and diced, plus they have that smoky flavor that makes this dish so good.

Options for Substitutions
This recipe is pretty forgiving when it comes to swaps, so here are some easy substitutions you can make:
- Hatch green chilies: If you can’t find hatch green chilies, regular diced green chilies work just fine. You could also use poblano peppers (roasted and diced) or even jalapeños if you want more heat – just use less since they’re spicier.
- Chicken breasts: Chicken thighs are actually great here and stay more tender during pressure cooking. You can also use a mix of both, or even leftover rotisserie chicken (just add it in the last few minutes).
- Pepper jack or monterey jack cheese: Any melting cheese works well – try cheddar, Mexican blend, or even queso fresco for a milder flavor. If you want more heat, go with a spicy cheddar.
- Chicken broth: Vegetable broth works in a pinch, though you’ll lose some of that rich chicken flavor. You can also use water with a bouillon cube if that’s all you have.
- Tortillas: Use whatever tortillas you prefer – corn, flour, whole wheat, or even low-carb wraps. You could also serve this over rice or with crusty bread instead.
Watch Out for These Mistakes While Cooking
The biggest mistake with Instant Pot chicken is not allowing for proper natural pressure release, which can result in tough, stringy meat – let the pressure release naturally for at least 10 minutes before doing a quick release for the best texture.
Another common error is adding the flour too early in the process, which can cause it to clump or burn on the bottom of the pot – always stir the flour in after the chicken is cooked and shredded to create a smooth, thick sauce.
Don’t skip the sauté step for the onions and garlic at the beginning, as this builds the flavor base for your entire dish, and make sure to deglaze the bottom of the pot with some of the chicken broth to prevent the dreaded “burn” notice.
Finally, if your sauce seems too thin after adding the flour, use the sauté function with the lid off to simmer and thicken it up before serving.

What to Serve With Hatch Green Chile Chicken?
This flavorful chicken is perfect for making tacos or burritos with those tortillas and cheese, but it’s also great served over rice or quinoa to soak up all that delicious green chile sauce. I love pairing it with some Mexican street corn (elote) or a simple side of black beans and cilantro-lime rice for a complete meal. If you want to keep things fresh, try serving it alongside a crisp romaine salad with avocado, tomatoes, and a squeeze of lime. You can also use the chicken as a filling for quesadillas, nachos, or even stuff it into baked sweet potatoes for a hearty dinner.
Storage Instructions
Refrigerate: This hatch green chile chicken keeps really well in the fridge for up to 4 days in an airtight container. I actually think it tastes even better the next day after all those flavors have had time to meld together. It’s perfect for meal prep since you can use it in so many different ways throughout the week.
Freeze: You can definitely freeze this chicken for up to 3 months in freezer-safe containers or bags. I like to portion it out into meal-sized amounts so I can just grab what I need. Let it thaw overnight in the fridge before reheating for best results.
Warm Up: To reheat, just warm it up in the microwave or on the stovetop over medium heat until heated through. If it seems a bit thick after storing, add a splash of chicken broth to loosen it up. This chicken is so versatile – use it for tacos, burritos, over rice, or even in quesadillas!
| Preparation Time | 15-25 minutes |
| Cooking Time | 40-50 minutes |
| Total Time | 55-75 minutes |
| Level of Difficulty | Medium |
Estimated Nutrition
Estimated nutrition for the whole recipe (without optional ingredients):
- Calories: 1800-2000
- Protein: 130-145 g
- Fat: 90-100 g
- Carbohydrates: 130-140 g
Ingredients
For the sauce and filling:
- 1 tbsp olive oil
- 1/2 cup chopped onion
- 1 tbsp minced garlic
- 1 1/2 cups chicken broth
- 2 cans (4 oz each) diced hatch green chiles
- 1 1/2 lb boneless, skinless chicken breasts (can be frozen)
- 1/2 tsp dried oregano
- 1 1/2 tsp ground cumin, divided
- 1/2 tsp kosher salt, divided
- 1/4 tsp black pepper
- 2 tbsp all-purpose flour
For assembly:
- Flour or corn tortillas (whole wheat optional)
- 2 cups shredded pepper jack cheese or monterey jack cheese
Step 1: Sauté Aromatics in the Instant Pot
- 1 tbsp olive oil
- 1/2 cup chopped onion
- 1 tbsp minced garlic
- 1 1/2 cups chicken broth
Turn your Instant Pot to the sauté setting.
Once the display says ‘HOT,’ add the olive oil and swirl it around the pot.
Add the chopped onion and sauté for about 4 minutes until softened.
Add the minced garlic and sauté briefly for about 20 seconds, just until fragrant.
Then, deglaze the pot with chicken broth by pouring it in and using a spatula to scrape any browned bits from the bottom.
Turn off the sauté setting.
Step 2: Pressure Cook Chicken and Chiles
- 2 cans (4 oz each) diced Hatch green chiles
- 1 1/2 lb boneless, skinless chicken breasts (can be frozen)
- 1/2 tsp dried oregano
- 1 tsp ground cumin
- 1/4 tsp black pepper
- 1/4 tsp kosher salt
Add the diced Hatch green chiles to the Instant Pot, then lay the chicken breasts in a single layer on top.
Lightly season the chicken with 1/4 tsp kosher salt and 1/4 tsp black pepper.
Sprinkle the oregano and 1 tsp of the cumin evenly over the chicken.
Secure the lid, set the valve to sealing, and pressure cook on manual/high pressure for 12 minutes if the chicken is thawed or 15 minutes if it’s frozen.
Allow a 10-minute natural release, then manually release the remaining pressure.
Step 3: Blend and Thicken the Sauce
- 2 tbsp all-purpose flour
- 1/2 tsp ground cumin
- 1/2 tsp kosher salt
Remove the cooked chicken from the Instant Pot and place it on a cutting board.
Use a stick blender right in the pot to blend the sauce until smooth, or carefully transfer the sauce to a blender and blend until smooth, then return it to the pot.
Set the Instant Pot to the sauté setting again.
Stir in the remaining 1/2 tsp cumin and 1/2 tsp kosher salt.
In a small bowl, whisk the all-purpose flour together with a few tablespoons of the hot sauce from the pot until a smooth slurry forms.
Stir the slurry back into the sauce and let the mixture simmer for a few minutes to thicken.
Meanwhile, chop or shred the chicken.
I like to use kitchen shears for easy shredding—that’s my top tip for this step!
Step 4: Assemble the Enchiladas
- flour or corn tortillas (whole wheat optional)
- cooked and chopped chicken from Step 3
- 2 cups shredded pepper jack cheese or Monterey Jack cheese
- thickened sauce from Step 3
Preheat your oven to 350°F (175°C).
Pour about 1/3 cup of the thickened sauce into the bottom of a 9×13-inch baking pan.
If using corn tortillas, warm them briefly in the microwave to make them pliable.
Place 1/4 to 1/3 cup of the chopped chicken (from Step 3) in the center of each tortilla.
Sprinkle 1–2 tablespoons of shredded cheese on top of the chicken, then spoon about 1 tablespoon of the sauce on top.
Roll up the tortillas and place them seam side down in the prepared pan.
Repeat with remaining tortillas, chicken, cheese, and sauce.
Pour the remaining sauce over the assembled enchiladas and sprinkle with the rest of the shredded cheese.
For even richer flavor, I sometimes like to mix half Monterey Jack and half pepper jack cheese.
Step 5: Bake and Serve
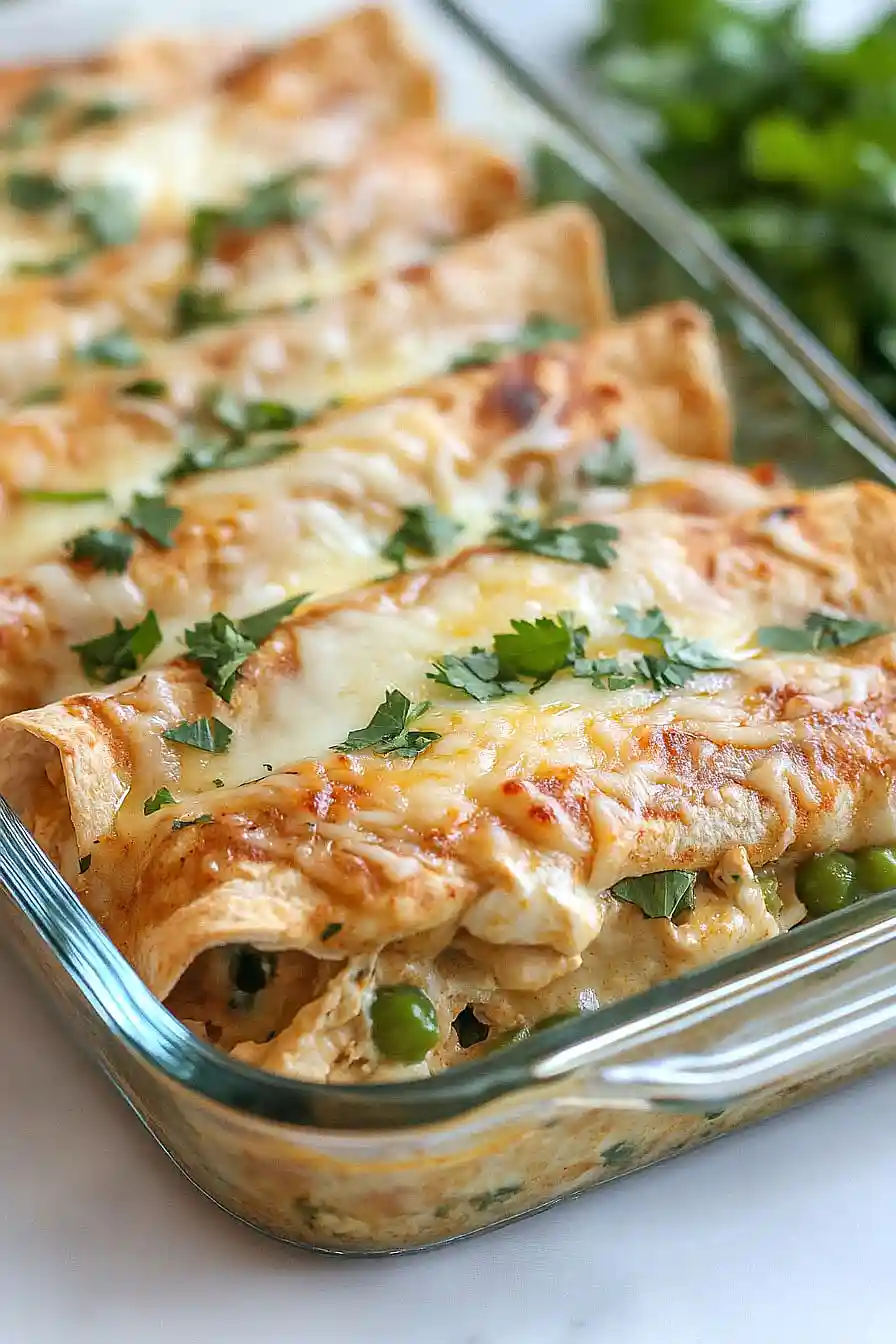
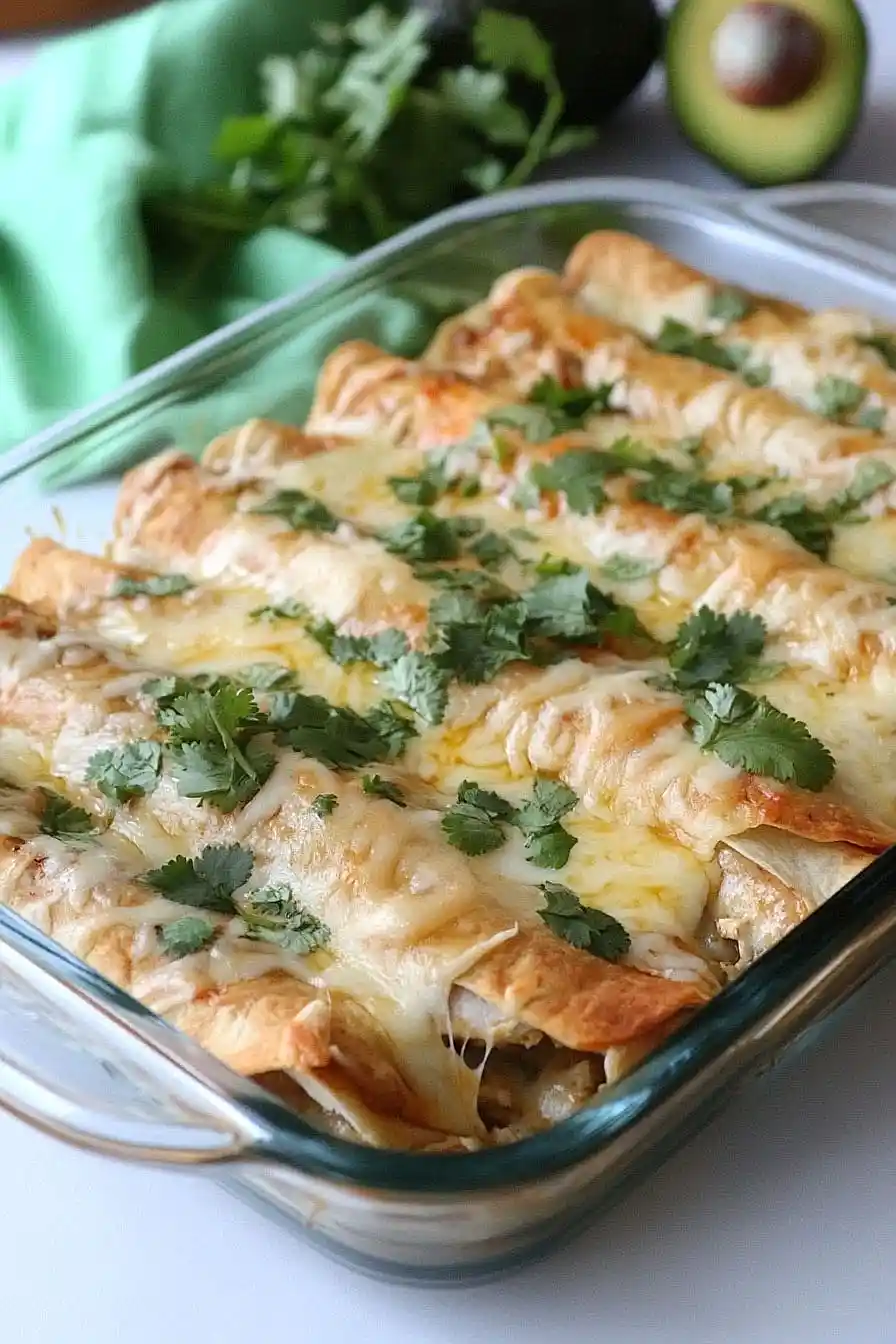
Bake the assembled enchiladas in the preheated oven for 20 minutes, or until the cheese is bubbly and the enchiladas are heated through.
Serve immediately and enjoy your homemade Hatch green chile chicken enchiladas!


