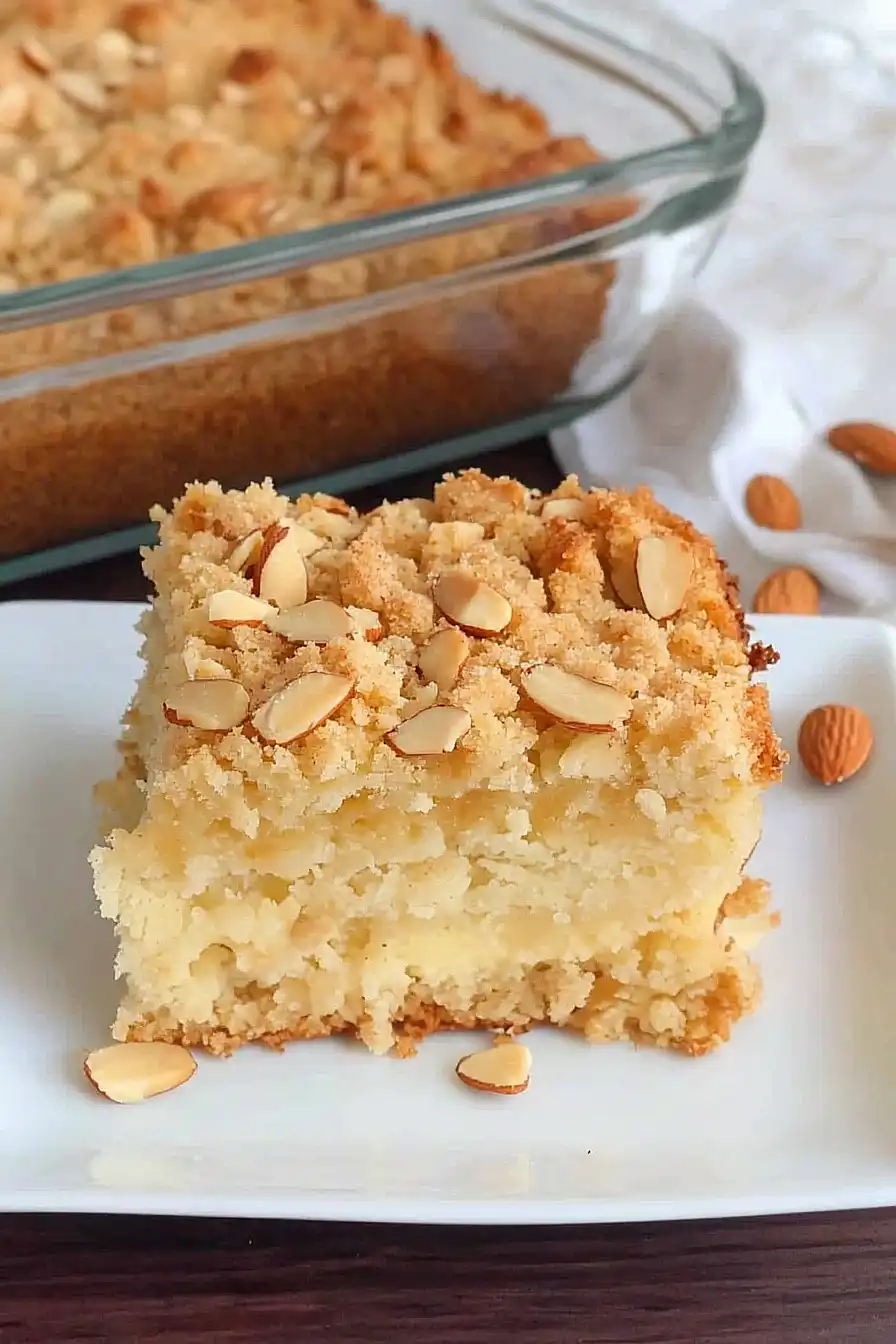
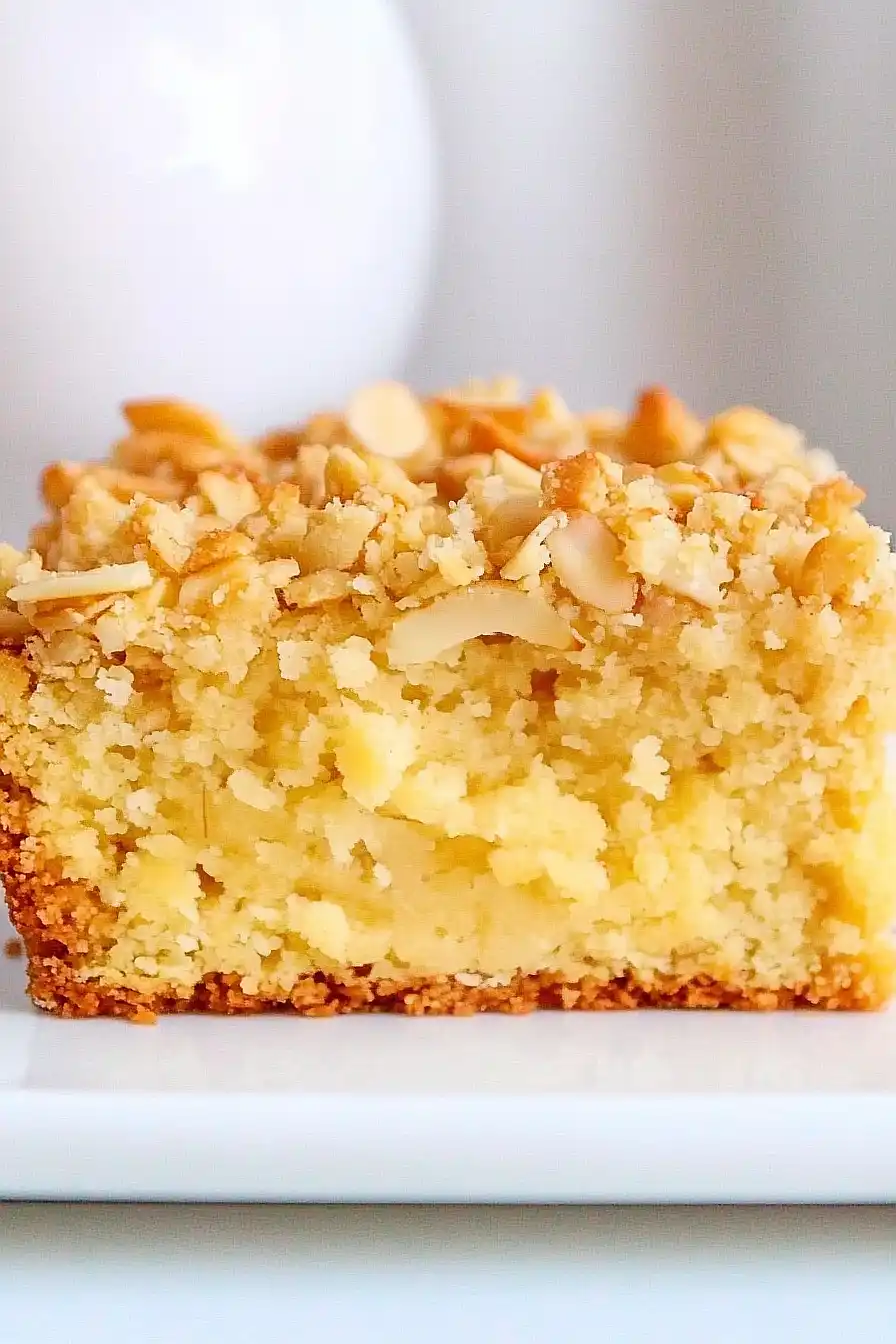
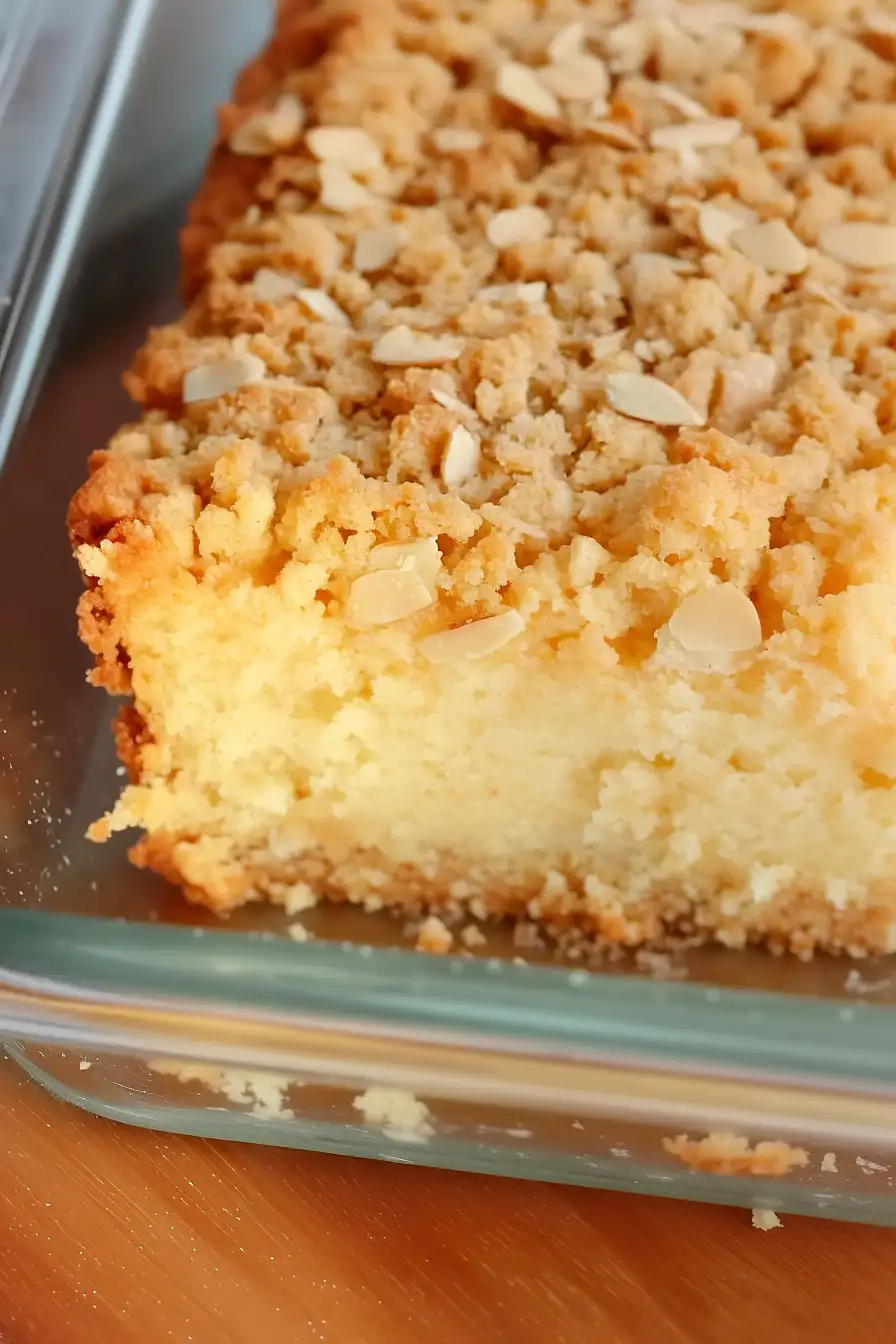
Growing up, coffee cake meant those store-bought ones with the crumbly topping that left a mess everywhere. My mom would grab them from the grocery store for weekend breakfasts, and while they were good, they always left me feeling a bit heavy and sluggish afterward.
That’s why I started experimenting with almond flour in my baking. It turns out, making a coffee cake with almond flour instead of regular flour isn’t just possible – it’s actually really good. The cake comes out light and moist, and I don’t get that mid-morning energy crash anymore. Plus, it’s just as simple to make as the traditional version.

Why You’ll Love This Coffee Cake
- Keto and low-carb friendly – Made with almond flour and coconut flour instead of regular flour, this coffee cake fits perfectly into a keto or low-carb lifestyle without sacrificing taste.
- Rich, nutty flavor – The combination of almond flour, toasted almonds, and almond flavoring creates a delicious depth of flavor that makes this coffee cake extra special.
- Perfect for special diets – This gluten-free coffee cake is ideal for anyone watching their sugar intake or following a grain-free diet.
- Make-ahead friendly – You can bake this coffee cake ahead of time for breakfast, brunch, or afternoon tea – it stays fresh for several days when stored properly.
What Kind of Almond Flour Should I Use?
For this coffee cake, you’ll want to use blanched almond flour rather than almond meal. Blanched almond flour is made from almonds that have had their skins removed and is ground much finer than almond meal, which gives your cake a more delicate, cake-like texture. Look for packages labeled as “super-fine” or “finely ground” almond flour – brands like Bob’s Red Mill or Anthony’s are good options. Just make sure to store your almond flour in an airtight container in the fridge or freezer since it can go rancid at room temperature, and give it a quick sift before using to remove any lumps that might have formed.

Options for Substitutions
This keto-friendly coffee cake can be adapted with several substitutions, though some ingredients are key to its texture:
- Almond flour: This is a main ingredient that’s crucial for the texture – I don’t recommend substituting it. However, if you must, you can try ground sunflower seeds, but the taste and texture will be different.
- Coconut flour: Since coconut flour is unique in how it absorbs liquid, you’ll need to adjust if substituting. You can use 2 cups of almond flour instead of the 1/2 cup coconut flour, but you’ll need to reduce the liquid (half-and-half) by about 2 ounces.
- Half-and-half: You can swap this with heavy cream mixed with equal parts water, or use unsweetened almond milk for a dairy-free option.
- Cream cheese: Mascarpone cheese works well as a substitute, or you can use dairy-free cream cheese if needed.
- Sweetener: Any sugar-free granulated sweetener works here – monk fruit, erythritol, or allulose are all good options. Just make sure to check the conversion chart as sweeteners vary in intensity.
- Almond flavoring: Vanilla extract makes a nice substitute if you’re not keen on almond flavoring, or try using half of each.
Watch Out for These Mistakes While Baking
The biggest challenge when baking with almond flour is getting the right texture, as this flour behaves differently than regular wheat flour – make sure to measure it correctly by spooning it into the measuring cup rather than scooping directly from the bag, which can lead to using too much flour and creating a dense cake. When mixing the batter, avoid over-mixing once the dry ingredients are combined with the wet ingredients, as this can make your coffee cake heavy and tough instead of light and tender. Temperature control is crucial – starting with room temperature ingredients (especially the eggs, cream cheese, and butter) will help everything blend smoothly and create a more even texture in your finished cake. For the best results, check your cake about 5-7 minutes before the recommended baking time, as almond flour tends to brown more quickly than regular flour – if the top is getting too dark but the center isn’t done, simply cover it loosely with foil to prevent over-browning while it finishes baking.

What to Serve With Coffee Cake?
This almond-rich coffee cake pairs perfectly with your favorite morning beverages – whether that’s a steaming cup of coffee, hot tea, or even a cold brew on warm days. For brunch gatherings, I like to serve it alongside some fresh berries or a simple fruit salad to balance out the nutty sweetness. If you’re hosting a breakfast meeting or family gathering, consider setting up a hot beverage station with different coffee options and some freshly whipped cream to dollop on top of each slice. You can also add some crispy bacon or breakfast sausage on the side if you’re looking to make it part of a larger breakfast spread.
Storage Instructions
Counter Storage: Your almond flour coffee cake can hang out on the counter for about 2 days when kept in an airtight container. Just make sure it’s completely cool before storing to keep that perfect texture you worked so hard for!
Refrigerate: For longer storage, pop your coffee cake in an airtight container and keep it in the fridge for up to a week. The almond topping stays nice and crunchy this way, and the cake keeps its moisture without getting soggy.
Freeze: This coffee cake is super freezer-friendly! Cut it into individual portions, wrap them well in plastic wrap and aluminum foil, then freeze for up to 3 months. It’s perfect for those busy mornings when you need a quick breakfast.
Warm Up: When you’re ready to enjoy a piece from the fridge or freezer, let it sit at room temperature for about 30 minutes, or give it a quick 15-20 second zap in the microwave. The cake will taste just as good as the day you made it!
| Preparation Time | 15-20 minutes |
| Cooking Time | 40-50 minutes |
| Total Time | 55-70 minutes |
| Level of Difficulty | Easy |
Estimated Nutrition
Estimated nutrition for the whole recipe (without optional ingredients):
- Calories: 2500-2700
- Protein: 50-60 g
- Fat: 220-240 g
- Carbohydrates: 60-70 g
Ingredients
- 2 tablespoons softened butter
- 2 ounces softened cream cheese
- 1/3 cup sweetener (like joy filled eats sweetener or your choice)
- 4 eggs
- 2 teaspoons almond flavoring
- 4 ounces half-and-half
- 1 cup almond flour
- 1/2 cup coconut flour
- 1 teaspoon baking powder
- 1/4 teaspoon salt
- 6 tablespoons melted butter
- 1/3 cup sweetener (like joy filled eats sweetener or your choice)
- 1 cup almond flour
- 1 cup toasted sliced almonds
Step 1: Preheat and Prepare Baking Dish
Preheat your oven to 350°F (175°C).
Grease a square 8×8 pyrex baking dish with butter or cooking spray to ensure the batter does not stick while baking.
Step 2: Mix the Batter
In a bowl, combine all the batter ingredients using an electric mixer.
Mix until the batter is smooth and well combined.
Pour the batter into the prepared baking dish, spreading it out evenly with a spatula to ensure even baking.
Step 3: Prepare the Topping
In a separate bowl, combine the topping ingredients.
Mix together until the mixture forms crumbs.
Ensure that the crumbs are of even size for a consistent topping.
Sprinkle the crumb mixture evenly over the batter in the baking dish.
Step 4: Bake the Dessert
Place the baking dish in the preheated oven and bake at 350°F (175°C) for approximately 40 minutes, or until the top is golden brown.
If you notice the topping starting to darken too much, cover the dish with foil for the last 10 minutes of baking to prevent burning.
Step 5: Cool and Serve
Once baked, remove the dish from the oven and allow it to cool for a few minutes.
This will make cutting and serving easier.
Slice into squares and serve warm or at room temperature.
Enjoy your delicious treat!


Looks good, but the worst directions ever! Where does the cake end and the topping begin? I would love to make it if I could understand it.
Sounds delicious! Could you please clarify which items are for the batter and which are for the topping? It’s not clear on the ingredients list. Thanks!
I think the last 4 ingredient are for the topping.
Please show what is cake ingredients and what is toppings ingredients. Not sure on this. Sounds delicious. Thank you.
I will post once I’ve made it and serve it to our church small group dinner.
Deano
I think the last 4 ingredients are for the toppings. There’s already almond flour, sugar and butter in the upper ingredients.
I think the last 4 ingredient are for the topping.
To those who cannot figure out the ‘topping’, it’s the 2nd listing of butter. If you are a baker, common sense prevails. After the ingredient ‘salt’, the next 4 ingredients are for the topping.
Baking requires more than common sense. It requires specific information.
What’s the 4 oz half and half?
Is it about the flour?