I thought I knew hummus until I tried it with hatch chiles. Growing up, we always bought the plain stuff from the store, maybe garlic if we were feeling fancy. But last summer, my neighbor brought over a batch made with roasted hatch chiles from New Mexico, and it completely changed my mind about what hummus could be.
The smoky heat from those chiles gives regular chickpea hummus a whole new personality. It’s not just another dip anymore—it’s something you actually crave. Plus, hatch chile season is short, so when those green beauties show up at the farmer’s market, I make sure to roast a bunch and freeze them for recipes like this one.
Why You’ll Love This Hatch Chile Hummus
- Unique southwestern flavor – The roasted hatch chiles add a smoky, mild heat that sets this hummus apart from the regular store-bought versions you’re used to.
- Simple homemade goodness – Making hummus from scratch is easier than you think, and you’ll taste the difference in every creamy, fresh bite.
- Perfect for entertaining – This colorful dip is always a hit at parties and gatherings, giving your guests something new and exciting to try.
- Healthy snacking option – Packed with protein and fiber from chickpeas, plus healthy fats from tahini and olive oil, this makes guilt-free snacking easy.
- Quick preparation – In just 35-40 minutes, you’ll have a restaurant-quality dip that’s fresher and more flavorful than anything from the store.
What Kind of Chickpeas Should I Use?
Canned chickpeas are your best bet for this recipe since they’re convenient and cook up nice and creamy. Any brand will work, but I like to look for ones that feel heavy in the can and don’t have too much liquid sloshing around – that usually means the chickpeas are plump and well-packed. If you’re feeling ambitious, you can absolutely use dried chickpeas that you’ve cooked yourself, just make sure they’re tender enough to mash easily with a fork. Don’t toss that chickpea liquid from the can though – it’s perfect for thinning out your hummus if it gets too thick, and it adds extra chickpea flavor that water just can’t match.
Options for Substitutions
This hummus recipe is pretty forgiving when it comes to swaps and substitutions:
- Hatch green chiles: If you can’t find roasted hatch chiles, try using roasted poblano peppers, Anaheim chiles, or even canned green chiles (just drain them well). For a milder version, use roasted bell peppers instead.
- Tahini: No tahini? You can substitute with natural peanut butter or almond butter, though the flavor will be different. Use slightly less since nut butters tend to be thicker than tahini.
- Lime juice: Lemon juice works just as well if you don’t have lime on hand. Start with the juice of half a lemon and adjust to taste.
- Fresh cilantro: If you’re not a cilantro fan, try fresh parsley instead. You could also use fresh oregano or just leave it out completely.
- Canned chickpeas: You can use dried chickpeas if you prefer – just cook 3/4 cup dried beans until tender. Save some of the cooking liquid for thinning the hummus.
- Ground coriander: If you don’t have ground coriander, you can skip it or substitute with a pinch of ground fennel seed for a similar earthy note.
Watch Out for These Mistakes While Cooking
The biggest mistake when making hummus is skipping the step of removing the chickpea skins, which can leave your dip grainy instead of smooth – after draining the chickpeas, rub them with a kitchen towel to easily slip off most of the skins.
Another common error is adding all the reserved chickpea liquid at once, which can make your hummus too thin and watery – start with just a tablespoon or two and add more gradually until you reach your desired consistency.
Don’t forget to taste your tahini before using it, as older tahini can turn bitter and ruin the whole batch, and make sure to stir it well since the oil separates over time.
For the smoothest texture, blend the tahini and lemon juice first for about a minute before adding the other ingredients, and let your food processor run for a full 2-3 minutes to achieve that creamy, restaurant-quality finish.
What to Serve With Hatch Chile Hummus?
This spicy hummus is perfect for dipping with warm pita bread, tortilla chips, or fresh vegetables like carrots, bell peppers, and cucumber slices. I love spreading it on sandwiches and wraps instead of mayo – it adds such a nice kick and creamy texture that pairs especially well with grilled chicken or turkey. You can also use it as a base for grain bowls or dollop it on top of tacos and quesadillas for extra flavor. For a simple appetizer spread, serve it alongside other dips like guacamole and salsa with a big platter of chips and veggies.
Storage Instructions
Keep Fresh: Your hatch chile hummus will stay creamy and delicious in the fridge for up to a week when stored in an airtight container. I like to drizzle a thin layer of olive oil on top before covering it – this helps prevent the surface from drying out and keeps it looking fresh.
Freeze: This hummus freezes really well for up to 3 months in a freezer-safe container. Just leave some room at the top since it’ll expand a bit when frozen. When you’re ready to use it, thaw it overnight in the fridge and give it a good stir.
Refresh: After storing, your hummus might look a little thick or separated – totally normal! Just stir in a tablespoon or two of that reserved chickpea liquid or some fresh lime juice to bring back that smooth, creamy texture. A quick taste test will tell you if it needs a pinch more salt too.
| Preparation Time | 15-20 minutes |
| Cooking Time | 20 minutes |
| Total Time | 35-40 minutes |
| Level of Difficulty | Medium |
Estimated Nutrition
Estimated nutrition for the whole recipe (without optional ingredients):
- Calories: 800-900
- Protein: 30-35 g
- Fat: 45-50 g
- Carbohydrates: 80-90 g
Ingredients
- 1 can (15 oz) garbanzo beans or chickpeas (save the liquid)
- 1 tsp baking soda
- Water (enough to cover for boiling)
- 4 garlic cloves, chopped
- 1/2 of a lime, juiced
- 1/2 cup tahini, stirred smooth
- 2 tbsp olive oil
- 1/2 cup fire-roasted green chiles, chopped
- 2 tbsp fresh cilantro, chopped
- 1 tsp ground cumin
- 1/2 tsp ground coriander
- 1/2 tsp salt
- Chickpea liquid (optional, as needed for thinning)
Step 1: Cook and Prepare the Chickpeas
- 1 can (15 oz) garbanzo beans or chickpeas (save the liquid)
- 1 tsp baking soda
- water (enough to cover for boiling)
In a saucepan, combine the garbanzo beans (chickpeas) with baking soda and cover with enough water to submerge them by about an inch or two.
Bring the mixture to a low boil over medium heat and cook for 20 minutes.
As the chickpeas simmer, skim off any skins that float to the top.
Once cooked, pour the chickpeas into a fine-mesh sieve, discarding any large visible skins if you wish, but it’s not necessary to remove them all.
Rinse the chickpeas thoroughly under cold water to remove any residual baking soda.
Step 2: Make the Tahini Base
- 4 garlic cloves, chopped
- 1/2 of a lime, juiced
- 1/2 cup tahini, stirred smooth
- 2 tbsp olive oil
In a food processor, combine the chopped garlic, freshly squeezed lime juice, smoothly stirred tahini, and olive oil.
Blend these ingredients together until a mostly smooth paste forms.
This will form the creamy base for the hummus.
Step 3: Blend in Herbs, Spices, and Chickpeas
- 1/2 cup fire-roasted green chiles, chopped
- 2 tbsp fresh cilantro, chopped
- 1 tsp ground cumin
- 1/2 tsp ground coriander
- 1/2 tsp salt
- cooked chickpeas from Step 1
Add the fire-roasted green chiles, chopped fresh cilantro, ground cumin, ground coriander, and salt to the food processor with the tahini base.
Blend briefly to combine.
Then, add the prepared chickpeas from Step 1 and blend again until the mixture is very smooth.
Taste the hummus and add a little more salt if needed, adjusting to your preference.
If the hummus seems thin, don’t worry; it will thicken as it chills.
Step 4: Chill and Adjust Consistency
- chickpea liquid (optional, as needed for thinning)
Transfer the blended hummus to a container and refrigerate for a few hours to allow the flavors to meld and for the hummus to thicken.
Before serving, give it a good stir.
If you find the hummus has thickened too much, thin it out by stirring in a little of the reserved chickpea liquid, a tablespoon at a time, until it reaches your desired consistency.
I like to add just a splash at first—it’s easy to add more, but hard to fix if you thin it too much!
Step 5: Garnish and Serve
- additional fire-roasted green chiles, chopped (optional, for garnish)
- olive oil (for garnish)
- fresh cilantro, chopped (for garnish)
Just before serving, stir the hummus and transfer to a serving bowl.
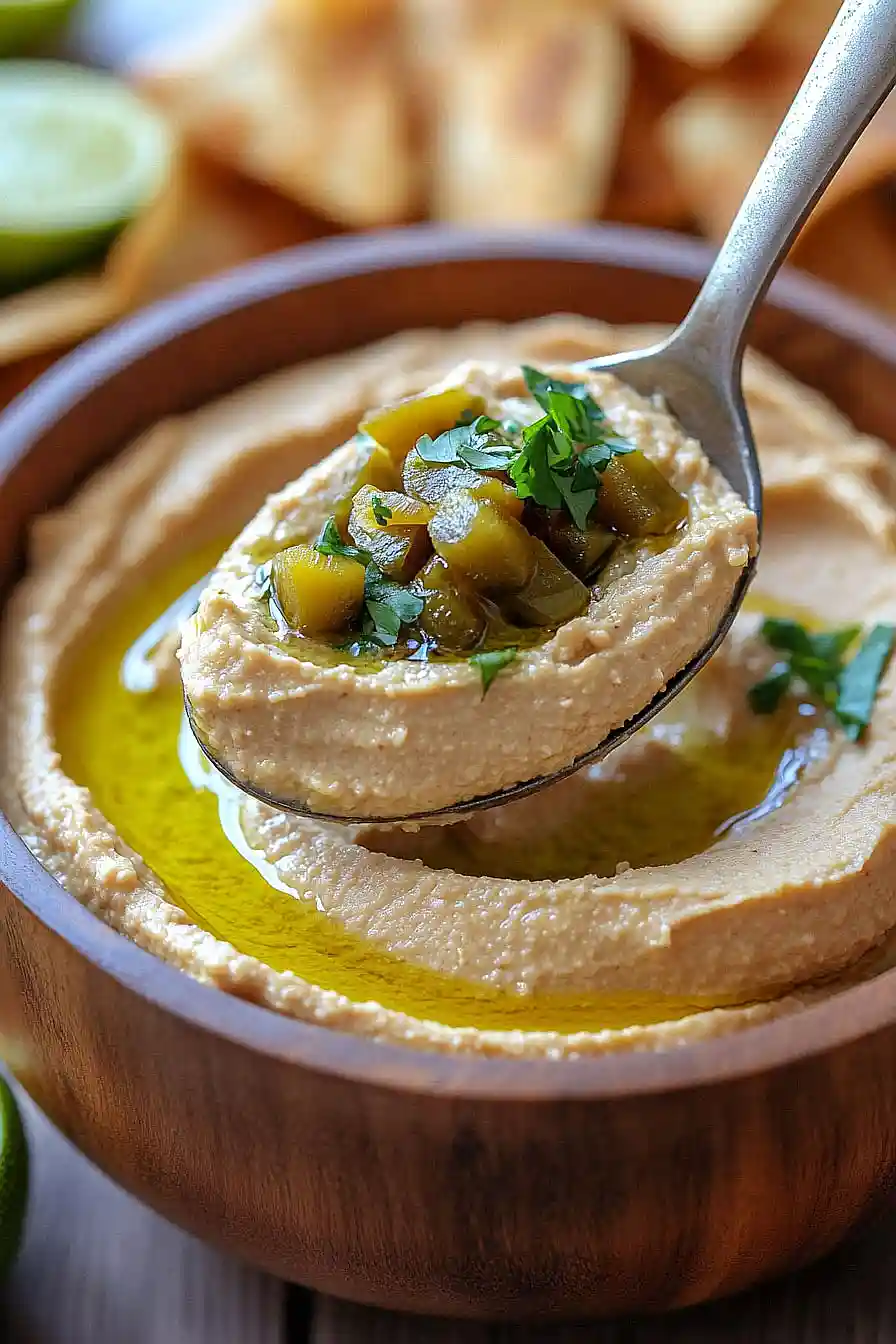
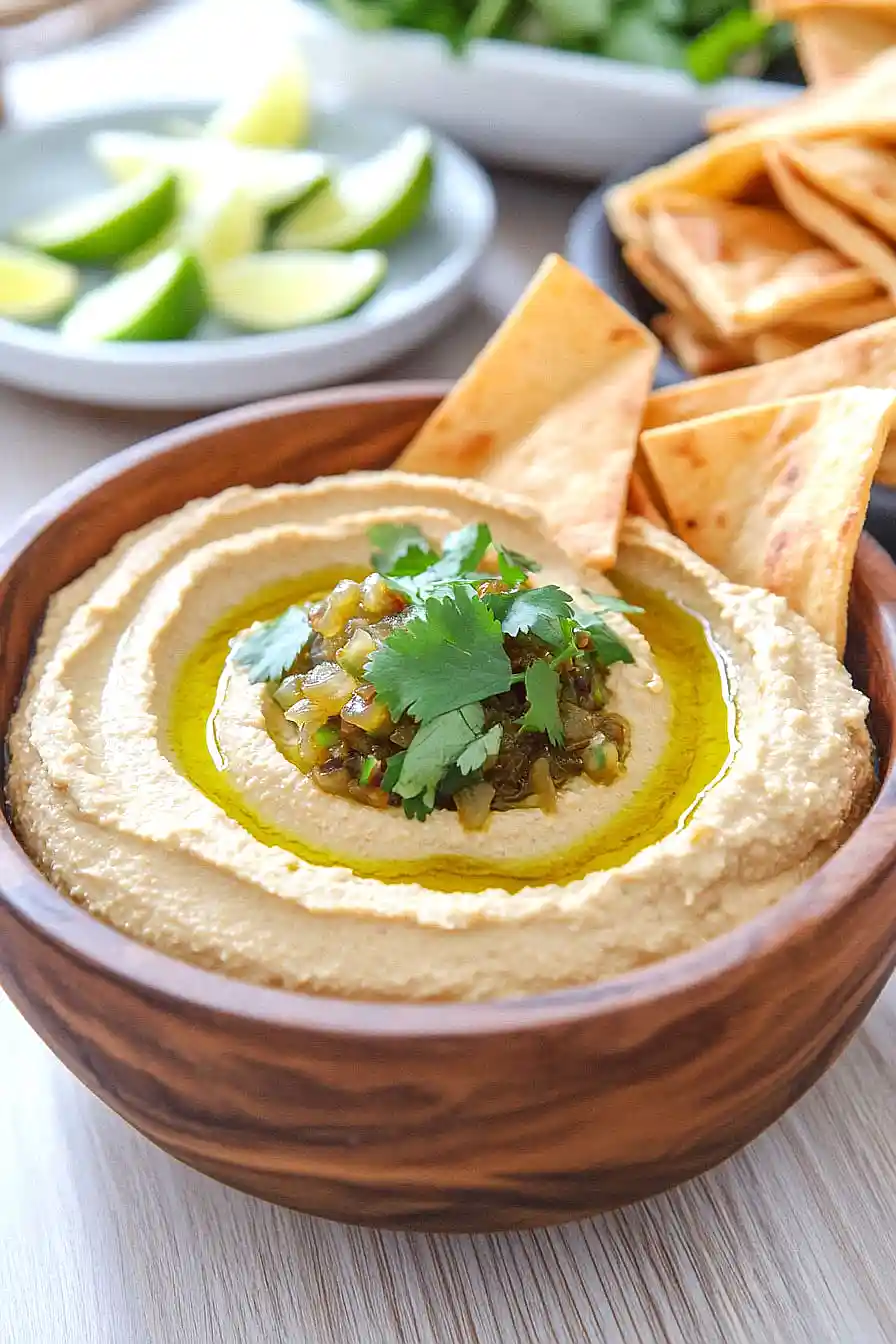
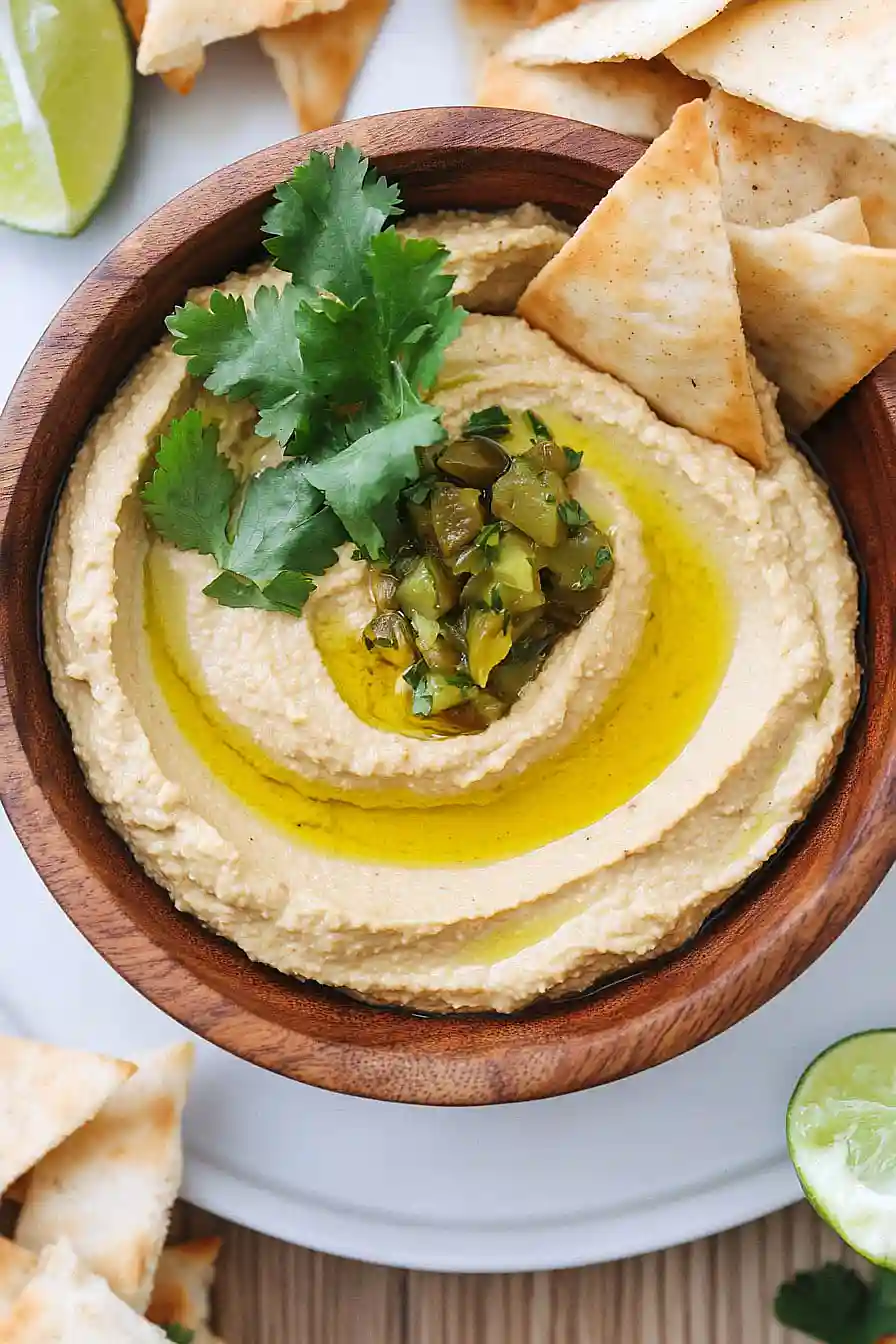
Garnish as desired with additional green chiles, a drizzle of olive oil, and chopped cilantro for extra color and flavor.
Enjoy your homemade, flavorful hummus!


