Coffee shop pastries have always been my weakness. I walk into Starbucks planning to grab a quick latte, but then I see those pumpkin scones sitting there looking so good. Before I know it, I’m spending twelve dollars on breakfast when I could have made something just as tasty at home.
That’s why I started making my own copycat versions of my favorite coffee shop treats. These pumpkin scones taste just like the ones from Starbucks, but they cost a fraction of the price. I can make a whole batch on Sunday and have breakfast ready for the week. Plus, my kitchen smells like fall spices instead of whatever that cleaning product smell is at the coffee shop.
Want them more cake-like? Bake them a little less. Prefer a crispier outside? Leave them in the oven an extra minute or two. The best part is you can eat them warm from the oven instead of wondering how long they’ve been sitting under those heat lamps.
Why You’ll Love These Pumpkin Scones
- Copycat Starbucks recipe – You can enjoy your favorite coffee shop treat at home for a fraction of the cost, and they taste just as good as the original.
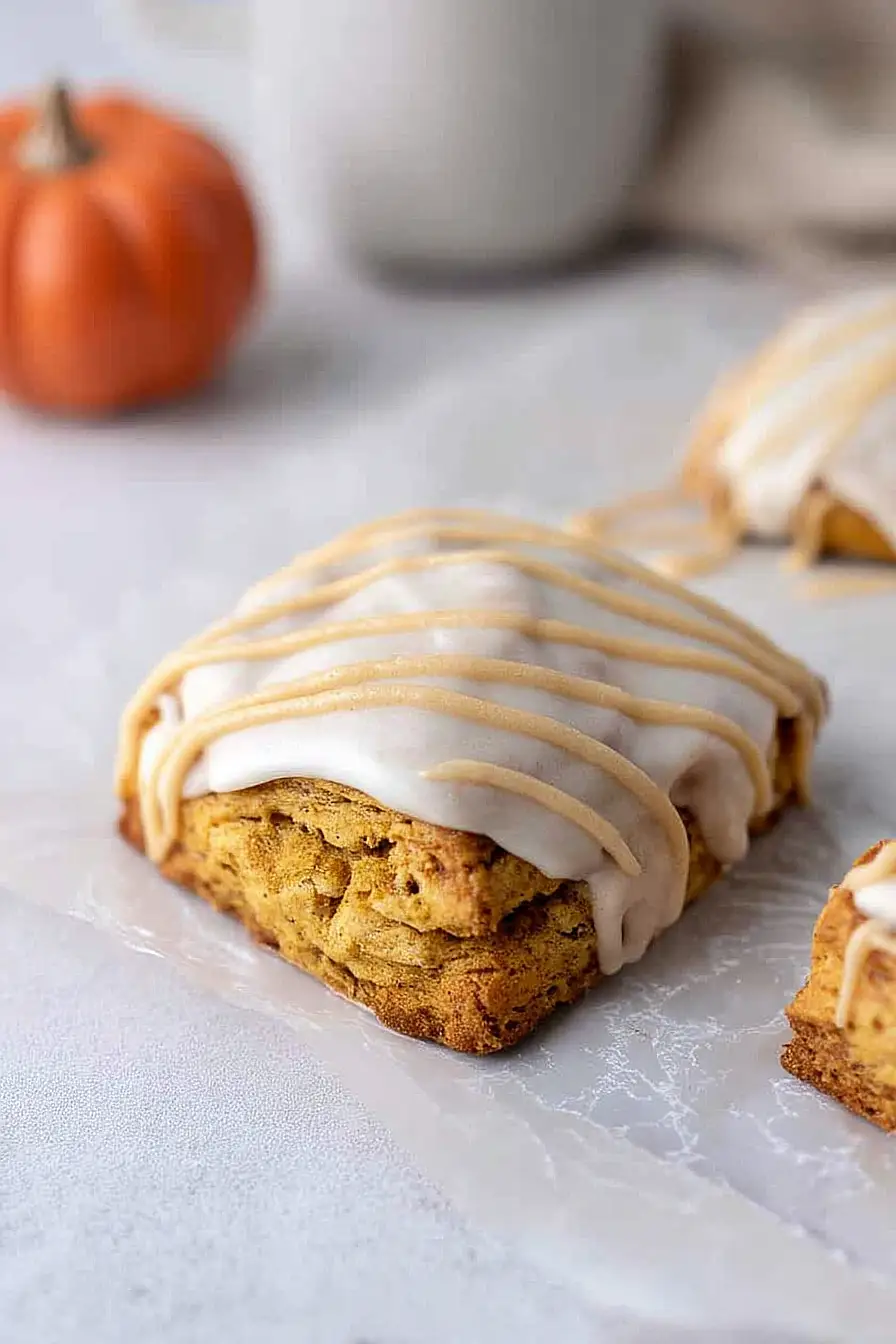
- Perfect fall flavors – The warm spices like cinnamon, nutmeg, and ginger combined with pumpkin puree create that cozy autumn taste you crave.
- Quick and easy – These scones come together in just 32-38 minutes, making them perfect for weekend breakfast or when you need a sweet treat fast.
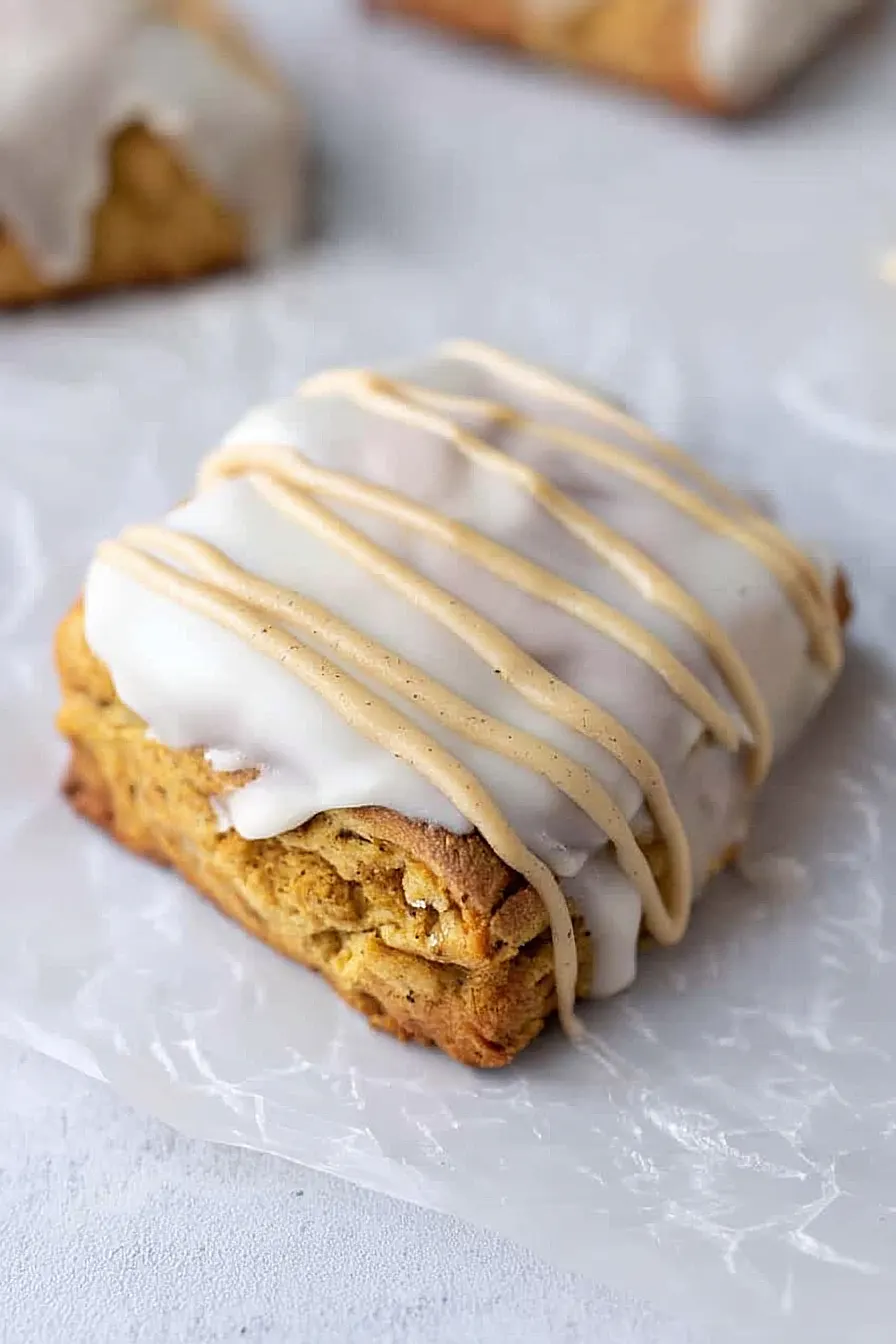
- Bakery-style glaze – The spiced pumpkin glaze on top takes these scones from good to amazing, giving them that professional bakery finish.
- Simple pantry ingredients – You probably already have most of these basic baking staples in your kitchen, so no special shopping trip required.
What Kind of Pumpkin Puree Should I Use?
For these scones, you’ll want to use canned pumpkin puree, not pumpkin pie filling – there’s a big difference! Pumpkin puree is just plain cooked pumpkin with no added spices or sugar, while pumpkin pie filling already has those extras mixed in. Libby’s is probably the most common brand you’ll find at the grocery store, and it works perfectly for baking. If you’re feeling ambitious, you can make your own puree from scratch using sugar pumpkins, but honestly, the canned stuff is convenient and gives consistent results every time.
Options for Substitutions
These scones are pretty forgiving when it comes to swaps, so here are some options if you’re missing a few things:
- All-purpose flour: You can substitute with whole wheat flour, but use about 2 cups instead of 2¼ cups since it’s denser. The scones will have a nuttier flavor and slightly heartier texture.
- Individual spices: Don’t have all the spices? Just use 1½ teaspoons of pumpkin pie spice instead of the cinnamon, cloves, ginger, and nutmeg. It’s basically the same blend.
- Pumpkin puree: In a pinch, you can use sweet potato puree or even mashed banana, though the flavor will be different. Stick with the same amounts.
- Heavy cream: For the glaze, you can swap heavy cream with milk or half-and-half. You might need a bit less liquid since they’re thinner than cream.
- Brown sugar: Regular granulated sugar works fine, but add an extra tablespoon since brown sugar is more packed with flavor.
- Butter: Cold butter is really important for flaky scones, so don’t substitute this one. The cold fat creates those lovely layers when it melts in the oven.
Watch Out for These Mistakes While Baking
The biggest mistake when making pumpkin scones is overworking the dough, which leads to tough, dense scones instead of the light, flaky texture you want – mix just until the ingredients come together and stop there.
Keep your butter, pumpkin puree, milk, and egg cold throughout the process, as warm ingredients will melt the butter and prevent those lovely flaky layers from forming.
Don’t skip the step of chilling your shaped scones for 15-20 minutes before baking, which helps them hold their shape and prevents spreading in the oven.
When it comes to the glaze, add that third tablespoon of heavy cream very slowly – you want a thick consistency that will set nicely on top rather than running off the sides of your scones.
What to Serve With Pumpkin Scones?
These pumpkin scones are perfect for a cozy fall breakfast or afternoon treat, and they pair beautifully with a hot cup of coffee or spiced chai tea. I love serving them alongside some crispy bacon or breakfast sausage for a heartier morning meal, or you can keep it simple with just butter and jam. For an afternoon snack, try them with a warm mug of apple cider or even hot chocolate when the weather gets chilly. They’re also great on their own since they already have that sweet glaze, but a dollop of whipped cream or a spread of cream cheese never hurts!
Storage Instructions
Keep Fresh: These pumpkin scones taste best when stored in an airtight container at room temperature for up to 3 days. If you’ve already glazed them, place parchment paper between layers to prevent sticking. For unglazed scones, you can wait to add the glaze until you’re ready to serve for the freshest look.
Freeze: You can freeze these scones for up to 3 months, and I actually prefer freezing them before glazing. Wrap each scone individually in plastic wrap, then place them in a freezer bag. When you’re ready to enjoy them, just thaw at room temperature and add fresh glaze.
Warm Up: To bring back that fresh-from-the-oven taste, pop your scones in a 300°F oven for about 5-8 minutes. You can also microwave them for 15-20 seconds, but the oven method gives you that nice crispy exterior again. Add the glaze after warming for the best results.
| Preparation Time | 15-20 minutes |
| Cooking Time | 17-18 minutes |
| Total Time | 32-38 minutes |
| Level of Difficulty | Medium |
Estimated Nutrition
Estimated nutrition for the whole recipe (without optional ingredients):
- Calories: 2000-2200
- Protein: 23-27 g
- Fat: 65-75 g
- Carbohydrates: 340-370 g
Ingredients
For the scone dough:
- 2 1/4 cups all-purpose flour
- 1/3 cup packed brown sugar
- 2 tbsp white sugar
- 1 tsp ground cinnamon
- 1/4 tsp ground cloves
- 1/4 tsp ground ginger
- 1/4 tsp ground nutmeg
- 1 tsp baking soda
- 1/2 tsp baking powder
- 1/4 tsp salt
- 1/2 cup unsalted butter, cold and diced
- 1/2 cup chilled pumpkin puree
- 1/4 cup cold milk
- 1 cold egg
- 1 tsp vanilla extract
For the vanilla glaze:
- 1 cup powdered sugar
- 2–3 tbsp heavy cream
For the spiced glaze:
- 1 tbsp powdered sugar
- 1/4 tsp pumpkin puree
- 1/4 tsp pumpkin pie spice
Step 1: Prepare Oven and Wet Ingredients
- 1/2 cup chilled pumpkin puree
- 1/4 cup cold milk
- 1 cold egg
- 1 tsp vanilla extract
Preheat your oven to 400°F (200°C) and line a baking sheet with parchment paper or a silicone mat; set it aside.
In a medium bowl, whisk together the chilled pumpkin puree, cold milk, cold egg, and vanilla extract until smooth.
For the best scone texture, I like to place this mixed wet bowl back in the fridge to keep it extra cold while I work on the dry ingredients.
Step 2: Make the Dry Mixture and Cut in Butter
- 2 1/4 cups all-purpose flour
- 1/3 cup packed brown sugar
- 2 tbsp white sugar
- 1 tsp ground cinnamon
- 1/4 tsp ground cloves
- 1/4 tsp ground ginger
- 1/4 tsp ground nutmeg
- 1 tsp baking soda
- 1/2 tsp baking powder
- 1/4 tsp salt
- 1/2 cup unsalted butter, cold and diced
In a separate large bowl, combine the all-purpose flour, packed brown sugar, white sugar, ground cinnamon, ground cloves, ground ginger, ground nutmeg, baking soda, baking powder, and salt.
Stir until all ingredients are uniformly distributed.
Add the cold, diced unsalted butter to the bowl.
Using a pastry cutter or your hands, work the butter into the dry mixture until it resembles coarse crumbs.
Keeping the butter cold is key for flakey scones!
Step 3: Bring Dough Together and Shape Scones
- dry mixture with cut-in butter from Step 2
- chilled pumpkin mixture from Step 1
Make a well in the center of the dry ingredients and pour in the chilled pumpkin mixture from Step 1.
Use a rubber spatula to gently mix until a soft dough forms—avoid overmixing so the scones stay tender.
There may still be a bit of flour visible.
Turn the dough onto a lightly floured surface and gently fold it over itself 2-3 times using a pastry scraper, until most of the flour is incorporated.
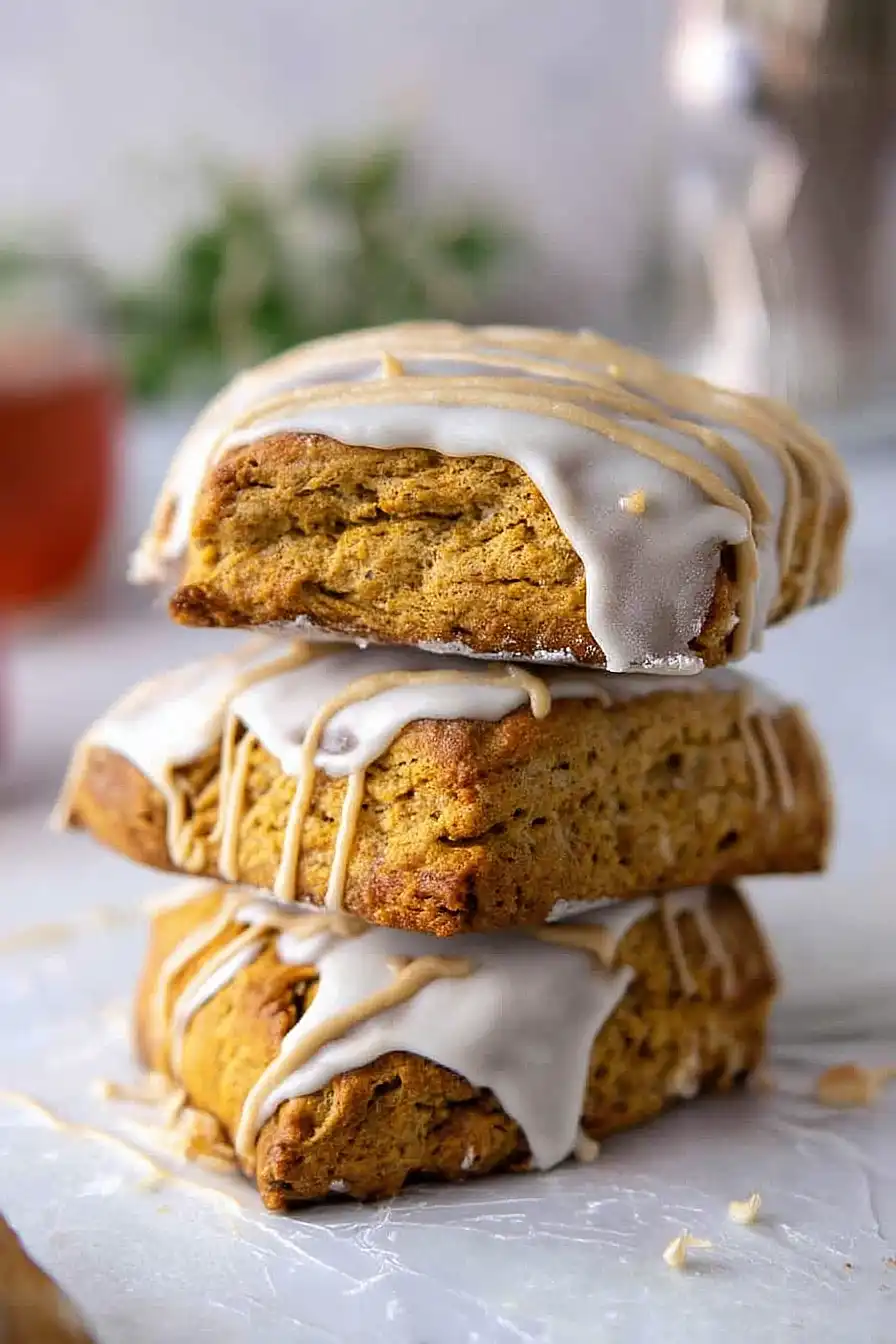
Shape the dough into an 8×5 inch rectangle, about 1 inch thick.
With a sharp knife, cut the dough into 6 squares.
Place the squares on the prepared baking sheet.
Step 4: Bake the Scones
Bake the scones in the preheated oven for 17–18 minutes, until they are risen and lightly golden.
Let the scones rest on the baking sheet for 10 minutes after baking, then transfer them to a wire rack to cool completely.
I always let the scones cool properly before glazing—they hold together better that way.
Step 5: Prepare the Vanilla Glaze
- 1 cup powdered sugar
- 2–3 tbsp heavy cream
While the scones are cooling, make the glaze by whisking together the powdered sugar and 2 tablespoons of heavy cream in a medium bowl until smooth.
If the glaze is too thick, add up to 1/2 tablespoon more heavy cream until you reach a spreadable consistency.
This simple glaze is the perfect sweet complement, and I recommend tasting it to adjust the consistency before spreading.
Step 6: Make the Spiced Pumpkin Glaze
- 1 tbsp powdered sugar
- 1/4 tsp pumpkin puree
- 1/4 tsp pumpkin pie spice
- 1 tbsp vanilla glaze from Step 5
Take 1 tablespoon of the vanilla glaze from Step 5 and transfer it to a small bowl.
Add 1 tablespoon powdered sugar, 1/4 teaspoon pumpkin puree, and 1/4 teaspoon pumpkin pie spice, stirring well to combine.
Place this spiced glaze in a small ziplock bag for piping.
For extra autumn flavor, I use a little more spice if you like a bolder taste.
Step 7: Glaze and Decorate the Scones
- baked scones from Step 4
- vanilla glaze from Step 5
- spiced pumpkin glaze from Step 6
Once the scones are completely cool, spread 1.5–2 tablespoons of the vanilla glaze from Step 5 over each scone and place them back on the cooling rack.
Let the glaze set for 5–10 minutes.
Snip the tip off the bag with the spiced pumpkin glaze from Step 6 and drizzle it over the scones in decorative stripes.
Allow the scones to set for another 15–20 minutes to let the glazes firm up, then enjoy!
I find this double-glazing step adds a beautiful and delicious finish.
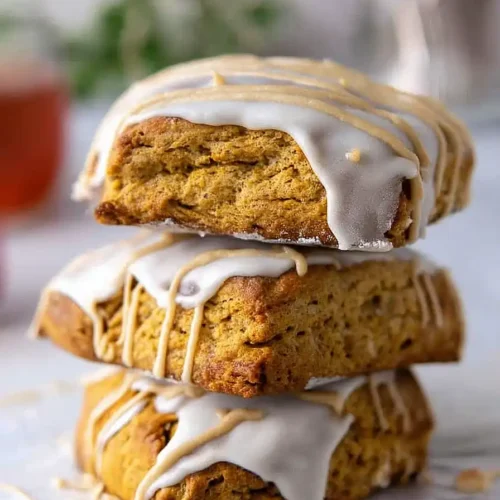
Simple Starbucks Pumpkin Scones
Ingredients
For the scone dough:
- 2 1/4 cups all-purpose flour
- 1/3 cup packed brown sugar
- 2 tbsp white sugar
- 1 tsp ground cinnamon
- 1/4 tsp ground cloves
- 1/4 tsp ground ginger
- 1/4 tsp ground nutmeg
- 1 tsp baking soda
- 1/2 tsp baking powder
- 1/4 tsp salt
- 1/2 cup unsalted butter, cold and diced
- 1/2 cup chilled pumpkin puree
- 1/4 cup cold milk
- 1 cold egg
- 1 tsp vanilla extract
For the vanilla glaze:
- 1 cup powdered sugar
- 2–3 tbsp heavy cream
For the spiced glaze:
- 1 tbsp powdered sugar
- 1/4 tsp pumpkin puree
- 1/4 tsp pumpkin pie spice
Instructions
- Preheat your oven to 400°F (200°C) and line a baking sheet with parchment paper or a silicone mat; set it aside. In a medium bowl, whisk together the chilled pumpkin puree, cold milk, cold egg, and vanilla extract until smooth. For the best scone texture, I like to place this mixed wet bowl back in the fridge to keep it extra cold while I work on the dry ingredients.
- In a separate large bowl, combine the all-purpose flour, packed brown sugar, white sugar, ground cinnamon, ground cloves, ground ginger, ground nutmeg, baking soda, baking powder, and salt. Stir until all ingredients are uniformly distributed. Add the cold, diced unsalted butter to the bowl. Using a pastry cutter or your hands, work the butter into the dry mixture until it resembles coarse crumbs. Keeping the butter cold is key for flakey scones!
- Make a well in the center of the dry ingredients and pour in the chilled pumpkin mixture from Step 1. Use a rubber spatula to gently mix until a soft dough forms—avoid overmixing so the scones stay tender. There may still be a bit of flour visible. Turn the dough onto a lightly floured surface and gently fold it over itself 2-3 times using a pastry scraper, until most of the flour is incorporated. Shape the dough into an 8x5 inch rectangle, about 1 inch thick. With a sharp knife, cut the dough into 6 squares. Place the squares on the prepared baking sheet.
- Bake the scones in the preheated oven for 17–18 minutes, until they are risen and lightly golden. Let the scones rest on the baking sheet for 10 minutes after baking, then transfer them to a wire rack to cool completely. I always let the scones cool properly before glazing—they hold together better that way.
- While the scones are cooling, make the glaze by whisking together the powdered sugar and 2 tablespoons of heavy cream in a medium bowl until smooth. If the glaze is too thick, add up to 1/2 tablespoon more heavy cream until you reach a spreadable consistency. This simple glaze is the perfect sweet complement, and I recommend tasting it to adjust the consistency before spreading.
- Take 1 tablespoon of the vanilla glaze from Step 5 and transfer it to a small bowl. Add 1 tablespoon powdered sugar, 1/4 teaspoon pumpkin puree, and 1/4 teaspoon pumpkin pie spice, stirring well to combine. Place this spiced glaze in a small ziplock bag for piping. For extra autumn flavor, I use a little more spice if you like a bolder taste.
- Once the scones are completely cool, spread 1.5–2 tablespoons of the vanilla glaze from Step 5 over each scone and place them back on the cooling rack. Let the glaze set for 5–10 minutes. Snip the tip off the bag with the spiced pumpkin glaze from Step 6 and drizzle it over the scones in decorative stripes. Allow the scones to set for another 15–20 minutes to let the glazes firm up, then enjoy! I find this double-glazing step adds a beautiful and delicious finish.
")
")
