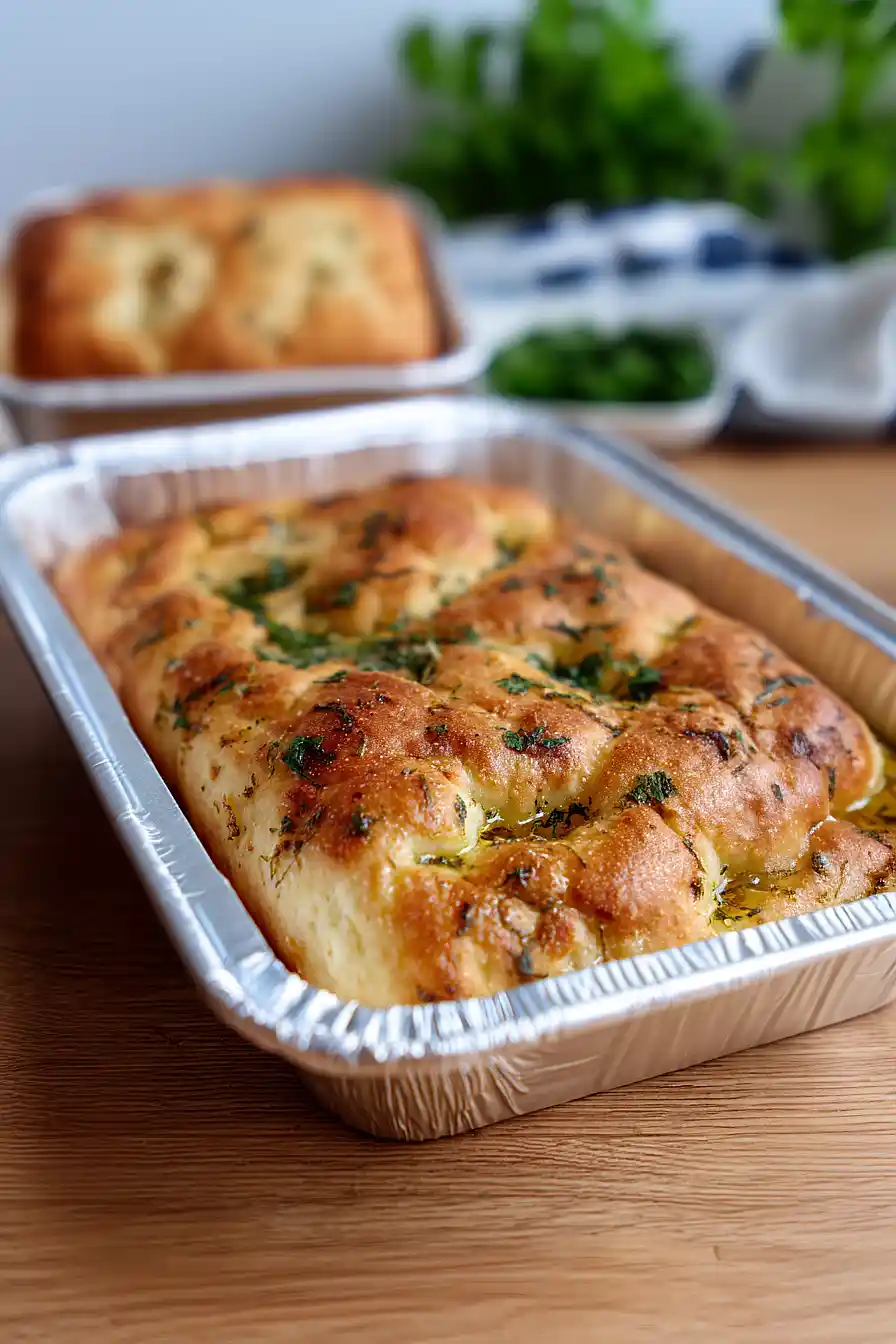
I always thought focaccia was one of those fancy breads you could only get right in a real oven. You know, the kind that needs perfect timing and just the right temperature. Then I discovered you can make it in an air fryer.
My kids were skeptical when I first mentioned it. “Mom, bread in the air fryer?” But here’s the thing—the air fryer actually creates the perfect environment for focaccia. It gives you that crispy crust on the outside while keeping the inside soft and fluffy. Plus, it’s ready in half the time of traditional oven baking.
Why You’ll Love This Air Fryer Focaccia
- Quick homemade bread – You can have fresh, warm focaccia ready in just over an hour, which is much faster than traditional oven methods.
- Air fryer convenience – No need to heat up your whole oven – the air fryer gives you perfectly crispy edges and a fluffy interior without all the extra heat in your kitchen.
- Simple ingredients – This recipe uses basic pantry staples like flour, yeast, and olive oil, so you probably have most of what you need already.
- Customizable toppings – The herb and garlic combination makes it aromatic and flavorful, but you can easily switch up the herbs based on what you have on hand.
- Perfect for beginners – Even if you’ve never made bread before, this foolproof recipe will give you bakery-quality results that’ll impress your family and friends.
What Kind of Flour Should I Use?
All-purpose flour is your best bet for this air fryer focaccia, and you really can’t go wrong with most brands you’ll find at the grocery store. King Arthur flour tends to be my go-to since it’s consistent and produces great results, but other quality brands like Gold Medal or even store brands will work just fine. The key is using unbleached all-purpose flour if you can find it, as it gives the bread a better flavor and texture. If you only have bread flour on hand, that’ll work too, though your focaccia might be slightly chewier than the traditional soft, airy texture you’re aiming for.
Options for Substitutions
This focaccia recipe is pretty forgiving when it comes to swaps, but there are a few key ingredients you’ll want to keep as-is:
- All-purpose flour: Stick with all-purpose flour for the best texture – bread flour can make it too chewy, and other flours will change the structure completely. Any brand works fine if you don’t have King Arthur on hand.
- Instant yeast: You can use active dry yeast instead, but you’ll need to dissolve it in a bit of the warm water first and let it foam for about 5 minutes before mixing it in.
- Extra virgin olive oil: Regular olive oil works too, but extra virgin gives better flavor. You can even use avocado oil if that’s what you have, though you’ll miss some of that classic focaccia taste.
- Fresh herbs: Mix and match whatever herbs you have! Rosemary and thyme are classic, or try oregano and basil. Dried herbs work in a pinch – just use about 1/3 of the amount and add them to the oil mixture.
- Butter: You can replace the butter with more olive oil (about 3 tablespoons total) if you want to keep it dairy-free.
- Sea salt: Table salt works fine, but use a bit less since it’s more concentrated than sea salt.
Watch Out for These Mistakes While Baking
The biggest mistake when making air fryer focaccia is rushing the dough development – this high-hydration dough needs proper time to come together, so don’t panic if it looks shaggy at first and resist adding extra flour.
Another common error is not oiling your air fryer basket generously enough, which can cause the focaccia to stick and tear when you try to remove it – use plenty of olive oil on both the bottom and sides of your basket.
Since air fryers cook faster and more intensely than regular ovens, keep a close eye on your focaccia after the 12-minute mark to prevent the top from browning too quickly, and don’t forget to rotate the basket halfway through for even cooking.
Finally, let the focaccia rest for at least 10 minutes before slicing, as cutting too soon will result in a gummy texture instead of the light, airy crumb you’re after.
What to Serve With Air Fryer Focaccia?
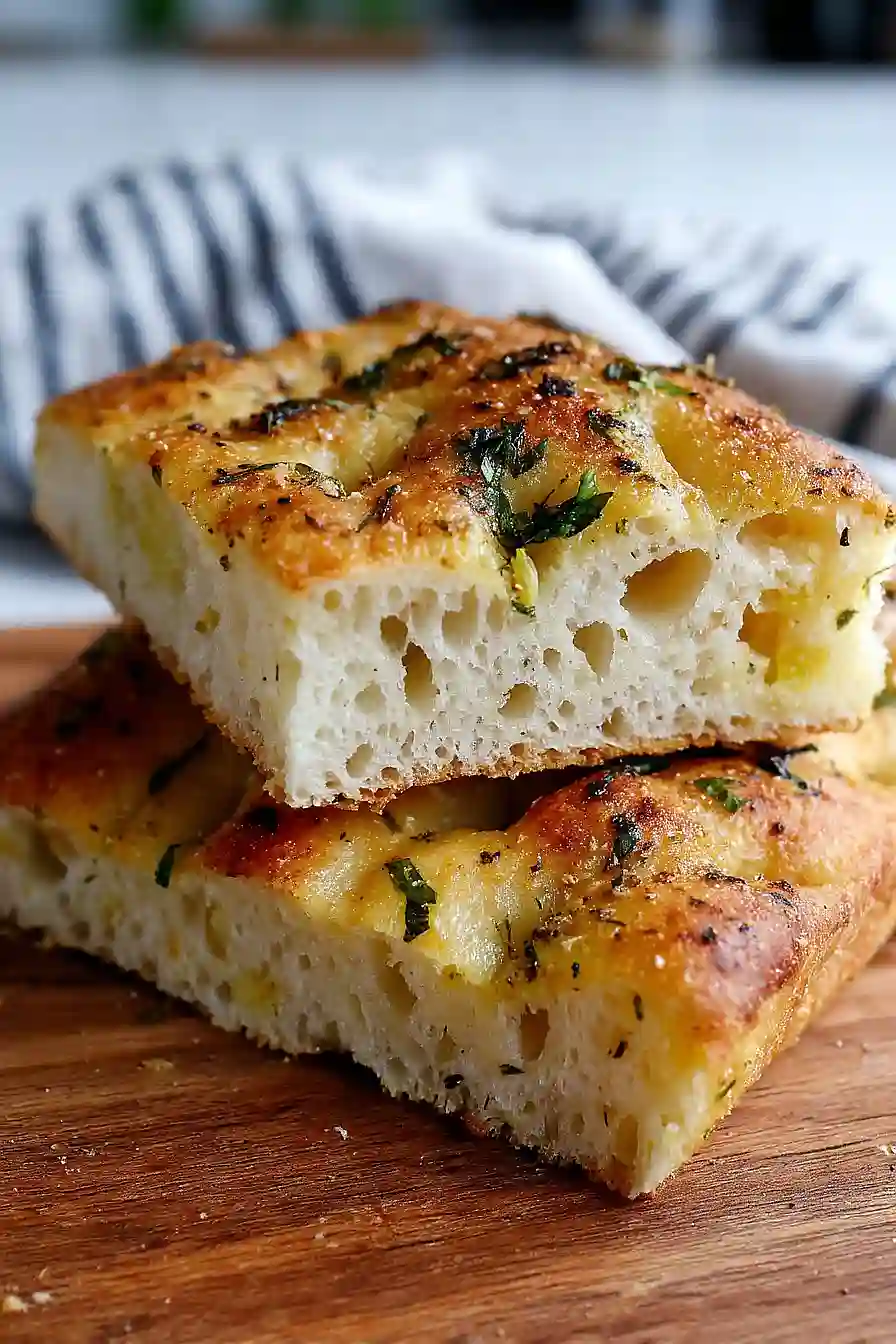
This herby focaccia is perfect for dipping into good olive oil mixed with balsamic vinegar, or you can serve it alongside a big Italian salad with tomatoes and fresh mozzarella. It also makes an amazing base for sandwiches – just slice it in half and stuff it with prosciutto, arugula, and some creamy cheese. Since it’s loaded with garlic and herbs, it pairs beautifully with soups like minestrone or a simple tomato basil soup where you can tear off pieces for dipping. You can also cut it into squares and serve it as an appetizer with some whipped ricotta or a charcuterie board.
Storage Instructions
Keep Fresh: Your air fryer focaccia tastes best within the first day or two! Wrap it loosely in a clean kitchen towel or store it in a paper bag at room temperature for up to 2 days. The crust will stay nice and crispy this way, and you can always brush the top with a little extra olive oil to refresh it.
Freeze: Focaccia freezes really well for longer storage. Let it cool completely, then wrap tightly in plastic wrap and place in a freezer bag for up to 3 months. I like to slice it before freezing so I can grab just what I need for sandwiches or snacks.
Warm Up: To bring your focaccia back to life, pop it in a 350°F oven for about 5-10 minutes if it’s fresh, or 15-20 minutes if frozen. You can also slice and toast individual pieces in your air fryer for 2-3 minutes. A light brush of olive oil before warming makes it taste freshly baked again!
| Preparation Time | 60-65 minutes |
| Cooking Time | 10-15 minutes |
| Total Time | 70-80 minutes |
| Level of Difficulty | Medium |
Estimated Nutrition
Estimated nutrition for the whole recipe (without optional ingredients):
- Calories: 2700-2900
- Protein: 50-60 g
- Fat: 110-125 g
- Carbohydrates: 370-390 g
Ingredients
For the dough:
- 4 cups all-purpose flour (king arthur brand preferred)
- 1 3/4 cups water (room temperature)
- 3/4 tsp instant yeast
- 1 1/2 tsp sea salt
For preparing the pans:
- 2 tbsp unsalted butter (softened)
For the topping:
- 6 tbsp extra virgin olive oil, plus extra as necessary
- 2 garlic cloves, thinly sliced or minced
- 1/4 tsp black pepper
- 1 cup mixed fresh herbs (such as basil, dill, sage, parsley)
Step 1: Mix and Rest the Dough
- 4 cups all-purpose flour (King Arthur brand preferred)
- 1 3/4 cups water (room temperature)
- 3/4 tsp instant yeast
- 1 1/2 tsp sea salt
In a large bowl, add the room temperature water, flour, instant yeast, and sea salt, ensuring that the yeast and salt are placed on opposite sides of the bowl before combining.
Mix by hand, squeezing the dough between your fingers until a sticky, homogeneous mass is formed.
Cover the bowl with plastic wrap and let the dough rest for 20 minutes.
Step 2: Stretch, Fold, and Oil the Dough
- 2 tbsp extra virgin olive oil
- dough from Step 1
After the initial resting period, perform a set of stretches and folds to strengthen the dough, then repeat after 20 minutes and again after another 20 minutes.
Shape the dough into a ball and rub it with two tablespoons of olive oil to keep it moist.
Cover with plastic wrap and let the dough rest for an additional 20 minutes.
I like to take my time with the stretches and folds, making sure the dough feels elastic and smooth.
Step 3: Prepare the Pans and Cold Ferment the Dough
- dough from Step 2
- 2 tbsp unsalted butter (softened)
Divide the rested dough into three equal pieces.
Grease three 7.5″ x 5″ foil pans with two tablespoons of softened butter.
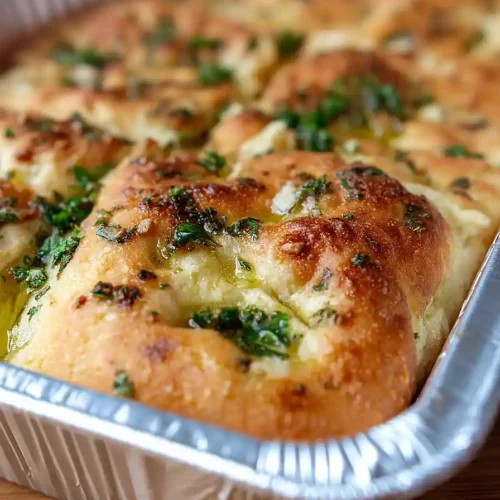
Transfer each piece of dough to a pan and stretch it to fill the bottom of each pan.
Cover with plastic and refrigerate the pans overnight or for up to 24 hours, allowing the dough to ferment slowly for maximum flavor.
Step 4: Proof the Dough at Room Temperature
- cold-fermented dough from Step 3
Remove the pans from the refrigerator two hours before you plan to bake.
Let the dough proof at room temperature, covered with plastic wrap, so it can become light and airy.
Step 5: Add Toppings and Dimple the Dough
- 4 tbsp extra virgin olive oil
- 2 garlic cloves, thinly sliced or minced
- 1/4 tsp black pepper
- 1 cup mixed fresh herbs (such as basil, dill, sage, parsley)
- proofed dough from Step 4
Generously drizzle olive oil over the top of each dough.
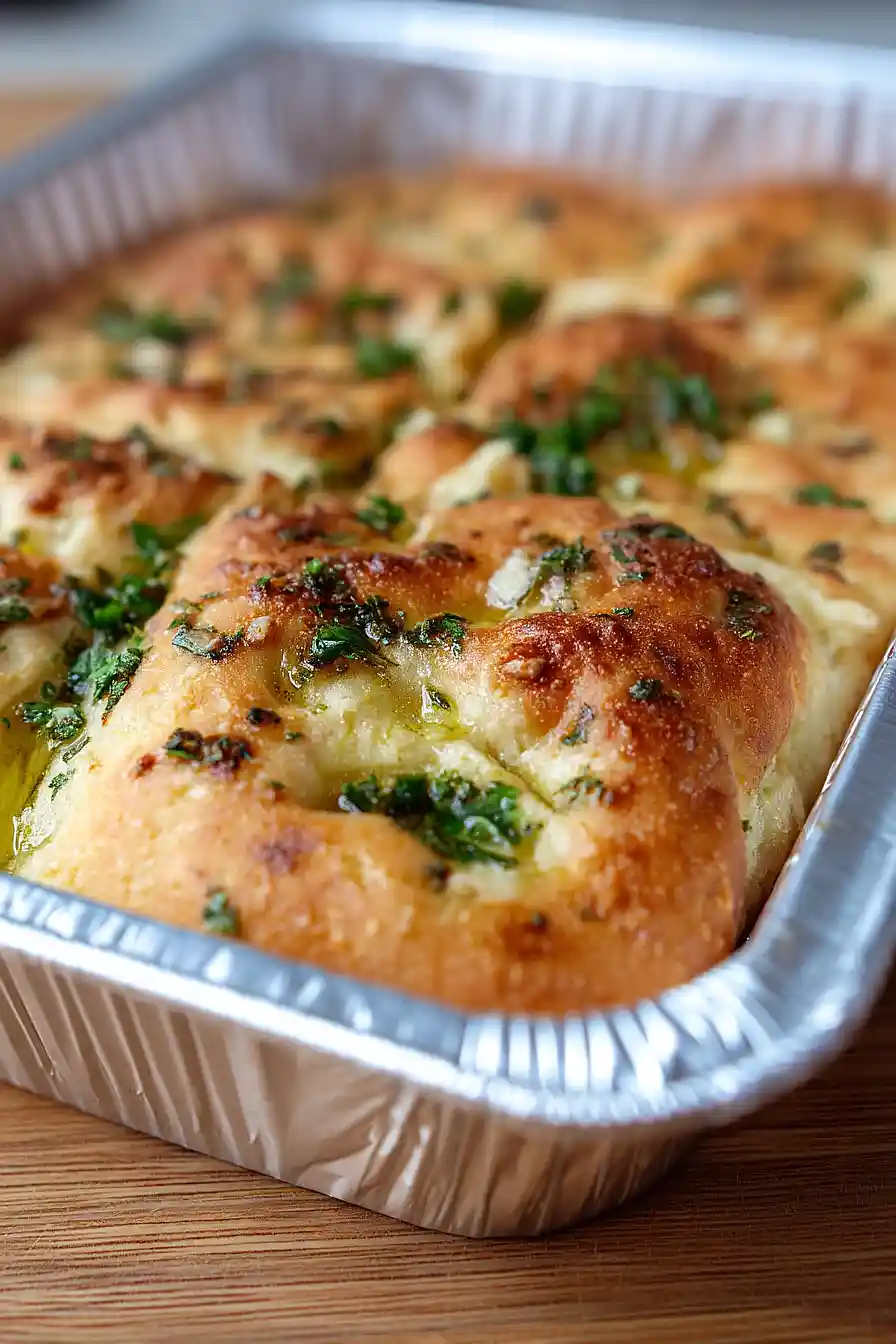
Using your fingers, make deep dimples all over the surface to create those iconic focaccia pockets.
Evenly distribute the thinly sliced or minced garlic, black pepper, and mixed fresh herbs over the dough.
Finish with another light drizzle of olive oil for extra flavor and a golden crust.
For a fresher taste, I like to use a mix of fresh herbs rather than just one kind.
Step 6: Bake and Serve the Focaccia
- topped dough from Step 5
Bake in an air fryer set to 400°F (or the highest temperature setting) for about 12 minutes, checking early as air fryer times may vary.
Continue baking until the focaccia is golden and cooked through.
When done, carefully transfer the focaccia to a large cutting board, slice, and serve while hot.
This is when it tastes the best—enjoy with friends or family for maximum enjoyment!
Tasty Air Fryer Focaccia
Ingredients
For the dough:
- 4 cups all-purpose flour (King Arthur brand preferred)
- 1 3/4 cups water (room temperature)
- 3/4 tsp instant yeast
- 1 1/2 tsp sea salt
For preparing the pans:
- 2 tbsp unsalted butter (softened)
For the topping:
- 6 tbsp extra virgin olive oil, plus extra as necessary
- 2 garlic cloves, thinly sliced or minced
- 1/4 tsp black pepper
- 1 cup mixed fresh herbs (such as basil, dill, sage, parsley)
Instructions
- In a large bowl, add the room temperature water, flour, instant yeast, and sea salt, ensuring that the yeast and salt are placed on opposite sides of the bowl before combining. Mix by hand, squeezing the dough between your fingers until a sticky, homogeneous mass is formed. Cover the bowl with plastic wrap and let the dough rest for 20 minutes.
- After the initial resting period, perform a set of stretches and folds to strengthen the dough, then repeat after 20 minutes and again after another 20 minutes. Shape the dough into a ball and rub it with two tablespoons of olive oil to keep it moist. Cover with plastic wrap and let the dough rest for an additional 20 minutes. I like to take my time with the stretches and folds, making sure the dough feels elastic and smooth.
- Divide the rested dough into three equal pieces. Grease three 7.5" x 5" foil pans with two tablespoons of softened butter. Transfer each piece of dough to a pan and stretch it to fill the bottom of each pan. Cover with plastic and refrigerate the pans overnight or for up to 24 hours, allowing the dough to ferment slowly for maximum flavor.
- Remove the pans from the refrigerator two hours before you plan to bake. Let the dough proof at room temperature, covered with plastic wrap, so it can become light and airy.
- Generously drizzle olive oil over the top of each dough. Using your fingers, make deep dimples all over the surface to create those iconic focaccia pockets. Evenly distribute the thinly sliced or minced garlic, black pepper, and mixed fresh herbs over the dough. Finish with another light drizzle of olive oil for extra flavor and a golden crust. For a fresher taste, I like to use a mix of fresh herbs rather than just one kind.
- Bake in an air fryer set to 400°F (or the highest temperature setting) for about 12 minutes, checking early as air fryer times may vary. Continue baking until the focaccia is golden and cooked through. When done, carefully transfer the focaccia to a large cutting board, slice, and serve while hot. This is when it tastes the best—enjoy with friends or family for maximum enjoyment!


