If you ask me, upside down cakes are such a fun twist on regular baking.
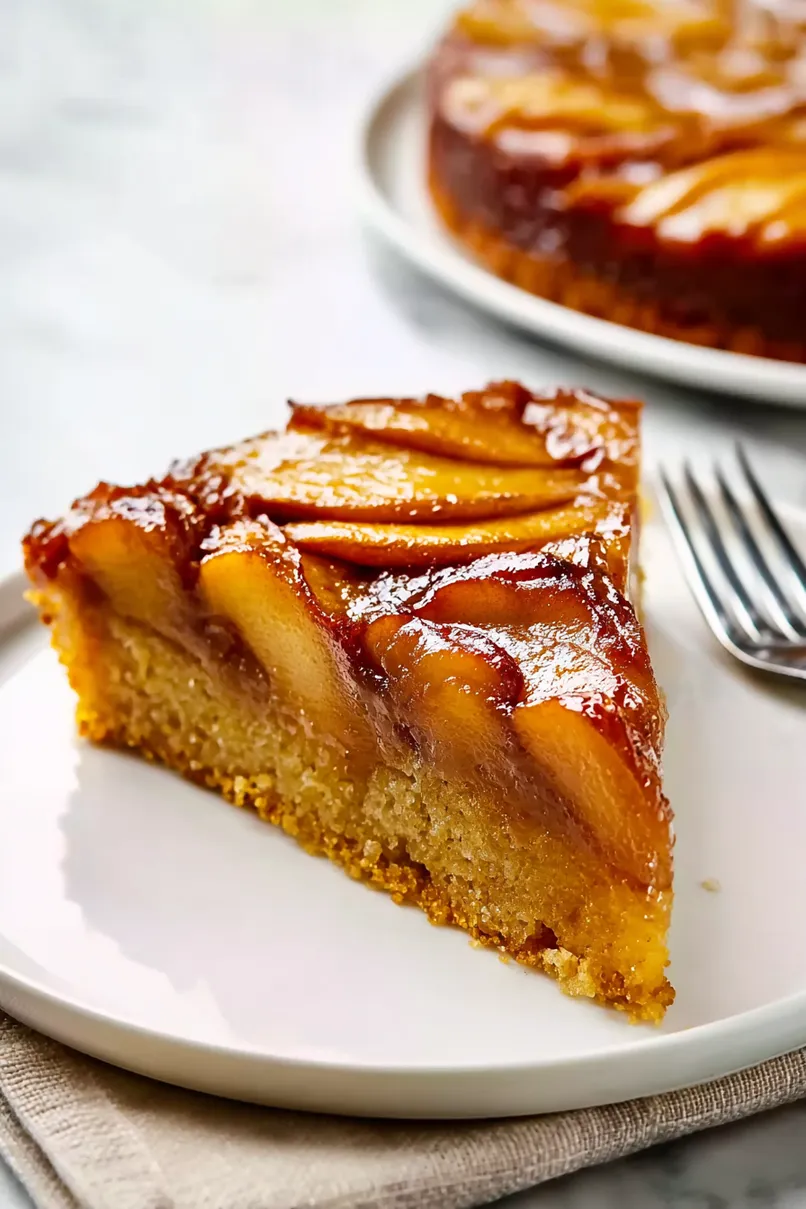
This gluten-free apple dessert brings together the warmth of cinnamon-spiced fruit and the nutty goodness of almond flour. Sweet caramelized apples crown a moist, tender cake that’s perfect for fall gatherings.
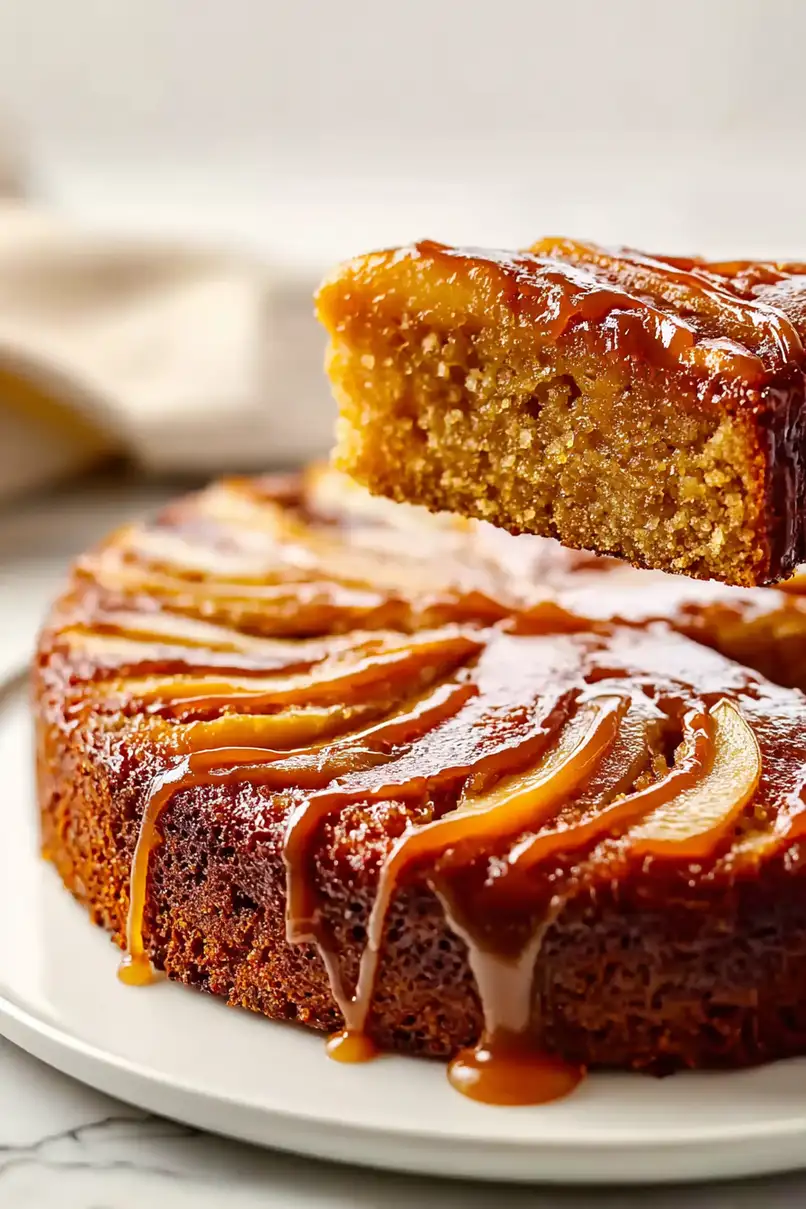
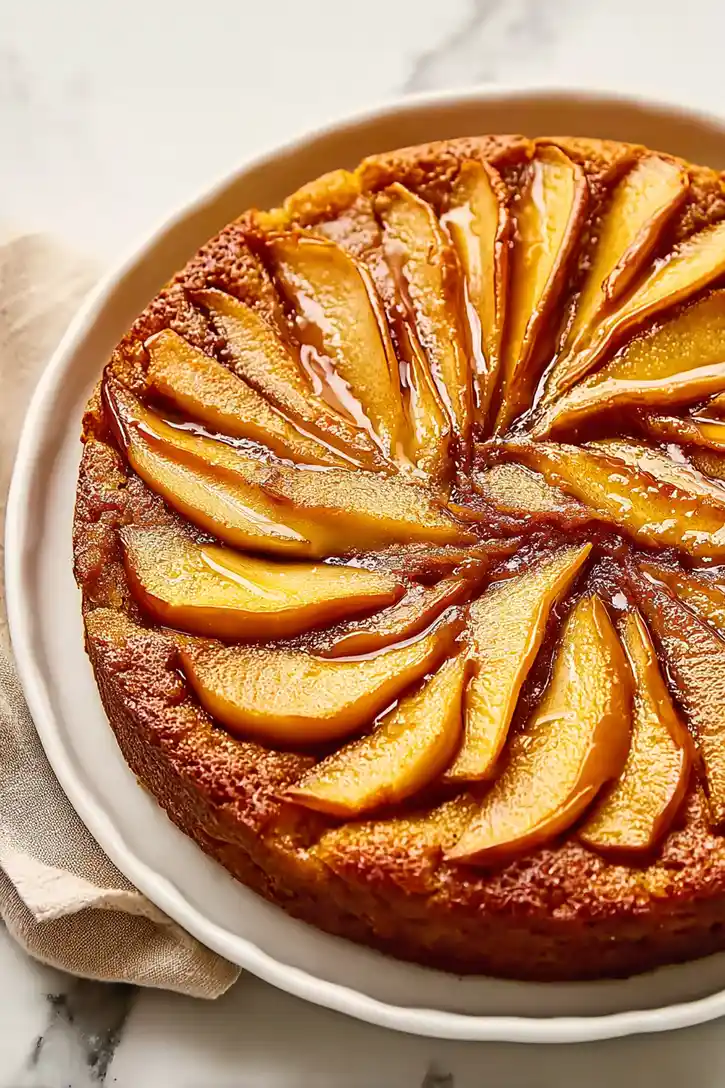
The almond flour base gives the cake a wonderfully light texture while keeping things naturally gluten-free. Each slice reveals those beautiful apple rings that slowly release their syrupy goodness into the cake below.
It’s a cozy, comforting treat that works just as well for afternoon tea as it does for dessert after Sunday dinner.
Why You’ll Love This Apple Upside Down Cake
- Gluten-free friendly – Made with almond and quinoa flour, this cake is perfect for anyone avoiding wheat or following a gluten-free diet.
- Naturally sweetened – Using honey and coconut sugar instead of refined sugar makes this a more wholesome dessert option that still satisfies your sweet tooth.
- Quick to prepare – With just 40-50 minutes from start to finish, you can have a beautiful dessert ready for your family or guests without spending hours in the kitchen.
- Nutrient-rich ingredients – The combination of almond flour, quinoa flour, and fresh apples adds protein, fiber, and nutrients that you won’t find in traditional cakes.
What Kind of Apple Should I Use?
For an upside-down cake, you’ll want to pick an apple that holds its shape well during baking and offers a nice balance of sweet and tart flavors. Honeycrisp, Braeburn, or Pink Lady apples are all excellent choices since they won’t turn mushy when cooked. If you prefer a slightly tarter flavor, Granny Smith apples work great too and provide a nice contrast to the sweet caramel-like topping that forms during baking. When selecting your apple, look for one that’s firm and free from bruises or soft spots, and make sure to slice it evenly so it cooks uniformly in the cake.
Options for Substitutions
This gluten-free cake recipe offers several swap options to work with what you have in your pantry:
- Almond flour: Since this is the main flour in the recipe, stick with almond flour if possible. However, you could use ground cashews or hazelnut flour for a different nutty flavor profile.
- Quinoa flour: You can replace quinoa flour with oat flour, coconut flour (use just 2 tablespoons as it’s more absorbent), or another gluten-free flour blend.
- Coconut oil: Butter works perfectly as a 1:1 replacement. You could also use ghee or another neutral-flavored oil.
- Coconut sugar: Brown sugar or maple sugar can be used in equal amounts. Regular white sugar works too, though you’ll miss out on that caramel-like flavor.
- Honey: Maple syrup or agave nectar can be swapped in at a 1:1 ratio. If using a granulated sweetener instead, add an extra 2 tablespoons of olive oil for moisture.
- Apple: Pears work great as an alternative. You could also try firm peaches in season – just make sure to pick fruit that’s not too ripe or watery.
Watch Out for These Mistakes While Baking
The trickiest part of any upside-down cake is getting the caramelized topping just right – make sure your coconut oil and sugar create an even layer at the bottom of the pan, or you’ll end up with gaps in your apple design once flipped.
Since almond flour behaves differently than regular flour, avoid overmixing the batter as this can lead to a dense, heavy cake – mix just until the ingredients are combined and no dry spots remain.
Temperature control is crucial with this recipe: if your eggs are too cold, they can cause the coconut oil to solidify, so bring them to room temperature before starting, and when it’s time to flip the cake, wait exactly 10 minutes after removing it from the oven – too soon and it’ll fall apart, too late and the caramel will stick to the pan.
For the best apple arrangement, slice them thinly and uniformly (about 1/4 inch thick) and pat them dry with paper towels to remove excess moisture that could make the topping soggy.
What to Serve With Apple Upside Down Cake?
This cozy gluten-free cake pairs wonderfully with a scoop of vanilla ice cream or a dollop of whipped cream – the cool, creamy topping is perfect against the warm spiced cake. If you’re serving it for breakfast or brunch, try it alongside a hot cup of coffee or chai tea. For an extra special touch, drizzle some caramel sauce over the top, or serve it with a sprinkle of toasted sliced almonds to complement the almond flour in the cake. Since this cake already has natural sweetness from the apples and honey, simple accompaniments work best.
Storage Instructions
Counter Storage: This apple cake stays fresh at room temperature for up to 2 days when kept in an airtight container. The almond flour keeps it nice and moist, but you’ll want to make sure it’s covered well to maintain that perfect texture.
Refrigerate: For longer storage, pop your cake in the fridge in a sealed container – it’ll stay good for up to a week. The honey in the recipe helps keep it moist even when chilled. Just bring it to room temperature before serving for the best flavor.
Freeze: This cake freezes really well! Wrap individual slices or the whole cake tightly in plastic wrap, then aluminum foil, and freeze for up to 3 months. When you’re ready to enjoy it, just thaw it overnight in the fridge. The almond flour helps it maintain its texture even after freezing.
| Preparation Time | 15-20 minutes |
| Cooking Time | 25-30 minutes |
| Total Time | 40-50 minutes |
| Level of Difficulty | Medium |
Estimated Nutrition
Estimated nutrition for the whole recipe (without optional ingredients):
- Calories: 1200-1400
- Protein: 20-25 g
- Fat: 80-90 g
- Carbohydrates: 130-150 g
Ingredients
For the topping:
- 3 tbsp softened coconut oil (I use Nutiva for neutral flavor)
- 1/3 cup coconut sugar
- 1 large apple (peeled, cored, and sliced into 1/4-inch rings)
For the cake:
- 1 1/4 cups almond flour (finely ground for smooth texture)
- 1/2 tsp cinnamon (freshly ground for best flavor)
- 3 eggs (room temperature)
- 1/4 cup olive oil (or any neutral oil like avocado)
- 1/4 tsp salt
- 1/4 cup honey (raw preferred for better moisture)
- 3/4 tsp baking powder
- 1/4 cup quinoa flour
Step 1: Prepare the Pan and Apple Base
- 3 tbsp softened coconut oil
- 1/3 cup coconut sugar
- 1 large apple, peeled, cored, and sliced into 1/4-inch rings
Preheat your oven to 350°F (175°C) and lightly spray a 9-inch round cake pan with cooking spray.
In a small bowl, combine the softened coconut oil and coconut sugar, stirring until well blended and slightly creamy.
Spread this mixture evenly across the bottom of the prepared pan, creating a uniform layer.
Peel, core, and slice the apple into 1/4-inch rings, then arrange the slices in a single layer over the coconut oil mixture in an overlapping, decorative pattern—this will become the top of your cake when inverted.
Step 2: Mix the Wet Batter Base
- 1/4 cup olive oil
- 1/4 cup honey
- 3 eggs, room temperature
In a medium bowl, whisk together the olive oil, honey, and room-temperature eggs until fully combined and slightly emulsified.
I prefer room temperature eggs because they mix more smoothly into the wet ingredients and create a better texture in the final cake.
Whisk for about 1-2 minutes until the mixture is pale and slightly thickened, which helps incorporate air into the batter.
Step 3: Combine Dry Ingredients
- 1 1/4 cups almond flour
- 1/4 cup quinoa flour
- 3/4 tsp baking powder
- 1/2 tsp cinnamon, freshly ground
- 1/4 tsp salt
In a separate bowl, whisk together the almond flour, quinoa flour, baking powder, cinnamon, and salt.
I like to use freshly ground cinnamon rather than the pre-ground variety because it has a brighter, more complex flavor that really elevates the apple cake.
Make sure to break up any clumps in the almond flour and distribute the leavening agents evenly throughout the dry mixture.
Step 4: Create the Batter and Assemble for Baking
- wet ingredient mixture from Step 2
- dry ingredient mixture from Step 3
Pour the wet mixture from Step 2 into the bowl with the dry ingredients from Step 3.
Gently fold everything together with a spatula until just combined—do not overmix, as this will develop gluten and make the cake dense.
The batter should be smooth but slightly thick.
Carefully pour the batter over the apple slices in the prepared pan, spreading it gently with a spatula to ensure even coverage without disturbing the decorative apple arrangement underneath.
Step 5: Bake Until Golden
Place the pan in the preheated 350°F oven and bake for 25-30 minutes, until the top is golden brown and a toothpick inserted into the cake portion (not touching the apples) comes out clean or with just a few moist crumbs.
The edges should also start to pull away slightly from the sides of the pan.
Remove from the oven and let the cake cool in the pan for about 10 minutes—this allows it to set slightly while still being warm enough to release easily from the pan.
Step 6: Unmold and Serve
Once the cake has cooled for 10 minutes, run a thin knife around the edges of the pan to loosen it from the sides.
Place a serving plate upside-down over the cake pan, then carefully flip both together so the cake releases onto the plate with the caramelized apples now facing up.
If any apple slices stick to the pan, gently place them back on top of the cake.
Allow the cake to cool completely before slicing and serving, or enjoy it slightly warm for a more tender crumb and enhanced apple-cinnamon flavor.
