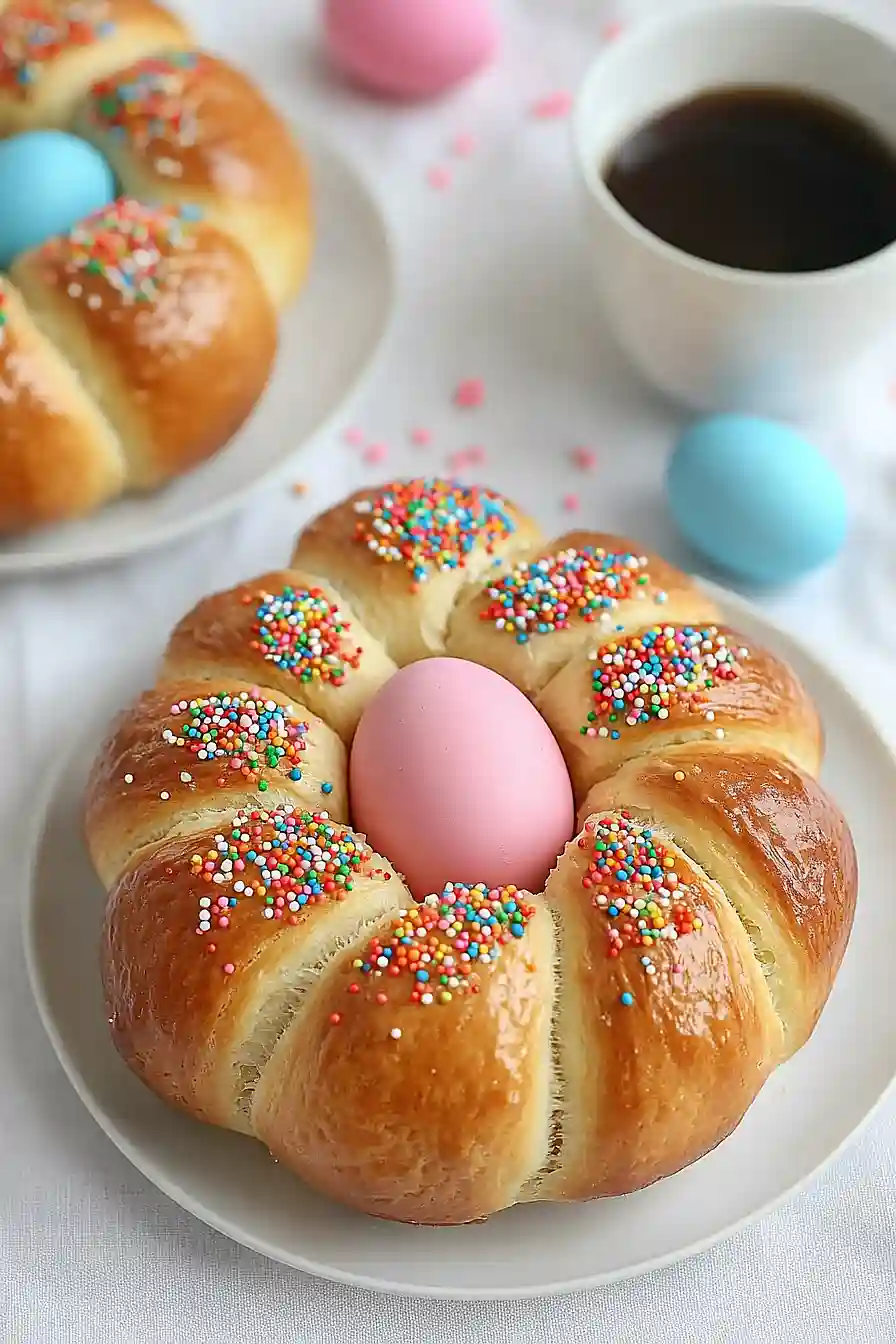
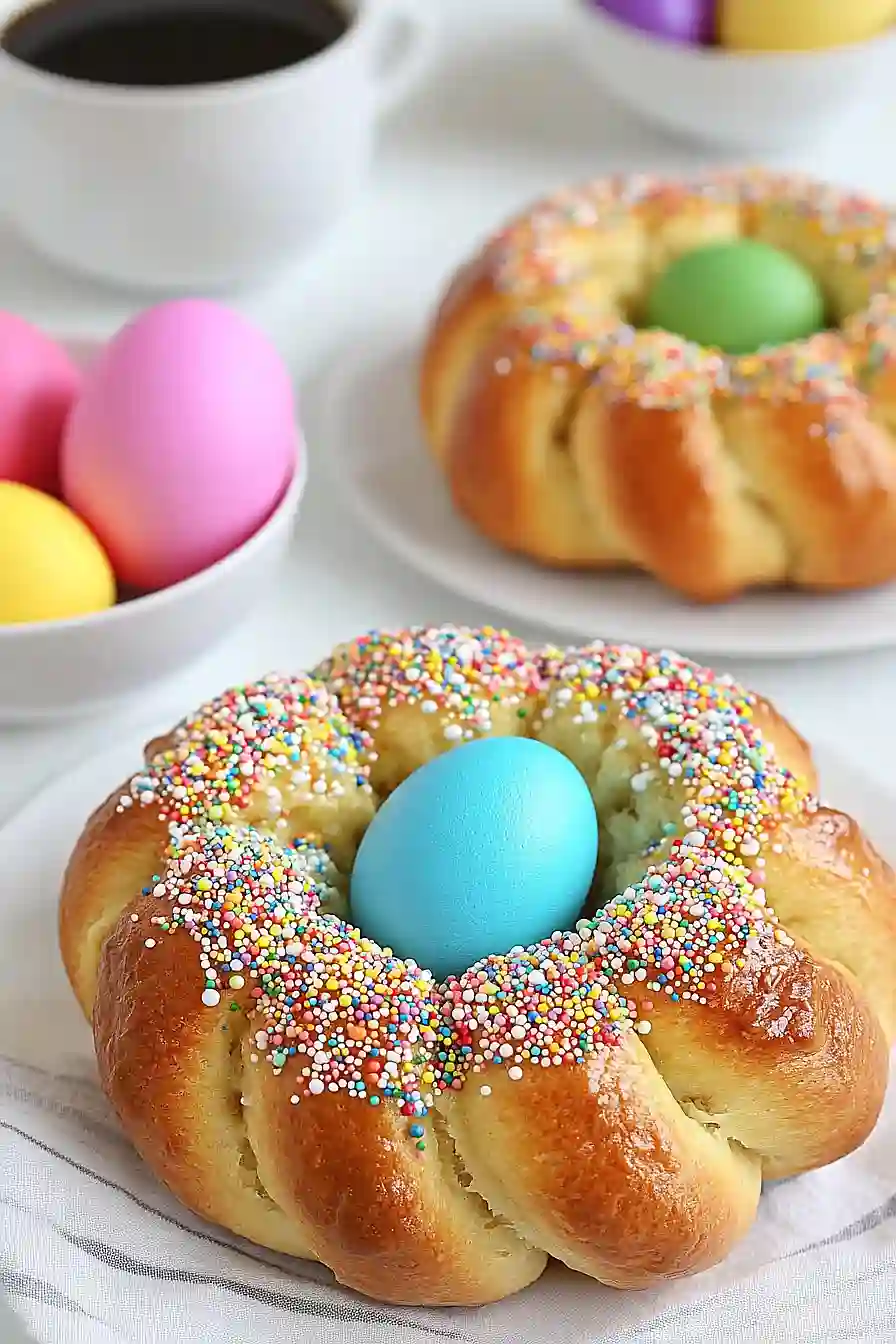
Easter has always held a special place in my heart, and nothing brings back childhood memories quite like the smell of sweet bread baking in the oven. Growing up, I’d watch my mom shape and braid this Italian Easter egg bread, carefully tucking colorful eggs into the dough. Now I make it with my own kids, and they love helping me weave the dough just like I did years ago.
This Italian Easter egg bread isn’t just pretty – it’s also really simple to make. I usually start it the night before, letting the dough rise while we get our Easter baskets ready. The best part? This recipe has been passed down through generations of Italian families, though I’ve tweaked it a bit to make it easier for home bakers. Whether you’re carrying on an old tradition or starting a new one, this bread is sure to become part of your Easter morning routine.
Why You’ll Love This Easter Egg Bread
- Perfect holiday tradition – This festive Italian bread brings a special touch to your Easter celebrations, making it a memorable addition to your holiday table that kids and adults will look forward to each year.
- Beautiful presentation – The braided dough studded with colorful eggs and sprinkles creates an eye-catching centerpiece that’s sure to impress your guests – no fancy decorating skills needed.
- Basic ingredients – You’ll need just a few pantry staples like flour, eggs, and milk to create this special bread, making it an affordable holiday treat.
- Fun family activity – Kids love helping to dye the eggs and add sprinkles, turning this recipe into a wonderful family baking project that creates lasting memories.
What Kind of Eggs Should I Use?
For this festive Italian Easter bread, you’ll need two different types of eggs – ones for the dough and whole eggs for decoration. Regular large white eggs from the grocery store work perfectly fine for both purposes. When it comes to the decorative eggs that get nestled into the bread, they’ll cook right along with the dough, so make sure they’re completely raw and at room temperature before using them. You can dye these eggs just like you would for Easter, using either food coloring or natural dyes – just be sure to dye them before placing them in the dough. For the eggs that go into the dough itself, fresh eggs at room temperature will help your bread rise better and create a more even texture.
Options for Substitutions
This traditional Italian Easter bread can be made with some simple substitutions if needed:
- Bread flour: While bread flour gives the best texture, you can use all-purpose flour instead. Just know the bread might be slightly less chewy. You may need to adjust the amount – start with 3¾ cups and add more as needed.
- Half-and-half or milk: Feel free to use whole milk, 2% milk, or even plant-based alternatives like soy or oat milk. Just make sure they’re unflavored and at room temperature before using.
- Quick-rising yeast: Regular active dry yeast works too – just double the first rising time. Instant yeast can be used in the same amount as quick-rising.
- Colored eggs: The raw dyed eggs are traditional and shouldn’t be skipped, but you can use natural dye alternatives like beet juice, turmeric, or spinach instead of artificial food coloring.
- Sprinkles: You can swap these with pearl sugar, colored sugar, or even skip them altogether. Some families use sliced almonds instead for a more rustic look.
- Unsalted butter: If using salted butter, simply skip the pinch of salt in the recipe. You can also use margarine, though butter gives the best flavor.
Watch Out for These Mistakes While Baking
The temperature of your ingredients plays a crucial role in this traditional Easter bread – using cold milk or eggs can prevent your yeast from activating properly, so make sure all ingredients are at room temperature before starting.
When working with the dough, avoid adding too much flour too quickly – start with 3 1/2 cups and add more gradually just until the dough comes together and feels slightly tacky but not sticky, as too much flour will make your bread dense and heavy.
A common mistake is not securing the dyed eggs properly into the braided dough – press them in firmly before the second rise, as they can pop out during baking if not nestled deep enough into the bread.
For the best texture and appearance, don’t skip the egg wash before baking, but be careful not to let it pool around the colored eggs, which can create unattractive marks on your finished bread, and remember to let the bread cool completely before serving to ensure the perfect texture.
What to Serve With Italian Easter Egg Bread?
This sweet and festive bread is perfect for Easter brunch or breakfast, and there are lots of tasty ways to serve it! Since it’s already pretty rich and sweet, I like to balance it with some savory breakfast items like scrambled eggs, crispy bacon, or breakfast sausage links. A fresh fruit salad with berries and citrus makes a great side dish that adds nice color to your Easter spread. You can also serve it with good butter and honey or jam on the side – though honestly, this bread is so good you might just want to enjoy it on its own with a hot cup of coffee or tea.
Storage Instructions
Keep Fresh: Once your Italian Easter Bread has completely cooled, wrap it well in plastic wrap or place it in an airtight container. It’ll stay good at room temperature for about 2 days. Just keep in mind that the decorated eggs should be removed and refrigerated if you’re not serving the bread within a few hours of baking.
Refrigerate: If you want your bread to last a bit longer, pop it in the fridge in an airtight container. It should stay fresh for up to 5 days. Remember to bring it to room temperature before serving for the best texture and taste.
Make Ahead: You can prepare the dough a day ahead and let it do its first rise in the refrigerator overnight. The next morning, shape the bread, add the eggs, and complete the second rise before baking. This is super helpful when you’re planning for Easter morning!
| Preparation Time | 30-45 minutes |
| Cooking Time | 20-25 minutes |
| Total Time | 1-1.5 hours |
| Level of Difficulty | Medium |
Estimated Nutrition
Estimated nutrition for the whole recipe (without optional ingredients):
- Calories: 2200-2400
- Protein: 40-50 g
- Fat: 90-100 g
- Carbohydrates: 320-340 g
Ingredients
- 1 1/4 cups milk or half-and-half
- 1/3 cup unsalted butter
- 2 1/4 teaspoons quick-rising yeast
- Pinch of salt (around 1/16 teaspoon)
- 2 eggs, slightly beaten
- 1/2 cup granulated sugar
- About 4 cups bread flour
- 1 large egg
- 1 teaspoon water
- Colorful sprinkles
- 6 raw eggs (dyed in various colors, at room temperature)
Step 1: Prepare the Milk and Butter Mixture
Combine the milk and butter in a small saucepan and set it over medium-low heat.
Warm the mixture just until the butter is completely melted.
Once melted, remove from the heat and let it cool until it is just warm to the touch.
Step 2: Mix and Knead the Dough
In the bowl of a standing mixer, combine the yeast, salt, eggs, and sugar.
Add the warm milk mixture and half of the flour to the bowl.
Using the dough hook attachment, knead until combined.
Gradually add more flour until the dough starts to pull away from the sides of the mixer.
You might not need to use all the flour, but continue kneading for an additional 3-5 minutes until the dough is smooth and elastic.
Step 3: First Dough Rise
Transfer the dough to a greased bowl and turn it over to coat the top as well.
Cover with plastic wrap and let the dough rise in a warm location for about 1 hour, or until doubled in size.
Depending on conditions, this might take around 1 hour and 30 minutes.
Step 4: Shape the Dough
Gently deflate the dough by pressing it with your fist.
Turn the dough onto a floured work surface and pat it down slightly for even thickness.
Divide the dough into 12 even pieces.
Roll each piece into a 1-inch thick rope about 14 inches long.
Take two lengths and twist them together, forming a looped circle by pinching the ends together.
Place these twisted circles onto parchment-lined baking sheets.
Cover with plastic wrap and let rise again for about 1 hour, or until doubled in size.
Step 5: Preheat Oven and Prepare for Baking
Preheat your oven to 350°F (175°C).
Combine the egg with 1 teaspoon of water in a small bowl.
Use a pastry brush to lightly coat the risen loaves with the egg wash.
Sprinkle nonpareils on top and gently place a dyed egg in the center of each loaf circle.
Step 6: Bake the Loaves and Enjoy
Bake the loaves for 20 minutes or until they turn golden and fragrant.
Allow them to cool until warm before enjoying.
If you can resist, let them cool a bit longer to avoid burnt fingers—though some say it’s worth the immediate enjoyment!


