Best Chocolate Covered Strawberry Pumpkins
Delicious Best Chocolate Covered Strawberry Pumpkins recipe with step-by-step instructions.
Ingredients
- 1 pint strawberries (washed and dried thoroughly or the coating won't stick)
- 2.5 cups orange candy melts (I use Wilton Candy Melts for a smooth finish)
- 1-2 drops green gel food coloring (optional, for pumpkin stems)
Instructions
- Wash the strawberries thoroughly under cool running water, then pat them completely dry with paper towels or a clean kitchen cloth. Moisture is the enemy here—any water left on the berries will prevent the candy coating from adhering properly. While the berries dry, line a baking tray with parchment paper to create a non-stick surface for your finished pumpkins.
- Place the orange candy melts in a microwave-safe bowl and melt using 30-second intervals, stirring between each interval, until completely smooth and pourable. This gentle approach prevents overheating and scorching. Once melted, if using green food coloring for pumpkin stems, reserve about 2-3 tablespoons of the melted orange candy in a separate small bowl and stir in 1-2 drops of green gel coloring to create a deep green shade for piping.
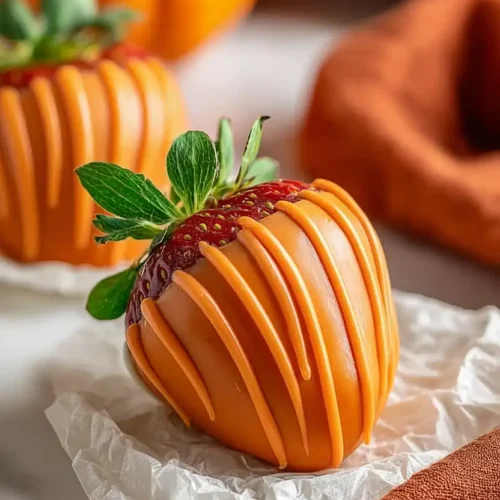
- Hold each strawberry by the leafy top and dip it into the warm orange candy melts, twisting gently to ensure full coverage and allowing excess to drip off. Place each coated berry pointed-end down on the prepared parchment-lined tray. I like to work quickly but deliberately through this step—if the candy cools too much, you can give it a quick 10-second microwave burst to loosen it up again.
- Once all berries are coated, transfer the green-tinted candy (from Step 2) to a piping bag fitted with a small round tip, or simply drizzle it freehand to create pumpkin stems on the top of each berry. If you don't have piping supplies, a small spoon works just fine. Let the entire tray sit at room temperature for 30 minutes until the coating is completely firm and the pumpkins are ready to serve.