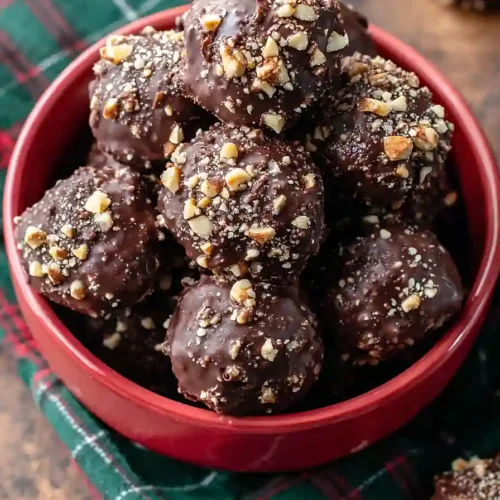
Easy Chocolate Hazelnut Truffles
Delicious Easy Chocolate Hazelnut Truffles recipe with step-by-step instructions.
Ingredients
For the ganache filling:
- 12 whole hazelnuts (roasted for best flavor)
- pinch sea salt (enhances chocolate flavor)
- 5.3 oz hazelnut butter (smooth variety preferred)
- 10g waffle cone (crushed into fine crumbs)
- 5.3 oz baking chocolate (chopped into small pieces for even melting)
For the chocolate coating:
- 2 tbsp grapeseed oil (or any neutral oil for glossy finish)
- 5.3 oz milk chocolate (chopped into small pieces)
- 1.8 oz crushed hazelnuts (toasted for deeper flavor)
Instructions
- Line a baking tray with parchment paper and set aside. Chop the 5.3 oz of baking chocolate into small, uniform pieces to ensure even melting, then do the same with the 5.3 oz of milk chocolate. Measure out the hazelnut butter, crushed waffle cone crumbs, crushed hazelnuts, grapeseed oil, sea salt, and whole hazelnuts—having everything ready before you start melting will keep the process smooth and prevent the chocolate from cooling while you're searching for ingredients.
- Melt the chopped baking chocolate using a gentle heat method (double boiler or microwave in 20-second intervals, stirring between pulses) until smooth and no lumps remain. Remove from heat and immediately stir in the hazelnut butter, crushed waffle cone crumbs, and sea salt until fully combined and glossy. The warm chocolate will melt and incorporate the hazelnut butter smoothly, creating a rich, cohesive filling. Pour or scrape this mixture onto your prepared parchment-lined tray and refrigerate for 30 minutes until firm enough to scoop and handle.
- Remove the chilled filling from the refrigerator. Using a small cookie scoop or rounded teaspoon, scoop out a portion of the filling and place it in the palm of your hand. Gently press one whole roasted hazelnut into the center, then carefully roll the filling around it to completely encapsulate the hazelnut, creating a smooth ball. I find that slightly warming your hands under warm water before rolling helps the filling adhere and creates a smoother surface. Place each assembled truffle ball on a clean section of the parchment-lined tray as you work.
- Melt the chopped milk chocolate using the same gentle heat method as before, stirring until completely smooth. Once melted, stir in the grapeseed oil until well combined—this creates a thinner, glossier coating that will adhere beautifully to the truffles and give them a professional finish. Stir in the toasted crushed hazelnuts for a textured, flavorful coating. Keep this mixture at a warm but not hot temperature so it remains pourable and doesn't harden too quickly when you dip the truffles.
- Working with one truffle at a time, use a fork or small dipping spoon to submerge each ball into the warm milk chocolate mixture, coating it completely on all sides. Lift the truffle out, allowing excess chocolate to drip back into the bowl, then place it on a cooling rack set over a baking sheet to catch any drips. I like to tap the fork gently on the edge of the bowl to remove excess coating—this prevents thick, uneven layers. Work quickly but carefully to maintain an even coating on each truffle.
- Allow the coated truffles to cool and set completely at room temperature for about 15-20 minutes, or refrigerate for 5-10 minutes if you're in a warm environment. The chocolate coating should become firm and matte, and the crushed hazelnut pieces should be set into the surface. Once fully set, your truffles are ready to serve or store in an airtight container in a cool place for up to two weeks.