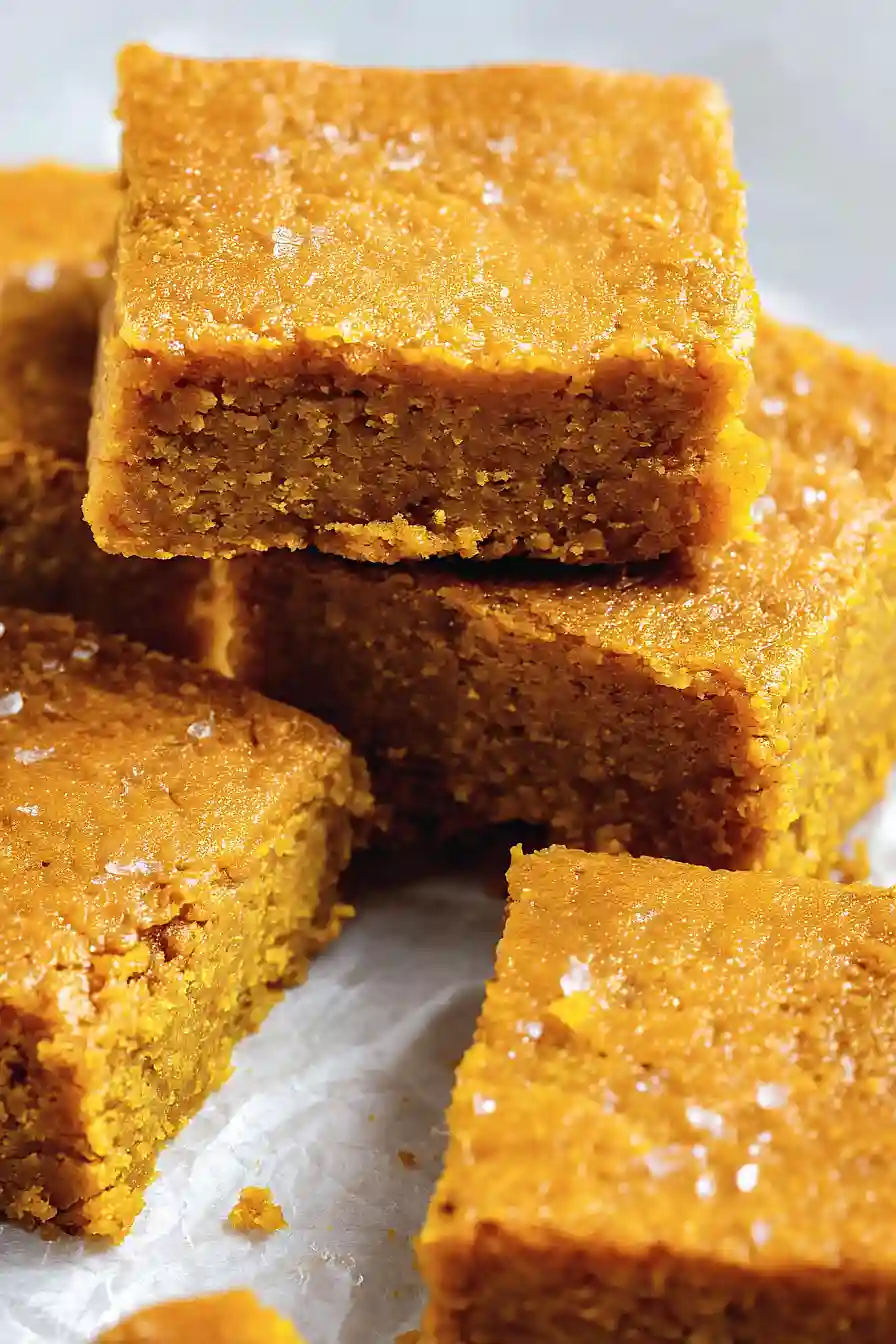
Finding a good fall breakfast that doesn’t send your blood sugar through the roof can be tough. Between trying to satisfy those autumn cravings and keeping things somewhat healthy, it feels like you’re constantly making compromises, especially when you want something that actually tastes like the season.
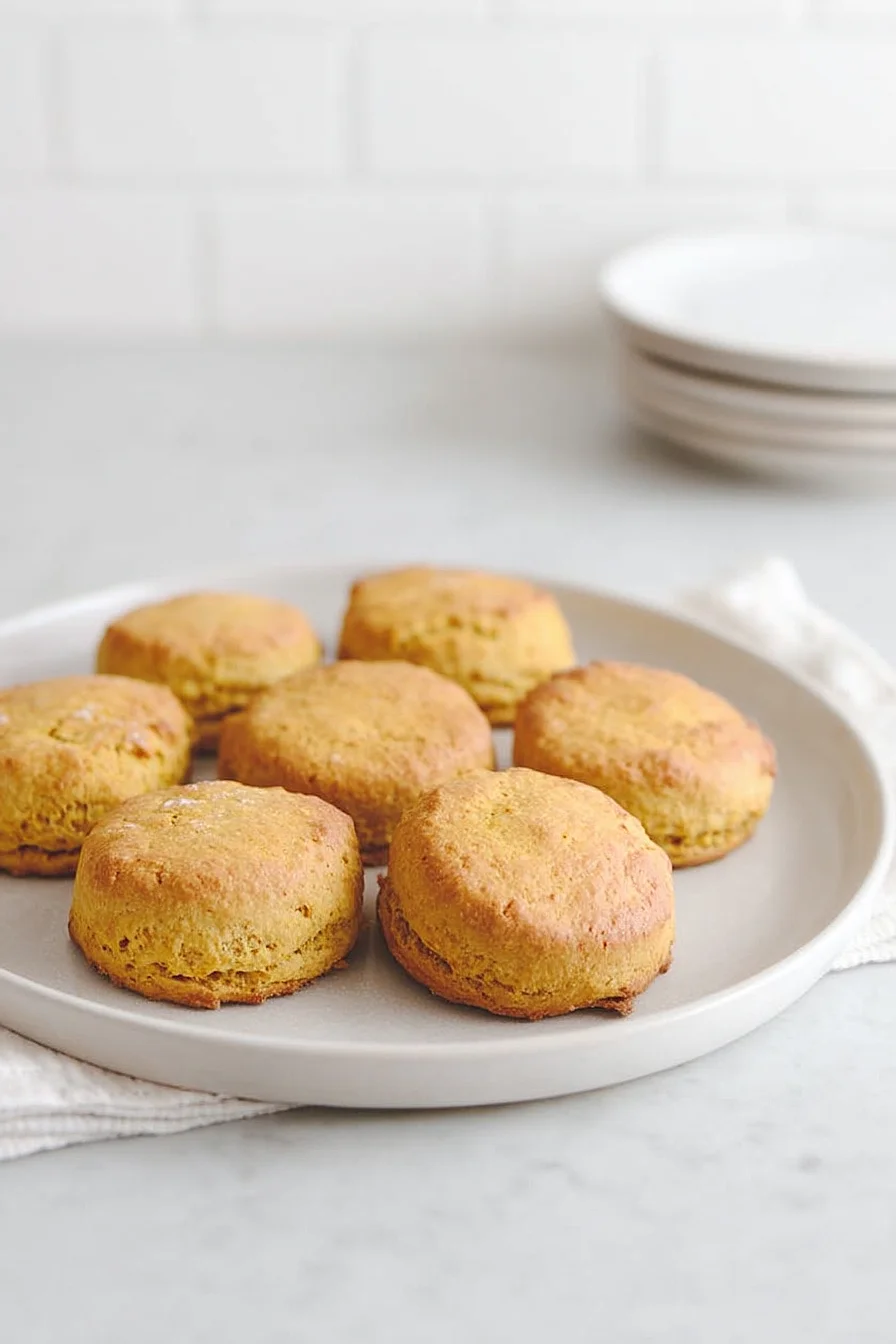
These low sugar pumpkin scones solve that problem perfectly: they give you all the cozy pumpkin spice flavors you’re craving, won’t spike your blood sugar, and are easy enough to whip up on a Sunday for the whole week ahead.
Why You’ll Love These Low Sugar Pumpkin Scones
- Low sugar option – These scones use just a touch of brown sugar or stevia, making them a healthier treat that won’t spike your blood sugar like traditional bakery scones.
- Wholesome ingredients – Made with wholewheat flour and real pumpkin puree, you’re getting fiber and nutrients along with your morning coffee or afternoon tea.
- Quick and easy – Ready in under an hour from start to finish, these scones come together quickly with simple mixing and basic baking skills.
- Cozy fall flavors – The warm pumpkin spice blend gives you all those autumn vibes in every bite, perfect for crisp mornings or when you’re craving something seasonal.
- Dietary flexibility – Easy to make dairy-free by swapping in coconut oil and non-dairy milk, so everyone can enjoy these tender, flaky scones.
What Kind of Pumpkin Puree Should I Use?
For these scones, you’ll want to use plain pumpkin puree, not pumpkin pie filling – there’s a big difference between the two. Pumpkin pie filling already has sugar and spices added, which will throw off the balance of your recipe. You can find plain pumpkin puree in the baking aisle of most grocery stores, usually in a can. If you’re feeling ambitious, you can also make your own by roasting a sugar pumpkin and pureeing the flesh, but the canned stuff works just as well and saves you time. Sweet potato puree is mentioned as an alternative, and it’s a great substitute that will give you similar moisture and a slightly different but equally delicious flavor.
Options for Substitutions
This recipe is pretty forgiving when it comes to swaps, so here are some options if you need to make changes:
- Wholewheat or spelt flour: Regular all-purpose flour works fine here, though your scones will be a bit lighter in texture. You can also try oat flour, but use about ¼ cup less since it absorbs liquid differently.
- Brown sugar or stevia: If you don’t have either, try coconut sugar, maple syrup (reduce milk by 1 tablespoon), or honey (also reduce milk slightly). For sugar-free options, erythritol or monk fruit sweetener work well too.
- Pumpkin puree: Sweet potato puree is mentioned as an option, but you could also use butternut squash puree or even mashed banana (though this will change the flavor profile). Make sure whatever you use has a similar thick consistency.
- Pumpkin spice: No pumpkin spice blend? Mix together 1 teaspoon cinnamon, ½ teaspoon nutmeg, ¼ teaspoon ginger, and ¼ teaspoon cloves. Cinnamon alone works in a pinch too.
- Cold butter: The recipe already mentions coconut oil for dairy-free, but you could also use cold vegan butter or even cold cream cheese for extra richness.
- Milk: Any milk works here – almond, oat, soy, or regular dairy. Heavy cream will make richer scones, while water works if you’re really in a bind.
Watch Out for These Mistakes While Baking
The biggest mistake when making these low sugar pumpkin scones is overworking the dough, which leads to tough, dense scones instead of the light, flaky texture you want – mix just until the ingredients come together and stop there. Make sure your butter or coconut oil is truly cold before cutting it into the flour, as warm fat will create heavy scones rather than the tender layers that make scones so good. Don’t confuse pumpkin puree with pumpkin pie filling, which contains added spices and sugar that will throw off your recipe’s balance and sweetness level. If your dough feels too sticky to handle, lightly flour your hands and work surface, but avoid adding too much extra flour as this can make the scones dry and crumbly.
What to Serve With Pumpkin Scones?
These low sugar pumpkin scones are perfect for a cozy breakfast or afternoon tea break, and they pair beautifully with a hot cup of coffee or spiced chai tea. I love spreading a little butter or cream cheese on them while they’re still warm, or you can go fancy with a dollop of Greek yogurt and a drizzle of honey. They also make a great addition to a fall brunch spread alongside scrambled eggs and crispy bacon. For a lighter option, serve them with fresh berries or sliced apples and a sprinkle of cinnamon.
Storage Instructions
Keep Fresh: These pumpkin scones taste best when stored in an airtight container at room temperature for up to 3 days. If your kitchen is really warm, you can pop them in the fridge instead where they’ll stay good for about a week.
Freeze: I love freezing these scones for busy mornings! Wrap each one individually in plastic wrap or store them in a freezer bag with parchment between each scone. They’ll keep perfectly for up to 3 months in the freezer.
Warm Up: To bring back that fresh-baked taste, warm your scones in a 300°F oven for about 5-8 minutes if they’re at room temperature, or 10-12 minutes if frozen. You can also microwave them for 20-30 seconds, but the oven gives you that nice crispy outside again.
| Preparation Time | 20-30 minutes |
| Cooking Time | 13-18 minutes |
| Total Time | 33-48 minutes |
| Level of Difficulty | Easy |
Estimated Nutrition
Estimated nutrition for the whole recipe (without optional ingredients):
- Calories: 1750-1900
- Protein: 35-40 g
- Fat: 70-80 g
- Carbohydrates: 260-280 g
Ingredients
- 3 cups whole wheat or spelt flour
- 3 tsp baking powder
- Pinch sea salt
- 2 tbsp brown sugar or 2-3 drops liquid stevia
- 2 tsp pumpkin pie spice or mixed spice
- 1/2 cup (1 stick) unsalted butter, cold and cubed, or cold coconut oil
- 3/4 cup pumpkin purée or sweet potato purée (not pie filling)
- 1/3 cup milk (dairy or unsweetened non-dairy), plus a little extra for brushing
Step 1: Preheat the Oven
Preheat your oven to 230°C (450°F, gas mark 8) to ensure it’s hot and ready for baking the scones as soon as they are shaped.
Step 2: Mix the Dry Ingredients
- 3 cups whole wheat or spelt flour
- 3 tsp baking powder
- pinch sea salt
- 2 tbsp brown sugar or 2-3 drops liquid stevia
- 2 tsp pumpkin pie spice or mixed spice
In a large mixing bowl, combine the whole wheat or spelt flour, baking powder, sea salt, brown sugar (or liquid stevia), and pumpkin pie spice (or mixed spice).
Whisk everything together until thoroughly blended, ensuring the baking powder and spices are distributed evenly throughout the flour.
Step 3: Incorporate the Butter or Coconut Oil
- 1/2 cup (1 stick) unsalted butter, cold and cubed, or cold coconut oil
Add the cold, cubed unsalted butter (or cold coconut oil for a dairy-free option) into the flour mixture.
Using your fingers, gently rub the fat into the dry ingredients until the mixture looks like a combination of small and larger breadcrumbs.
Some larger chunks of butter should remain—these will help make the scones flaky.
I personally find cold hands make this process easier and keep the butter from melting too soon.
Step 4: Combine Wet Ingredients and Form the Dough
- 3/4 cup pumpkin purée or sweet potato purée (not pie filling)
- 1/3 cup milk (dairy or unsweetened non-dairy), plus a little extra for brushing
Add the pumpkin purée (or sweet potato purée) to the bowl.
Pour in the milk, reserving a little bit to brush the tops of the scones later.
Stir everything together with a wooden spoon or your hands until a soft but not sticky dough forms, adding a splash more milk if needed.
Avoid over-mixing to keep the scones tender.
Step 5: Shape and Cut the Scones
Lightly dust a clean work surface with a bit of flour (borrowed from the 3 cups used in Step 2 if needed).
Gently roll out the dough to about 2 cm (1/2 inch) thick.
Use a 6 cm (2 1/2 inch) round cutter to cut out scones, re-rolling scraps as needed until all dough is used.
Step 6: Bake the Scones
- reserved milk from Step 4
Arrange the cut scones on a lined baking tray, leaving a little space between them.
Brush the tops with the reserved milk for a glossy, golden finish.
Bake in the preheated oven for 13–18 minutes until golden brown, puffed up, and slightly cracked on top.
I like to peek underneath one to make sure the base is lightly browned too.
Step 7: Cool, Serve, and Store
Allow the scones to cool slightly before serving them warm, ideally with plenty of butter.
Store any leftovers in an airtight container at room temperature for a few days, or freeze for up to one month.
For a quick treat later, I suggest microwaving a frozen scone for a few seconds to revive its fresh-from-the-oven feel.

Spiced Low Sugar Pumpkin Scones
Ingredients
- 3 cups whole wheat or spelt flour
- 3 tsp baking powder
- pinch sea salt
- 2 tbsp brown sugar or 2-3 drops liquid stevia
- 2 tsp pumpkin pie spice or mixed spice
- 1/2 cup (1 stick) unsalted butter, cold and cubed, or cold coconut oil
- 3/4 cup pumpkin purée or sweet potato purée (not pie filling)
- 1/3 cup milk (dairy or unsweetened non-dairy), plus a little extra for brushing
Instructions
- Preheat your oven to 230°C (450°F, gas mark 8) to ensure it's hot and ready for baking the scones as soon as they are shaped.
- In a large mixing bowl, combine the whole wheat or spelt flour, baking powder, sea salt, brown sugar (or liquid stevia), and pumpkin pie spice (or mixed spice). Whisk everything together until thoroughly blended, ensuring the baking powder and spices are distributed evenly throughout the flour.
- Add the cold, cubed unsalted butter (or cold coconut oil for a dairy-free option) into the flour mixture. Using your fingers, gently rub the fat into the dry ingredients until the mixture looks like a combination of small and larger breadcrumbs. Some larger chunks of butter should remain—these will help make the scones flaky. I personally find cold hands make this process easier and keep the butter from melting too soon.
- Add the pumpkin purée (or sweet potato purée) to the bowl. Pour in the milk, reserving a little bit to brush the tops of the scones later. Stir everything together with a wooden spoon or your hands until a soft but not sticky dough forms, adding a splash more milk if needed. Avoid over-mixing to keep the scones tender.
- Lightly dust a clean work surface with a bit of flour (borrowed from the 3 cups used in Step 2 if needed). Gently roll out the dough to about 2 cm (1/2 inch) thick. Use a 6 cm (2 1/2 inch) round cutter to cut out scones, re-rolling scraps as needed until all dough is used.
- Arrange the cut scones on a lined baking tray, leaving a little space between them. Brush the tops with the reserved milk for a glossy, golden finish. Bake in the preheated oven for 13–18 minutes until golden brown, puffed up, and slightly cracked on top. I like to peek underneath one to make sure the base is lightly browned too.
- Allow the scones to cool slightly before serving them warm, ideally with plenty of butter. Store any leftovers in an airtight container at room temperature for a few days, or freeze for up to one month. For a quick treat later, I suggest microwaving a frozen scone for a few seconds to revive its fresh-from-the-oven feel.


