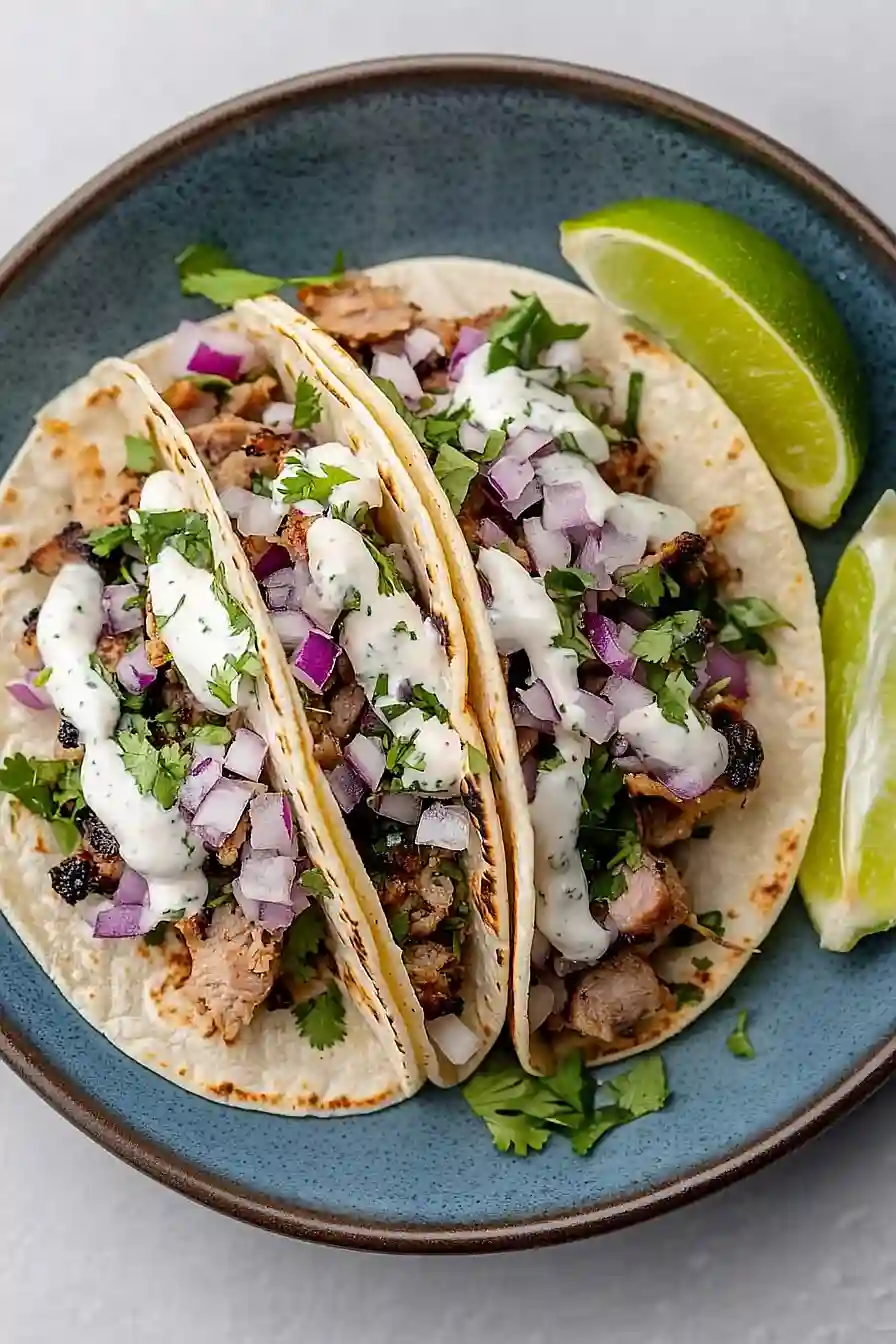
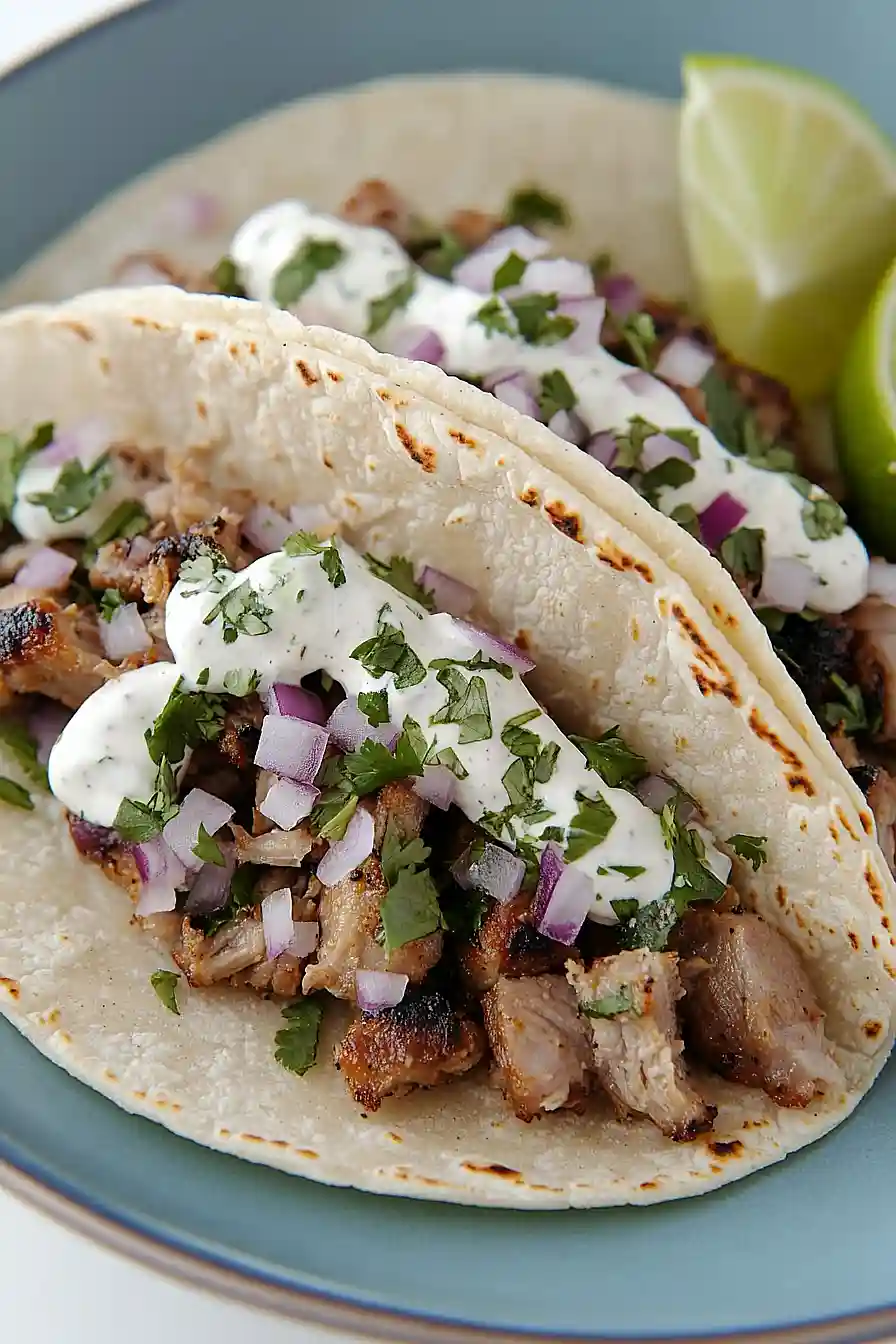
Finding a taco recipe that brings real heat and flavor to your weeknight dinner rotation can feel impossible. You want something that’s packed with taste but won’t leave you scrambling around the kitchen for hours, especially when you’re juggling work deadlines and getting the kids fed before their evening activities.
That’s where these hatch chile pork tacos come to the rescue: they’re smoky and satisfying, come together in about 30 minutes, and work perfectly whether you’re feeding a crowd or just want leftovers for lunch tomorrow.
Why You’ll Love These Hatch Chile Pork Tacos
- Authentic Mexican flavors – The combination of hatch chiles, mezcal, and citrus juices creates a bold, smoky taste that brings restaurant-quality tacos right to your kitchen.
- Tender, flavorful pork – The long marinating and cooking process breaks down the pork butt into incredibly tender, juicy meat that falls apart with a fork.
- Perfect for entertaining – This recipe makes plenty of filling for a crowd, and the taco bar setup lets everyone customize their own tacos with their favorite toppings.
- Make-ahead friendly – You can prep the pork ahead of time and let it marinate overnight, making dinner prep much easier when you’re ready to serve.
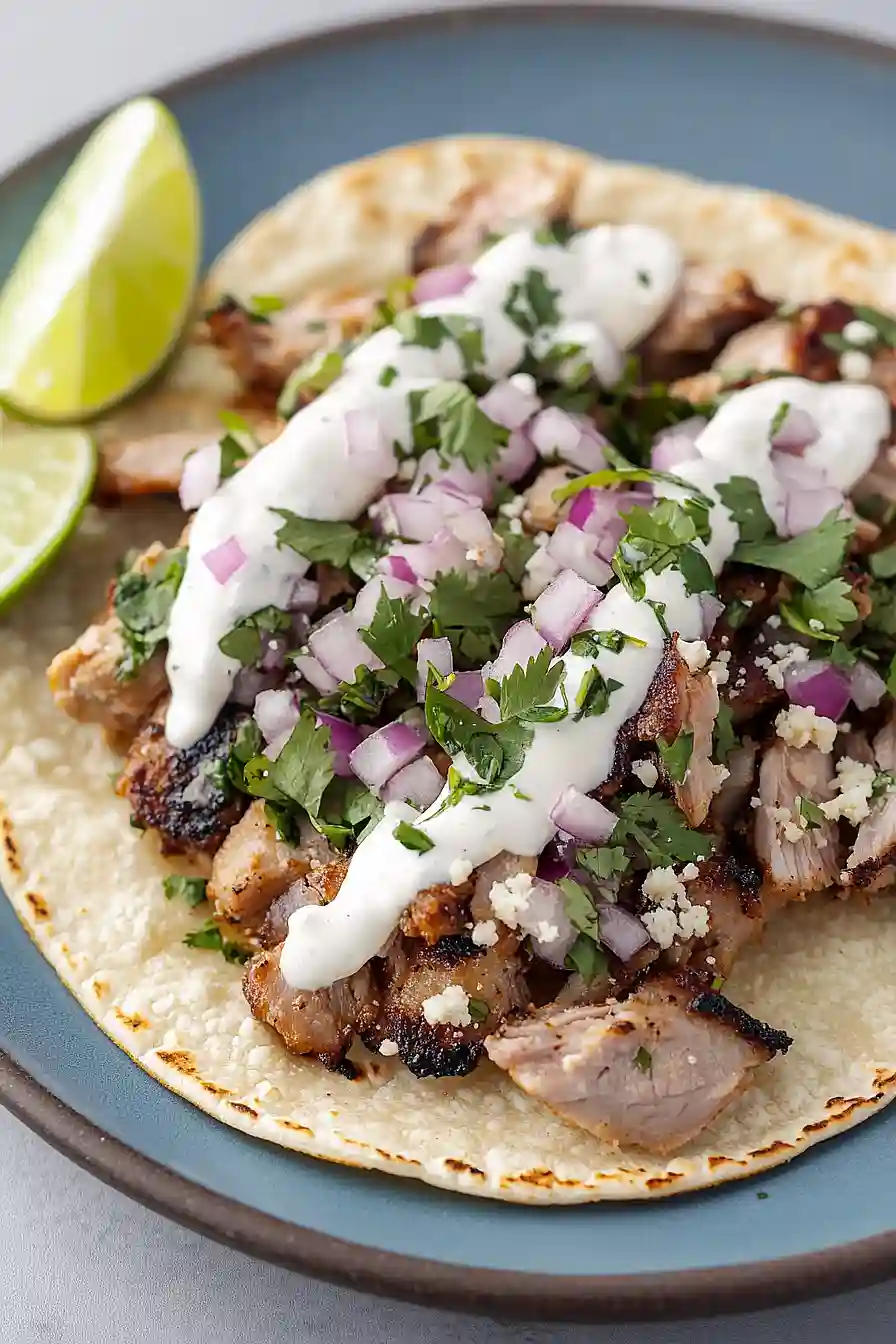
- Customizable toppings – With crema, cotija cheese, cilantro, and red onions, you can pile on as many or as few toppings as you like to make each taco your own.
What Kind of Hatch Chiles Should I Use?
Hatch chiles are only available fresh for a short season from late summer to early fall, so you’ll likely be working with frozen or canned varieties most of the year. Fresh hatch chiles give you the best flavor, but frozen ones work great too and are often already roasted and peeled, which saves you time. You can find them in mild, medium, or hot varieties, so pick based on your heat preference – mild has a sweet, earthy flavor while hot packs some serious spice. If you can’t find hatch chiles at all, poblano or Anaheim chiles make decent substitutes, though they won’t have that distinctive smoky hatch flavor that makes these tacos special.
Options for Substitutions
This recipe has some room for swaps, though a few ingredients are pretty key to getting that authentic flavor:
- Hatch chiles: These are the star of the show, but if you can’t find them, poblano peppers or Anaheim chiles work well. You can also use canned green chiles in a pinch, though the flavor won’t be quite as smoky.
- Pork butt: Pork shoulder works just as well since it’s basically the same cut. If you want something leaner, try pork tenderloin, but reduce the cooking time since it cooks faster.
- Mezcal: If you don’t have mezcal, tequila makes a great substitute. For a non-alcoholic option, use extra lime juice plus a splash of apple cider vinegar for that tangy kick.
- Cotija cheese: Queso fresco or even crumbled feta cheese will give you that salty, crumbly texture. In a pinch, grated Parmesan works too.
- Mexican crema: Sour cream mixed with a little lime juice and salt makes a good substitute. You can also use Greek yogurt thinned with a bit of milk.
- Corn tortillas: While corn tortillas are traditional for tacos, flour tortillas work fine if that’s what you have. Just warm them up the same way.
Watch Out for These Mistakes While Cooking
The biggest mistake when making hatch chile pork tacos is slicing the pork butt too thick, which leads to tough, chewy meat – stick to that 1/4″ thickness and cut against the grain for tender results.
Another common error is not properly charring your hatch chiles, so make sure to blister them over high heat until the skin is blackened before peeling, as this adds the smoky flavor that makes these tacos special.
Don’t rush the marinating process with the citrus juices and mezcal – let that pork sit for at least 30 minutes to absorb all those flavors, and be careful not to over-marinate (more than 2 hours) or the acid will start to cook the meat.
Finally, avoid overcrowding your pan when cooking the pork, as this will steam the meat instead of giving you those crispy, caramelized edges that make all the difference in texture and taste.
What to Serve With Hatch Chile Pork Tacos?
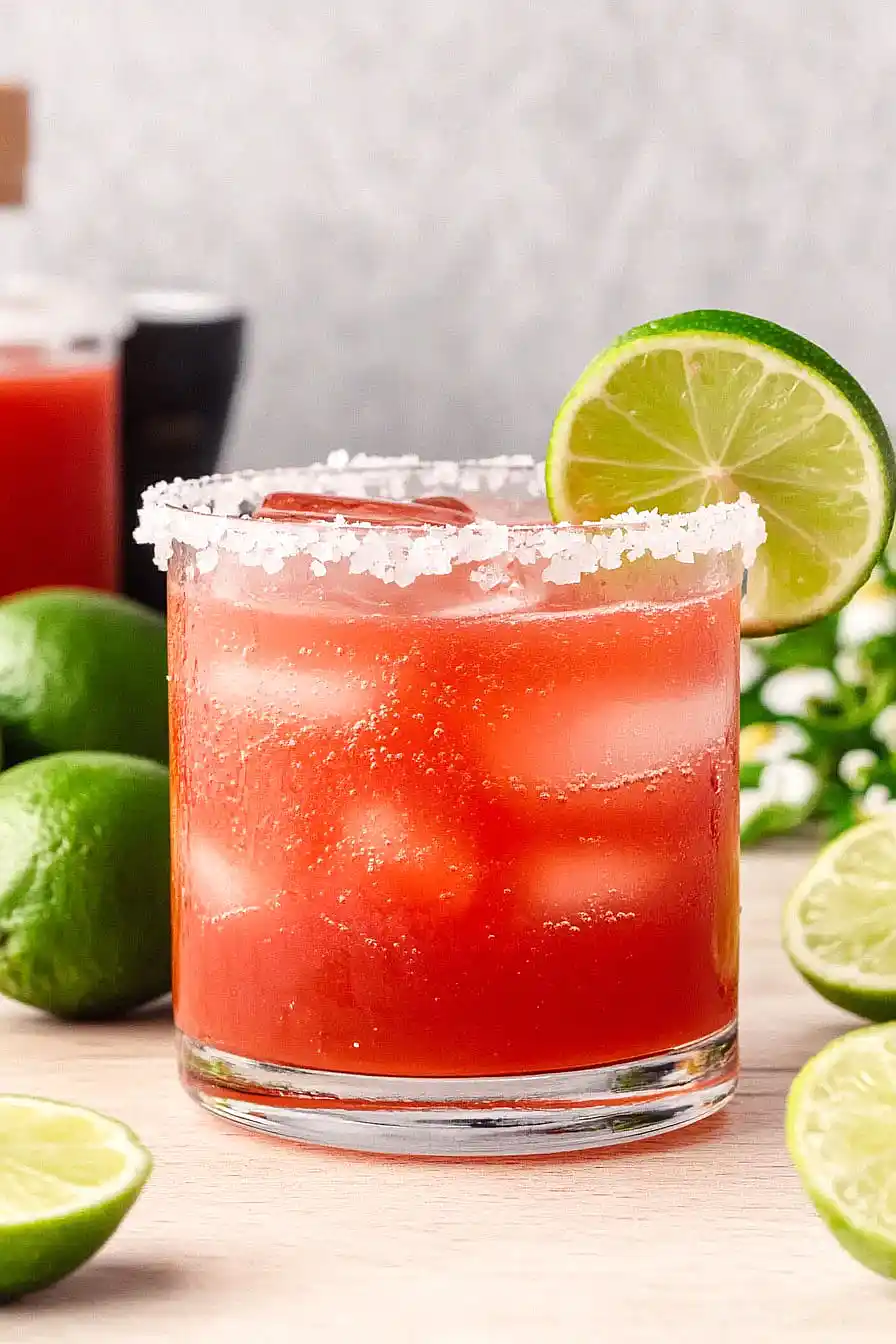
These smoky, spicy tacos are perfect on their own, but I love serving them with some classic Mexican sides that complement those bold hatch chile flavors. A simple side of refried beans or black beans with a squeeze of lime juice makes for a hearty addition, while Mexican rice or cilantro-lime rice helps cool down the heat from the chiles. For something fresh and crunchy, try a quick cabbage slaw with lime dressing or a simple avocado salad – both add a nice contrast to the rich, meaty tacos. Don’t forget to have plenty of cold beer or margaritas on hand to wash everything down!
Storage Instructions
Keep Fresh: The cooked pork filling will stay delicious in the fridge for up to 4 days when stored in an airtight container. I actually think it tastes even better the next day after all those flavors have had time to meld together! Keep your toppings like cilantro, onions, and crema separate so they stay fresh and crisp.
Freeze: You can freeze the pork mixture in freezer-safe containers or bags for up to 3 months. I like to portion it out into meal-sized amounts so I can just thaw what I need. The hatch chiles freeze really well and maintain their flavor beautifully.
Warm Up: To enjoy your leftover pork, just heat it up in a skillet over medium heat for a few minutes until warmed through. You can also microwave it, but I prefer the skillet method since it helps crisp up the edges a bit. Warm your tortillas and add fresh toppings for the best taco experience!
| Preparation Time | 240-1440 minutes |
| Cooking Time | 90-180 minutes |
| Total Time | 330-1620 minutes |
| Level of Difficulty | Medium |
Estimated Nutrition
Estimated nutrition for the whole recipe (without optional ingredients):
- Calories: 3400-3600
- Protein: 175-190 g
- Fat: 210-230 g
- Carbohydrates: 180-210 g
Ingredients
For the marinade:
- 1 onion, halved
- 6 oz roasted hatch chiles
- 2 tbsp southwest chile spice blend
- 4 oz mezcal
- 1/8 cup fresh cilantro leaves
- 1/4 onion, minced
- 2 tbsp chopped scallions
- 2 tbsp distilled white vinegar
- 8 garlic cloves
- Juice of 2 limes
- Juice of 2 oranges
For the pork:
- 1 boneless pork butt, sliced thin (1/4 inch thick)
- 1 tbsp canola oil
For serving:
- Corn tortillas
- Chopped cilantro
- Diced red onions
- Mexican crema
- Cotija cheese
- Extra lime juice
Step 1: Prepare the Marinade and Marinate the Pork
- 6 oz roasted Hatch chiles
- 2 tbsp southwest chile spice blend
- 4 oz mezcal
- 1/8 cup fresh cilantro leaves
- 1/4 onion, minced
- 2 tbsp chopped scallions
- 2 tbsp distilled white vinegar
- 8 garlic cloves
- juice of 2 limes
- juice of 2 oranges
- 1 boneless pork butt, sliced thin (1/4 inch thick)
In a blender, combine the roasted Hatch chiles, southwest chile spice blend, mezcal, fresh cilantro leaves, minced onion, chopped scallions, distilled white vinegar, garlic cloves, lime juice, and orange juice.
Blend until the mixture is completely smooth.
Place the thinly sliced boneless pork butt in a large bowl and pour the marinade over the meat.
Mix thoroughly to coat every piece.
Cover the bowl and refrigerate for at least 4 hours or, for best flavor, overnight.
I always marinate overnight if I have the time—it makes the pork extra tender and flavorful.
Step 2: Assemble the Trompo Skewer
- 1 onion, halved
- marinated pork butt from Step 1
Preheat your grill for two-zone cooking at medium-high heat, around 375°F.
Take one half of the onion and place it onto the base of your trompo skewer so it acts as a stopper for the meat.
Layer the marinated pork slices from Step 1 evenly up the skewer, pressing down gently to compact them.
Top the stack with the remaining half onion.
If there are any stray or loose pieces, use a sharp knife to trim them for an even roast.
Step 3: Grill the Pork Trompo
- assembled pork trompo from Step 2
Place the assembled pork trompo upright onto the cooler side of your grill.
For uncovered (open fire) cooking, roast for 2.5 to 3 hours, rotating the skewer 90 degrees every 7-8 minutes to cook evenly and prevent burning.
Once the outer 2 inches reach 165°F, slice off the cooked pork and set it aside, keeping it warm.
Continue roasting, slicing, and keeping the meat warm as each section reaches temperature.
For covered (grill or smoker) cooking, roast for 1-2 hours, rotating every 10-15 minutes, until the center reaches 165°F.
Remove from the grill and let the roast rest for 10 minutes before slicing.
I like to let the roasted pork rest—this keeps it juicy when slicing.
Step 4: Warm the Tortillas and Prepare Toppings
- corn tortillas
- chopped cilantro
- diced red onions
- Mexican crema
- cotija cheese
- extra lime juice
While the pork rests or finishes cooking, warm the corn tortillas on the grill or a dry skillet until soft and pliable.
Chop fresh cilantro and dice red onions for serving.
Crumble cotija cheese and have Mexican crema and lime juice ready for garnish.
For an extra burst of flavor, I always squeeze a little extra lime juice on my tacos right before serving.
Step 5: Assemble and Serve the Tacos
- sliced pork trompo from Step 3
- warmed corn tortillas from Step 4
- chopped cilantro from Step 4
- diced red onions from Step 4
- Mexican crema from Step 4
- cotija cheese from Step 4
- extra lime juice from Step 4
Thinly slice the cooked pork trompo from Step 3.
Place a generous amount of pork onto each warmed tortilla.
Top with chopped cilantro, diced red onions, a drizzle of Mexican crema, crumbled cotija cheese, and a squeeze of fresh lime juice.
Serve immediately and enjoy the delicious flavors you’ve built up!

