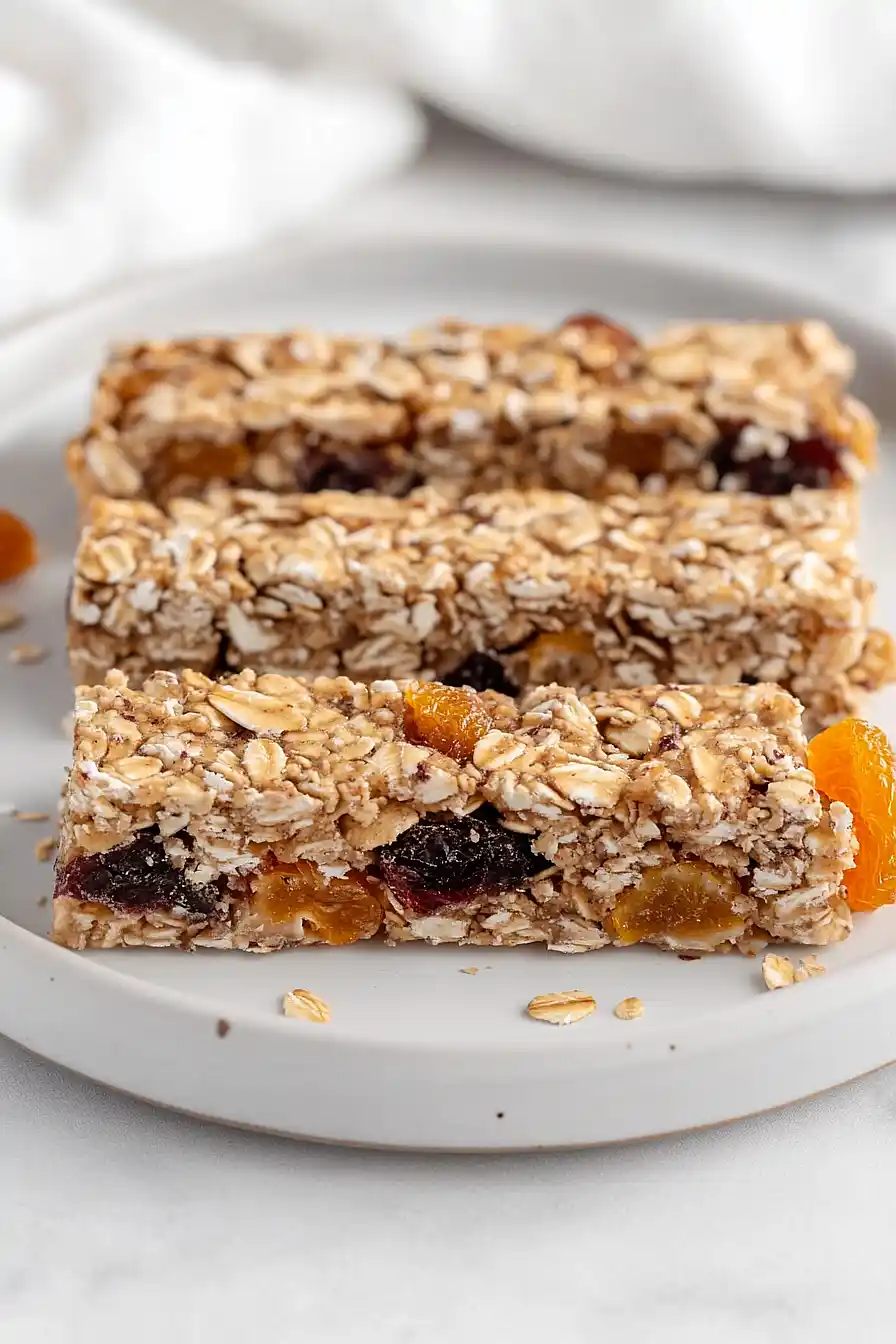
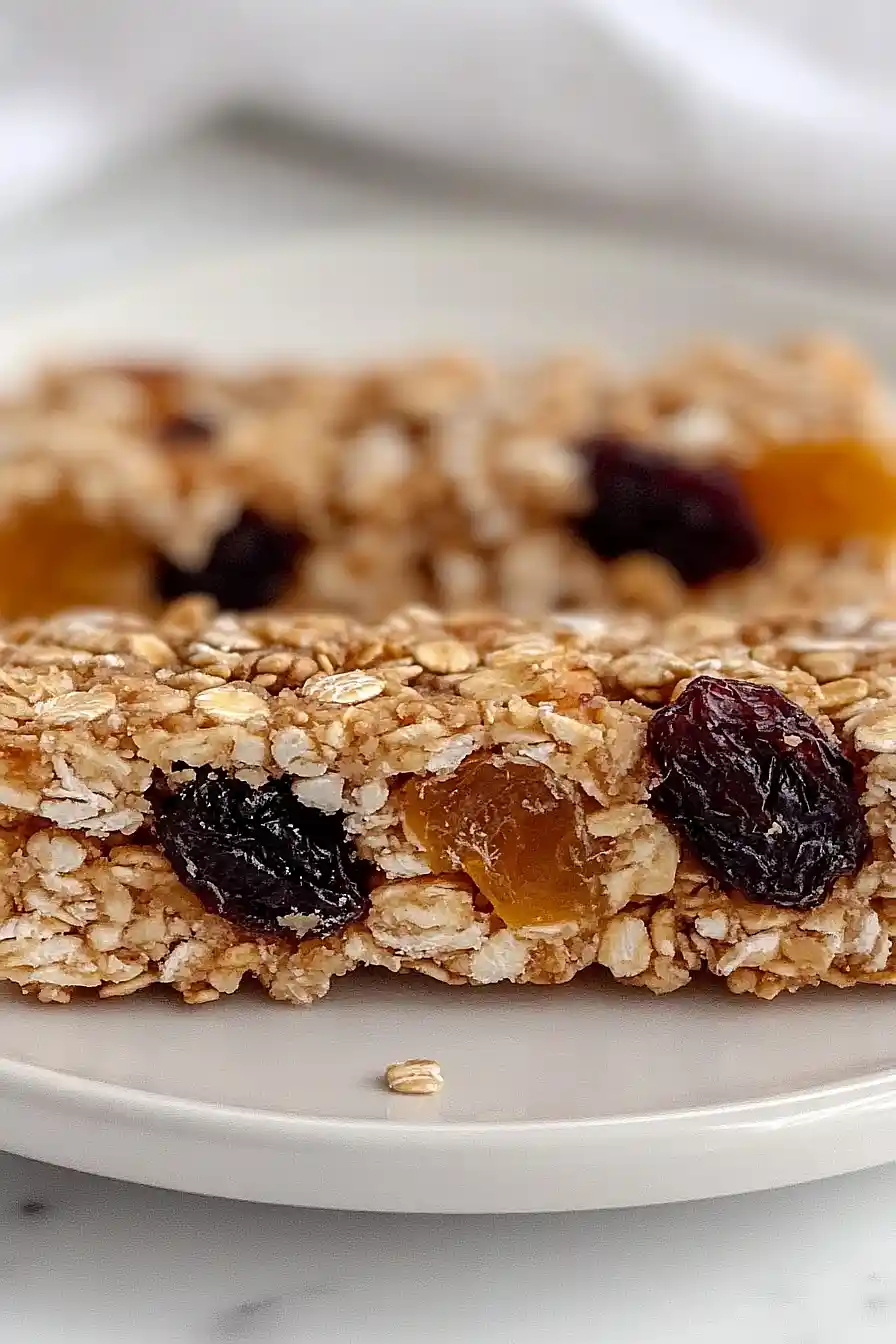
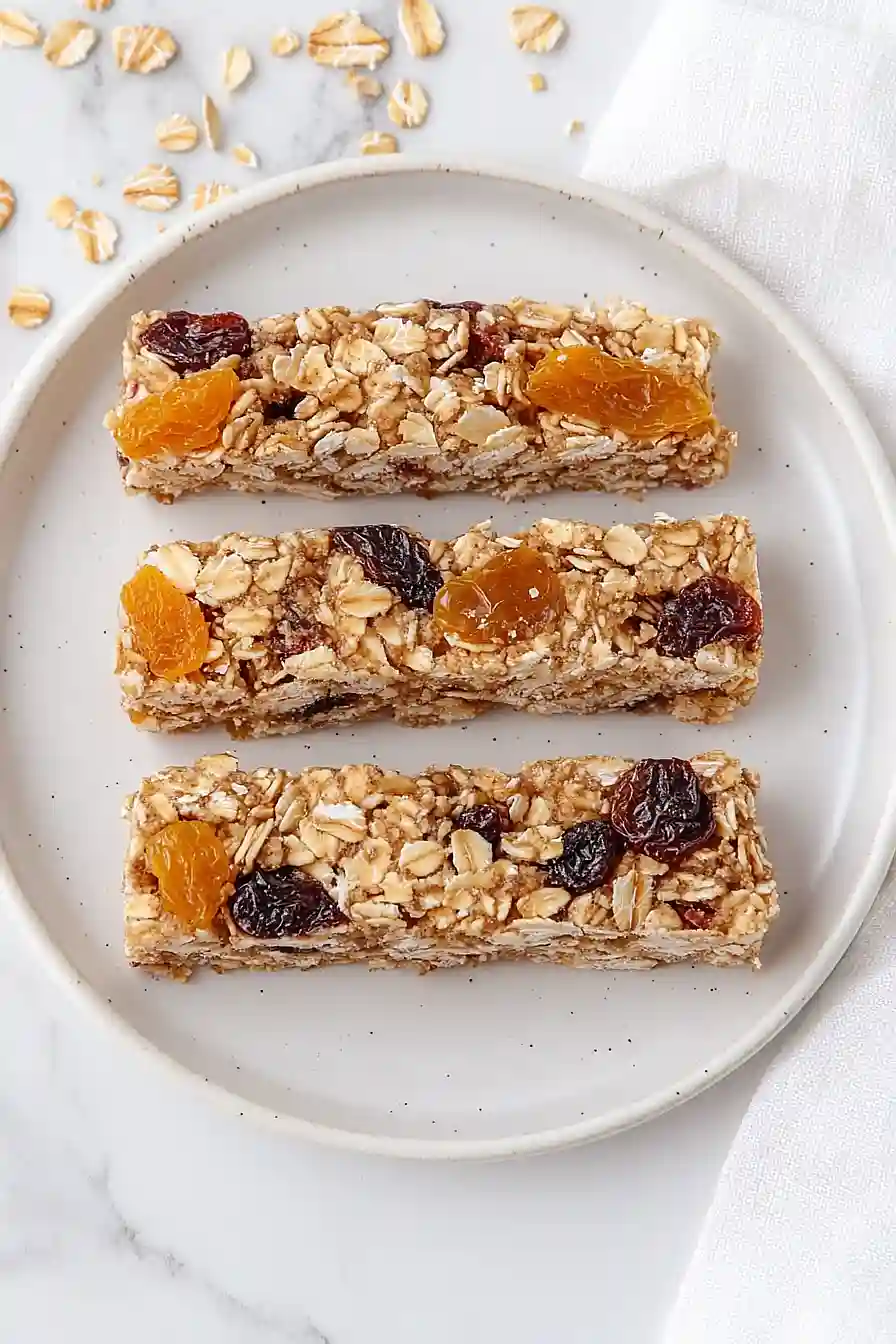
Here is my favorite fruit and nut energy bar recipe, with a simple, no-bake mix of dried fruits, nuts, oats, and a touch of honey to hold everything together.
These energy bars are my go-to snack when my kids need something quick before soccer practice or when I’m rushing out the door in the morning. I always keep a batch in the fridge because they’re so much better than store-bought bars. Plus, you can customize them with whatever fruits and nuts you have on hand!
Why You’ll Love These Fruit and Nut Energy Bars
- High-protein snack – With protein powder, peanut powder, and nuts, these bars give you the energy boost you need to power through your day or post-workout recovery.
- Quick and easy to make – Ready in under 35 minutes, these bars are perfect when you need a healthy snack without spending hours in the kitchen.
- Wholesome ingredients – Packed with oats, chia seeds, flax seeds, and dried fruit, you’re getting fiber, healthy fats, and natural sweetness in every bite.
- Perfect grab-and-go snack – Make a batch on Sunday and you’ll have healthy snacks ready for busy mornings, afternoon slumps, or pre-gym fuel all week long.
- Naturally sweetened – Using agave or honey instead of refined sugar, plus the natural sweetness from dried fruit, these bars satisfy your sweet tooth the healthy way.
What Kind of Oats Should I Use?
Old fashioned oats are definitely the way to go for these energy bars, and that’s exactly what this recipe calls for. They hold their shape better than quick oats and give you that nice chewy texture that makes these bars satisfying to eat. Quick oats will work in a pinch, but they tend to get a bit mushy and won’t give you the same hearty bite. Steel-cut oats are too tough for this recipe since they don’t soften up enough without longer cooking. Make sure your oats are fresh – stale oats can make your bars taste flat and won’t bind together as well.
Options for Substitutions
The great thing about these energy bars is how easy they are to customize based on what you have in your pantry:
- Peanut powder: If you don’t have peanut powder, you can use 4 tablespoons of regular peanut butter instead. Just skip the water since peanut butter already has the right consistency.
- Old fashioned oatmeal: Quick oats work fine here, but avoid instant oats as they’ll make the bars too mushy. You can also try rolled quinoa flakes for a protein boost.
- Chia and flax seeds: These can be swapped for each other or replaced with hemp hearts, sunflower seeds, or even mini chocolate chips if you want something sweeter.
- Dried fruits: Mix and match any dried fruits you like – dates, cranberries, raisins, or chopped dried mango all work well. Just keep the total amount around 1 cup.
- Agave or honey: Maple syrup works just as well, or you can use brown rice syrup for a vegan option. The key is using something sticky to bind everything together.
- Almond milk: Any milk will work here – dairy milk, oat milk, or even coconut milk. Start with less and add more if needed to get the right consistency.
- Peanuts: Swap these for any nuts or seeds you prefer – almonds, walnuts, pecans, or pumpkin seeds all taste great.
Watch Out for These Mistakes While Making
The biggest mistake when making energy bars is not pressing the mixture firmly enough into the pan, which leads to crumbly bars that fall apart when you try to cut them – use the back of a measuring cup or your hands to really pack it down tight.
Another common error is adding too much liquid, so start with less almond milk than called for and gradually add more until the mixture just holds together when squeezed in your hand.
Don’t skip chilling the bars for at least 2 hours before cutting, as this helps them set properly and makes clean slicing much easier.
For the best texture, make sure your dried fruits aren’t too large by chopping them into small, uniform pieces, and if your mixture seems too dry, try adding an extra tablespoon of agave or honey rather than more liquid.
What to Serve With Fruit and Nut Energy Bars?
These energy bars are perfect on their own as a quick breakfast or post-workout snack, but they pair really well with a cold glass of milk or your favorite plant-based milk alternative. I love having one with my morning coffee or as an afternoon pick-me-up with some herbal tea. They’re also great to pack alongside fresh fruit like apple slices or berries for a more complete snack that’ll keep you satisfied longer. For a heartier breakfast, try crumbling one over Greek yogurt with a drizzle of honey – it adds a nice crunch and makes the yogurt feel more like a meal.
Storage Instructions
Keep Fresh: These energy bars stay perfectly chewy when wrapped individually in plastic wrap or stored in an airtight container with parchment paper between layers. They’ll keep at room temperature for up to a week, or you can pop them in the fridge for up to 2 weeks if you prefer them a bit firmer.
Freeze: I love making a big batch of these bars and freezing them for grab-and-go snacks! Wrap each bar individually in plastic wrap, then store them in a freezer bag for up to 3 months. They’re perfect for tossing in your gym bag or lunch box.
Enjoy: Frozen bars taste great straight from the freezer – they have an almost fudgy texture that’s really satisfying. If you prefer them softer, just let them sit at room temperature for about 10-15 minutes before eating.
| Preparation Time | 10-15 minutes |
| Cooking Time | 18-20 minutes |
| Total Time | 28-35 minutes |
| Level of Difficulty | Easy |
Estimated Nutrition
Estimated nutrition for the whole recipe (without optional ingredients):
- Calories: 1900-2100
- Protein: 70-80 g
- Fat: 50-60 g
- Carbohydrates: 320-340 g
Ingredients
For the wet mixture:
- 6 tbsp jif peanut powder mixed with 4 tbsp water
- 1/3 cup agave nectar or honey
- 1/2 cup plain unsweetened almond milk
- 1 tsp vanilla extract
For the dry ingredients:
- 2 cups old-fashioned rolled oats
- 2 tbsp chia seeds
- 2 tbsp flax seeds
- 1/2 cup chopped dried apricots
- 1/2 cup assorted chopped dried berries
- 1/2 cup chopped peanuts
- 1/3 cup dry protein powder
- 1/2 tsp salt
Step 1: Preheat Oven and Prepare Pan
Preheat your oven to 350°F (175°C).
Line an 8 x 8 inch baking pan with aluminum foil, making sure the foil extends over the sides so you can lift the bars out easily later.
Grease or spray the foil with non-stick cooking spray to prevent sticking.
Step 2: Mix Wet Ingredients
- 6 tbsp Jif peanut powder mixed with 4 tbsp water
- 1/3 cup agave nectar or honey
- 1/2 cup plain unsweetened almond milk
- 1 tsp vanilla extract
In a medium bowl, combine the Jif peanut powder (already mixed with water), agave nectar or honey, almond milk, and vanilla extract.
Stir well until the mixture is smooth and well combined.
Step 3: Combine Dry Ingredients
- 2 cups old-fashioned rolled oats
- 2 tbsp chia seeds
- 2 tbsp flax seeds
- 1/2 cup chopped dried apricots
- 1/2 cup assorted chopped dried berries
- 1/2 cup chopped peanuts
- 1/3 cup dry protein powder
- 1/2 tsp salt
In a large separate bowl, add the old-fashioned rolled oats, chia seeds, flax seeds, chopped dried apricots, assorted chopped dried berries, chopped peanuts, dry protein powder, and salt.
Mix all the dry ingredients together until evenly distributed.
Step 4: Combine Wet and Dry Ingredients
- wet mixture from Step 2
- dry mixture from Step 3
Pour the wet mixture from Step 2 into the large bowl with the dry ingredients from Step 3.
Stir thoroughly until everything is well combined and there are no dry patches.
I always make sure to scrape down the sides of the bowl so all the ingredients are mixed completely.
Step 5: Press Mixture into Pan
- combined mixture from Step 4
Transfer the combined mixture into the prepared baking pan.
Use a spatula or your hands to press the mixture down firmly and evenly into all corners of the pan so the bars bake uniformly.
Step 6: Bake and Cool the Bars
Bake in the preheated oven for 18-20 minutes, or until the top turns golden brown.
Once done, remove from the oven and let the bars cool completely in the pan before lifting them out using the foil and cutting into squares.
To make cutting easier and cleaner, I like to refrigerate the pan for about 30 minutes before slicing.

