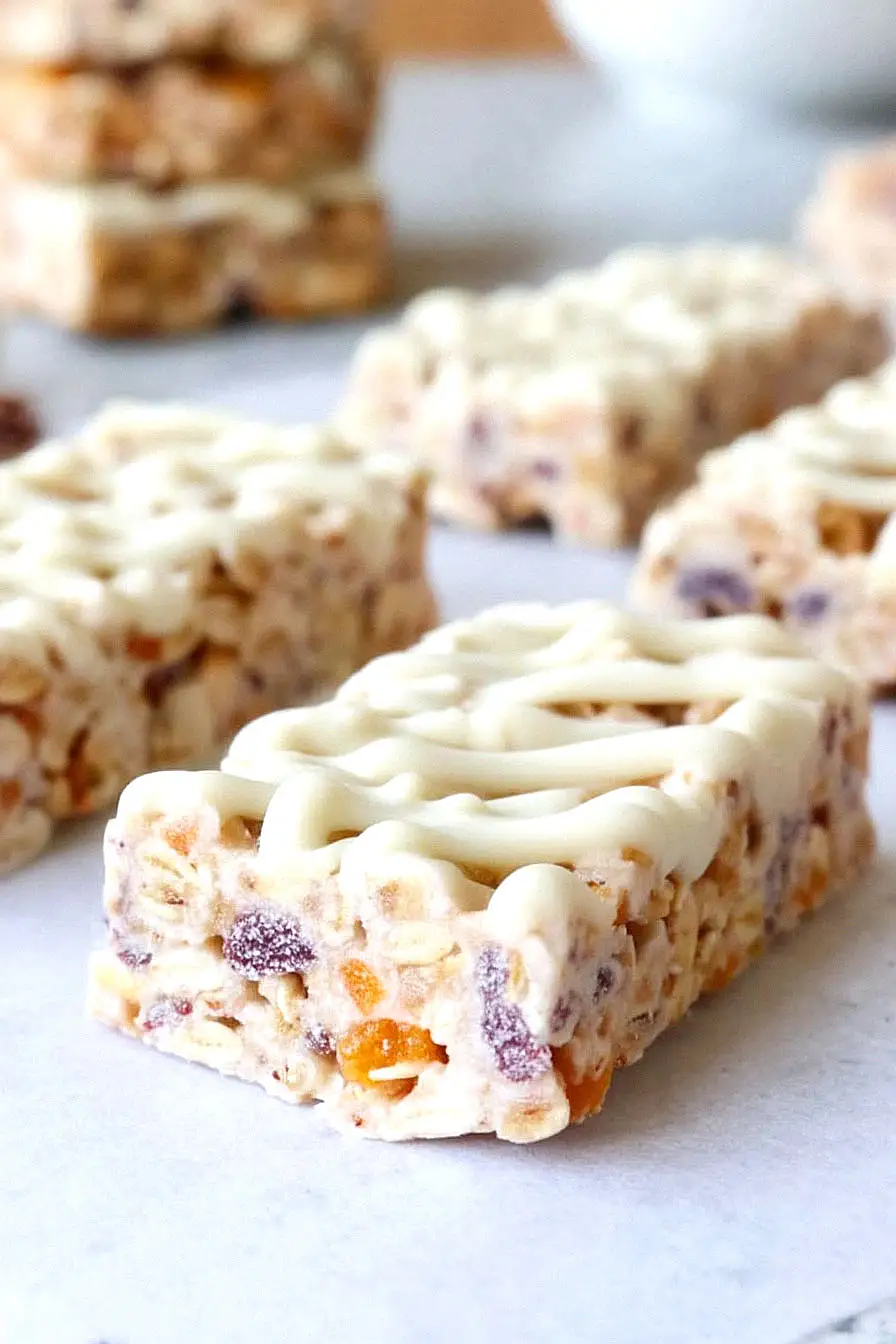
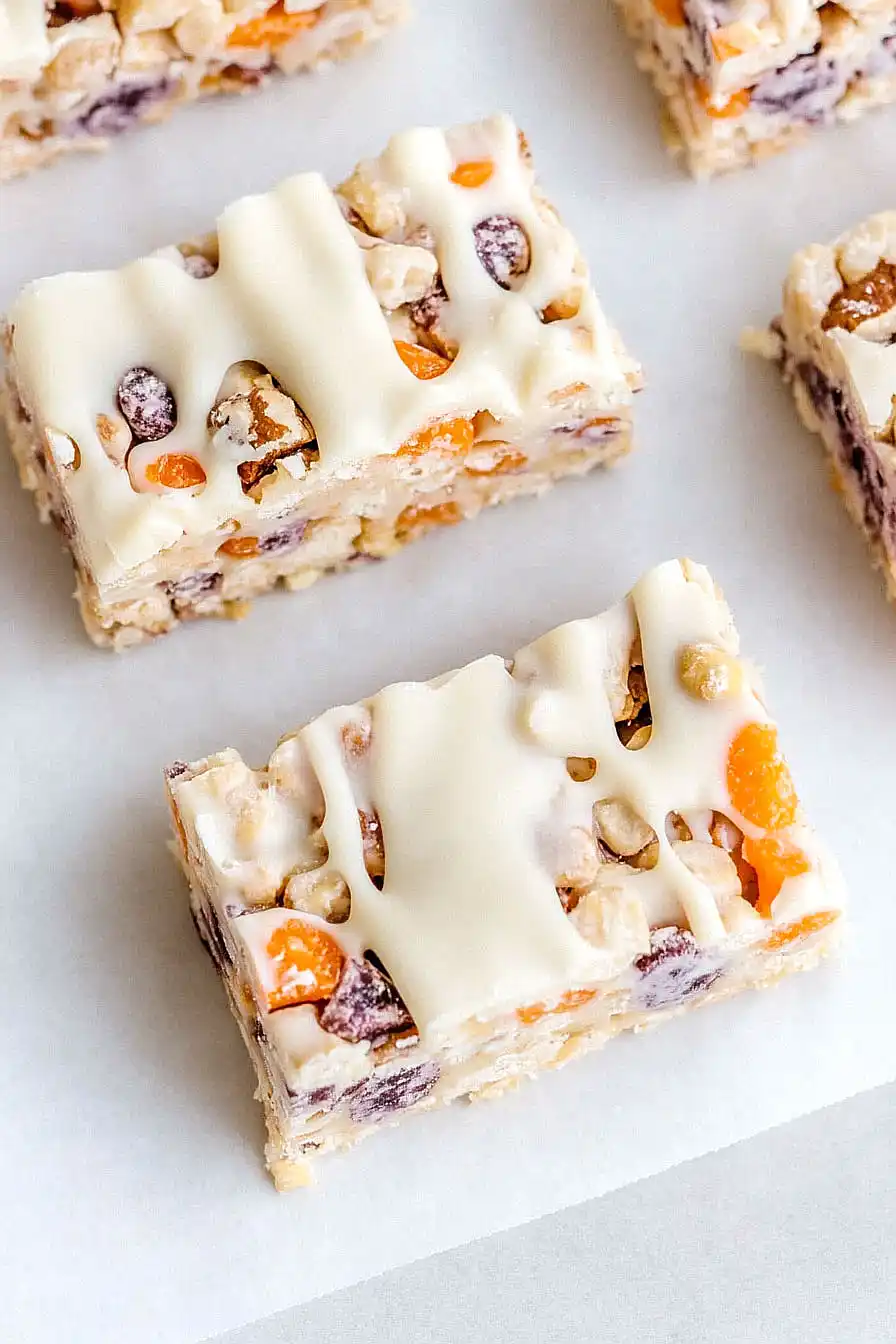
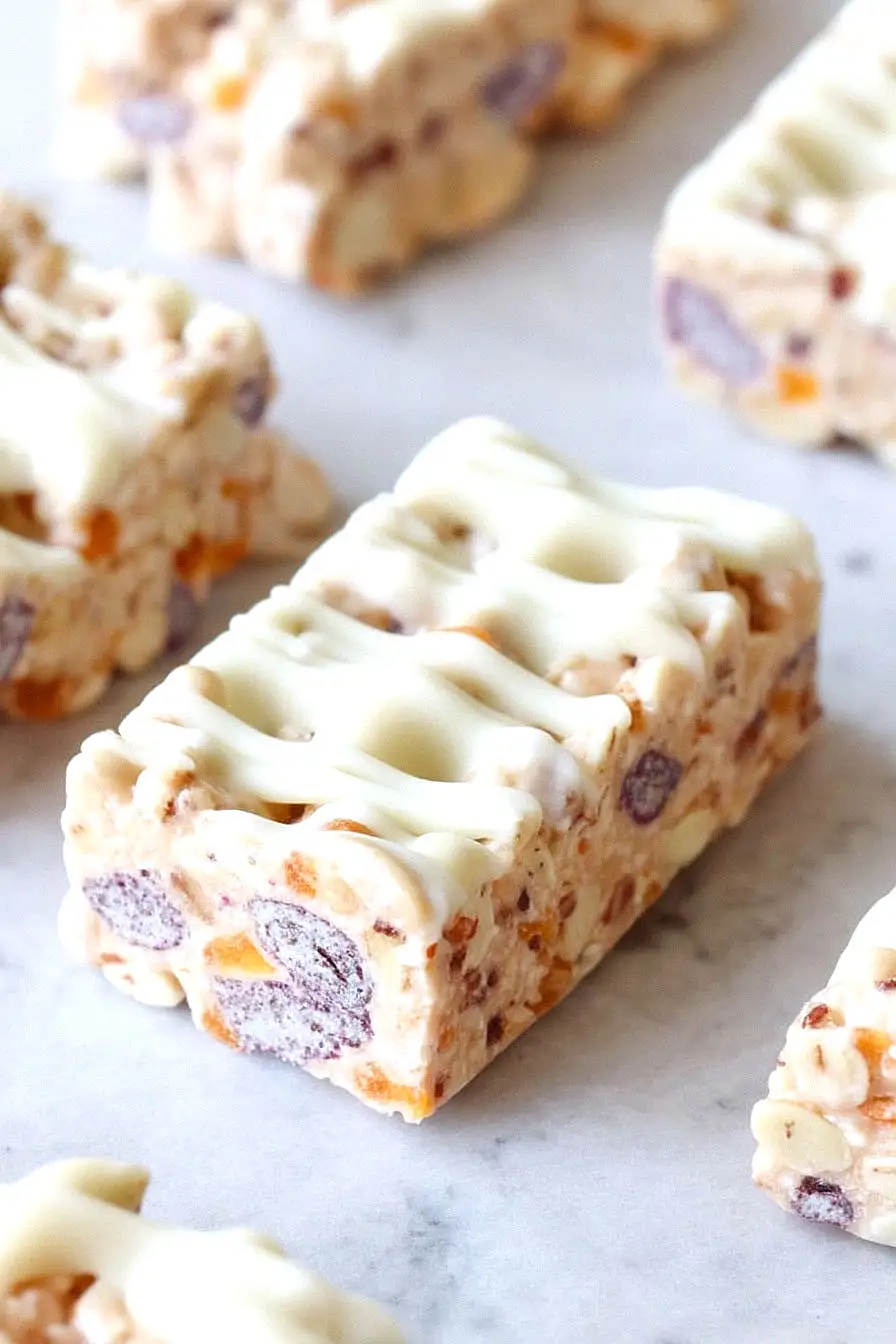
I’m always looking for snacks that won’t leave me feeling guilty later. You know those moments when you’re craving something sweet but don’t want to reach for another cookie? That’s exactly when these fruit and nut cereal bars come to the rescue.
My kids love having something they can grab on their way out the door, and I love that I actually know what’s in their snack. No weird ingredients I can’t pronounce. Just good stuff like oats, dried fruit, and nuts all held together in a chewy bar that tastes like I spent way more time making it than I actually did.
The best part? You can make a whole batch on Sunday and have snacks sorted for the entire week. Pack them in lunch boxes, toss one in your purse, or keep them on the counter for when anyone needs a quick bite. They’re filling enough to tide you over but not so heavy that you’ll spoil your appetite.
Why You’ll Love These Fruit and Nut Cereal Bars
- Quick and easy – These bars come together in just 25-35 minutes, making them perfect for when you need a homemade treat without spending hours in the kitchen.
- Kid-friendly ingredients – Using cereal as the base makes these bars fun and familiar for kids, while the dried fruit and nuts add nutrition that parents will appreciate.
- No-bake simplicity – Just melt, mix, and press into a pan – no oven required, which means less cleanup and no worrying about timing or temperature.
- Customizable mix-ins – You can swap the almonds and cherries for whatever nuts and dried fruits you have on hand, making this recipe work with your pantry staples.
- Perfect grab-and-go snack – These bars are ideal for lunch boxes, after-school snacks, or weekend adventures when you need something portable and satisfying.
What Kind of Cereal Should I Use?
Any fruity-o-shaped cereal will work great for these bars, so don’t stress too much about finding a specific brand. I used Cascadian Farms, but you could easily swap in Froot Loops, Apple Jacks, or even plain Cheerios if that’s what you have on hand. The key is using a cereal that holds its shape well and won’t get too soggy when mixed with the marshmallow mixture. If you want to keep things on the healthier side, look for cereals with less sugar or whole grain options, but honestly, any round cereal will give you that satisfying crunch you’re looking for in these bars.
Options for Substitutions
These cereal bars are super flexible, so feel free to mix things up based on what you have in your pantry:
- Fruity-o-shaped cereal: Any round cereal works great here – Cheerios, Fruit Loops, or even generic brands. You could also try Rice Krispies for a different texture, though you might need slightly less since they’re more compact.
- Mini marshmallows: Regular marshmallows work fine – just cut them into smaller pieces with kitchen scissors. You can also use marshmallow fluff, but reduce it to about 4-5 tablespoons since it’s more concentrated.
- Sliced almonds: Swap these for any nuts you like – chopped walnuts, pecans, or even sunflower seeds for a nut-free option. Keep the amount the same.
- Dried cherries: Any dried fruit works here – cranberries, raisins, chopped dried apricots, or even mini chocolate chips if you want to go the sweet route.
- Greek yogurt chips: White chocolate chips are the easiest swap, but you could also use regular chocolate chips, butterscotch chips, or just leave them out entirely for a lighter bar.
- Unsalted butter: Salted butter works fine – just reduce the added salt to a pinch. You could also use coconut oil for a dairy-free version.
Watch Out for These Mistakes While Cooking
The biggest mistake when making cereal bars is overheating the marshmallows, which can make them tough and chewy instead of gooey – keep the heat on medium-low and stir constantly to avoid this problem.
Another common error is not working quickly enough once the marshmallow mixture is ready, since it starts to set fast and becomes harder to mix with the cereal and add-ins.
To prevent your bars from falling apart, make sure to press the mixture firmly into your prepared pan using a buttered spatula or parchment paper, and don’t skip letting them cool completely before cutting.
If you’re using the yogurt chips or white chocolate, wait until the mixture has cooled slightly before folding them in, otherwise they’ll melt completely and lose their texture.
What to Serve With Fruit and Nut Cereal Bars?
These bars are perfect for breakfast on-the-go with a cup of coffee or your favorite morning tea. They also make a great afternoon snack paired with a cold glass of milk, which really brings out those fruity cereal flavors. For a more substantial breakfast, try serving them alongside some fresh berries and a dollop of Greek yogurt. You can even pack them in lunch boxes with an apple or banana for a sweet treat that’ll keep you satisfied until dinner.
Storage Instructions
Keep Fresh: These cereal bars stay soft and chewy when wrapped individually in plastic wrap or stored in an airtight container at room temperature. They’ll keep for up to a week, though they rarely last that long in my house! Just make sure they’re completely cooled before wrapping to avoid any stickiness.
Freeze: You can definitely freeze these bars for longer storage – they’ll keep for up to 3 months in the freezer. Wrap them individually in plastic wrap, then place in a freezer bag or container. This makes them perfect for packing in lunch boxes throughout the month.
Enjoy: Frozen bars taste great straight from the freezer if you like them a bit firmer, or just let them thaw at room temperature for about 10-15 minutes. The texture stays pretty much the same as fresh, and the yogurt chips add a nice creamy contrast to the chewy cereal.
| Preparation Time | 15-20 minutes |
| Cooking Time | 10-15 minutes |
| Total Time | 25-35 minutes |
| Level of Difficulty | Easy |
Estimated Nutrition
Estimated nutrition for the whole recipe (without optional ingredients):
- Calories: 2600-2800
- Protein: 18-22 g
- Fat: 58-68 g
- Carbohydrates: 540-580 g
Ingredients
For the base mixture:
- 5 tbsp unsalted butter
- 7 cups miniature marshmallows
- 1/2 tsp salt
- 1 tsp vanilla extract
- 6 cups fruity ring cereal (such as cascadian farms or cheerios)
- 1/2 cup sliced almonds
- 1/2 cup dried cherries
For the coating/drizzle:
- 1 cup greek yogurt chips (or white chocolate chips)
Step 1: Prepare the Baking Pan
Line a 9×9 inch baking pan with parchment paper and coat it with nonstick spray to ensure easy removal of the bars later.
Set the prepared pan aside until you’re ready to use it.
Step 2: Melt Butter and Marshmallows
- 5 tbsp unsalted butter
- 7 cups miniature marshmallows
- 1/2 tsp salt
- 1 tsp vanilla extract
In a large saucepan over low heat, melt the unsalted butter.
Once melted, add the miniature marshmallows and stir continuously until they are completely melted and smooth.
Remove the saucepan from the heat and stir in the salt and vanilla extract until fully combined.
Step 3: Mix in Cereal and Fruit
- 6 cups fruity ring cereal (such as Cascadian Farms or Cheerios)
- 1/2 cup sliced almonds
- 1/2 cup dried cherries
Pour the fruity ring cereal into the melted marshmallow mixture and use a sturdy spatula to stir everything together until the cereal is well coated.
Next, add the sliced almonds and dried cherries, mixing until all the ingredients are evenly distributed.
I like to work quickly in this step before the mixture starts to set.
Step 4: Shape Mixture in Pan and Chill
Immediately press the cereal-marshmallow mixture into the prepared 9×9 inch pan, using lightly oiled hands or a spatula to flatten and even out the top.
Place the pan in the refrigerator to firm up the bars while you prepare the Greek yogurt chips.
Step 5: Melt Greek Yogurt Chips
- 1 cup Greek yogurt chips (or white chocolate chips)
In a medium microwave-safe bowl, melt the Greek yogurt chips (or white chocolate chips) in 30-second increments, stirring after each interval, until completely melted and smooth.
Be careful not to overheat, which can cause the chips to seize—I always check and stir frequently.
Step 6: Dip and Decorate the Bars
- cut bars from Step 4
- melted Greek yogurt chips from Step 5
Cut the chilled mixture into bars.
Dip the bottom of each bar into the melted Greek yogurt chips, then place the bars on parchment paper to set.
Once all the bars are dipped, drizzle any remaining melted Greek yogurt chips over the tops for extra flavor and decoration, if desired.
Let the bars sit until the coating is firm.

