I didn’t know sour cherries existed until I moved to Portland and discovered them at the farmers market. Growing up, we only had sweet cherries in our house—the kind you pop in your mouth for a snack.
But sour cherries? They’re a whole different story. Too tart to eat straight, but perfect for baking. When you cook them down with sugar in a pie, they become this amazing balance of sweet and tangy that makes your taste buds wake up. Once you try a real sour cherry pie, you’ll understand why people get so excited about cherry season.
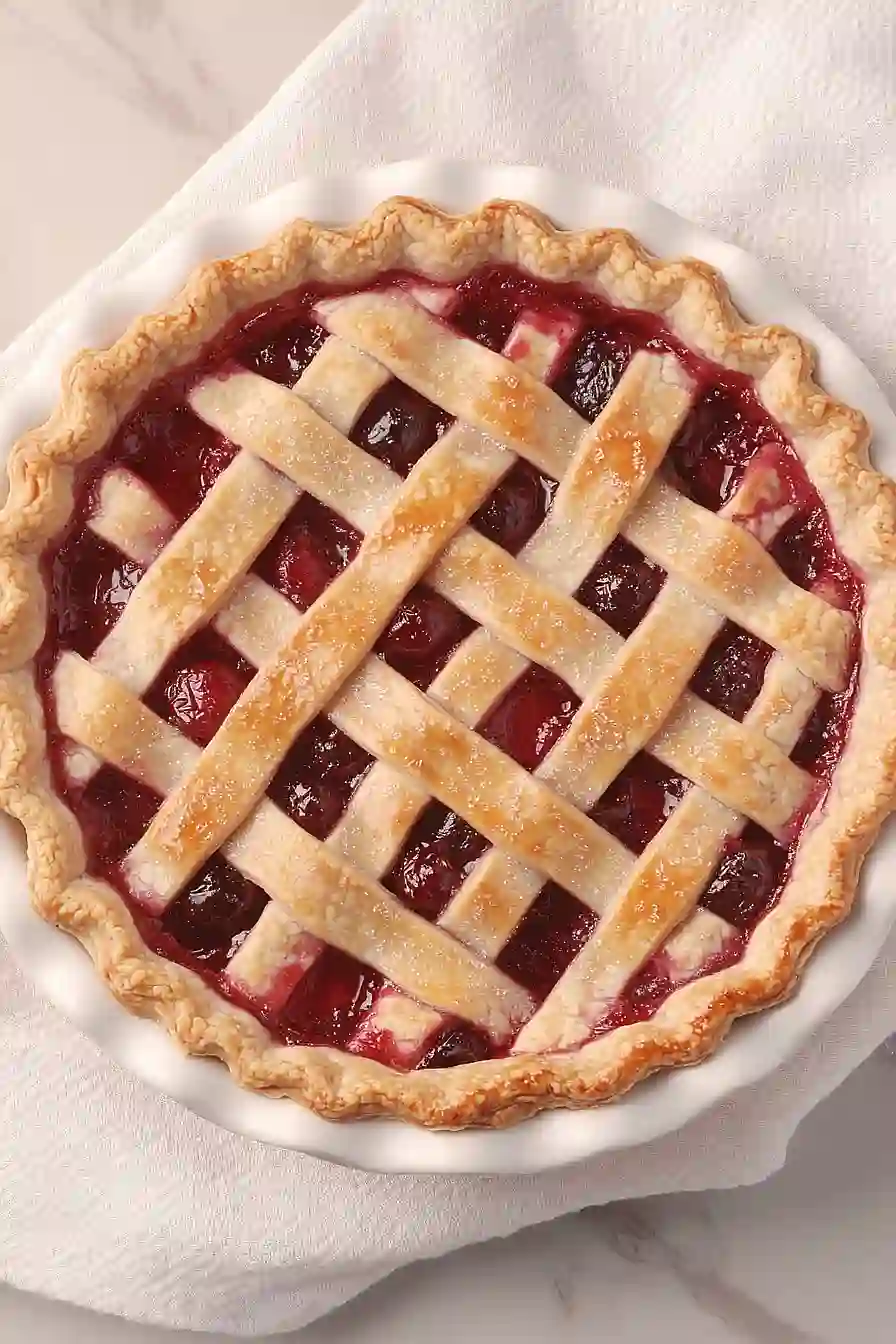
Why You’ll Love This Sour Cherry Pie
- Perfect sweet-tart balance – The natural tartness of sour cherries paired with just the right amount of sugar creates that classic pie flavor that makes your taste buds sing.
- Convenient canned cherries – No need to pit fresh cherries or wait for cherry season – you can make this delicious pie any time of year with pantry-friendly canned cherries.
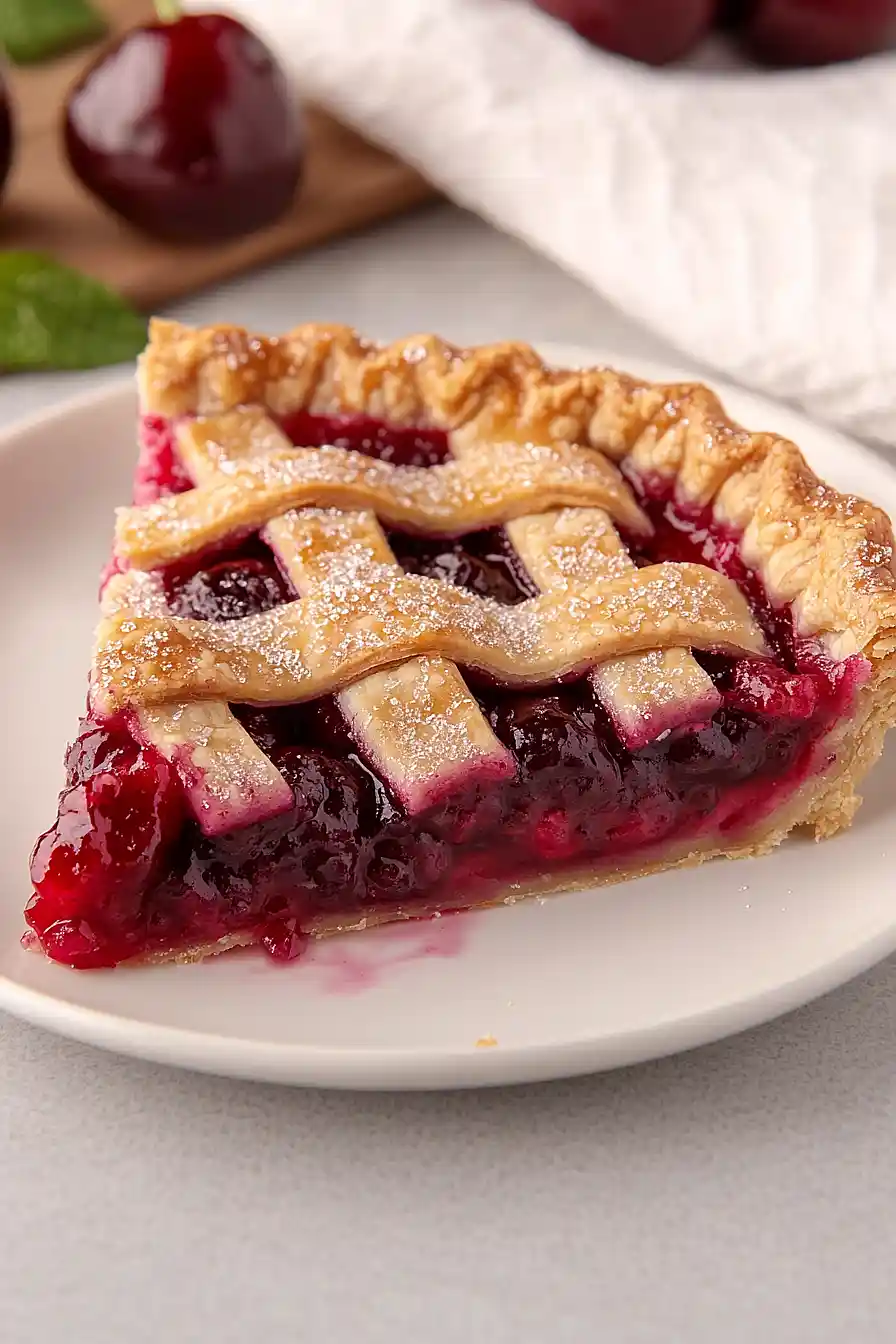
- Flaky, buttery crust – The shortcrust pastry creates a golden, crispy shell that holds all that juicy cherry filling perfectly.
- Classic comfort dessert – This is the kind of homemade pie that brings back memories and makes any dinner feel special, whether it’s a weeknight treat or holiday gathering.
- Simple technique – With straightforward steps and common baking ingredients, this pie is totally doable even if you’re not an experienced baker.
What Kind of Sour Cherries Should I Use?
For this pie, canned sour cherries in water are your best bet and exactly what this recipe calls for. Fresh sour cherries can be tricky to find since they have a short season and don’t ship well, plus canned cherries are already pitted which saves you tons of time. If you do happen to find fresh sour cherries at a farmers market or specialty store, you can absolutely use them – just pit about 4 cups and add a splash of water to help create the liquid you’ll need. Avoid cherries packed in heavy syrup since they’ll make your pie too sweet and throw off the balance of flavors.
Options for Substitutions
This classic pie recipe has some room for swaps if you need to work with what you have:
- Sour cherries in water: Fresh sour cherries are fantastic if you can find them – use about 4 cups pitted. You can also use frozen sour cherries (thaw and drain first) or even sweet cherries, though you’ll want to reduce the sugar to 3/4 cup.
- Cornstarch: If you’re out of cornstarch, use 4 tablespoons of all-purpose flour or 2 tablespoons of quick-cooking tapioca instead. The tapioca will give you a slightly different texture but works great.
- Almond extract: Vanilla extract works as a substitute, though it will change the flavor profile slightly. Use the same amount, or try a splash of cherry juice for extra cherry flavor.
- Flaky shortcrust pastry: Store-bought pie crust is totally fine here – just make sure you have enough for both top and bottom crusts. Homemade pastry works too if you prefer to make your own.
- Demerara sugar: Regular granulated sugar or turbinado sugar work just as well for sprinkling on top. You can even skip this entirely if you prefer.
Watch Out for These Mistakes While Baking
The biggest mistake when making sour cherry pie is not draining the cherries properly, which can lead to a watery filling that never sets – make sure to reserve that cherry liquid for the filling but drain the fruit well in a colander first.
Another common error is skipping the cornstarch or not mixing it thoroughly with the sugar before adding the cherries, which results in a runny pie that won’t slice cleanly.
To prevent a soggy bottom crust, try blind baking the bottom pastry for 10-12 minutes before adding the filling, and don’t forget to cut steam vents in your top crust to allow moisture to escape during baking.
For the perfect finish, brush that beaten egg on the top crust right before baking and sprinkle with demerara sugar for a beautiful golden color that won’t burn.
What to Serve With Sour Cherry Pie?
A warm slice of sour cherry pie is absolutely perfect with a scoop of vanilla ice cream – the cold, creamy sweetness balances out the tart cherries beautifully. You can also serve it with a dollop of freshly whipped cream or even some thick Greek yogurt if you want something a bit lighter. For an extra special touch, try drizzling a little heavy cream right over the slice, or pair it with a cup of strong coffee or black tea. Since the almond extract in this pie adds such a nice flavor, it also goes really well with a glass of cold milk for a classic dessert experience.
Storage Instructions
Keep Fresh: Your sour cherry pie will stay delicious covered loosely with foil or plastic wrap at room temperature for up to 2 days. After that, move it to the refrigerator where it’ll keep for another 3-4 days. I actually think cherry pie tastes even better the next day once all those flavors have had time to meld together!
Freeze: This pie freezes wonderfully for up to 3 months. You can freeze it whole (wrapped tightly in plastic wrap and then foil) or cut it into individual slices first. I like to freeze slices on a baking sheet, then transfer them to freezer bags so I can grab just one piece whenever I’m craving it.
Serve: To enjoy frozen pie, just thaw it in the refrigerator overnight or let individual slices sit at room temperature for about 30 minutes. If you want to warm it up, pop it in a 350°F oven for 10-15 minutes until heated through. The crust gets nice and crispy again this way!
| Preparation Time | 30-45 minutes |
| Cooking Time | 40 minutes |
| Total Time | 3-4 hours |
| Level of Difficulty | Medium |
Estimated Nutrition
Estimated nutrition for the whole recipe (without optional ingredients):
- Calories: 2200-2500
- Protein: 18-22 g
- Fat: 60-70 g
- Carbohydrates: 410-460 g
Ingredients
For the cherry filling:
- 2 cans (15 oz each) sour cherries packed in water
- 1/2 cup reserved cherry juice
- 1 cup white sugar
- 3 tbsp cornstarch
- 1 tbsp lemon juice
- 1/4 tsp salt
- 1 tbsp unsalted butter
- 1/2 tsp almond extract
For the crust and topping:
- 15 oz flaky pie dough
- 1 large egg, beaten
- 2 tbsp demerara or turbinado sugar (optional)
Step 1: Preheat the Oven and Prepare Baking Sheet
Preheat your oven to 400°F (200°C).
While the oven heats, place a large rimmed baking sheet inside to preheat as well.
This will help catch any juices that might bubble over from the pie as it bakes.
Step 2: Prepare and Thicken the Cherry Filling
- 2 cans (15 oz each) sour cherries packed in water
- 1/2 cup reserved cherry juice
- 1 cup white sugar
- 3 tbsp cornstarch
- 1 tbsp lemon juice
- 1/4 tsp salt
- 1 tbsp unsalted butter
- 1/2 tsp almond extract
Open both cans of sour cherries and drain them, reserving the juice from one can.
Measure out 1/2 cup of the reserved cherry juice.
In a 2-quart saucepan, whisk together the 1/2 cup reserved cherry juice, 1 cup white sugar, 3 tablespoons cornstarch, 1 tablespoon lemon juice, and 1/4 teaspoon salt.
Place over medium heat and whisk constantly until the mixture comes to a boil and thickens noticeably—this will take a few minutes.
Once thickened, remove from heat and whisk in 1/2 teaspoon almond extract and 1 tablespoon unsalted butter until smooth and glossy.
Gently fold in the drained cherries using a flexible spatula.
Set the filling aside to cool completely before assembling the pie.
I like to fold in the cherries gently so they stay as whole as possible for bursts of fruit in every bite.
Step 3: Roll Out the Dough and Assemble the Pie Base
- 15 oz flaky pie dough
- cherry filling (from Step 2)
On a lightly floured surface, roll out the chilled flaky pie dough to about 1/8 inch thickness.
Use the rolled dough to line a 9-inch metal pie plate, gently pressing to fit.
Trim off any excess dough hanging over the edges with a knife.
Evenly spread the cooled cherry filling from Step 2 into the prepared pie shell.
Step 4: Create the Lattice Top and Finish the Crust
- remaining pie dough (from Step 3)
- 1 large egg, beaten
- 2 tbsp demerara or turbinado sugar (optional)
Gather the dough scraps, wad them together, and re-roll to about 1/8 inch thickness.
Cut the dough into strips using a sharp knife or ruler for straight lines.
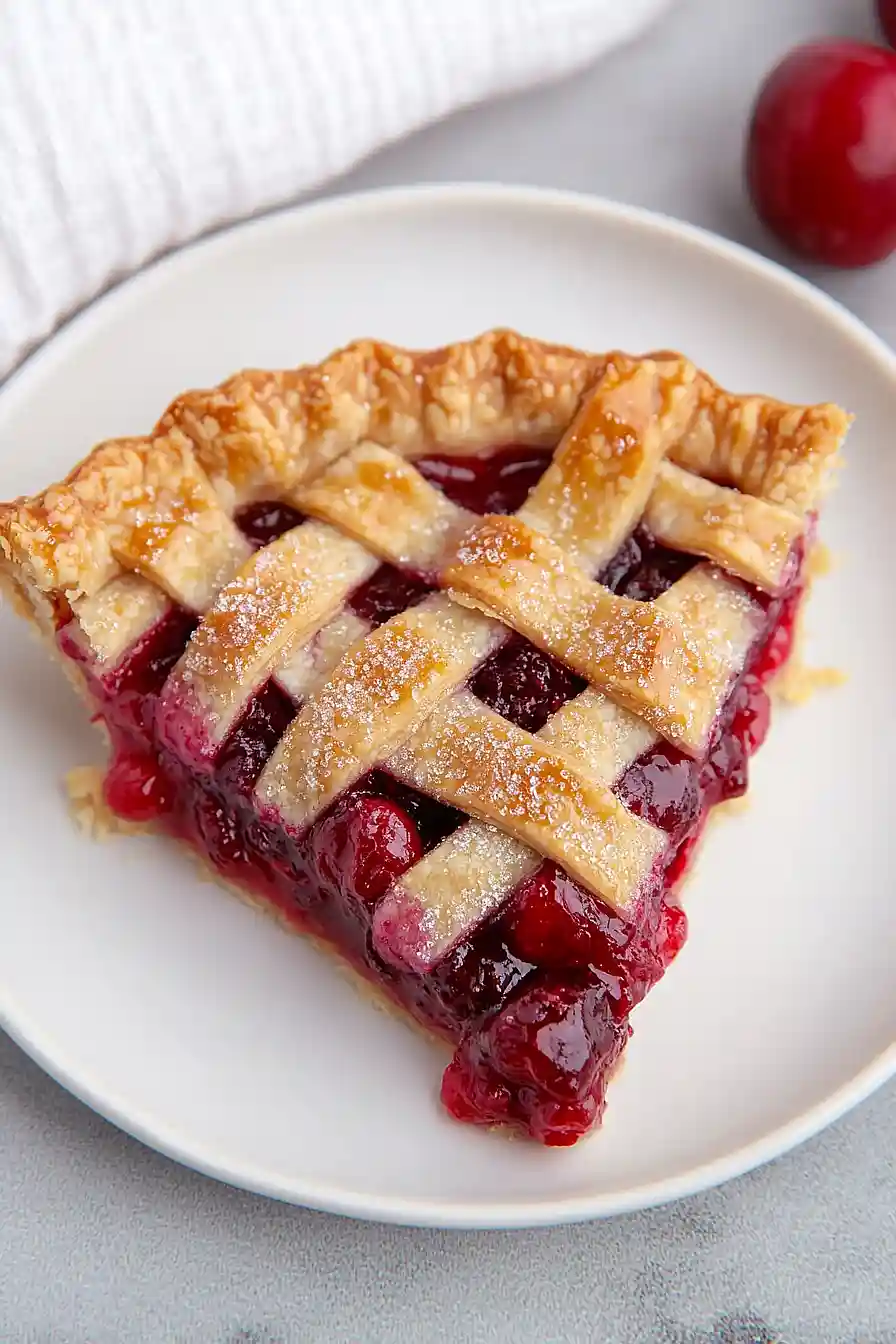
Lay half the strips horizontally across the top of the pie, then weave the remaining strips under and over to create a lattice pattern.
Trim off excess pastry around the edges and crimp the crust to seal.
Brush the lattice and edges with the beaten egg.
If desired, sprinkle the top liberally with demerara or turbinado sugar for a crunchy finish.
I love the sparkle and crunch that demerara sugar adds to the crust—it makes the pie look bakery-fresh!
Step 5: Bake the Pie
Place the assembled pie on the preheated baking sheet in the oven.
Bake at 400°F (200°C) for 20 minutes.
Then, reduce the oven temperature to 375°F (190°C) and continue baking for another 20 minutes, or until the crust is golden brown and the filling is bubbling gently at the edges.
Step 6: Cool Completely Before Serving
Remove the pie from the oven and let it cool on a wire rack for 3–4 hours.
This allows the filling to set properly so it slices cleanly; cutting too soon can make the filling runny.
For an extra hit of flavor, I sometimes dust a little more demerara sugar over the top just before serving.
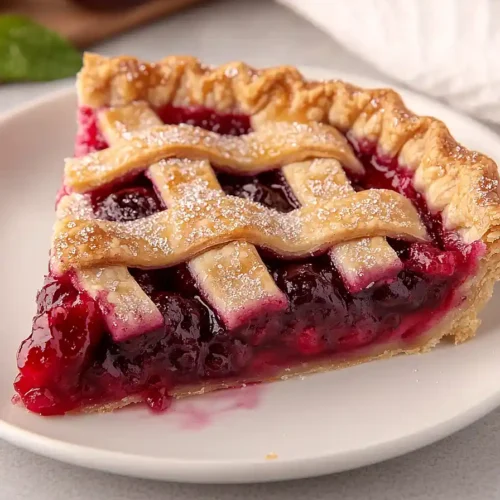
Irresistible Sour Cherry Pie
Ingredients
For the cherry filling:
- 2 cans (15 oz each) sour cherries packed in water
- 1/2 cup reserved cherry juice
- 1 cup white sugar
- 3 tbsp cornstarch
- 1 tbsp lemon juice
- 1/4 tsp salt
- 1 tbsp unsalted butter
- 1/2 tsp almond extract
For the crust and topping:
- 15 oz flaky pie dough
- 1 large egg, beaten
- 2 tbsp demerara or turbinado sugar (optional)
Instructions
- Preheat your oven to 400°F (200°C). While the oven heats, place a large rimmed baking sheet inside to preheat as well. This will help catch any juices that might bubble over from the pie as it bakes.
- Open both cans of sour cherries and drain them, reserving the juice from one can. Measure out 1/2 cup of the reserved cherry juice. In a 2-quart saucepan, whisk together the 1/2 cup reserved cherry juice, 1 cup white sugar, 3 tablespoons cornstarch, 1 tablespoon lemon juice, and 1/4 teaspoon salt. Place over medium heat and whisk constantly until the mixture comes to a boil and thickens noticeably—this will take a few minutes. Once thickened, remove from heat and whisk in 1/2 teaspoon almond extract and 1 tablespoon unsalted butter until smooth and glossy. Gently fold in the drained cherries using a flexible spatula. Set the filling aside to cool completely before assembling the pie. I like to fold in the cherries gently so they stay as whole as possible for bursts of fruit in every bite.
- On a lightly floured surface, roll out the chilled flaky pie dough to about 1/8 inch thickness. Use the rolled dough to line a 9-inch metal pie plate, gently pressing to fit. Trim off any excess dough hanging over the edges with a knife. Evenly spread the cooled cherry filling from Step 2 into the prepared pie shell.
- Gather the dough scraps, wad them together, and re-roll to about 1/8 inch thickness. Cut the dough into strips using a sharp knife or ruler for straight lines. Lay half the strips horizontally across the top of the pie, then weave the remaining strips under and over to create a lattice pattern. Trim off excess pastry around the edges and crimp the crust to seal. Brush the lattice and edges with the beaten egg. If desired, sprinkle the top liberally with demerara or turbinado sugar for a crunchy finish. I love the sparkle and crunch that demerara sugar adds to the crust—it makes the pie look bakery-fresh!
- Place the assembled pie on the preheated baking sheet in the oven. Bake at 400°F (200°C) for 20 minutes. Then, reduce the oven temperature to 375°F (190°C) and continue baking for another 20 minutes, or until the crust is golden brown and the filling is bubbling gently at the edges.
- Remove the pie from the oven and let it cool on a wire rack for 3–4 hours. This allows the filling to set properly so it slices cleanly; cutting too soon can make the filling runny. For an extra hit of flavor, I sometimes dust a little more demerara sugar over the top just before serving.

