There’s something about homemade pie filling that just makes everything taste better. Sure, I could grab a can from the store, but when sour cherries are in season, I can’t help myself. The tartness is exactly what I want in a pie – not too sweet, with just enough pucker to make you smile.
I started making my own sour cherry pie filling a few years ago when I found myself with way too many cherries from our neighbor’s tree. Now I make big batches and freeze them in pie-sized portions. It’s like having homemade pie ready to go whenever I need it. Just roll out some dough, pour in the filling, and bake.
The best part? You control the sweetness and thickness. Want it a little more tart? Add less sugar. Need it thicker? A bit more cornstarch does the trick. Once you try making your own, you’ll never go back to store-bought.
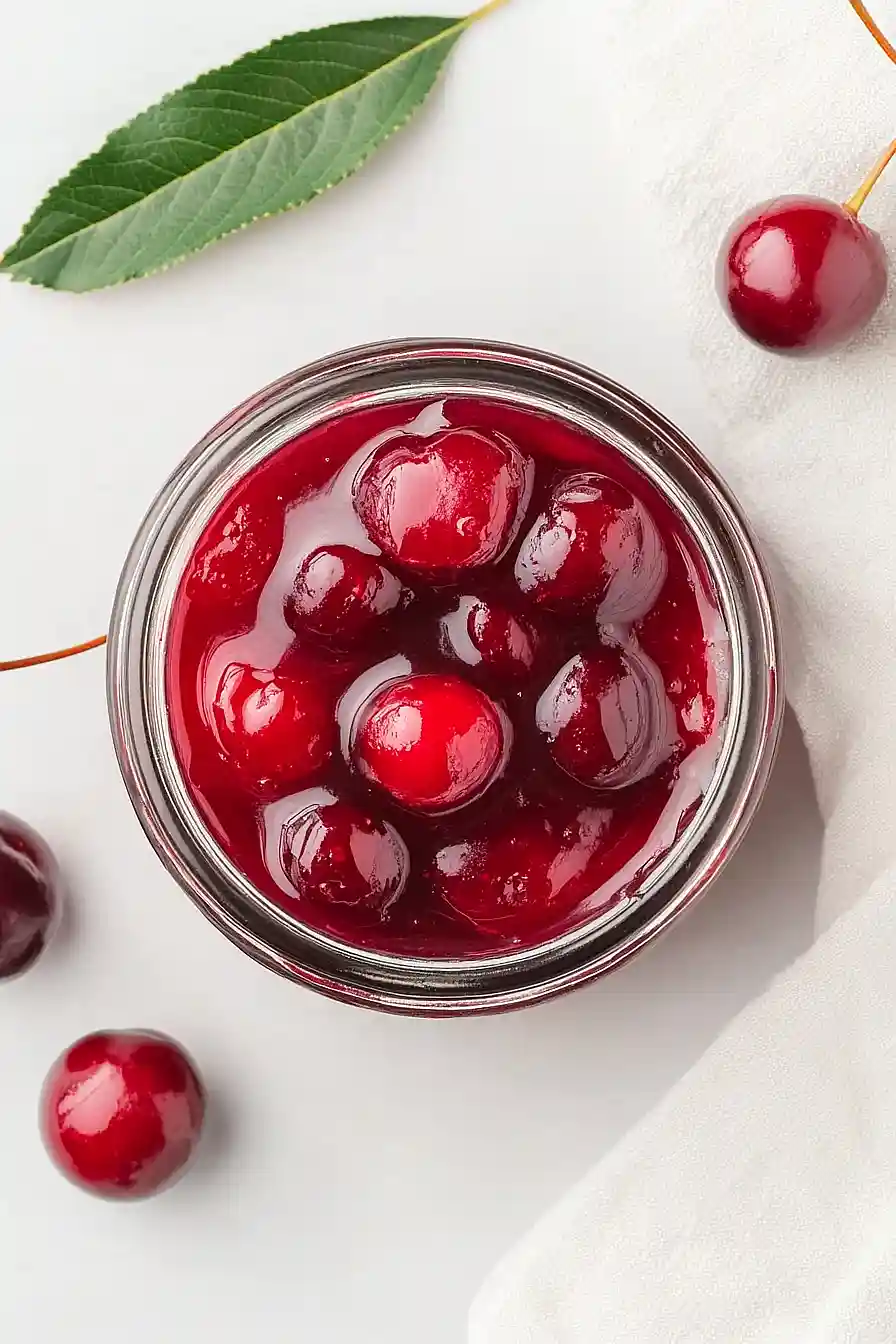
Why You’ll Love This Sour Cherry Pie Filling
- Quick and easy – This filling comes together in just 20-35 minutes, making it perfect for when you want homemade pie without the all-day commitment.
- Works with fresh or frozen cherries – You can use whatever cherries you have on hand, so you’re not limited by season or what’s available at the store.
- Perfect balance of sweet and tart – The combination of sour cherries, sugar, and a hint of almond extract creates that classic cherry pie flavor that everyone loves.
- Simple pantry ingredients – Most of these ingredients are things you probably already have in your kitchen, so you won’t need a special shopping trip.
- Multiple uses – This filling isn’t just for pies – you can use it over ice cream, pancakes, or even as a topping for cheesecake.
What Kind of Sour Cherries Should I Use?
Both fresh and frozen sour cherries work perfectly for this pie filling, so don’t worry if you can’t find fresh ones at the store. Frozen cherries are actually more convenient since they’re already pitted and available year-round, plus they release their juices nicely as they thaw during cooking. If you’re using fresh sour cherries, look for ones that are deep red in color and feel firm to the touch – avoid any that are soft or have dark spots. The most common variety you’ll find is Montmorency cherries, which have the perfect balance of tartness and sweetness for pie filling.
Options for Substitutions
This cherry pie filling is pretty straightforward, but here are some swaps you can make if needed:
- Sour cherries: If you can’t find sour cherries, you can use sweet cherries but reduce the sugar to ¾ cup and add an extra tablespoon of lemon juice to balance the sweetness. Fresh or frozen work equally well – just thaw frozen cherries first and drain excess liquid.
- Cornstarch: You can swap cornstarch with 6 tablespoons of all-purpose flour or 3 tablespoons of instant tapioca. If using flour, cook the filling a bit longer to eliminate any raw flour taste.
- Tart cherry juice: No cherry juice? Use the same amount of fresh lemon juice mixed with water, or even cranberry juice for a similar tartness. You could also use the liquid from thawed frozen cherries.
- Almond extract: Vanilla extract works as a substitute, though it will give a different flavor profile. Use the same amount, or try a few drops of rum extract for something different.
- Sugar amount: Taste your cherries first – if they’re particularly tart, you might want to increase the sugar to 1¼ cups. For a less sweet filling, you can reduce it to ¾ cup.
Watch Out for These Mistakes While Cooking
The biggest mistake when making sour cherry pie filling is not thickening it properly, which leads to a runny mess that soaks through your crust – always whisk the cornstarch with a little cold cherry juice first to prevent lumps, then cook the mixture until it’s thick enough to coat the back of a spoon.
Another common error is adding the almond extract too early in the cooking process, as heat can make it taste bitter, so stir it in during the last minute of cooking for the best flavor.
Don’t skip the lemon juice even though the cherries are already tart – it helps balance the sweetness and prevents the filling from becoming too one-dimensional.
If you’re using frozen cherries, make sure to thaw and drain them completely before cooking, or you’ll end up with excess liquid that makes your filling watery no matter how much cornstarch you add.
What to Serve With Sour Cherry Pie Filling?
This tangy-sweet cherry filling is perfect spooned over vanilla ice cream for an instant dessert that tastes like summer in a bowl. You can also swirl it into plain Greek yogurt for a quick breakfast or snack, or layer it with whipped cream and crushed graham crackers for an easy cherry “parfait.” If you’re feeling fancy, try warming it up and serving it over pancakes or waffles instead of syrup – the tartness pairs beautifully with fluffy breakfast treats. For a simple weeknight dessert, just dollop it over pound cake or angel food cake with a little whipped cream on the side.
Storage Instructions
Refrigerate: Your homemade sour cherry pie filling will keep beautifully in the fridge for up to one week when stored in an airtight container. I love making this ahead of time so I can whip up a pie or use it as a topping for ice cream whenever the craving hits!
Freeze: This filling freezes wonderfully for up to 6 months in freezer-safe containers or heavy-duty freezer bags. Just leave about an inch of space at the top since it will expand when frozen. I like to freeze it in pie-sized portions so I can grab exactly what I need for baking.
Use: When you’re ready to use frozen filling, just thaw it overnight in the refrigerator. Give it a good stir before using since the juices might separate a bit. You can use it straight from the fridge for pies, or warm it gently on the stove for a lovely topping over pancakes or cheesecake.
| Preparation Time | 10-20 minutes |
| Cooking Time | 10-15 minutes |
| Total Time | 20-35 minutes |
| Level of Difficulty | Easy |
Estimated Nutrition
Estimated nutrition for the whole recipe (without optional ingredients):
- Calories: 1100-1200
- Protein: 8-10 g
- Fat: 1-2 g
- Carbohydrates: 265-285 g
Ingredients
- 2 lb pitted sour cherries, fresh or frozen
- 1 cup granulated sugar
- 1/4 cup cornstarch
- 1 tbsp lemon juice
- 1/4 cup tart cherry juice
- 1/2 tsp almond extract
- 2 tbsp cold unsalted butter, diced (optional)
Step 1: Combine Cherries With Dry Ingredients
- 2 lb pitted sour cherries, fresh or frozen
- 1 cup granulated sugar
- 1/4 cup cornstarch
- 1 tbsp lemon juice
- 1/4 cup tart cherry juice
In a large mixing bowl, add the pitted sour cherries, granulated sugar, and cornstarch.
Toss the ingredients together until the cherries are evenly coated with the sugar and cornstarch.
Add the lemon juice and tart cherry juice, then mix thoroughly to combine.
Let the mixture sit for about 15 minutes, allowing the sugar to dissolve and the juices to start releasing from the cherries.
Step 2: Cook the Cherry Filling
- cherry mixture from Step 1
Transfer the entire cherry mixture from Step 1 into a large pot.
Set the pot over medium heat and cook, stirring frequently, until the filling thickens and the mixture is bubbling all the way through.
Careful not to let it burn; keep stirring for an even consistency.
This usually takes about 8-12 minutes.
Step 3: Finish With Almond Extract and Butter
- 1/2 tsp almond extract
- 2 tbsp cold unsalted butter, diced (optional)
Remove the pot from the heat.
Stir in the almond extract and the cold diced butter until the butter is fully melted (butter is optional, but it gives the filling a richer texture—I always include it for deeper flavor).
Step 4: Cool and Store the Cherry Filling
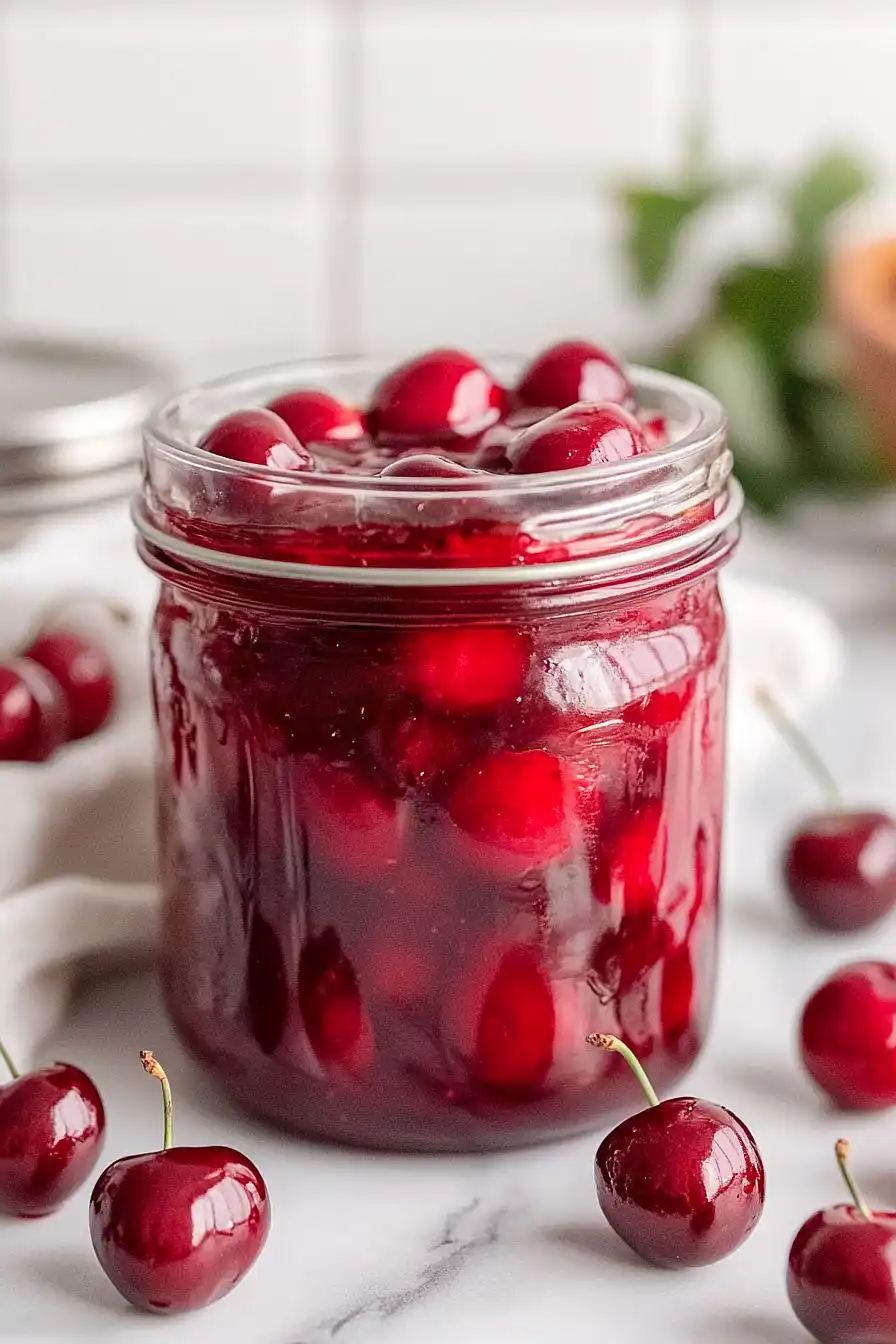
Pour the hot cherry filling into clean jars or other airtight containers.
Let the mixture cool completely at room temperature.
Once cooled, store the filling in the refrigerator for up to 7 days or in the freezer for up to six months.
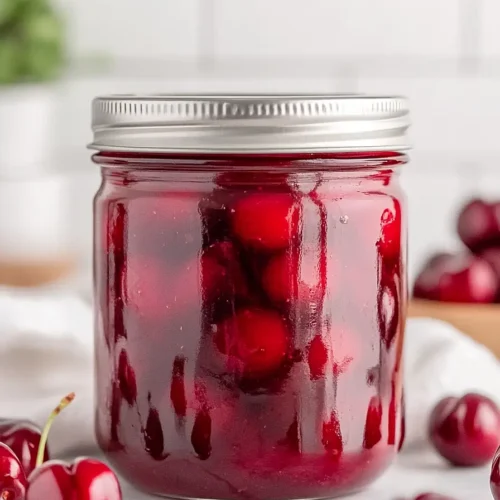
Easy Sour Cherry Pie Filling
Ingredients
- 2 lb pitted sour cherries, fresh or frozen
- 1 cup granulated sugar
- 1/4 cup cornstarch
- 1 tbsp lemon juice
- 1/4 cup tart cherry juice
- 1/2 tsp almond extract
- 2 tbsp cold unsalted butter, diced (optional)
Instructions
- In a large mixing bowl, add the pitted sour cherries, granulated sugar, and cornstarch. Toss the ingredients together until the cherries are evenly coated with the sugar and cornstarch. Add the lemon juice and tart cherry juice, then mix thoroughly to combine. Let the mixture sit for about 15 minutes, allowing the sugar to dissolve and the juices to start releasing from the cherries.
- Transfer the entire cherry mixture from Step 1 into a large pot. Set the pot over medium heat and cook, stirring frequently, until the filling thickens and the mixture is bubbling all the way through. Careful not to let it burn; keep stirring for an even consistency. This usually takes about 8-12 minutes.
- Remove the pot from the heat. Stir in the almond extract and the cold diced butter until the butter is fully melted (butter is optional, but it gives the filling a richer texture—I always include it for deeper flavor).
- Pour the hot cherry filling into clean jars or other airtight containers. Let the mixture cool completely at room temperature. Once cooled, store the filling in the refrigerator for up to 7 days or in the freezer for up to six months.

