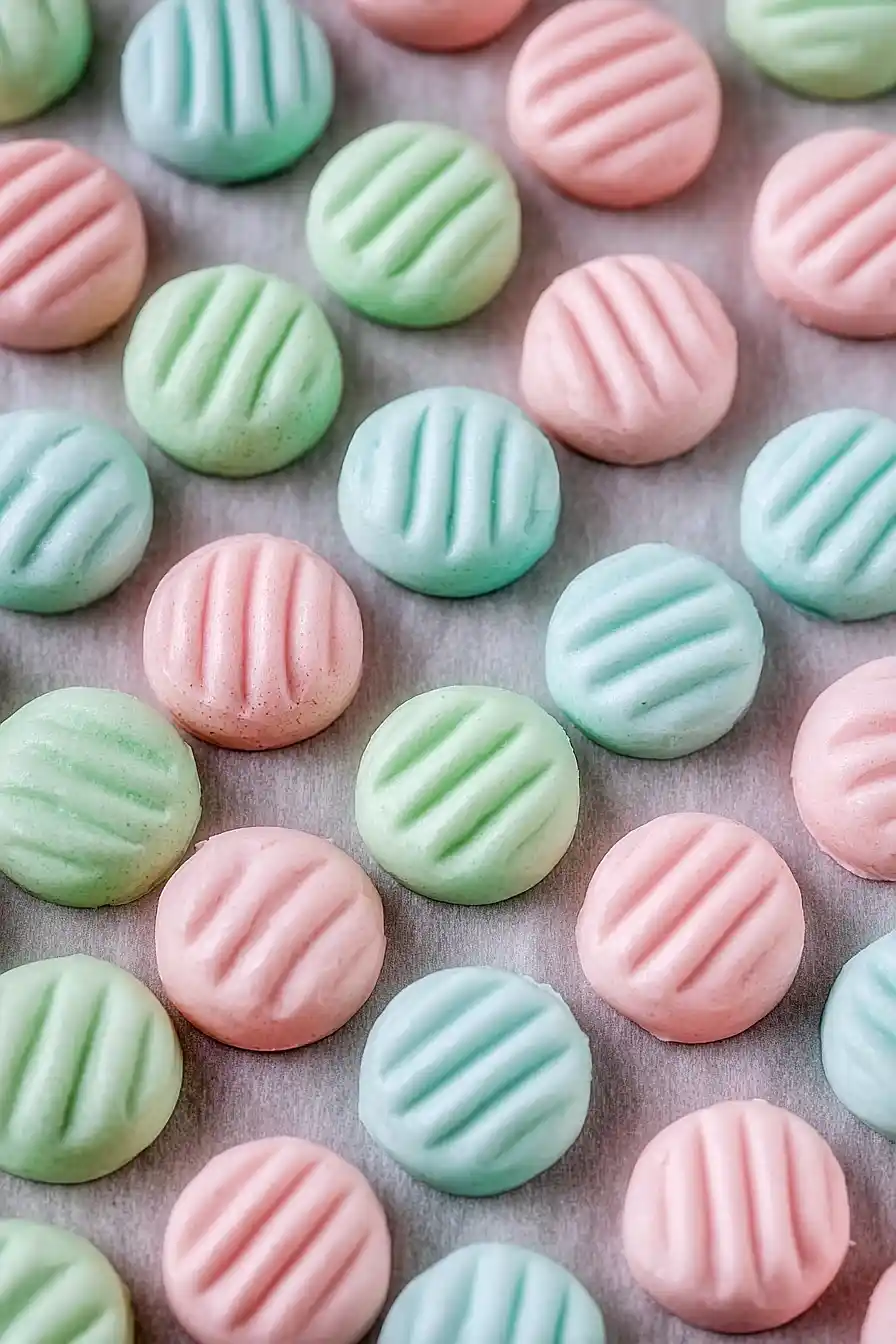
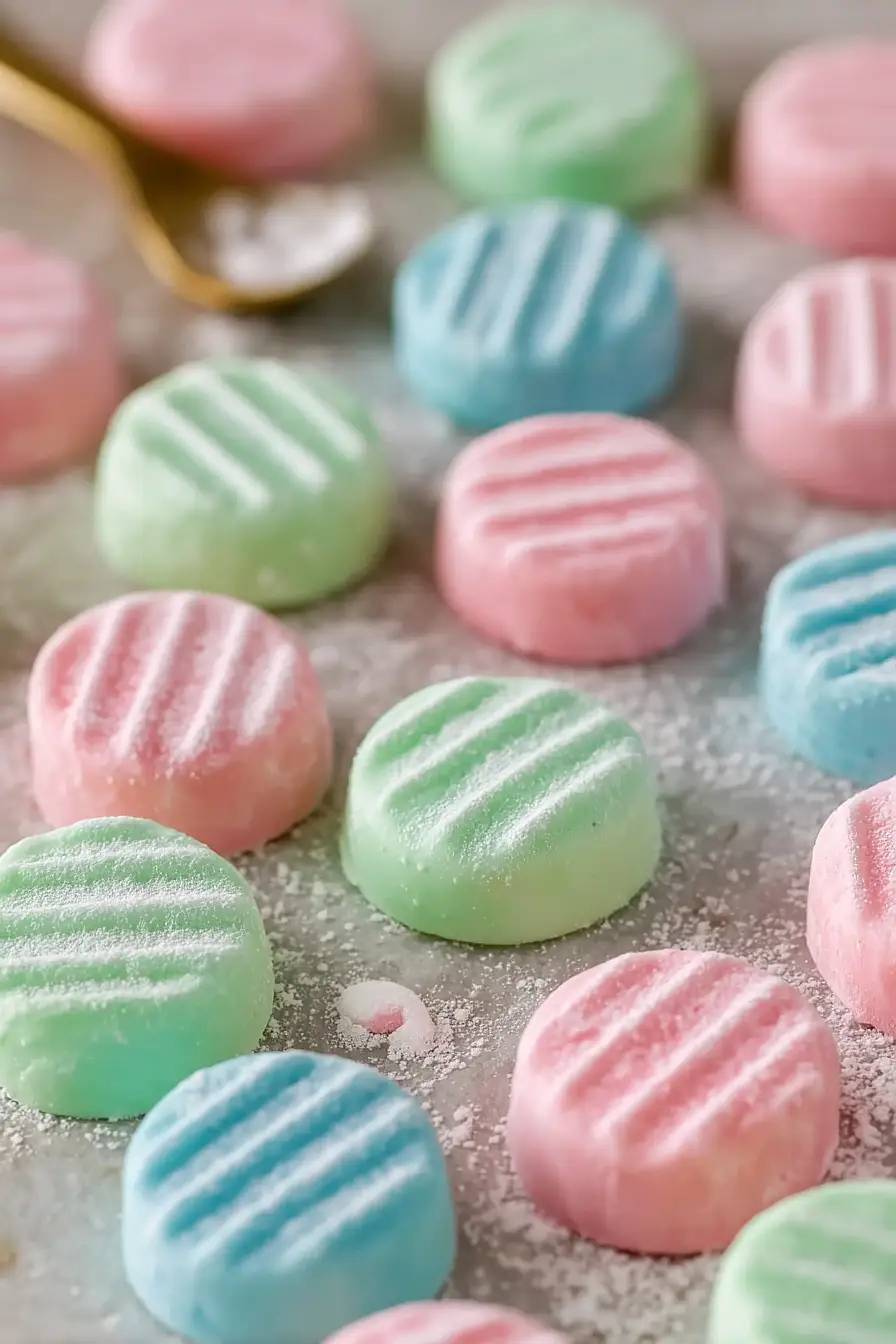
I’ve been making these cream cheese mints for years, and they’re always the first thing to disappear at parties. There’s something about their smooth, creamy texture and fresh mint flavor that people just can’t resist. Plus, they look so pretty on a dessert table without requiring any fancy decorating skills.
The best part? You only need a few ingredients and about 15 minutes of your time. No baking required, which means you can make them even when your oven is packed with other holiday dishes. I usually whip up a batch the night before any gathering and store them in the fridge.
These little mints are perfect for weddings, baby showers, or holiday parties. You can make them in any color to match your event, and they taste way better than store-bought mints. Trust me, once you try making them yourself, you’ll never go back to buying them.

Why You’ll Love These Cream Cheese Mints
- Quick and easy – These mints come together in just 10-15 minutes with no baking required, making them perfect for last-minute entertaining or gift-giving.
- Simple ingredients – You probably already have most of these basic pantry staples at home, so no special shopping trip needed.
- Perfect for special occasions – These elegant little mints are ideal for weddings, baby showers, holidays, or any time you want to add a sweet finishing touch to your gathering.
- Customizable colors – Add food coloring to match your party theme or holiday colors, making them as festive as you want.
- Make-ahead friendly – You can prepare these mints days in advance and store them, which is one less thing to worry about when hosting.
What Kind of Cream Cheese Should I Use?
For cream cheese mints, you’ll want to use regular full-fat cream cheese rather than the light or whipped varieties. The full-fat version gives you the best texture and helps the mints hold their shape properly. Make sure your cream cheese is completely softened before you start – I like to take it out of the fridge about an hour before making the mints, or you can soften it quickly in the microwave for 15-20 seconds. Brand-wise, most standard cream cheese brands like Philadelphia work perfectly fine, so just go with whatever you have on hand or prefer.
Options for Substitutions
These little mints are pretty straightforward, but here are some swaps you can make:
- Cream cheese: This is really the star of the recipe, so I wouldn’t recommend substituting it. The cream cheese gives these mints their smooth, creamy texture that makes them special.
- Salted butter: You can use unsalted butter if that’s what you have – just add a tiny pinch of salt to the mixture. Margarine works too, though the flavor won’t be quite as rich.
- Peppermint extract: Feel free to experiment with other extracts like spearmint, lemon, or orange for different flavored mints. Start with the same amount and adjust to taste.
- Vanilla extract: This is optional anyway, but if you don’t have it, you can skip it entirely or use almond extract for a different flavor note.
- Powdered sugar: This ingredient is essential for the right texture and sweetness – don’t substitute it with regular sugar. If you run out, you can make your own by blending granulated sugar in a food processor until powdery.
- Food coloring: Totally optional! Use gel food coloring for more intense colors, or skip it entirely for classic white mints.
Watch Out for These Mistakes While Making
The biggest mistake when making cream cheese mints is adding the powdered sugar too quickly, which can create a lumpy mixture that’s difficult to work with – instead, add it gradually while mixing to achieve a smooth, pliable dough.
Another common error is making the mixture too sticky by not adding enough powdered sugar, so keep extra on hand and work it in until the dough feels like soft play dough that doesn’t stick to your hands.
To prevent your mints from losing their shape, make sure to dust your molds or cookie cutters with powdered sugar before pressing, and avoid overworking the dough which can make it tough and cause the mints to crack.
For the best texture and flavor, let your finished mints sit uncovered for at least 24 hours to firm up properly before storing them in an airtight container.
What to Serve With Cream Cheese Mints?
These little cream cheese mints are perfect for serving at baby showers, bridal showers, or any tea party where you want something sweet and refreshing. They pair beautifully with other bite-sized treats like petit fours, macarons, or simple butter cookies on a dessert table. I love setting them out alongside fresh fruit like strawberries or grapes, which help balance out the sweetness. They’re also great to serve with coffee, tea, or even champagne at special celebrations – just arrange them on a pretty platter and watch them disappear!
Storage Instructions
Keep Fresh: These cream cheese mints stay perfectly soft when stored in an airtight container in the refrigerator for up to 2 weeks. I like to layer them between sheets of parchment paper so they don’t stick together. They’re actually better after sitting for a day or two because the flavors really meld together nicely.
Freeze: You can freeze these little treats for up to 3 months in a freezer-safe container with parchment paper between layers. This is great when you’re making them ahead for holidays or special occasions. Just make sure they’re completely set before freezing.
Serve: Let frozen mints thaw in the refrigerator for a few hours before serving. They taste best when they’re slightly chilled, so I usually take them out of the fridge about 10-15 minutes before guests arrive. Room temperature mints are still delicious, just a bit softer in texture.
| Preparation Time | 10-15 minutes |
| Cooking Time | 0 minutes |
| Total Time | 10-15 minutes |
| Level of Difficulty | Easy |
Estimated Nutrition
Estimated nutrition for the whole recipe (without optional ingredients):
- Calories: 1780-1900
- Protein: 2-4 g
- Fat: 45-50 g
- Carbohydrates: 380-400 g
Ingredients
- 4 oz softened cream cheese
- 1 tbsp salted butter, at room temperature
- 4 cups confectioners’ sugar, plus more as needed and for pressing
- 1/2 tsp peppermint flavoring
- 1/8 tsp vanilla flavoring
- Desired food coloring (optional)
Step 1: Cream the Cheese and Butter
- 4 oz softened cream cheese
- 1 tbsp salted butter, at room temperature
In the bowl of a stand mixer or a large mixing bowl, combine the softened cream cheese and salted butter.
Beat together on medium speed until the mixture becomes smooth, creamy, and well combined.
This forms the rich, flavorful base for your peppermint mints.
Step 2: Incorporate the Sugar and Flavorings
- 4 cups confectioners’ sugar, plus more as needed
- 1/2 tsp peppermint flavoring
- 1/8 tsp vanilla flavoring
With the mixer on low speed, gradually add 2 cups of confectioners’ sugar to the cream cheese and butter mixture, mixing until fully blended.
Add the peppermint and vanilla flavorings and mix again to evenly distribute the flavor.
Continue gradually adding the remaining confectioners’ sugar, mixing and scraping the sides of the bowl as needed, until everything is well combined.
The dough should be very stiff and not sticky—if it’s still sticky, add more powdered sugar a little at a time until you reach a play-dough-like consistency.
Step 3: Color and Shape the Mints
- desired food coloring (optional)
- confectioners’ sugar, for pressing (from ‘plus more as needed and for pressing’)
If you want to add color to your mints, either blend your chosen food coloring into the entire dough with the mixer, or divide the dough into portions and knead separate colors into each to create a selection of shades.
Next, roll portions of dough between your palms into teaspoon-sized balls and place them on a wax-paper lined baking sheet.
Dip the tines of a fork in additional powdered sugar and gently press down on each ball to flatten it and create a classic mint pattern.
I like to use extra confectioners’ sugar on the fork to keep it from sticking and to give the mints a pretty, powdery finish.
Step 4: Dry, Store, and Serve
Allow the shaped mints to dry at room temperature on the baking sheet for several hours, until they are completely firm—when gently squeezed, they shouldn’t squish or give.
Once dried, transfer the mints to an airtight container.
To prevent the mints from sticking together, layer them with sheets of wax paper.
Store in the refrigerator until ready to serve.
Creamy Cream Cheese Mints
Ingredients
- 4 oz softened cream cheese
- 1 tbsp salted butter, at room temperature
- 4 cups confectioners’ sugar, plus more as needed and for pressing
- 1/2 tsp peppermint flavoring
- 1/8 tsp vanilla flavoring
- desired food coloring (optional)
Instructions
- In the bowl of a stand mixer or a large mixing bowl, combine the softened cream cheese and salted butter. Beat together on medium speed until the mixture becomes smooth, creamy, and well combined. This forms the rich, flavorful base for your peppermint mints.
- With the mixer on low speed, gradually add 2 cups of confectioners’ sugar to the cream cheese and butter mixture, mixing until fully blended. Add the peppermint and vanilla flavorings and mix again to evenly distribute the flavor. Continue gradually adding the remaining confectioners’ sugar, mixing and scraping the sides of the bowl as needed, until everything is well combined. The dough should be very stiff and not sticky—if it's still sticky, add more powdered sugar a little at a time until you reach a play-dough-like consistency.
- If you want to add color to your mints, either blend your chosen food coloring into the entire dough with the mixer, or divide the dough into portions and knead separate colors into each to create a selection of shades. Next, roll portions of dough between your palms into teaspoon-sized balls and place them on a wax-paper lined baking sheet. Dip the tines of a fork in additional powdered sugar and gently press down on each ball to flatten it and create a classic mint pattern. I like to use extra confectioners’ sugar on the fork to keep it from sticking and to give the mints a pretty, powdery finish.
- Allow the shaped mints to dry at room temperature on the baking sheet for several hours, until they are completely firm—when gently squeezed, they shouldn’t squish or give. Once dried, transfer the mints to an airtight container. To prevent the mints from sticking together, layer them with sheets of wax paper. Store in the refrigerator until ready to serve.

