Trying to satisfy your apple pie cravings without all the fuss of making a traditional pie can feel impossible. After all, rolling out pie crust and dealing with lattice work takes time and skill that most of us don’t have on busy weeknights, and things get even trickier when you’re hosting a crowd and need to make multiple desserts.
Luckily, these apple pie bars check all the boxes: they’re just as tasty as regular apple pie, much easier to make and serve, and perfect for feeding a group without the stress of slicing perfect pie wedges.
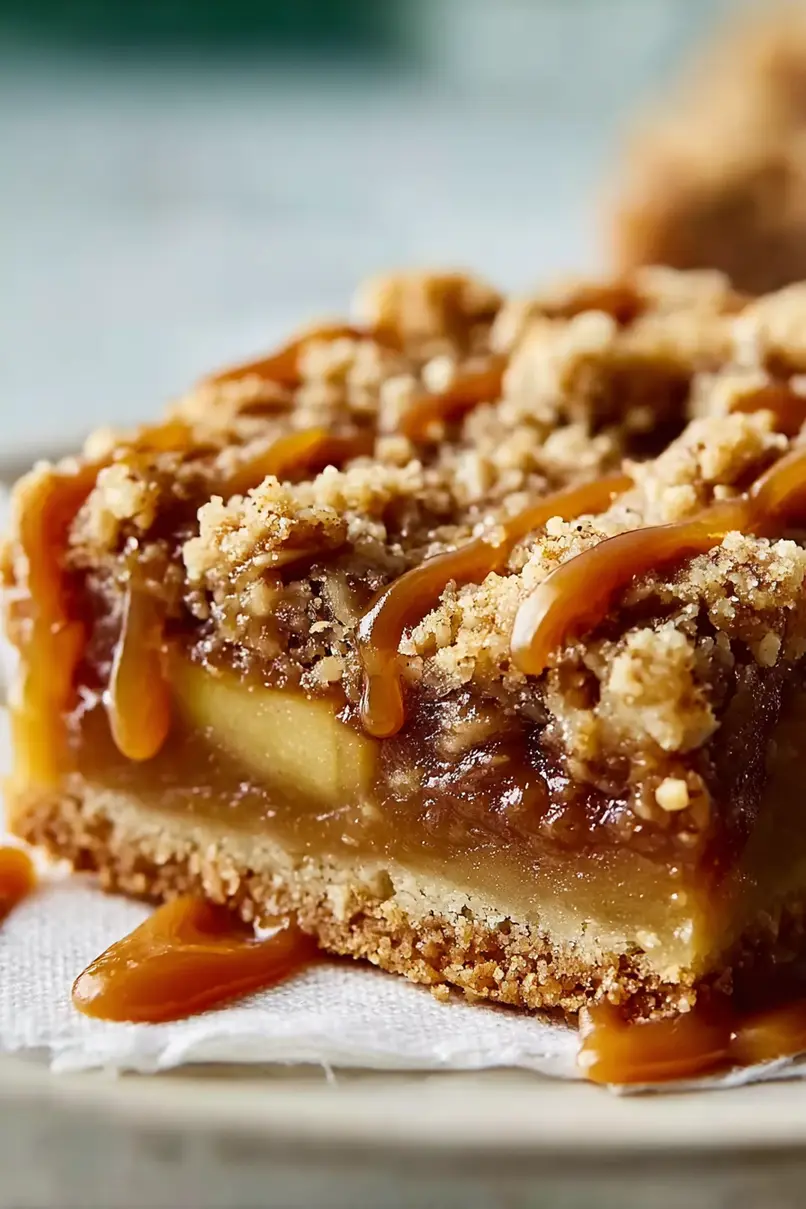
Why You’ll Love These Apple Pie Bars
- Easier than traditional apple pie – No rolling out pie dough or worrying about soggy bottoms – these bars give you all the flavors of apple pie with way less fuss.
- Perfect for feeding a crowd – Cut into neat squares, these bars are ideal for potlucks, bake sales, or when you need to serve more people than a single pie can handle.
- Simple pantry ingredients – You probably already have most of these basics on hand, making it an easy dessert to whip up without a special grocery trip.
- Cozy fall flavors – The warm spices like cinnamon and nutmeg combined with tender apples create that perfect autumn comfort food taste we all crave.
- Customizable toppings – Drizzle with caramel sauce for extra indulgence, or serve plain – either way, these bars are guaranteed to disappear fast.
What Kind of Apples Should I Use?
For apple pie bars, you’ll want to stick with apples that hold their shape well during baking and won’t turn to mush. Granny Smith apples are a classic choice because they’re tart and firm, but Honeycrisp, Braeburn, or Jonagold also work great. You can even mix two different varieties for more complex flavor – try pairing a tart apple like Granny Smith with a sweeter one like Gala. Whatever you choose, make sure your apples are fresh and crisp, and slice them evenly so they bake at the same rate.
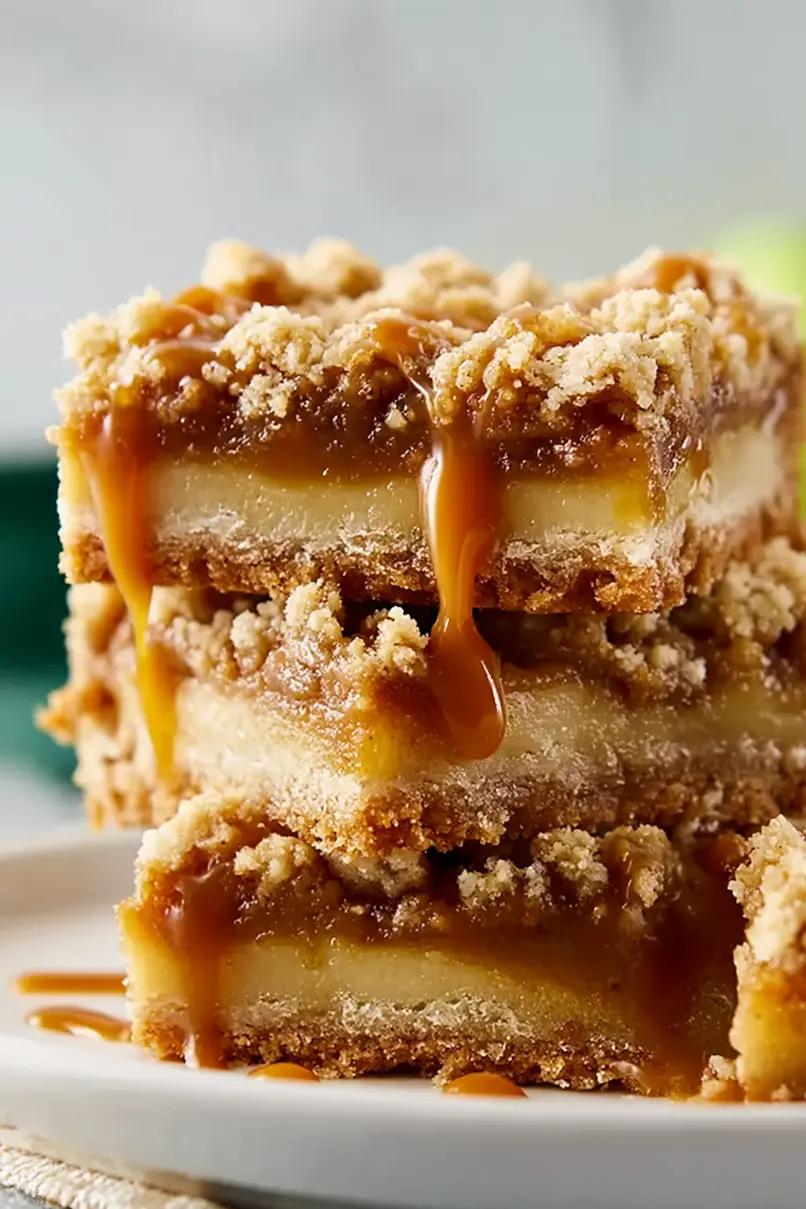
Options for Substitutions
These apple pie bars are pretty forgiving when it comes to swapping ingredients:
- Apples: While any baking apple works great, you can mix varieties like Granny Smith with Honeycrisp for extra flavor. Pears also make a tasty substitute – just slice them the same thickness and add an extra tablespoon of flour to handle the extra juice.
- Old-fashioned oats: Quick oats can work in a pinch, but your topping will be less chunky. If you don’t have oats at all, try chopped pecans or walnuts for that crumbly texture.
- Brown sugar: You can swap brown sugar with granulated sugar plus 1 tablespoon of molasses, or use coconut sugar for a slightly different flavor profile.
- Ground nutmeg: No nutmeg? Try a pinch of allspice or cardamom instead. You could even add a tiny bit of ginger for warmth.
- Unsalted butter: Salted butter works fine – just reduce the added salt by half. For the cold cubed butter in the topping, make sure it stays cold for the best crumbly texture.
- All-purpose flour: This is pretty essential for the structure of these bars, so I’d stick with all-purpose flour to get the right texture in both the crust and topping.
Watch Out for These Mistakes While Baking
The biggest mistake when making apple pie bars is cutting your apples too thick, which can lead to uneven baking and a soggy bottom crust – stick to that 1/4 inch thickness and consider using firmer apples like Granny Smith or Honeycrisp that won’t turn to mush.
Another common error is not properly pressing your bottom crust into the pan, so make sure to firmly pack it down with your fingers or the bottom of a measuring cup to create a solid foundation that won’t crumble when you cut the bars.
Don’t skip tossing those sliced apples with flour, sugar, and spices before layering them on – this step prevents excess moisture from making your bars soggy and helps the filling hold together better.
Finally, keep your butter cold when making the crumb topping, as warm butter will create a paste instead of those lovely crumbly pieces that make these bars so good.
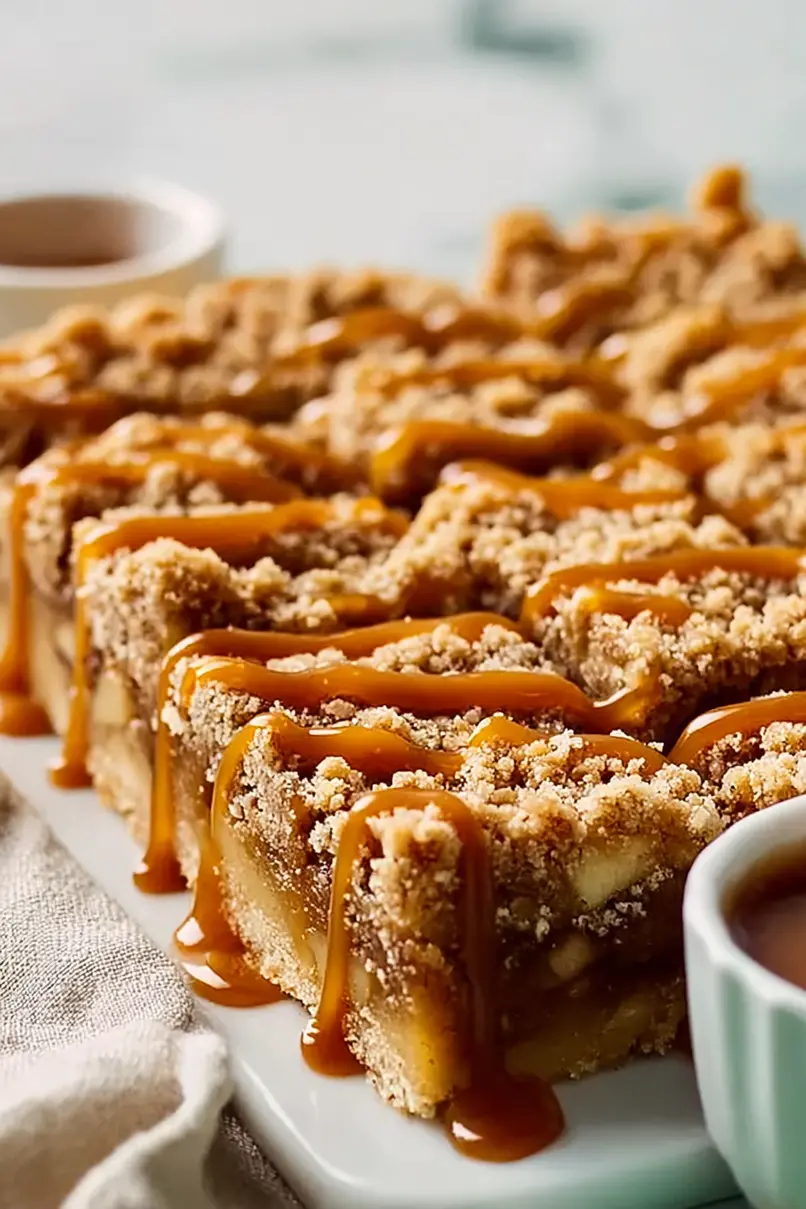
What to Serve With Apple Pie Bars?
These apple pie bars are perfect on their own, but a scoop of vanilla ice cream on top takes them to the next level – especially when they’re still warm from the oven. A drizzle of that caramel sauce mentioned in the recipe is also a game-changer, adding extra sweetness that pairs beautifully with the cinnamon and apple flavors. For a cozy afternoon treat, serve them alongside a hot cup of coffee or spiced chai tea. You could also add a dollop of fresh whipped cream or even a sprinkle of chopped pecans for some extra crunch.
Storage Instructions
Store: These apple pie bars keep really well covered tightly with plastic wrap or in an airtight container at room temperature for up to 3 days. If you want them to last longer, pop them in the fridge where they’ll stay fresh for up to a week.
Freeze: You can freeze these bars for up to 3 months! Just wrap them individually in plastic wrap or store them in a freezer-safe container with parchment paper between layers. They’re perfect for making ahead when you know you’ll want a sweet treat later.
Serve: Enjoy these bars straight from the fridge or let them come to room temperature for about 20 minutes if you prefer them less chilled. If you froze them, just thaw overnight in the fridge. A drizzle of that caramel sauce right before serving makes them extra special!
| Preparation Time | 30-45 minutes |
| Cooking Time | 45-55 minutes |
| Total Time | 75-100 minutes |
| Level of Difficulty | Medium |
Estimated Nutrition
Estimated nutrition for the whole recipe (without optional ingredients):
- Calories: 1850-2000
- Protein: 14-18 g
- Fat: 90-105 g
- Carbohydrates: 250-280 g
Ingredients
For the base layer:
- 1/4 cup sugar
- 1 cup all-purpose flour (I use King Arthur)
- 1/2 cup unsalted butter, melted (I use Kerrygold for rich flavor)
- 1 tsp vanilla extract (pure vanilla preferred)
- 1/4 tsp salt
For the apple mixture:
- 1 tsp ground cinnamon (freshly ground for best flavor)
- 1/8 tsp ground nutmeg
- 2 tbsp all-purpose flour
- 2 tbsp sugar
- 2 large apples, peeled and sliced into 1/4-inch slices (Granny Smith or Honeycrisp work best)
For the streusel topping:
- 1/4 tsp ground cinnamon
- 1/2 cup rolled oats
- 4 tbsp unsalted butter, cold and diced (for crumbly texture)
- 1/3 cup brown sugar, packed (light or dark)
- 1/4 cup all-purpose flour
For drizzling:
- Salted caramel sauce (homemade or store-bought, optional but recommended for extra richness)
Step 1: Prepare Mise en Place and Preheat Oven
- 2 large apples, peeled and sliced into 1/4-inch slices
- 2 tbsp all-purpose flour
- 2 tbsp sugar
- 1 tsp ground cinnamon
- 1/8 tsp ground nutmeg
- 1/2 cup rolled oats
- 1/3 cup brown sugar, packed
- 1/4 tsp ground cinnamon
- 4 tbsp unsalted butter, cold and diced
Peel and slice your apples into 1/4-inch slices, then immediately toss them with 2 tablespoons flour, 2 tablespoons sugar, 1 teaspoon cinnamon, and 1/8 teaspoon nutmeg in a bowl to prevent browning and distribute spices evenly.
In a separate bowl, combine 1/2 cup rolled oats, 1/3 cup packed brown sugar, and 1/4 teaspoon cinnamon, then cut in 4 tablespoons cold diced butter using a fork or pastry cutter until the mixture resembles coarse crumbs with some pea-sized pieces remaining.
Line an 8-inch square baking pan with parchment paper, allowing some overhang for easy removal later.
Preheat your oven to 300°F.
Step 2: Mix and Bake the Shortbread Crust
- 1/2 cup unsalted butter, melted
- 1/4 cup sugar
- 1 tsp vanilla extract
- 1/4 tsp salt
- 1 cup all-purpose flour
In a bowl, whisk together 1/2 cup melted butter, 1/4 cup sugar, 1 teaspoon vanilla extract, and 1/4 teaspoon salt until combined.
Add 1 cup all-purpose flour and stir until a dough forms.
Press this mixture firmly and evenly into the bottom of your prepared pan, creating an even layer.
Bake at 300°F for 15 minutes until the crust is set but not yet golden—this partial bake gives it structure before adding the wet apple filling.
Step 3: Assemble and Finish the Bars
- spiced apple mixture from Step 1
- oat crumb topping from Step 1
Remove the partially baked crust from the oven and increase the oven temperature to 350°F.
Spread the spiced apple mixture from Step 1 evenly over the warm crust, then sprinkle the oat crumb topping from Step 1 generously over the apples, pressing it down slightly so it adheres.
I like to make sure the apples are completely covered with the crumble so they don’t dry out and the topping gets golden and crispy.
Step 4: Bake Until Golden and Cool
Bake the assembled bars at 350°F for 30-35 minutes until the oat topping is golden brown and the apples are tender when pierced with a fork.
Remove from the oven and let cool in the pan for 20 minutes, which allows the structure to set without being too firm.
Transfer to the refrigerator for at least 2 hours—this cooling step is crucial because it firms up the crust and makes slicing much cleaner.
Step 5: Slice and Serve
- Salted caramel sauce
Once chilled, lift the entire bar out of the pan using the parchment overhang and place on a cutting board.
Using a sharp knife, cut into 9 or 12 equal squares depending on your preferred size.
Serve at room temperature or slightly chilled, drizzling each bar with salted caramel sauce if desired for extra richness and sweetness.
For the best texture, I find that letting the bars sit at room temperature for 10 minutes before serving makes them less crumbly while still maintaining their structure.







