Finding a gluten-free cookie recipe that actually tastes like the real thing can feel nearly impossible. Traditional Russian tea cakes are buttery, melt-in-your-mouth treats that you might think are off-limits if you’re avoiding gluten, and let’s be honest, most gluten-free versions end up dry or crumbly with a weird aftertaste.
The good news? These gluten-free Russian tea cakes are here to prove that you don’t have to sacrifice flavor or texture. They’re just as rich and tender as the classic version, thanks to a smart combination of almond flour and a quality gluten-free blend, and they come together with ingredients you probably already have in your pantry.
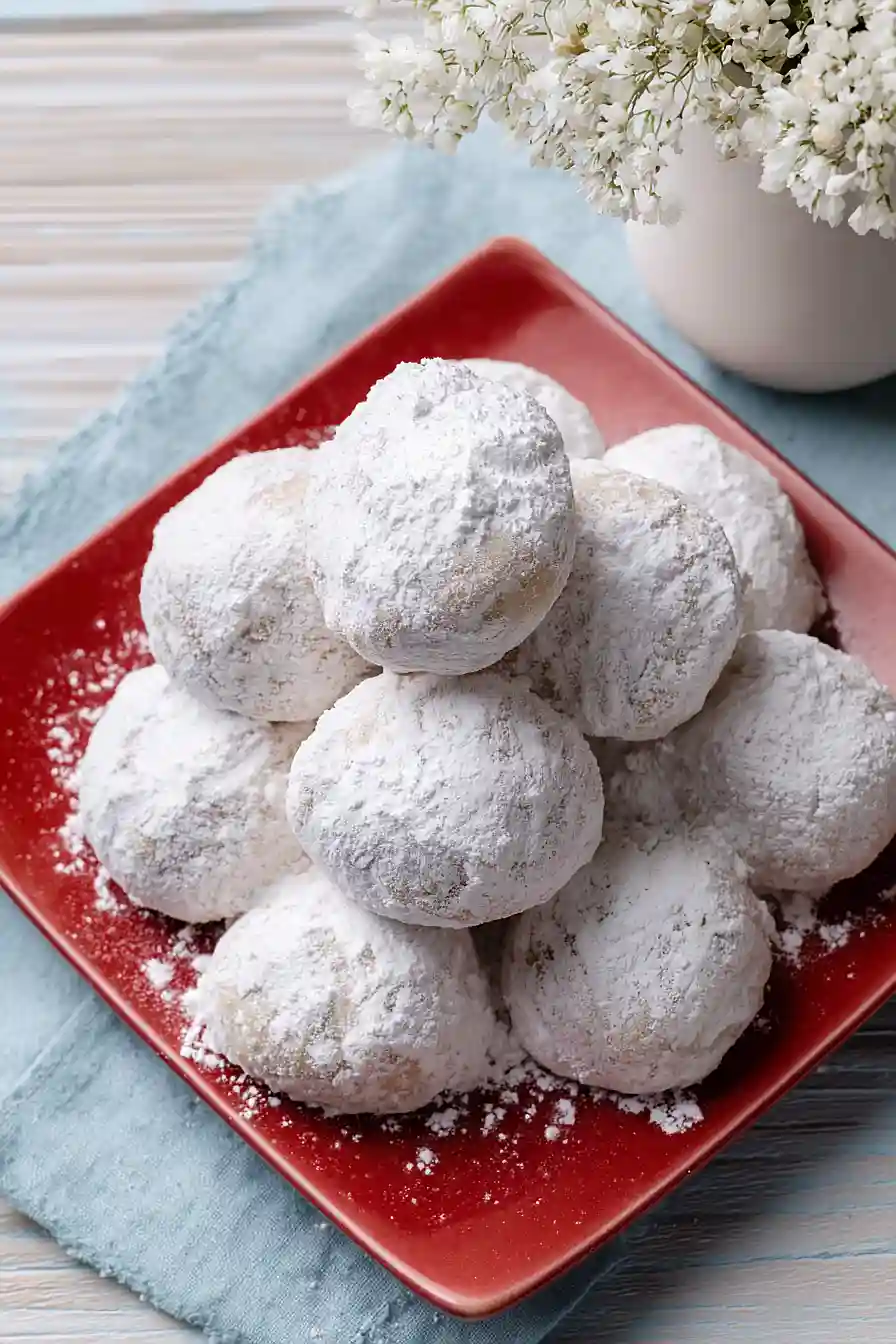
Why You’ll Love These Gluten Free Russian Tea Cakes
- Gluten-free friendly – These cookies use a gluten-free flour blend and almond flour, so everyone at your holiday gathering can enjoy them without worry.
- Quick and easy – Ready in under 45 minutes, these cookies come together fast when you need a last-minute treat for guests or a cookie exchange.
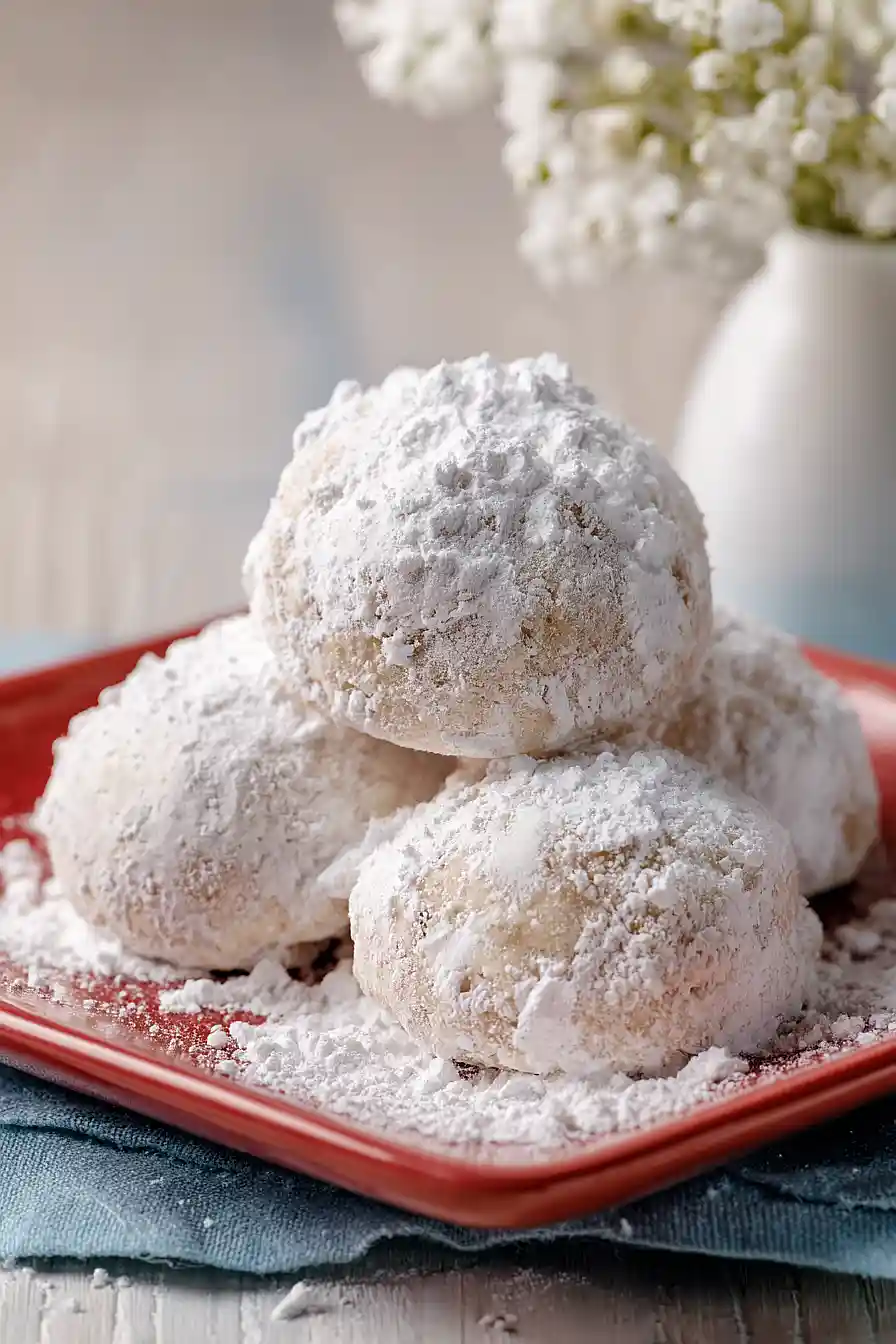
- Melt-in-your-mouth texture – The combination of butter, almond flour, and that snowy coating of confectioner’s sugar creates a delicate, crumbly cookie that practically dissolves on your tongue.
- Perfect for any occasion – Whether it’s Christmas, a wedding shower, or just a regular Tuesday, these elegant little cookies always feel special and look beautiful on a plate.
- Simple ingredients – You probably have most of these pantry staples on hand already, making this an accessible recipe you can whip up anytime.
What Kind of Butter Should I Use?
For Russian tea cakes, you’ll want to use unsalted butter so you can control the salt level in your cookies. The recipe calls for soft butter, which means it should be at room temperature – not melted, but soft enough that you can easily press your finger into it. European-style butter with higher fat content can give you an even richer, more tender cookie, but regular supermarket butter works perfectly fine too. Just make sure to take your butter out of the fridge about an hour before you start baking so it has time to soften naturally – don’t try to speed things up in the microwave or you might end up with unevenly melted butter that can affect your cookie texture.
Options for Substitutions
These cookies are pretty forgiving, so here are some swaps you can make:
- Butter: You can use margarine or vegan butter as a dairy-free option. Just make sure it’s softened to room temperature before mixing.
- Almond extract: Vanilla extract works great if you don’t have almond extract on hand. You could also try using half vanilla and half almond for a milder flavor.
- Almond flour: If you have a nut allergy, try using oat flour or additional gluten free flour blend instead. The texture will be slightly different but still tasty.
- Gluten free flour blend: Don’t substitute this with regular all-purpose flour if you need the cookies to stay gluten free. However, you can use different brands of gluten free blends – just make sure they contain xanthan gum or add 1/4 teaspoon yourself.
- Chopped almonds: Pecans or walnuts work wonderfully here and give the cookies a slightly different but equally good flavor. For nut-free cookies, try using sunflower seeds or pepitas, finely chopped.
Watch Out for These Mistakes While Baking
The biggest mistake with Russian tea cakes is overbaking them, which turns these delicate cookies dry and crumbly instead of tender and melt-in-your-mouth – pull them from the oven when they’re just set and barely golden on the bottom, not browned.
Rolling the cookies in confectioner’s sugar while they’re still piping hot is crucial for that signature snowy coating, but be gentle since they’re fragile when warm and can easily break apart.
Make sure your butter is truly soft (not melted) before mixing, as melted butter will cause the cookies to spread too much and lose their classic round shape.
Finally, don’t skip chilling the dough for 30 minutes if it feels too soft to handle – this makes rolling the balls much easier and helps the cookies hold their shape during baking.
What to Serve With Russian Tea Cakes?
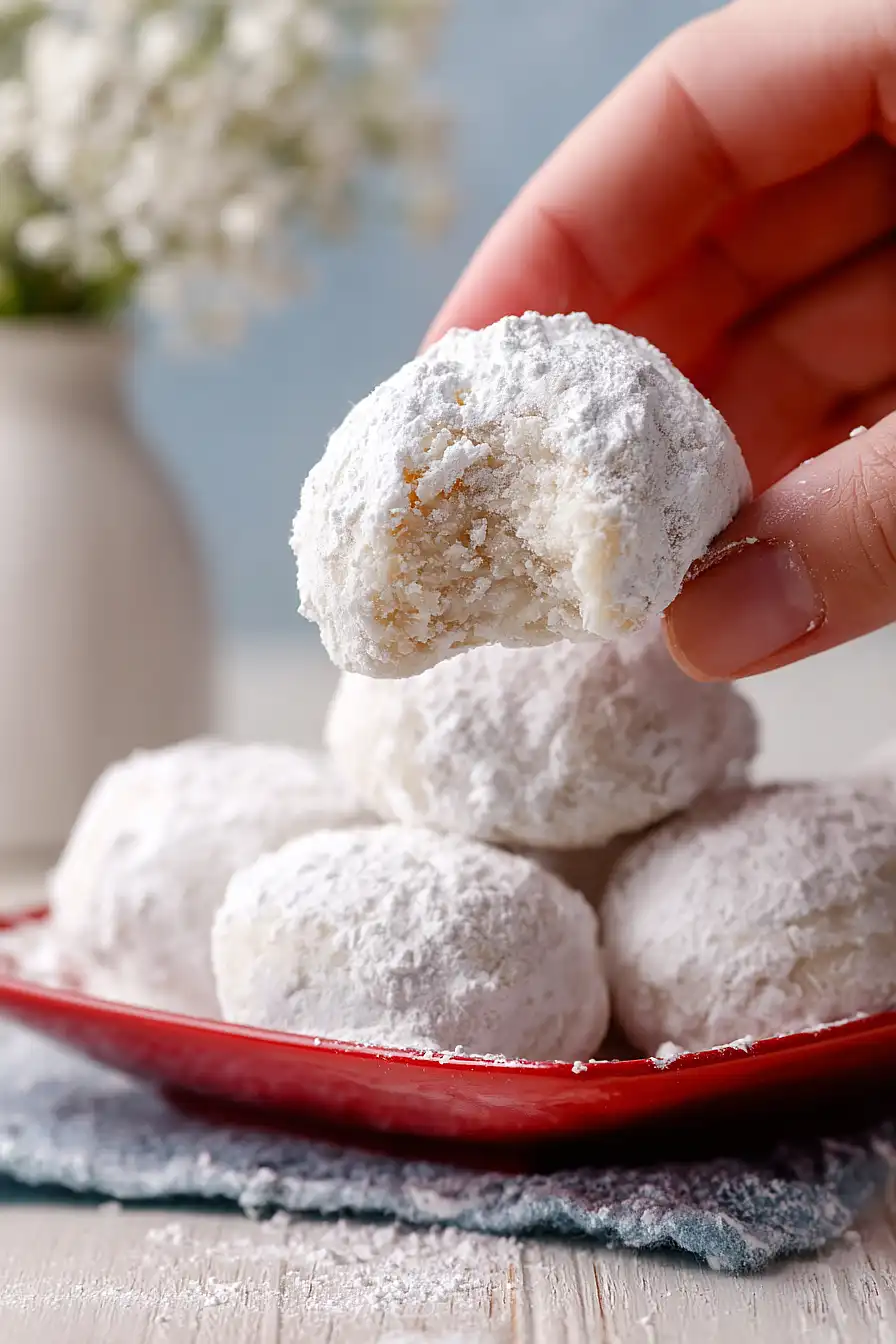
These buttery cookies are perfect alongside a hot cup of coffee, tea, or even hot chocolate during the holidays. I love setting them out on a platter with other Christmas cookies like gingerbread or sugar cookies for a nice variety at cookie exchanges or holiday parties. They also pair really well with a glass of cold milk if you’re enjoying them as an afternoon snack. Since they’re on the sweeter side, I sometimes serve them with fresh berries or a fruit salad to balance things out.
Storage Instructions
Store: These cookies keep really well in an airtight container at room temperature for up to a week. Just layer them with parchment paper between each layer so they don’t stick together. The powdered sugar coating might absorb a bit over time, so you can always roll them in fresh sugar before serving if you want them to look extra pretty.
Freeze: Russian tea cakes are perfect for freezing! Place them in a freezer-safe container with parchment paper between layers and they’ll stay good for up to 3 months. You can freeze them before or after coating in powdered sugar, though I usually wait to add the final coating until after thawing.
Thaw: Just let the frozen cookies sit at room temperature for about 30 minutes before serving. If you froze them without the powdered sugar coating, give them a fresh roll in confectioner’s sugar once they’ve thawed and they’ll taste like you just baked them.
| Preparation Time | 20-30 minutes |
| Cooking Time | 10-12 minutes |
| Total Time | 30-45 minutes |
| Level of Difficulty | Easy |
Estimated Nutrition
Estimated nutrition for the whole recipe (without optional ingredients):
- Calories: 2800-3000
- Protein: 36-42 g
- Fat: 200-220 g
- Carbohydrates: 230-250 g
Ingredients
For the dough:
- 3/4 cup almonds (finely chopped, about 1/4-inch pieces)
- 1 tsp almond extract (for best flavor)
- 1/4 tsp salt
- 1/2 cup confectioner’s sugar
- 1.25 cups gluten-free flour blend (I use Bob’s Red Mill)
- 1 cup almond flour
- 1 cup butter (softened to room temperature)
For the coating:
- confectioner’s sugar (for dusting)
Step 1: Prepare Mise en Place and Cream Butter Mixture
- 1 cup butter
- 1/2 cup confectioner’s sugar
- 1 tsp almond extract
Start by measuring out all your ingredients and setting them in separate bowls—this is your mise en place and ensures a smooth baking process.
In a large mixing bowl, combine the softened butter, 1/2 cup confectioner’s sugar, and almond extract.
Cream these together until the mixture is pale, fluffy, and well-combined, about 2-3 minutes of mixing.
This creaming step is crucial because it incorporates air into the butter, which helps your cookies have a tender, delicate crumb.
Step 2: Combine Dry Ingredients
- 1.25 cups gluten-free flour blend
- 1 cup almond flour
- 1/4 tsp salt
In a separate bowl, whisk together the gluten-free flour blend, almond flour, and salt.
I like to whisk these together rather than just stir—it helps distribute the salt evenly and aerates the flours slightly, which contributes to a more delicate texture in the final cookies.
Set this dry mixture aside for now.
Step 3: Build the Cookie Dough Base
- butter mixture from Step 1
- dry ingredient mixture from Step 2
Add the dry ingredient mixture from Step 2 to the creamed butter mixture from Step 1, mixing gently until just combined.
Be careful not to overmix—you want a uniform dough but overworking gluten-free dough can make it tough and dense.
The dough should come together into a cohesive mass without any visible streaks of flour.
Step 4: Add Nuts and Chill Dough
- 3/4 cup almonds
- dough from Step 3
Fold in the finely chopped almonds until evenly distributed throughout the dough.
Now wrap the dough in plastic wrap and refrigerate for at least 1 hour.
This chilling step is essential—it firms up the dough so the cookies hold their shape during baking rather than spreading too thin.
I find that a well-chilled dough also makes rolling into balls much easier and prevents sticking to your hands.
Step 5: Preheat Oven and Shape Cookies
- chilled dough from Step 4
About 15 minutes before you’re ready to bake, preheat your oven to 400°F.
Once the dough is chilled, remove it from the refrigerator and work quickly to roll it into 1-inch balls.
If the dough becomes too warm and sticky, pop it back in the fridge for a few minutes.
Place each ball on a baking sheet, spacing them about an inch apart since they’ll spread slightly during baking.
Step 6: Bake and Cool Cookies
- shaped cookies from Step 5
Bake the cookies for 10-12 minutes until they’re light golden brown on the bottom and just set on top—they should still feel slightly soft to the touch.
Remove from the oven and let cool on the baking sheet for about 2-3 minutes so they firm up slightly without hardening completely.
Transfer them to a wire rack to finish cooling for another few minutes.
Step 7: Final Sugar Coating
- cooled cookies from Step 6
- confectioner’s sugar
While the cookies are still slightly warm, roll or dust them in confectioner’s sugar until fully coated.
Let them cool completely on the rack.
Once fully cooled, dust them again with confectioner’s sugar for a thicker, more dramatic coating—this is what gives Russian tea cakes their signature snowy appearance.
Store in an airtight container, where they’ll keep for up to a week.
Irresistible Gluten-Free Russian Tea Cakes
Ingredients
For the dough:
- 3/4 cup almonds (finely chopped, about 1/4-inch pieces)
- 1 tsp almond extract (for best flavor)
- 1/4 tsp salt
- 1/2 cup confectioner's sugar
- 1.25 cups gluten-free flour blend (I use Bob's Red Mill)
- 1 cup almond flour
- 1 cup butter (softened to room temperature)
For the coating:
- confectioner's sugar (for dusting)
Instructions
- Start by measuring out all your ingredients and setting them in separate bowls—this is your mise en place and ensures a smooth baking process. In a large mixing bowl, combine the softened butter, 1/2 cup confectioner's sugar, and almond extract. Cream these together until the mixture is pale, fluffy, and well-combined, about 2-3 minutes of mixing. This creaming step is crucial because it incorporates air into the butter, which helps your cookies have a tender, delicate crumb.
- In a separate bowl, whisk together the gluten-free flour blend, almond flour, and salt. I like to whisk these together rather than just stir—it helps distribute the salt evenly and aerates the flours slightly, which contributes to a more delicate texture in the final cookies. Set this dry mixture aside for now.
- Add the dry ingredient mixture from Step 2 to the creamed butter mixture from Step 1, mixing gently until just combined. Be careful not to overmix—you want a uniform dough but overworking gluten-free dough can make it tough and dense. The dough should come together into a cohesive mass without any visible streaks of flour.
- Fold in the finely chopped almonds until evenly distributed throughout the dough. Now wrap the dough in plastic wrap and refrigerate for at least 1 hour. This chilling step is essential—it firms up the dough so the cookies hold their shape during baking rather than spreading too thin. I find that a well-chilled dough also makes rolling into balls much easier and prevents sticking to your hands.
- About 15 minutes before you're ready to bake, preheat your oven to 400°F. Once the dough is chilled, remove it from the refrigerator and work quickly to roll it into 1-inch balls. If the dough becomes too warm and sticky, pop it back in the fridge for a few minutes. Place each ball on a baking sheet, spacing them about an inch apart since they'll spread slightly during baking.
- Bake the cookies for 10-12 minutes until they're light golden brown on the bottom and just set on top—they should still feel slightly soft to the touch. Remove from the oven and let cool on the baking sheet for about 2-3 minutes so they firm up slightly without hardening completely. Transfer them to a wire rack to finish cooling for another few minutes.
- While the cookies are still slightly warm, roll or dust them in confectioner's sugar until fully coated. Let them cool completely on the rack. Once fully cooled, dust them again with confectioner's sugar for a thicker, more dramatic coating—this is what gives Russian tea cakes their signature snowy appearance. Store in an airtight container, where they'll keep for up to a week.







