I never thought much about eggnog ice cream until one Christmas when my kids asked why we couldn’t have eggnog year-round. That got me thinking—why not turn it into ice cream? Then it hit me that eggnog is basically already halfway to being ice cream anyway. It’s got cream, eggs, sugar, and spices. All you really need to do is freeze it the right way.
The trick is making a proper custard base. If you’ve never made custard before, don’t worry—it’s just a fancy word for cooked eggs and cream. You heat everything gently and stir until it thickens. Once you get that down, you’re basically making ice cream that tastes exactly like the holidays, but cold enough to enjoy on a hot day in July.
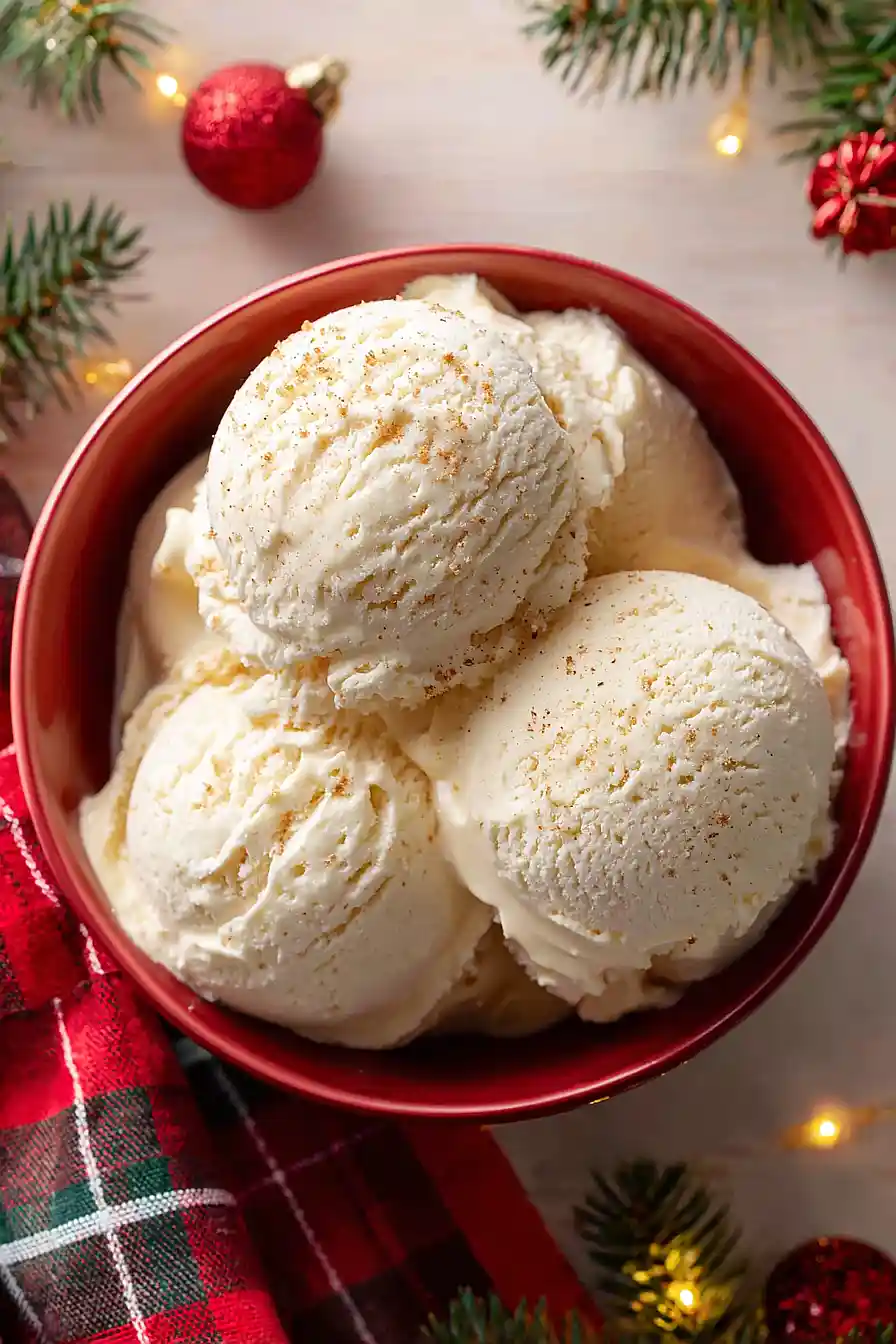
Why You’ll Love This Eggnog Ice Cream
- Perfect holiday treat – This ice cream captures all the cozy flavors of traditional eggnog in a creamy, frozen dessert that’s perfect for Christmas gatherings or winter celebrations.
- Rich, festive flavor – The warm spices like nutmeg and cinnamon combined with a splash of rum or bourbon create that classic eggnog taste everyone loves.
- Made in under an hour – You can whip up this homemade ice cream in 45-65 minutes, making it a doable project even during the busy holiday season.
- Impressive homemade dessert – Serving homemade ice cream always feels special, and this one will have your guests asking for the recipe.
What Kind of Cream Should I Use?
For this eggnog ice cream, you’ll want to stick with regular heavy whipping cream – the kind you find in the dairy section near the milk. Some stores label it as “heavy cream” while others call it “whipping cream,” but they’re basically the same thing and both will work great here. Avoid ultra-pasteurized cream if you can, since regular pasteurized cream tends to have better flavor, though ultra-pasteurized will still get the job done if that’s what’s available. Whatever you do, don’t substitute with half-and-half or light cream for this recipe, as you need that higher fat content to get the rich, creamy texture that makes homemade ice cream so good.

Options for Substitutions
This eggnog ice cream is pretty forgiving when it comes to swaps:
- Heavy whipping cream: You can use all heavy cream or do a mix of half-and-half and cream, though the texture will be slightly less rich. Don’t go below 1 cup of heavy cream or your ice cream won’t be as creamy.
- Whole cloves: If you don’t have whole cloves, use 1/4 teaspoon ground cloves instead. Just add it with the other spices rather than steeping it in the cream.
- Nutmeg: Fresh grated nutmeg gives the best flavor, but pre-ground works fine too. You could also use a bit of allspice for a similar warm spice note.
- Rum, bourbon, or brandy: The alcohol adds flavor and helps keep the ice cream scoopable, but you can leave it out or replace it with 1 teaspoon of rum extract if you want a non-alcoholic version.
- Egg yolks: The egg yolks are essential for that custard base and creamy texture, so don’t substitute these – they’re what makes this ice cream work.
- White sugar: You can swap half the white sugar for light brown sugar if you want a deeper, more caramel-like flavor in your eggnog ice cream.
Watch Out for These Mistakes While Cooking
The biggest mistake when making eggnog ice cream is heating the custard too quickly or too hot, which can scramble your egg yolks and ruin the smooth texture – keep the heat at medium-low and stir constantly until the mixture coats the back of a spoon.
Another common error is not chilling the custard completely before churning, as warm custard won’t freeze properly and can result in icy rather than creamy ice cream, so plan to refrigerate it for at least 4 hours or overnight.
Don’t forget to strain out those whole cloves before churning, and if you want an extra smooth texture, run the entire custard through a fine-mesh strainer to catch any bits of cooked egg.
Finally, resist the urge to add more alcohol than the recipe calls for – while it adds great flavor, too much will prevent the ice cream from freezing properly since alcohol has a lower freezing point than the other ingredients.
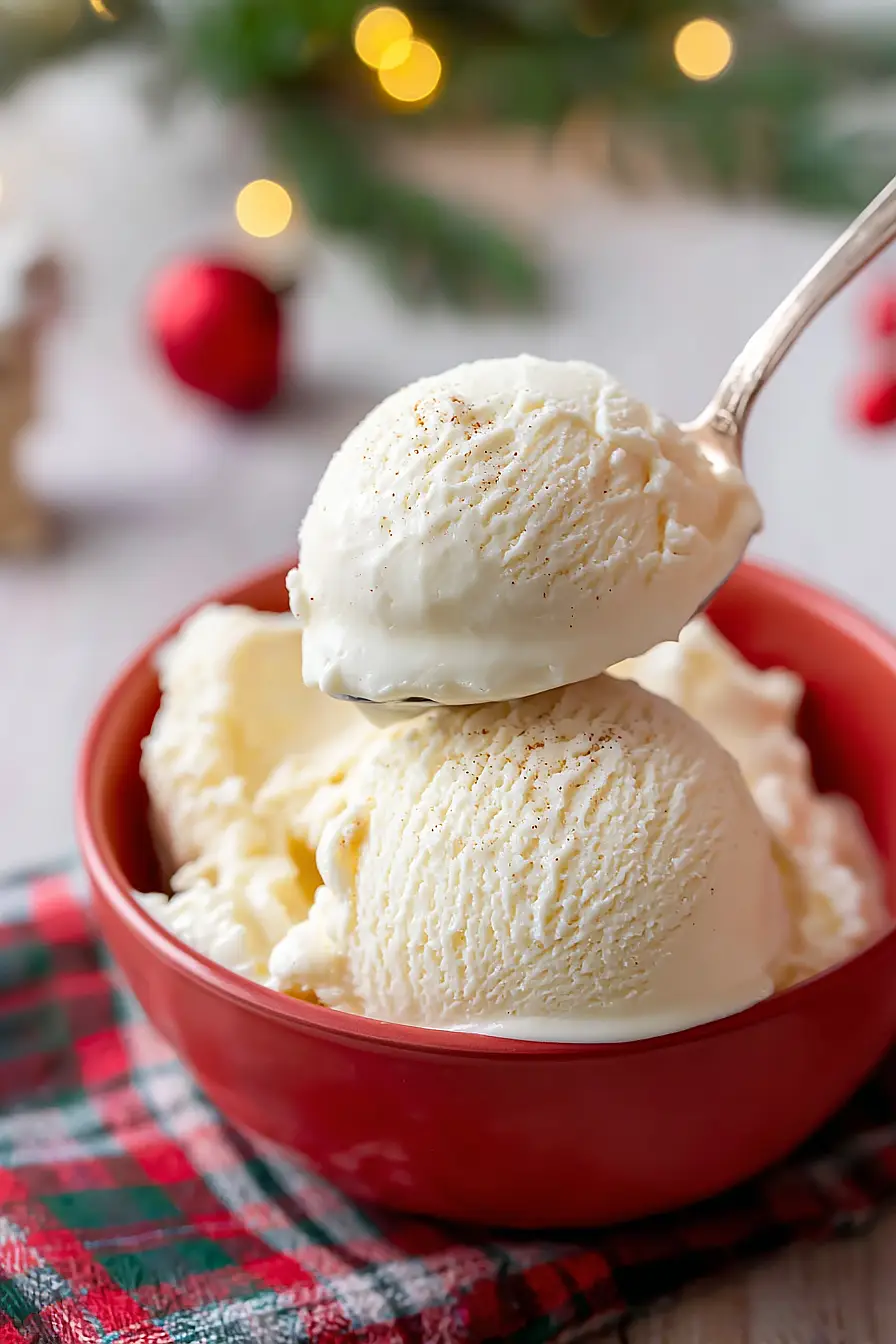
What to Serve With Eggnog Ice Cream?
This eggnog ice cream is perfect on its own, but it really shines when you pair it with warm desserts like apple pie, pecan pie, or gingerbread cookies. The contrast between the cold, creamy ice cream and a warm slice of pie is hard to beat, especially during the holidays. You can also serve it alongside chocolate brownies or a simple pound cake if you want something a bit richer. For an extra festive touch, try drizzling some caramel sauce on top or sprinkling a little extra nutmeg and cinnamon over each scoop.
Storage Instructions
Store: Keep your eggnog ice cream in an airtight, freezer-safe container for up to 2 months. Press a piece of parchment paper directly on the surface before sealing to prevent ice crystals from forming on top.
Scoop: Homemade ice cream can get pretty hard in the freezer, so let it sit on the counter for about 5-10 minutes before scooping. This makes it much easier to serve and gives you that perfect creamy texture you’re looking for.
| Preparation Time | 20-30 minutes |
| Cooking Time | 25-35 minutes |
| Total Time | 45-65 minutes |
| Level of Difficulty | Medium |
| Servings | 4 cups of ice cream |
Estimated Nutrition
Estimated nutrition for the whole recipe (without optional ingredients):
- Calories: 1700-1850
- Protein: 22-26 g
- Fat: 125-135 g
- Carbohydrates: 120-130 g
Ingredients
- 2 cups heavy whipping cream (for rich, creamy texture)
- 1 tsp vanilla extract (I use Madagascar vanilla for this)
- 1 tsp grated nutmeg (freshly grated preferred for more aromatic spice)
- 6 egg yolks (room temperature for smoother custard)
- 2 tbsp rum (optional but adds authentic eggnog flavor)
- 1/4 tsp cinnamon
- pinch salt (enhances sweetness and spice flavors)
- 4 whole cloves (bruise lightly before adding for better flavor extraction)
- 2/3 cup sugar
- 1 cup milk
Step 1: Infuse the Milk Base with Warm Spices
- 1 cup milk
- 1 cup heavy whipping cream
- 1 tsp grated nutmeg
- 1/4 tsp cinnamon
- 4 whole cloves
- pinch salt
Combine milk, 1 cup of the heavy cream, grated nutmeg, cinnamon, lightly bruised cloves, and a pinch of salt in a pot.
Heat over medium heat until the mixture is steamy and fragrant—this should take about 5-7 minutes—then remove from heat, cover, and let steep for 30 minutes to allow the spices to fully infuse.
This resting period is crucial for developing the authentic eggnog flavor.
After steeping, strain the mixture through a fine-mesh strainer to remove the cloves and any spice solids, discarding the solids.
Step 2: Dissolve Sugar and Prepare Ice Bath
- 2/3 cup sugar
- strained milk mixture from Step 1
While the milk mixture steeps, set up an ice bath by placing a large bowl over another bowl filled with ice water.
Position a fine-mesh strainer over the top bowl and set aside.
In your pot with the strained milk mixture from Step 1, add the sugar and stir constantly over low heat for 2-3 minutes until the sugar is completely dissolved.
This prevents grittiness in your final ice cream.
Step 3: Temper the Egg Yolks and Create the Custard
- 6 egg yolks
- sugar-milk mixture from Step 2
In a medium bowl, whisk the room-temperature egg yolks until they’re pale and slightly thickened, about 1 minute.
Slowly pour half of the warm sugar-milk mixture from Step 2 into the yolks while whisking constantly—this tempering process gradually raises the egg temperature without scrambling them.
Once combined, pour the tempered yolk mixture back into the pot with the remaining milk mixture, whisking to incorporate smoothly.
Step 4: Cook the Custard to Proper Thickness
- custard mixture from Step 3
Place the pot over medium heat and stir constantly for about 10 minutes until the mixture thickens enough to coat the back of a spoon—when you run your finger across the spoon, it should leave a clear trail.
The mixture should reach about 160-170°F if you’re using a thermometer, which ensures food safety while keeping the custard silky.
I like to use a wooden spoon for this step because it helps me gauge the thickness better by feel.
Step 5: Chill the Custard with Cold Cream
- cooked custard from Step 4
- 1 cup heavy whipping cream
Immediately pour the hot custard through the strainer sitting over the chilled bowl with the remaining 1 cup of cold heavy cream from your ice bath setup (Step 2).
The cold cream will stop the cooking process instantly and help chill the mixture.
Let the bowl sit in the ice bath for about 10-15 minutes, stirring occasionally, until the custard is completely cooled.
This rapid chilling prevents any cooked eggy flavors from developing.
Step 6: Finish with Vanilla and Rum, Then Chill
- chilled custard from Step 5
- 1 tsp vanilla extract
- 2 tbsp rum
Transfer the cooled custard mixture to the refrigerator and chill for at least 4 hours or preferably overnight—this resting period allows the flavors to meld and mellows the egg taste.
Just before churning, stir in the vanilla extract and rum if using.
For the most authentic eggnog flavor, I don’t skip the rum even in small amounts, as it rounds out the spice profile beautifully.
Step 7: Churn and Freeze
- finished custard mixture from Step 6
Pour the chilled custard mixture into your ice cream maker and churn according to the manufacturer’s instructions, typically 20-30 minutes, until the mixture reaches a soft-serve consistency.
Transfer the churned ice cream to a freezer-safe container and freeze for at least 4-6 hours until firm.
The ice cream is now ready to scoop and serve.
Festive Eggnog Ice Cream
Ingredients
- 2 cups heavy whipping cream (for rich, creamy texture)
- 1 tsp vanilla extract (I use Madagascar vanilla for this)
- 1 tsp grated nutmeg (freshly grated preferred for more aromatic spice)
- 6 egg yolks (room temperature for smoother custard)
- 2 tbsp rum (optional but adds authentic eggnog flavor)
- 1/4 tsp cinnamon
- pinch salt (enhances sweetness and spice flavors)
- 4 whole cloves (bruise lightly before adding for better flavor extraction)
- 2/3 cup sugar
- 1 cup milk
Instructions
- Combine milk, 1 cup of the heavy cream, grated nutmeg, cinnamon, lightly bruised cloves, and a pinch of salt in a pot. Heat over medium heat until the mixture is steamy and fragrant—this should take about 5-7 minutes—then remove from heat, cover, and let steep for 30 minutes to allow the spices to fully infuse. This resting period is crucial for developing the authentic eggnog flavor. After steeping, strain the mixture through a fine-mesh strainer to remove the cloves and any spice solids, discarding the solids.
- While the milk mixture steeps, set up an ice bath by placing a large bowl over another bowl filled with ice water. Position a fine-mesh strainer over the top bowl and set aside. In your pot with the strained milk mixture from Step 1, add the sugar and stir constantly over low heat for 2-3 minutes until the sugar is completely dissolved. This prevents grittiness in your final ice cream.
- In a medium bowl, whisk the room-temperature egg yolks until they're pale and slightly thickened, about 1 minute. Slowly pour half of the warm sugar-milk mixture from Step 2 into the yolks while whisking constantly—this tempering process gradually raises the egg temperature without scrambling them. Once combined, pour the tempered yolk mixture back into the pot with the remaining milk mixture, whisking to incorporate smoothly.
- Place the pot over medium heat and stir constantly for about 10 minutes until the mixture thickens enough to coat the back of a spoon—when you run your finger across the spoon, it should leave a clear trail. The mixture should reach about 160-170°F if you're using a thermometer, which ensures food safety while keeping the custard silky. I like to use a wooden spoon for this step because it helps me gauge the thickness better by feel.
- Immediately pour the hot custard through the strainer sitting over the chilled bowl with the remaining 1 cup of cold heavy cream from your ice bath setup (Step 2). The cold cream will stop the cooking process instantly and help chill the mixture. Let the bowl sit in the ice bath for about 10-15 minutes, stirring occasionally, until the custard is completely cooled. This rapid chilling prevents any cooked eggy flavors from developing.
- Transfer the cooled custard mixture to the refrigerator and chill for at least 4 hours or preferably overnight—this resting period allows the flavors to meld and mellows the egg taste. Just before churning, stir in the vanilla extract and rum if using. For the most authentic eggnog flavor, I don't skip the rum even in small amounts, as it rounds out the spice profile beautifully.
- Pour the chilled custard mixture into your ice cream maker and churn according to the manufacturer's instructions, typically 20-30 minutes, until the mixture reaches a soft-serve consistency. Transfer the churned ice cream to a freezer-safe container and freeze for at least 4-6 hours until firm. The ice cream is now ready to scoop and serve.







