If you ask me, red velvet brownies are the best of both worlds.
These small batch beauties give you that classic red velvet flavor wrapped up in a fudgy brownie. Rich chocolate and cocoa blend with cream cheese swirls that make every bite feel a little fancy.
The batch is sized just right for a small household or when you want something sweet without leftovers hanging around for days. A touch of espresso powder deepens the chocolate flavor, while the cream cheese topping adds a tangy contrast.
They’re an easy treat that looks pretty on a plate, perfect for a weekend baking project or when you need a little pick-me-up.

Why You’ll Love These Red Velvet Brownies
- Small batch recipe – Perfect for when you want a sweet treat without making a huge pan that tempts you all week long. This makes just enough to satisfy your craving without the leftovers guilt.
- Cream cheese swirl – The tangy cream cheese layer marbled through fudgy chocolate brownies creates that classic red velvet flavor combination we all love.
- Simple ingredients – You probably have most of these pantry staples on hand already, making it easy to whip up whenever the craving hits.
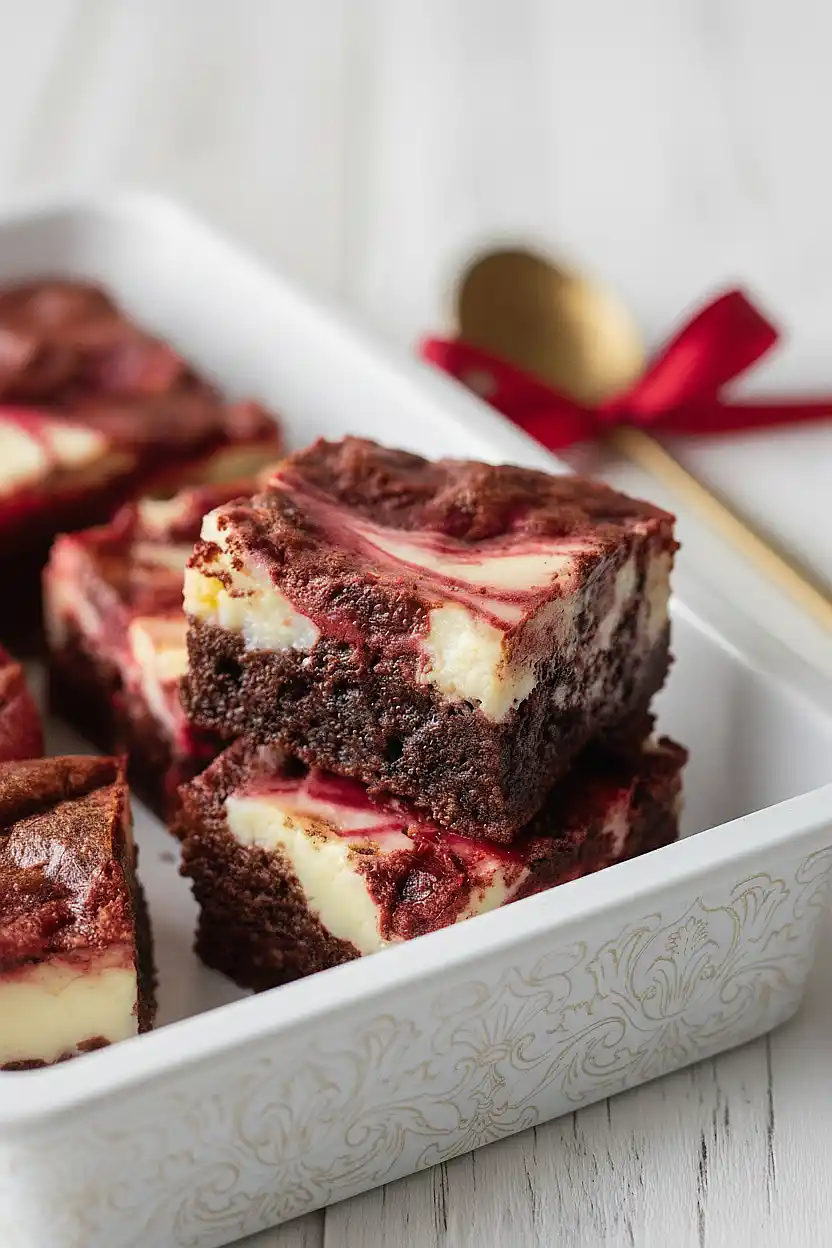
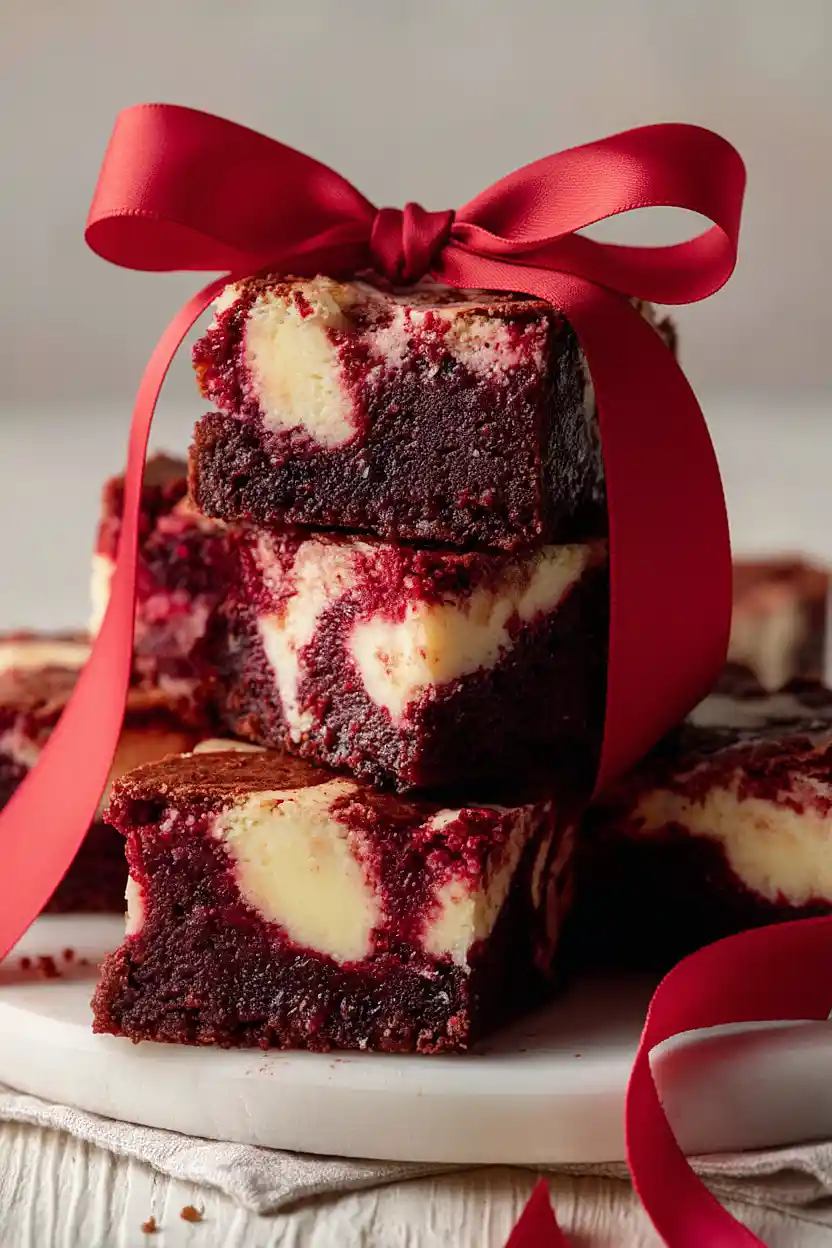
- Eye-catching dessert – The red and white swirl pattern makes these brownies look impressive enough for special occasions, even though they’re easy to make.
What Kind of Chocolate Chips Should I Use?
For red velvet brownies, semi-sweet chocolate chips are your best bet since they provide a nice balance of sweetness without overpowering the cocoa flavor. That said, dark chocolate chips will work too if you prefer a richer, less sweet brownie – just keep in mind they’ll make your brownies a bit more intense. Milk chocolate chips are another option, though they’ll give you a sweeter, milder chocolate taste. Since you’re melting the chocolate chips with butter, quality matters here, so grab a brand you actually enjoy eating straight from the bag. If you only have chocolate bars on hand, you can chop those up instead – just aim for roughly chip-sized pieces so they melt evenly.
Options for Substitutions
This small batch recipe is pretty forgiving when it comes to swaps:
- Cream cheese: Make sure to use full-fat cream cheese for the best texture in your swirl. Low-fat versions tend to be too watery and won’t give you that nice cheesecake layer.
- Chocolate chips: You can use a chopped chocolate bar instead of chips – just aim for roughly the same weight. Semi-sweet or dark chocolate both work great here.
- Red food dye: If you want to skip the artificial dye, you can use beet powder (start with 1-2 tablespoons) for a more natural color, though it won’t be quite as bright. Or just leave it out entirely for chocolate brownies with a cream cheese swirl.
- Cream: Heavy cream works best, but you can substitute with whole milk if that’s what you have. The cheesecake layer might be slightly less rich, but it’ll still taste good.
- Butter: You can swap this with coconut oil in the same amount, though the flavor will be slightly different. Don’t use margarine as it contains too much water.
- Half egg: Since this calls for half an egg, just beat one egg in a small bowl and measure out about 25 g (roughly half). Save the rest for scrambled eggs or add it to the brownie batter.
Watch Out for These Mistakes While Baking
The biggest mistake with red velvet brownies is overbaking them, which turns fudgy brownies into dry cake – pull them out when the center hits 180°F on an instant-read thermometer, even if they look slightly underdone, since they’ll continue cooking as they cool.
When melting your butter and chocolate chips, avoid overheating in the microwave or you’ll end up with grainy, seized chocolate that ruins the texture – stick to 30-second intervals and stir well between each one.
For that signature swirl pattern, don’t mix the cream cheese layer too much into the brownie batter or you’ll lose the marbled effect, and make sure your cream cheese is fully softened to room temperature so it blends smoothly without lumps.
Finally, resist the urge to cut into these brownies right away – letting them cool completely in the pan helps them set properly and makes slicing much cleaner.
What to Serve With Red Velvet Brownies?
These brownies are pretty rich on their own, so I like to keep things simple and serve them with a cold glass of milk or a scoop of vanilla ice cream on the side. If you’re feeling fancy, a dollop of whipped cream or even some extra cream cheese frosting on top takes them to the next level. They’re also great alongside a hot cup of coffee or tea, especially if you’re serving them as an afternoon treat. Since this is a small batch recipe, they make a perfect dessert for a cozy date night or when you just want something sweet without tons of leftovers.
Storage Instructions
Store: Keep your red velvet brownies in an airtight container at room temperature for up to 3 days, or in the fridge for up to a week. I actually prefer them cold from the fridge because the cream cheese swirl gets nice and firm, almost like cheesecake!
Freeze: These brownies freeze really well for up to 3 months. Cut them into individual squares and wrap each one in plastic wrap, then store them all together in a freezer bag. That way you can grab just one or two whenever a craving hits.
Thaw: Let frozen brownies sit at room temperature for about 30 minutes, or if you’re impatient like me, microwave them for 15-20 seconds. They taste amazing slightly warm with the cream cheese topping getting all melty.
| Preparation Time | 20-30 minutes |
| Cooking Time | 35-40 minutes |
| Total Time | 60-70 minutes |
| Level of Difficulty | Medium |
| Servings | 6 pieces |
Estimated Nutrition
Estimated nutrition for the whole recipe (without optional ingredients):
- Calories: 1950-2150
- Protein: 24-28 g
- Fat: 125-140 g
- Carbohydrates: 200-220 g
Ingredients
For the cheesecake layer:
- 5 oz cream cheese (I prefer Philadelphia brand for a smoother consistency)
- 1.5 oz sugar
- 1/2 egg
- 1 fl oz heavy cream (cold from the fridge helps it whip better)
- 1 tsp vanilla essence
For the brownies:
- 3 oz butter (I like Kerrygold unsalted butter for this)
- 4.75 oz chocolate chips
- 0.75 oz cocoa powder (sifted to remove lumps)
- 1.5 eggs
- 5 oz sugar
- 1 tsp red food dye (use gel kind for a more vibrant color)
- 2.2 oz flour
- 1/4 tsp salt
- 1/8 tsp espresso powder
Step 1: Prepare Pan and Mise en Place
- 0.75 oz cocoa powder
- parchment paper
Preheat your oven to 350°F and line a small baking pan (approximately 6×6 inches or similar small batch size) with parchment paper, leaving some overhang for easy removal.
While the oven heats, sift the cocoa powder into a small bowl to remove any lumps—this ensures a smooth, lump-free brownie texture.
Measure out all remaining ingredients and have them ready before you begin mixing, as this recipe comes together quickly.
Step 2: Make the Cream Cheese Filling
- 5 oz cream cheese
- 1.5 oz sugar
- 1/2 egg
- 1 fl oz heavy cream
- 1 tsp vanilla essence
In a small bowl, beat the softened cream cheese and 1.5 oz sugar together until smooth and creamy.
In a separate bowl, lightly whisk the 1/2 egg, then add 2 tablespoons of the whisked egg to the cream cheese mixture along with the cold heavy cream and vanilla essence.
Stir until well combined and set aside.
I find that using cold heavy cream makes it easier to incorporate smoothly into the cream cheese without breaking down.
Step 3: Melt Chocolate and Mix with Cocoa
- 3 oz butter
- 4.75 oz chocolate chips
- sifted cocoa powder from Step 1
Combine the butter and chocolate chips in a microwave-safe bowl.
Microwave in 30-second intervals, stirring between each interval, until completely melted and smooth—typically 1 to 1.5 minutes total depending on your microwave.
Stir the sifted cocoa powder from Step 1 into the melted chocolate until fully incorporated and smooth.
Step 4: Build the Red Velvet Brownie Base
- 1.5 eggs
- 5 oz sugar
- 1 tsp red food dye
- chocolate mixture from Step 3
In a clean bowl, whisk the 1.5 eggs with the 5 oz sugar until the mixture is pale, fluffy, and roughly doubled in volume—this aerates the batter for a better texture.
Add the red food dye and stir until the color is evenly distributed throughout.
Pour the chocolate mixture from Step 3 into the egg mixture and fold together gently until just combined.
I like using gel food dye because it gives a more vibrant red color without adding extra moisture to the batter.
Step 5: Add Dry Ingredients and Prepare for Assembly
- 2.2 oz flour
- 1/4 tsp salt
- 1/8 tsp espresso powder
- red velvet batter from Step 4
In a small bowl, whisk together the flour, salt, and espresso powder.
Fold this dry mixture into the red velvet batter from Step 4 until just combined—be careful not to overmix, as this keeps the brownies tender.
Reserve 3 tablespoons of the batter in a separate bowl, then pour the remaining batter into your prepared pan and spread it into an even layer.
Step 6: Layer and Swirl the Brownies
- cream cheese filling from Step 2
- reserved batter from Step 5
Spread the cream cheese filling from Step 2 evenly over the chocolate layer in the pan.
Dollop the reserved 3 tablespoons of red velvet batter over the cream cheese layer in small spoonfuls.
Using a knife or skewer, gently swirl through the layers in a few passes to create a marbled effect—don’t overdo it, as a few swirls look more elegant than over-mixing.
Step 7: Bake and Cool
Bake the brownies for 35 to 40 minutes, until a toothpick inserted in the center comes out with a few moist crumbs and the center reaches approximately 180°F on an instant-read thermometer.
Remove from the oven and let cool in the pan for at least 15 minutes before slicing.
The brownies will continue to set as they cool, making them easier to cut cleanly.
Best Small Batch Red Velvet Brownies
Ingredients
For the cheesecake layer::
- 5 oz cream cheese (I prefer Philadelphia brand for a smoother consistency)
- 1.5 oz sugar
- 1/2 egg
- 1 fl oz heavy cream (cold from the fridge helps it whip better)
- 1 tsp vanilla essence
For the brownies::
- 3 oz butter (I like Kerrygold unsalted butter for this)
- 4.75 oz chocolate chips
- 0.75 oz cocoa powder (sifted to remove lumps)
- 1.5 eggs
- 5 oz sugar
- 1 tsp red food dye (use gel kind for a more vibrant color)
- 2.2 oz flour
- 1/4 tsp salt
- 1/8 tsp espresso powder
Instructions
- Preheat your oven to 350°F and line a small baking pan (approximately 6x6 inches or similar small batch size) with parchment paper, leaving some overhang for easy removal. While the oven heats, sift the cocoa powder into a small bowl to remove any lumps—this ensures a smooth, lump-free brownie texture. Measure out all remaining ingredients and have them ready before you begin mixing, as this recipe comes together quickly.
- In a small bowl, beat the softened cream cheese and 1.5 oz sugar together until smooth and creamy. In a separate bowl, lightly whisk the 1/2 egg, then add 2 tablespoons of the whisked egg to the cream cheese mixture along with the cold heavy cream and vanilla essence. Stir until well combined and set aside. I find that using cold heavy cream makes it easier to incorporate smoothly into the cream cheese without breaking down.
- Combine the butter and chocolate chips in a microwave-safe bowl. Microwave in 30-second intervals, stirring between each interval, until completely melted and smooth—typically 1 to 1.5 minutes total depending on your microwave. Stir the sifted cocoa powder from Step 1 into the melted chocolate until fully incorporated and smooth.
- In a clean bowl, whisk the 1.5 eggs with the 5 oz sugar until the mixture is pale, fluffy, and roughly doubled in volume—this aerates the batter for a better texture. Add the red food dye and stir until the color is evenly distributed throughout. Pour the chocolate mixture from Step 3 into the egg mixture and fold together gently until just combined. I like using gel food dye because it gives a more vibrant red color without adding extra moisture to the batter.
- In a small bowl, whisk together the flour, salt, and espresso powder. Fold this dry mixture into the red velvet batter from Step 4 until just combined—be careful not to overmix, as this keeps the brownies tender. Reserve 3 tablespoons of the batter in a separate bowl, then pour the remaining batter into your prepared pan and spread it into an even layer.
- Spread the cream cheese filling from Step 2 evenly over the chocolate layer in the pan. Dollop the reserved 3 tablespoons of red velvet batter over the cream cheese layer in small spoonfuls. Using a knife or skewer, gently swirl through the layers in a few passes to create a marbled effect—don't overdo it, as a few swirls look more elegant than over-mixing.
- Bake the brownies for 35 to 40 minutes, until a toothpick inserted in the center comes out with a few moist crumbs and the center reaches approximately 180°F on an instant-read thermometer. Remove from the oven and let cool in the pan for at least 15 minutes before slicing. The brownies will continue to set as they cool, making them easier to cut cleanly.







