Here are my dairy free red velvet brownies, with a rich chocolate base, a swirl of tangy cream cheese frosting, and that classic red velvet color everyone loves.
These brownies are what I make when I want something special but need to keep it dairy free. The texture comes out fudgy and moist every time, and honestly, no one ever guesses they’re made without regular dairy.
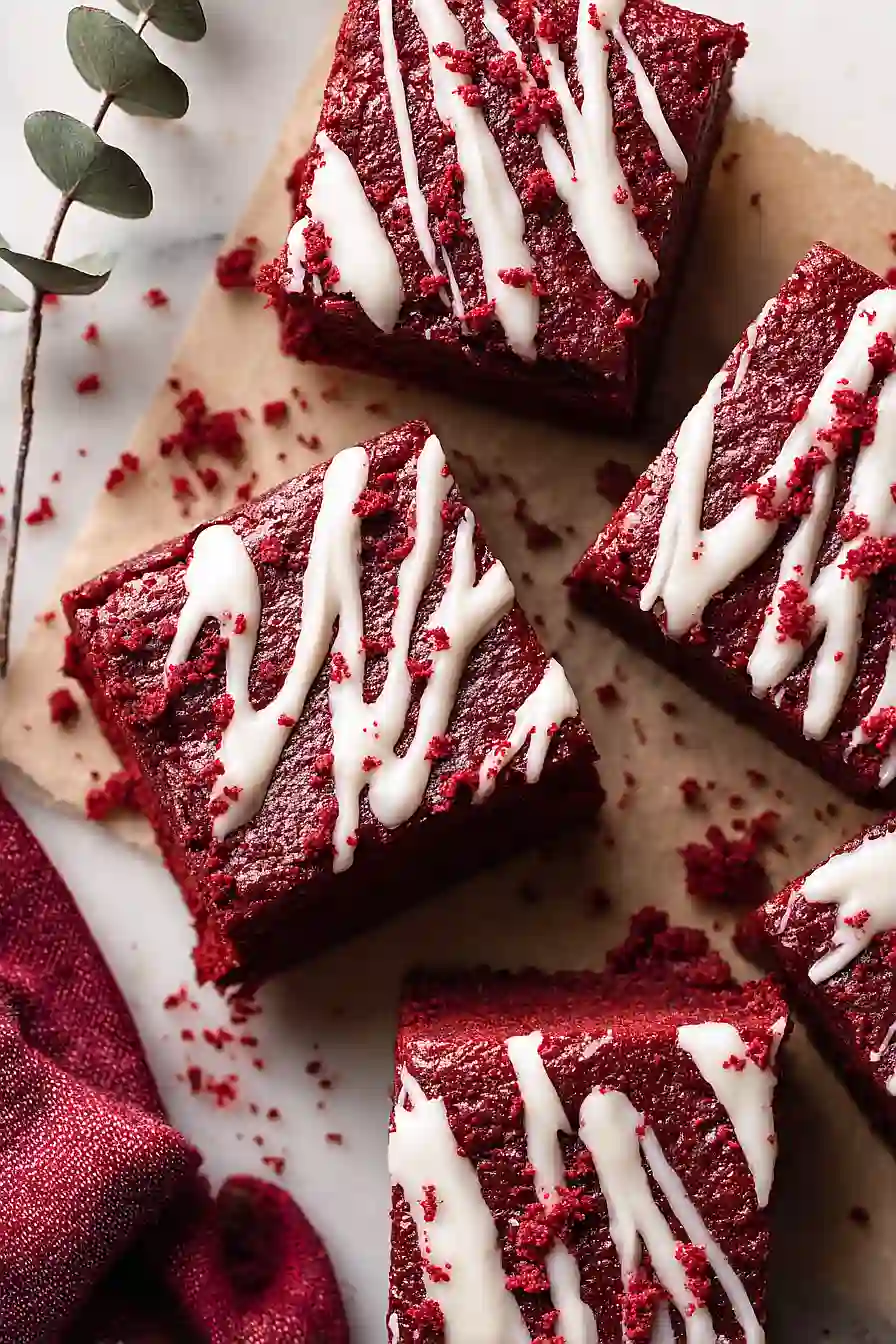
Why You’ll Love These Dairy Free Red Velvet Brownies
- Dairy-free without compromise – These brownies are perfect if you’re lactose intolerant or following a dairy-free diet, but they taste just as rich and fudgy as traditional red velvet treats.
- Quick and easy – Ready in under an hour, this recipe comes together with simple mixing and baking—no fancy techniques required.
- Eye-catching presentation – The classic red velvet color topped with cream cheese frosting makes these brownies look impressive for parties, potlucks, or holiday gatherings.
- Simple pantry ingredients – You probably already have most of these items in your kitchen, and the specialty ingredients like vegan cream cheese are easy to find at most grocery stores.
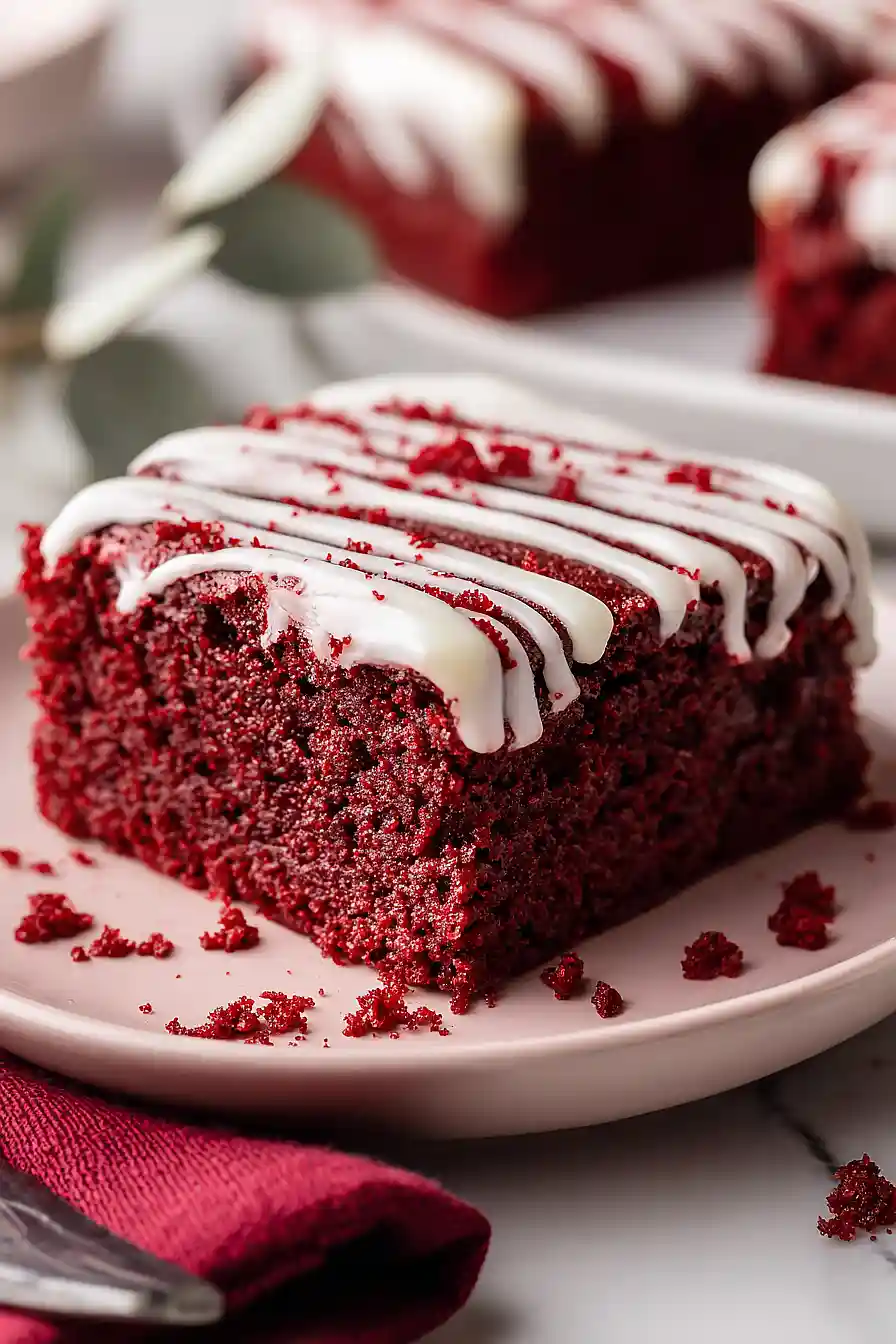
- Perfect texture – These brownies hit that sweet spot between cakey and fudgy, with a light chocolate flavor that makes them different from regular brownies.
What Kind of Vegan Cream Cheese Should I Use?
For these dairy-free brownies, you’ll want to grab a good quality vegan cream cheese from the refrigerated section of your grocery store. Popular brands like Kite Hill, Violife, or Tofutti all work well and have that tangy, creamy flavor you’re looking for. Make sure your vegan cream cheese is at room temperature before you start mixing – this helps it blend smoothly into your frosting without any lumps. If you can’t find vegan cream cheese, you could also use a thick coconut cream that’s been chilled and separated, though the flavor will be slightly different.
Options for Substitutions
These brownies are already dairy-free, but here are some swaps you can make based on what you have:
- Vegetable oil: You can use melted coconut oil or canola oil instead. Both work great and won’t change the texture of your brownies.
- Eggs: To keep these fully vegan, replace each egg with a flax egg (1 tablespoon ground flaxseed mixed with 3 tablespoons water, let sit for 5 minutes). You can also use applesauce – about 1/4 cup per egg.
- Apple cider vinegar: White vinegar or lemon juice work just as well for that slight tang that makes red velvet special.
- Vegan cream cheese: If you can’t find vegan cream cheese, you can make a simple frosting with vegan butter instead, though the flavor will be slightly different. Use about 1/2 cup softened vegan butter with the powdered sugar and vanilla.
- Oat milk: Any non-dairy milk works here – almond, soy, or coconut milk are all good choices. Even regular milk if you’re not strictly dairy-free.
- Red food coloring: You can reduce the amount if you want a lighter color, but don’t skip it entirely as it’s what gives red velvet its signature look.
Watch Out for These Mistakes While Baking
The biggest mistake with red velvet brownies is overbaking them, which turns fudgy brownies into dry cake – pull them out when a toothpick inserted in the center comes out with a few moist crumbs, not completely clean.
Another common error is adding the red food coloring too quickly, which can create streaks instead of an even color, so mix it thoroughly with your wet ingredients before combining with the dry.
Don’t skip letting the brownies cool completely before adding the cream cheese glaze, or the heat will melt it into a runny mess instead of a nice thick layer.
For extra insurance against overmixing (which creates tough brownies), stir your batter just until the flour disappears and you don’t see any dry streaks.
What to Serve With Red Velvet Brownies?
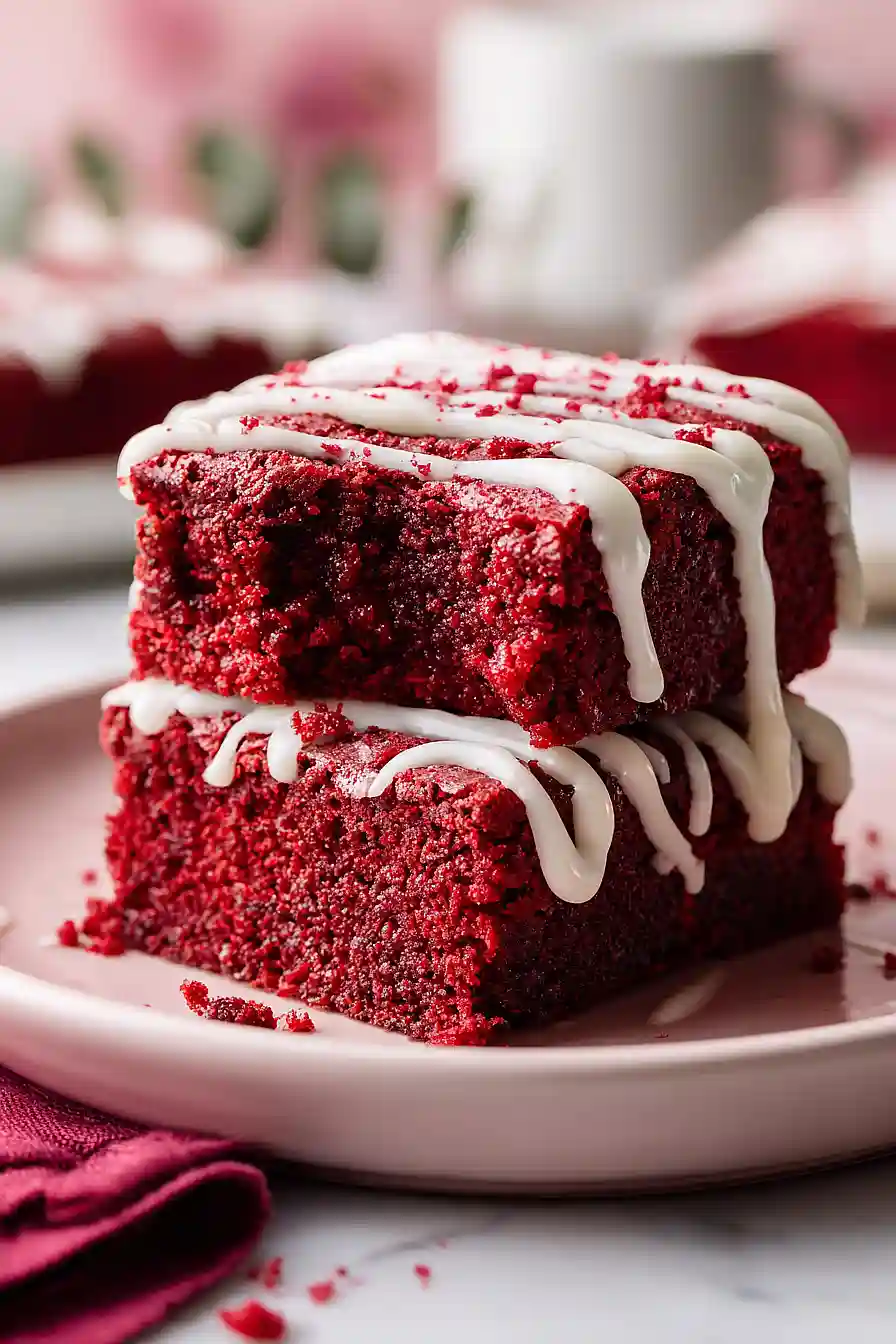
These brownies are pretty rich on their own, so I like serving them with a cold glass of oat milk or your favorite dairy-free milk alternative for dunking. If you’re making them for a party or gathering, they pair really well with fresh berries like strawberries or raspberries, which add a nice tart contrast to the sweet frosting. You could also serve them alongside dairy-free vanilla ice cream for an extra indulgent dessert, or keep it simple with a hot cup of coffee or tea. For a fun presentation, try cutting them into smaller squares and arranging them on a platter with some fresh mint leaves scattered around.
Storage Instructions
Store: Keep your red velvet brownies in an airtight container at room temperature for up to 3 days, or in the fridge for up to a week. The frosting holds up really well in the fridge, and honestly, I think they taste even better cold!
Freeze: These brownies freeze great for up to 3 months. I like to cut them into individual squares and wrap each one in plastic wrap, then store them all in a freezer bag. That way you can grab just one or two whenever a craving hits.
Thaw: Just take out however many brownies you want and let them sit at room temperature for about 30 minutes. You can also eat them straight from the freezer if you like a fudgier texture, which is actually my favorite way to enjoy them on a hot day.
| Preparation Time | 20-30 minutes |
| Cooking Time | 25-30 minutes |
| Total Time | 45-60 minutes |
| Level of Difficulty | Easy |
| Servings | 16 pieces |
Estimated Nutrition
Estimated nutrition for the whole recipe (without optional ingredients):
- Calories: 3100-3400
- Protein: 28-34 g
- Fat: 140-155 g
- Carbohydrates: 430-470 g
Ingredients
For the brownies:
- 3/4 cup vegetable oil
- 1 1/2 cups sugar
- 2 1/2 tsp vanilla essence (I prefer Nielsen-Massey for the most intense aroma)
- 1 tbsp apple cider vinegar
- 2 tbsp red food coloring (for the most vibrant deep red color)
- 3 eggs (room temperature, about 70°F)
- 1 3/4 cups flour (I always use King Arthur all-purpose flour)
- 5 tbsp cocoa powder
- 1/2 tsp salt
- 1/2 tsp espresso powder
For the glaze:
- 3.5 oz vegan cream cheese (I use Kite Hill for the best tang and texture)
- 2 cups powdered sugar (sifted to remove lumps)
- 1 1/2 tsp vanilla essence
- 2-3 tbsp oat milk
Step 1: Prepare Your Workspace and Mise en Place
- 3 eggs
Preheat your oven to 350°F and line a 9×13 inch baking dish with parchment paper, leaving some overhang on the sides for easy removal.
While the oven heats, remove your eggs from the refrigerator so they reach room temperature—this helps them emulsify better with the oil and creates a more tender crumb.
Measure out all your ingredients and have them ready before you start mixing, as the batter comes together quickly.
Step 2: Combine Dry Ingredients
- 1 3/4 cups flour
- 5 tbsp cocoa powder
- 1/2 tsp salt
- 1/2 tsp espresso powder
In a medium bowl, whisk together the flour, cocoa powder, salt, and espresso powder.
The espresso powder won’t make the brownies taste like coffee—instead, it deepens the chocolate flavor and adds complexity.
Mix thoroughly to break up any cocoa lumps and distribute the leavening evenly, as this prevents dense spots in the finished brownies.
Step 3: Create the Wet Base and Build Color
- 3/4 cup vegetable oil
- 1 1/2 cups sugar
- 2 1/2 tsp vanilla essence
- 1 tbsp apple cider vinegar
- 2 tbsp red food coloring
- 3 eggs
In a large bowl, whisk together the vegetable oil, sugar, vanilla essence, apple cider vinegar, and red food coloring until the mixture is completely uniform in color with no streaks.
The vinegar acts as a tenderizer and enhances the chocolate flavor while helping the red color develop its signature depth.
Add the room-temperature eggs one at a time, whisking thoroughly after each addition to fully incorporate them into the oil-based mixture.
Step 4: Combine and Bake the Brownies
- dry ingredient mixture from Step 2
- wet ingredient mixture from Step 3
Add the dry ingredient mixture from Step 2 to the wet mixture from Step 3, stirring just until combined—don’t overmix, as this can develop too much gluten and make the brownies tough.
Pour the batter into your prepared baking dish and smooth the top with a spatula.
Bake for 25-30 minutes, until a toothpick inserted near the center comes out with just a few moist crumbs; these brownies should be fudgy, not cake-like.
I like to pull them out when they still look slightly underdone in the center—they’ll continue cooking slightly as they cool.
Step 5: Cool the Brownies
Remove the brownies from the oven and let them cool completely in the baking dish at room temperature, about 1-2 hours.
This cooling time is crucial—it allows the structure to set properly so the frosting adheres well and each piece holds together cleanly when cut.
Step 6: Prepare the Vegan Cream Cheese Frosting
- 3.5 oz vegan cream cheese
- 2 cups powdered sugar
- 1 1/2 tsp vanilla essence
- 2-3 tbsp oat milk
While the brownies cool, add the vegan cream cheese, powdered sugar (sifted to remove lumps), and vanilla essence to a clean bowl.
Beat on medium-high speed for 2-3 minutes until the mixture becomes light and fluffy, scraping down the bowl as needed.
Gradually add the oat milk one tablespoon at a time, mixing until you reach a spreadable consistency—you want it thick enough to hold its shape but soft enough to spread smoothly across the brownies.
I use Kite Hill cream cheese because it has the best tang and most stable texture for frosting.
Step 7: Frost and Finish
- frosting from Step 6
- cooled brownies from Step 5
Spread the frosting from Step 6 evenly over the cooled brownies, using an offset spatula or the back of a spoon to create peaks and swirls if desired.
Slice into squares and serve at room temperature, or refrigerate for 30 minutes if you prefer a firmer frosting.
The combination of tender chocolate cake and tangy vegan cream cheese frosting creates the perfect balance of flavors and textures.
Delicious Dairy Free Red Velvet Brownies
Ingredients
For the brownies::
- 3/4 cup vegetable oil
- 1 1/2 cups sugar
- 2 1/2 tsp vanilla essence (I prefer Nielsen-Massey for the most intense aroma)
- 1 tbsp apple cider vinegar
- 2 tbsp red food coloring (for the most vibrant deep red color)
- 3 eggs (room temperature, about 70°F)
- 1 3/4 cups flour (I always use King Arthur all-purpose flour)
- 5 tbsp cocoa powder
- 1/2 tsp salt
- 1/2 tsp espresso powder
For the glaze::
- 3.5 oz vegan cream cheese (I use Kite Hill for the best tang and texture)
- 2 cups powdered sugar (sifted to remove lumps)
- 1 1/2 tsp vanilla essence
- 2-3 tbsp oat milk
Instructions
- Preheat your oven to 350°F and line a 9x13 inch baking dish with parchment paper, leaving some overhang on the sides for easy removal. While the oven heats, remove your eggs from the refrigerator so they reach room temperature—this helps them emulsify better with the oil and creates a more tender crumb. Measure out all your ingredients and have them ready before you start mixing, as the batter comes together quickly.
- In a medium bowl, whisk together the flour, cocoa powder, salt, and espresso powder. The espresso powder won't make the brownies taste like coffee—instead, it deepens the chocolate flavor and adds complexity. Mix thoroughly to break up any cocoa lumps and distribute the leavening evenly, as this prevents dense spots in the finished brownies.
- In a large bowl, whisk together the vegetable oil, sugar, vanilla essence, apple cider vinegar, and red food coloring until the mixture is completely uniform in color with no streaks. The vinegar acts as a tenderizer and enhances the chocolate flavor while helping the red color develop its signature depth. Add the room-temperature eggs one at a time, whisking thoroughly after each addition to fully incorporate them into the oil-based mixture.
- Add the dry ingredient mixture from Step 2 to the wet mixture from Step 3, stirring just until combined—don't overmix, as this can develop too much gluten and make the brownies tough. Pour the batter into your prepared baking dish and smooth the top with a spatula. Bake for 25-30 minutes, until a toothpick inserted near the center comes out with just a few moist crumbs; these brownies should be fudgy, not cake-like. I like to pull them out when they still look slightly underdone in the center—they'll continue cooking slightly as they cool.
- Remove the brownies from the oven and let them cool completely in the baking dish at room temperature, about 1-2 hours. This cooling time is crucial—it allows the structure to set properly so the frosting adheres well and each piece holds together cleanly when cut.
- While the brownies cool, add the vegan cream cheese, powdered sugar (sifted to remove lumps), and vanilla essence to a clean bowl. Beat on medium-high speed for 2-3 minutes until the mixture becomes light and fluffy, scraping down the bowl as needed. Gradually add the oat milk one tablespoon at a time, mixing until you reach a spreadable consistency—you want it thick enough to hold its shape but soft enough to spread smoothly across the brownies. I use Kite Hill cream cheese because it has the best tang and most stable texture for frosting.
- Spread the frosting from Step 6 evenly over the cooled brownies, using an offset spatula or the back of a spoon to create peaks and swirls if desired. Slice into squares and serve at room temperature, or refrigerate for 30 minutes if you prefer a firmer frosting. The combination of tender chocolate cake and tangy vegan cream cheese frosting creates the perfect balance of flavors and textures.







