I didn’t discover strawberry shortcake in a jar until a few years ago at a church potluck, and I’ve been making it ever since. It’s one of those desserts that looks like you spent hours in the kitchen, but really, you’re just layering store-bought angel food cake with strawberries and whipped topping.
The jar part isn’t just for show—it actually makes serving a whole lot easier. No cutting, no plates to balance at outdoor parties, and everyone gets their own portion with all the layers visible through the glass. Plus, you can make these a few hours ahead and keep them in the fridge until it’s time to eat. The cake soaks up the strawberry juices while it sits, which is exactly what you want.
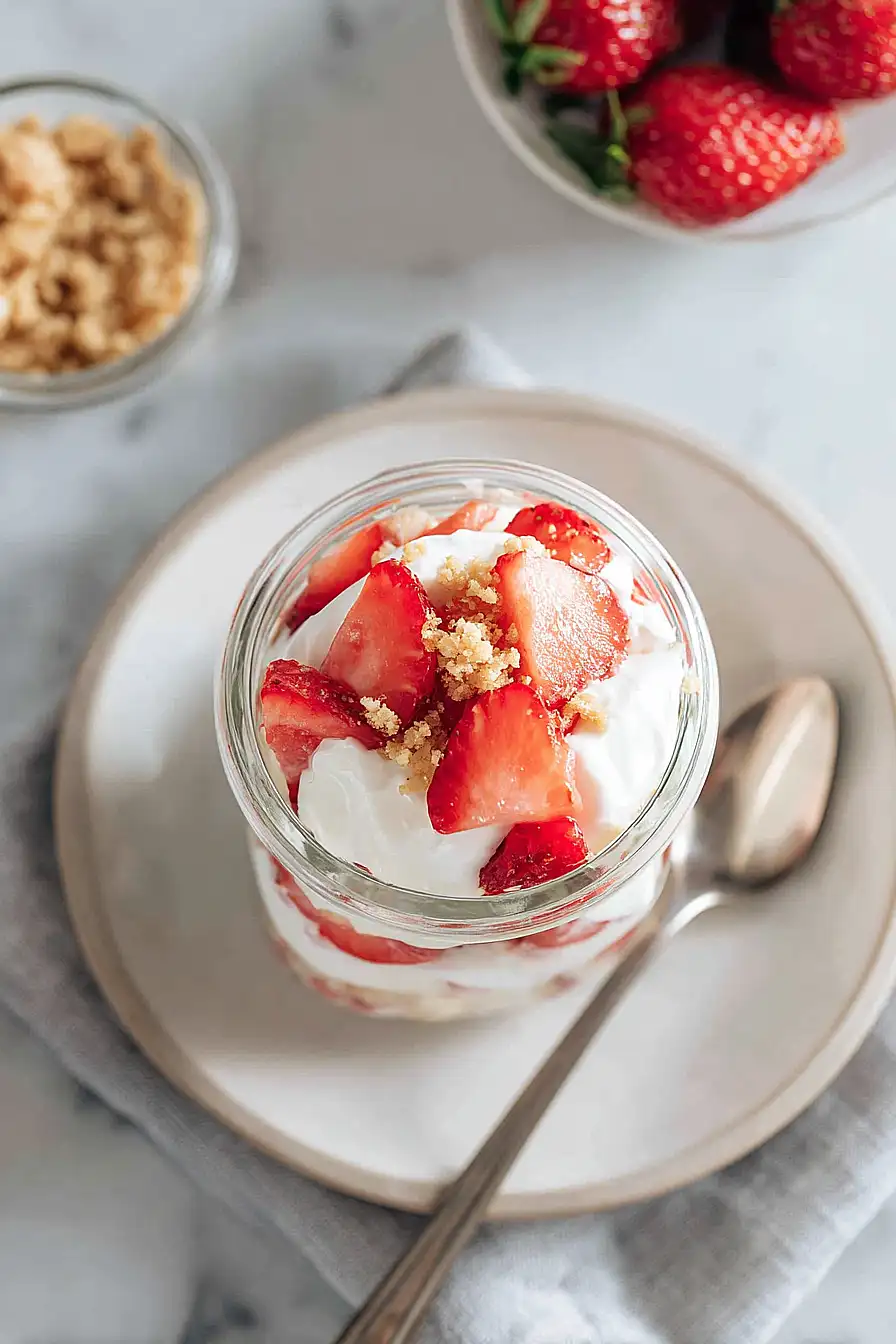
Why You’ll Love This Strawberry Shortcake in a Jar
- Ready in under 30 minutes – You can whip up these adorable desserts in less time than it takes to bake a cake from scratch, making them perfect for last-minute gatherings.
- No baking required – Since you’re using store-bought angel food cake, there’s zero oven time involved. Just assemble and serve!
- Perfect for parties – The individual mason jars make serving a breeze and look super cute on any dessert table. Plus, guests can grab their own portion without any mess.
- Only 4 main ingredients – With just strawberries, angel food cake, whipped topping, and a bit of sugar, this recipe keeps things simple without sacrificing flavor.
- Make-ahead friendly – You can assemble these jars a few hours before your event and keep them chilled until it’s time to serve.
What Kind of Strawberries Should I Use?
Fresh strawberries are definitely the way to go for this recipe, and you’ll want to look for berries that are bright red all the way through with no white or green patches near the stem. Smaller to medium-sized strawberries tend to be sweeter and more flavorful than the giant ones, so don’t feel like bigger is always better at the store. If strawberries aren’t in season and the ones at your grocery store look a bit sad, you can use frozen strawberries that have been thawed and drained – just make sure to pat them dry with a paper towel so they don’t make your dessert too watery. Give your berries a good rinse and remove the stems before slicing them up for layering in your jars.
Options for Substitutions
This recipe is pretty forgiving and works well with a few simple swaps:
- Whipped topping: Store-bought whipped topping works great, but you can make your own by whipping 1 cup of heavy cream with 2 tablespoons of powdered sugar until stiff peaks form. It’ll taste even better and more fresh.
- Angel food cake: Store-bought angel food cake is convenient, but pound cake or sponge cake work just as well. You can also use vanilla wafers or shortbread cookies for a different texture.
- Strawberries: While strawberries are traditional, you can mix in or swap with other berries like blueberries, raspberries, or blackberries. Just adjust the sugar based on how sweet your berries are.
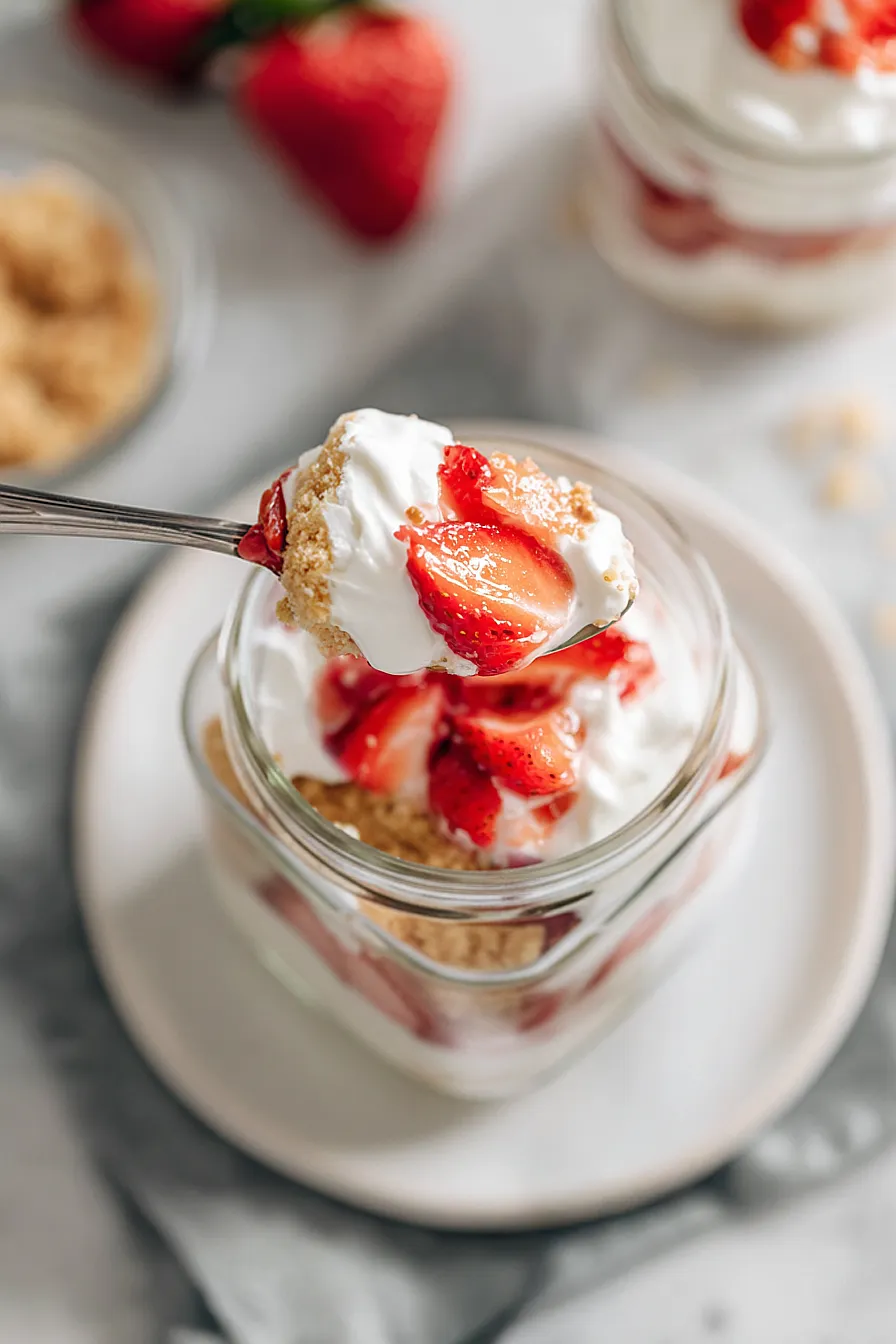
- Mason jars: Don’t have mason jars? Use any clear glasses, cups, or even small bowls. The clear container just makes it look nice so you can see the layers.
- Sugar: Regular white sugar works fine, but you can use honey or maple syrup instead. Start with 1 tablespoon and taste before adding more since these are sweeter than sugar.
Watch Out for These Mistakes While Making
The biggest mistake when assembling these jars is skipping the maceration step for your strawberries – letting them sit with sugar for at least 15 minutes creates a sweet syrup that soaks into the cake and prevents dry, bland layers.
Another common error is packing the cake pieces too tightly into the jars, which makes them dense and heavy instead of light and fluffy, so gently place the cake cubes without pressing them down.
Using store-bought angel food cake that’s too fresh can also be problematic since slightly stale cake actually holds up better in the layers without getting mushy, and if you’re making these ahead of time, assemble them no more than 4 hours before serving to keep the cake from becoming too soggy.
Finally, make sure to drain some of the excess juice from your strawberries before layering if they’ve released a lot of liquid, as too much moisture will turn your dessert into strawberry soup.
What to Serve With Strawberry Shortcake in a Jar?
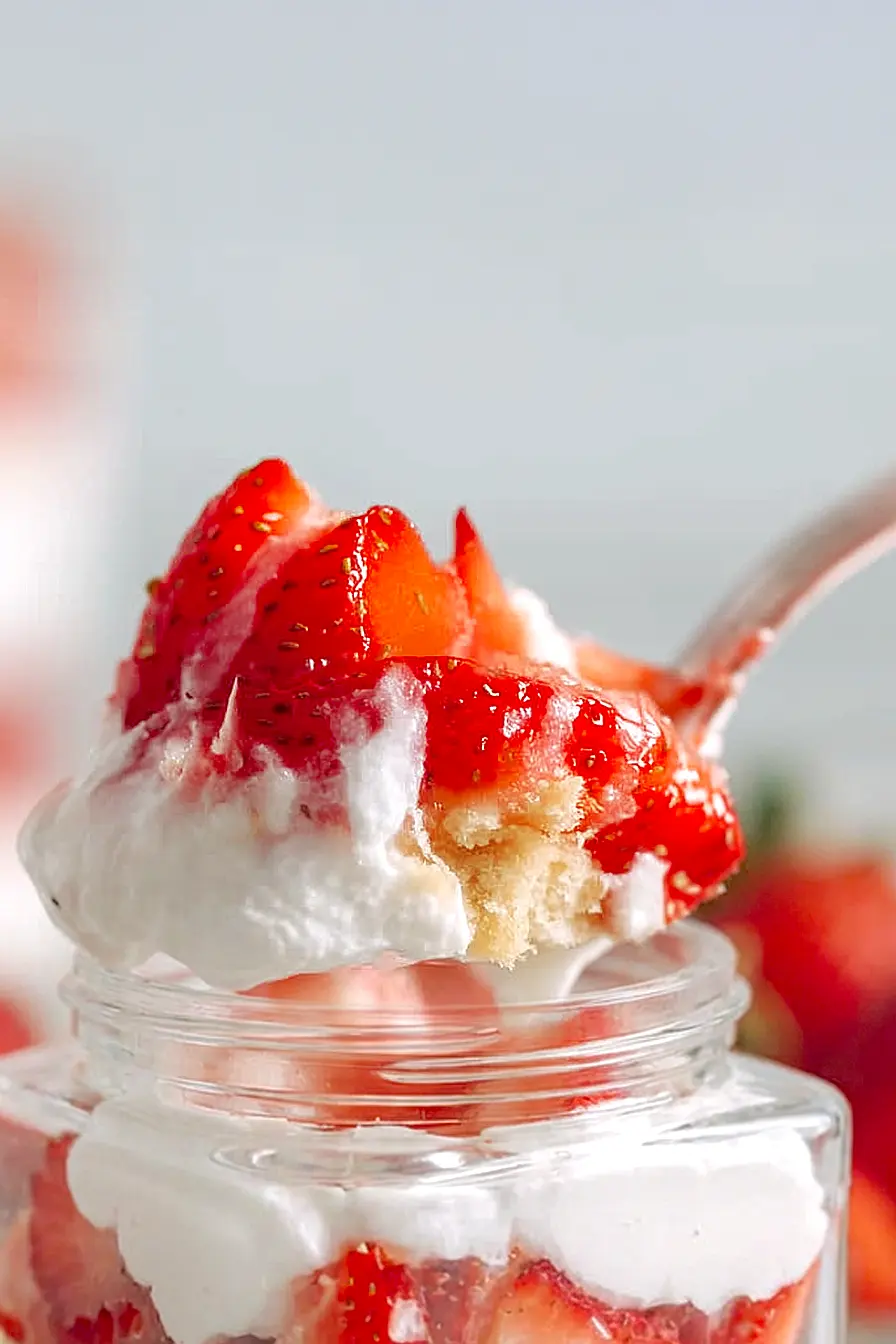
Strawberry shortcake in a jar is pretty much a complete dessert on its own, but I love serving it alongside a hot cup of coffee or tea for an afternoon treat. If you’re putting together a dessert spread for a party, these jars pair nicely with other light desserts like lemon bars or sugar cookies. For a brunch setting, they work great as a sweet ending after savory dishes like quiche or breakfast sandwiches. You could also set up a little toppings bar with extra whipped cream, chocolate shavings, or fresh mint leaves so everyone can customize their jar however they like.
Storage Instructions
Refrigerate: These strawberry shortcake jars need to stay cold, so keep them in the fridge with the lids on. They’re best enjoyed within 24 hours while everything is still fresh and the cake hasn’t gotten too soggy from the strawberries and whipped topping.
Make Ahead: You can prep the components separately a few hours before serving. Keep the sliced strawberries with sugar in one container, the cake cubes in another, and the whipped topping in the fridge. Then just layer everything in the jars about 30 minutes to an hour before you’re ready to serve for the best texture.
| Preparation Time | 25-35 minutes |
| Cooking Time | 0-0 minutes |
| Total Time | 25-35 minutes |
| Level of Difficulty | Easy |
| Servings | 8 jars |
Estimated Nutrition
Estimated nutrition for the whole recipe (without optional ingredients):
- Calories: 1300-1500
- Protein: 20-28 g
- Fat: 28-38 g
- Carbohydrates: 270-320 g
Ingredients
For the fruit layer:
- 1.5 lb strawberries (hulled and sliced into 1/4-inch thick rounds)
- 3 tbsp sugar
For the assembly:
- 14 oz angel food cake (hand-torn into 1-inch pieces for better absorption)
- 8 oz whipped topping (I prefer using Cool Whip for a sturdier hold in jars)
- 1/2 tsp vanilla extract or desired flavor
Equipment:
- 8 mason jars (8 oz wide-mouth jars work best for easy layering)
Step 1: Macerate the Strawberries
- 1.5 lb strawberries
- 3 tbsp sugar
Hull and slice the strawberries into 1/4-inch thick rounds, then place them in a bowl and toss with sugar.
Let them sit for 15 minutes at room temperature—this allows the strawberries to release their juices and create a naturally sweet, syrupy base that will soak into the cake layers and prevent the dessert from drying out.
Step 2: Prepare the Cake and Whipped Topping
- 14 oz angel food cake
- 8 oz whipped topping
- 1/2 tsp vanilla extract
While the strawberries macerate, hand-tear the angel food cake into 1-inch pieces—tearing rather than cutting creates irregular edges that absorb the strawberry juices better than neat cuts would.
In a separate small bowl, gently fold the vanilla extract into the whipped topping until evenly combined.
I prefer using Cool Whip for this dessert because its sturdier texture holds up better in jars over time compared to fresh whipped cream.
Step 3: Layer the Jars
- whipped topping mixture from Step 2
- cake pieces from Step 2
- macerated strawberries from Step 1
Start with the vanilla whipped topping mixture from Step 2, placing about 2 tablespoons in the bottom of each 8 oz mason jar.
Add a layer of cake pieces (roughly 2-3 tablespoons per jar), then top with strawberries and their accumulated juices (about 3 tablespoons).
Repeat the layering sequence—whipped topping, cake, strawberries—until you reach near the top of each jar, then finish with a final layer of whipped topping and top with the most attractive strawberry slices for presentation.
30-Minute Strawberry Shortcake in a Jar
Ingredients
For the fruit layer::
- 1.5 lb strawberries (hulled and sliced into 1/4-inch thick rounds)
- 3 tbsp sugar
For the assembly::
- 14 oz angel food cake (hand-torn into 1-inch pieces for better absorption)
- 8 oz whipped topping (I prefer using Cool Whip for a sturdier hold in jars)
- 1/2 tsp vanilla extract or desired flavor
Equipment::
- 8 mason jars (8 oz wide-mouth jars work best for easy layering)
Instructions
- Hull and slice the strawberries into 1/4-inch thick rounds, then place them in a bowl and toss with sugar. Let them sit for 15 minutes at room temperature—this allows the strawberries to release their juices and create a naturally sweet, syrupy base that will soak into the cake layers and prevent the dessert from drying out.
- While the strawberries macerate, hand-tear the angel food cake into 1-inch pieces—tearing rather than cutting creates irregular edges that absorb the strawberry juices better than neat cuts would. In a separate small bowl, gently fold the vanilla extract into the whipped topping until evenly combined. I prefer using Cool Whip for this dessert because its sturdier texture holds up better in jars over time compared to fresh whipped cream.
- Start with the vanilla whipped topping mixture from Step 2, placing about 2 tablespoons in the bottom of each 8 oz mason jar. Add a layer of cake pieces (roughly 2-3 tablespoons per jar), then top with strawberries and their accumulated juices (about 3 tablespoons). Repeat the layering sequence—whipped topping, cake, strawberries—until you reach near the top of each jar, then finish with a final layer of whipped topping and top with the most attractive strawberry slices for presentation.







