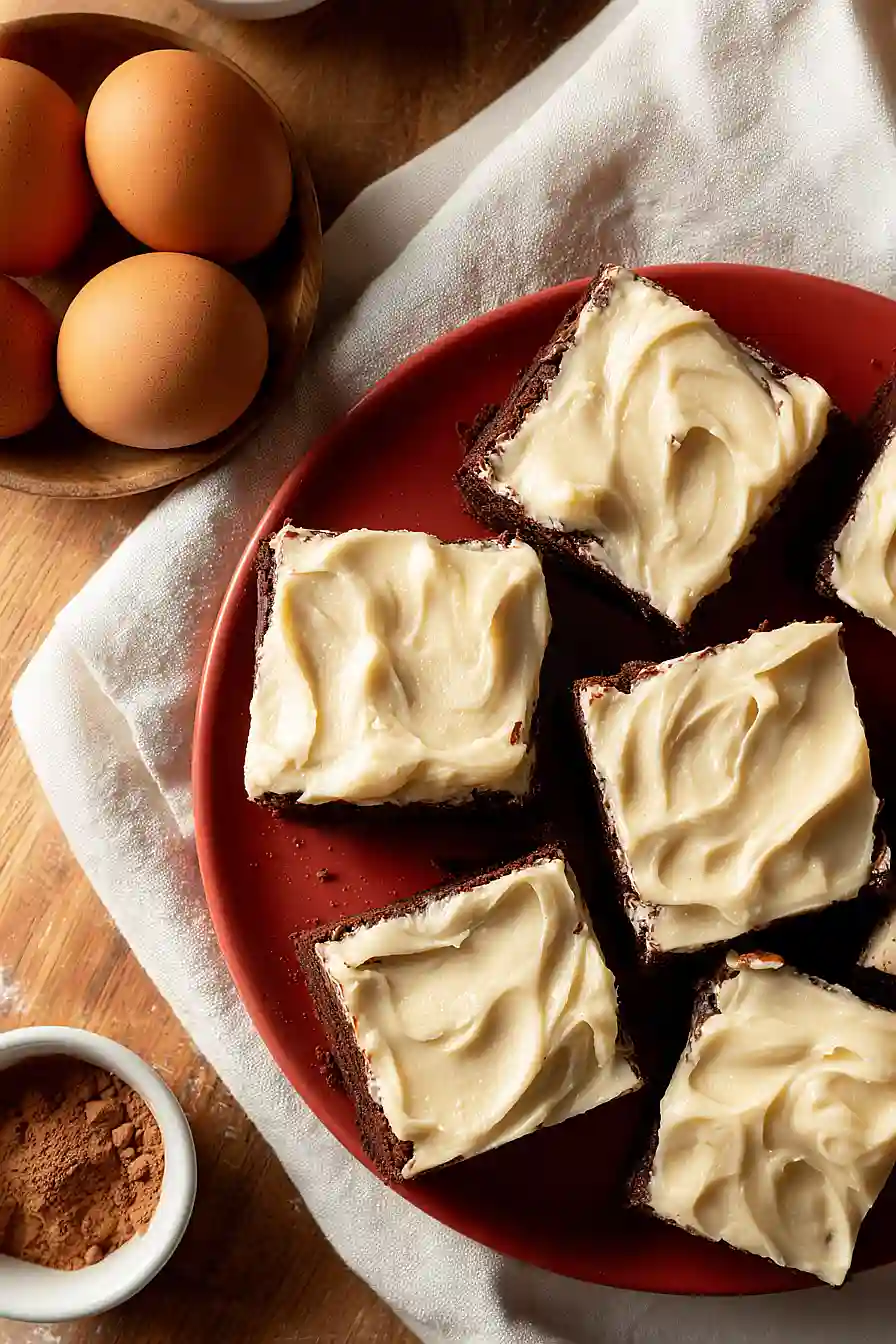
I’ve always believed that chocolate and coffee are meant to be together. They just bring out the best in each other. And when you add a layer of creamy frosting on top? That’s when a simple brownie becomes something you’ll want to make again and again.
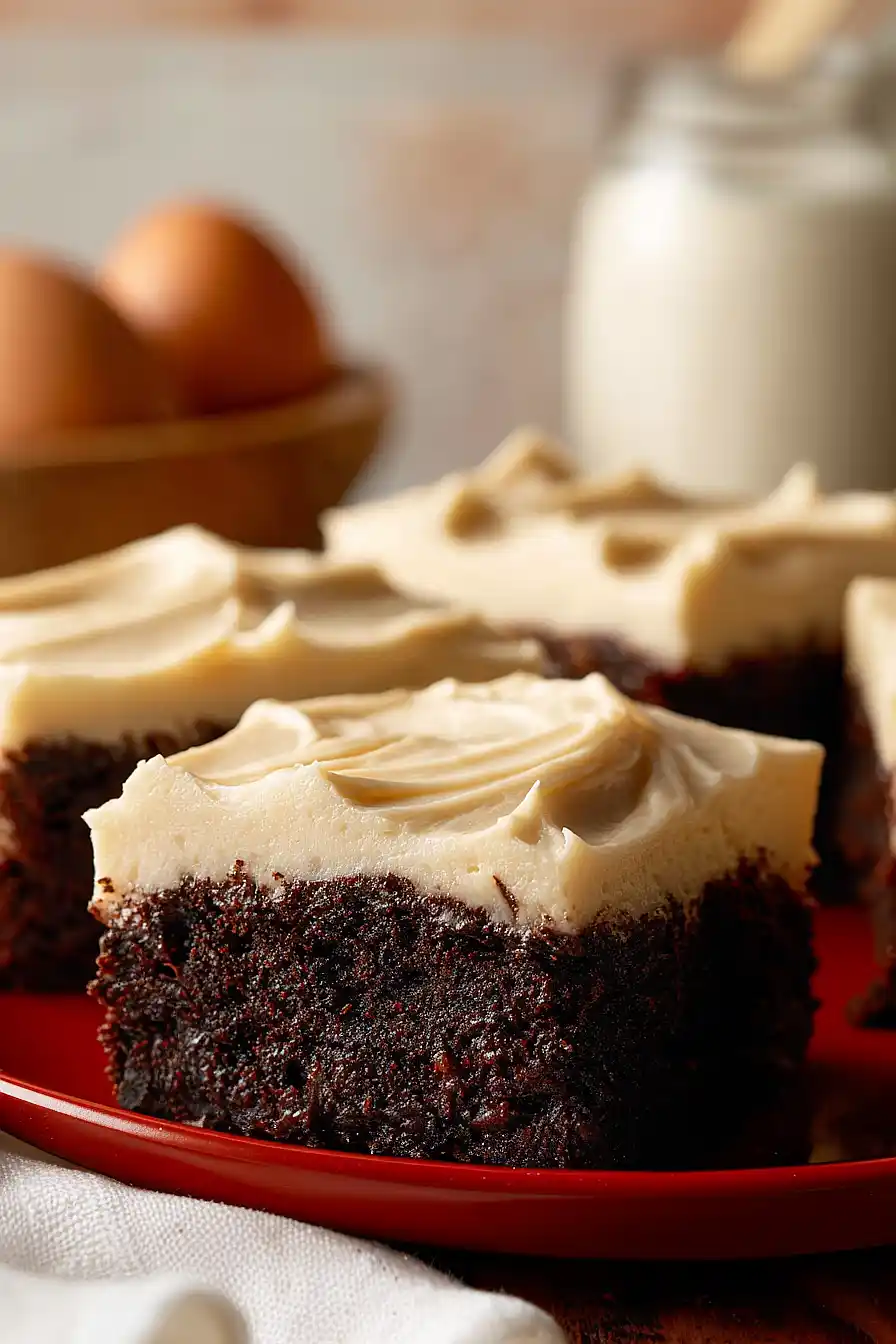
These espresso brownies hit that perfect spot between fudgy and cakey. The espresso powder doesn’t make them taste like coffee exactly. It just makes the chocolate flavor deeper and more interesting. I like to make them when I need something a little fancier than regular brownies but don’t want to spend hours in the kitchen.
The cream cheese frosting is pretty simple to whip up. It’s not too sweet, and the touch of espresso in it ties everything together. You can make these the night before if you’re having people over. Actually, they’re even better the next day once the flavors have had time to settle.
Why You’ll Love These Espresso Brownies
- Rich chocolate-coffee flavor – The espresso powder deepens the chocolate taste without making these brownies taste like coffee, creating a more complex and satisfying treat.
- Quick and easy – These brownies come together in under an hour, making them perfect for last-minute gatherings or when you need a chocolate fix fast.
- Bakery-style frosting – The creamy espresso frosting takes these brownies from good to great, adding a smooth, sweet layer that makes them feel extra special.
- Simple ingredients – You probably have most of these pantry staples on hand already, so you can whip up a batch whenever the craving hits.
What Kind of Dark Chocolate Should I Use?
For these espresso brownies, you’ll want to use a good quality dark chocolate with around 60-70% cacao content. Anything higher than 70% might make your brownies a bit too bitter, especially when combined with the espresso powder, while anything lower won’t give you that rich chocolate flavor you’re looking for. You can use chocolate bars broken into pieces or baking chocolate – both work equally well as long as you’re melting it anyway. Just avoid using chocolate chips since they contain stabilizers that prevent them from melting as smoothly as bar chocolate.
Options for Substitutions
These brownies are pretty forgiving when it comes to swaps, so here are some options if you need them:
- Dark chocolate: You can use semisweet or bittersweet chocolate instead of dark chocolate. Milk chocolate works too, but your brownies will be sweeter and less rich, so you might want to reduce the sugar by a couple tablespoons.
- Espresso powder: If you don’t have espresso powder, instant coffee granules work just as well. Use the same amount and crush them into a fine powder if they’re coarse. You can also skip it entirely, though you’ll lose that coffee kick that makes chocolate taste even more chocolatey.
- Butter: You can swap butter for coconut oil or vegetable oil in the brownies (use 1/3 cup oil instead of 1/2 cup butter). For the frosting, stick with butter since it’s what gives that creamy texture.
- Cream cheese frosting: Not a fan of cream cheese frosting? You can make a simple chocolate ganache instead by heating 1/2 cup heavy cream and pouring it over 4 oz chopped chocolate, then stirring until smooth.
- Cocoa powder: Either Dutch-process or natural cocoa powder works here. Dutch-process gives a darker color and milder flavor, while natural cocoa is more acidic and intense.
Watch Out for These Mistakes While Baking
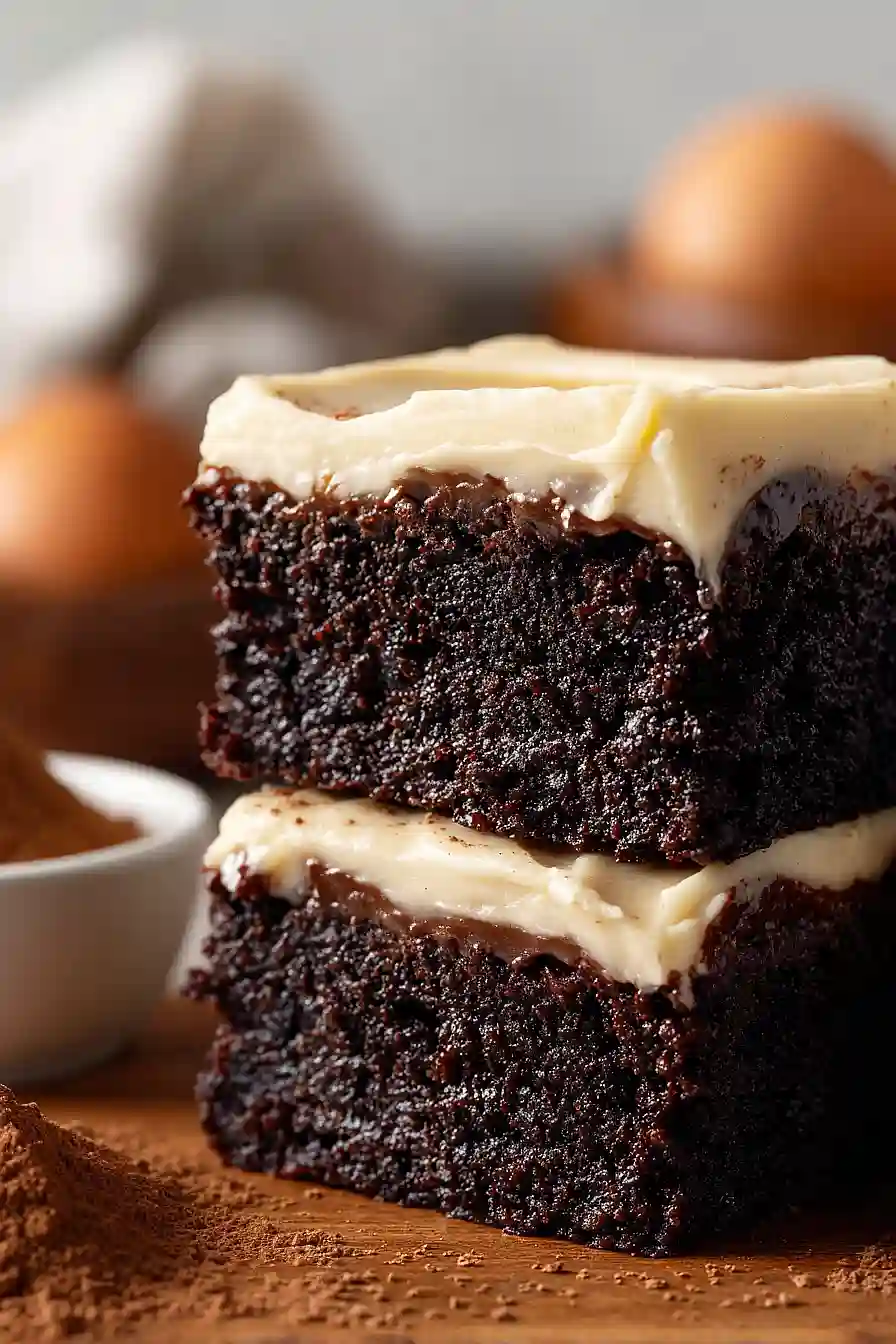
The biggest mistake when making espresso brownies is overbaking them, which turns them dry and cakey instead of rich and fudgy – pull them out when a toothpick inserted in the center comes out with a few moist crumbs, not completely clean.
Another common error is frosting the brownies while they’re still warm, which causes the cream cheese frosting to melt and slide right off, so make sure they’re completely cooled to room temperature first.
When melting the chocolate and butter together, use short 30-second bursts in the microwave and stir between each one to prevent the chocolate from seizing or burning.
For an even better result, let the chocolate mixture cool for the full 5 minutes before adding the eggs – if it’s too hot, you’ll end up with scrambled eggs mixed into your batter instead of a smooth texture.
What to Serve With Espresso Brownies?
These rich, coffee-flavored brownies are pretty indulgent on their own, but they’re even better with a cold glass of milk or a hot cup of coffee to balance out the sweetness. If you’re serving them for a party or get-together, try pairing them with vanilla ice cream or fresh whipped cream – the cool, creamy texture is a nice contrast to the fudgy brownie. For a fun dessert board, add some fresh berries like raspberries or strawberries alongside the brownies, since the tartness cuts through the chocolate nicely. You could also serve them with a scoop of coffee ice cream if you really want to lean into that espresso flavor.
Storage Instructions
Store: Keep your frosted espresso brownies in an airtight container at room temperature for up to 3 days, or in the fridge for up to a week. The fridge is actually better if you like a firmer, fudgier texture, plus the cream cheese frosting stays fresh longer that way.
Freeze: These brownies freeze really well, either frosted or unfrosted. Cut them into squares, wrap each one individually in plastic wrap, then store in a freezer bag for up to 3 months. I usually freeze them without frosting and add it fresh when I’m ready to serve.
Serve: If you’ve frozen your brownies, just let them thaw at room temperature for about an hour. They taste amazing straight from the fridge too if you love that dense, cold brownie texture with the creamy frosting on top.
| Preparation Time | 25-35 minutes |
| Cooking Time | 20-25 minutes |
| Total Time | 45-60 minutes |
| Level of Difficulty | Medium |
| Servings | 16 brownies |
Estimated Nutrition
Estimated nutrition for the whole recipe (without optional ingredients):
- Calories: 3250-3500
- Protein: 35-45 g
- Fat: 180-200 g
- Carbohydrates: 410-440 g
Ingredients
For the brownies:
- 6 oz dark chocolate (I use Ghirardelli 60% cacao bittersweet chips for a rich base)
- 3/4 cup butter (melted and cooled to room temperature)
- 1 1/4 cups sugar
- 1.5 tbsp espresso powder (I use King Arthur Flour espresso powder for its intense depth)
- 2 tsp vanilla essence
- 3 eggs (room temperature, about 70°F, to ensure a smooth batter)
- 2/3 cup flour
- 1/4 cup cocoa powder
- 1/2 tsp salt
For the frosting:
- 4.5 oz cream cheese (I prefer Philadelphia brand for the smoothest consistency)
- 3 tbsp butter (softened to room temperature)
- 1 3/4 cups powdered sugar (sifted to remove lumps for a silky finish)
- 3/4 tsp espresso powder
- 1 tsp vanilla essence
- 1/4 tsp salt
Step 1: Prepare the Pan and Mise en Place
- 2/3 cup flour
- 1/4 cup cocoa powder
- 1/2 tsp salt
Preheat your oven to 350°F and line an 8×8 or 9×9 inch baking pan with parchment paper, leaving some overhang on the sides for easy removal.
While the oven heats, sift together the flour, cocoa powder, and salt in a small bowl—this removes lumps and helps distribute the cocoa evenly throughout the batter.
Have all your other ingredients measured and ready, ensuring the eggs are at room temperature (about 70°F) for a smooth, emulsified batter.
Step 2: Melt Chocolate and Butter, Build the Base
- 6 oz dark chocolate
- 3/4 cup butter
- 1 1/4 cups sugar
- 1.5 tbsp espresso powder
- 2 tsp vanilla essence
Combine the dark chocolate chips and melted butter in a microwave-safe bowl and microwave in 30-second intervals, stirring between each burst, until completely smooth and combined.
Remove from heat and cool for 2-3 minutes until just warm to the touch.
Stir in the sugar, espresso powder, and vanilla essence until well combined, mixing vigorously to help dissolve the sugar and incorporate the espresso flavor—this is where the deep coffee notes begin to develop.
Step 3: Incorporate Eggs and Dry Ingredients
- 3 eggs
- dry ingredient mixture from Step 1
Add the room-temperature eggs one at a time to the chocolate mixture, beating well after each addition to ensure proper emulsification—this creates a silky, cohesive batter.
Once all eggs are incorporated, gently fold in the dry ingredient mixture from Step 1 using a spatula or wooden spoon, stirring until just combined and no flour streaks remain.
I like to be careful not to overmix at this stage, as it can develop gluten and make the brownies tough rather than fudgy.
Step 4: Bake the Brownies
- batter from Step 3
Pour the batter into your prepared pan and spread it evenly with a spatula.
Bake for 20-25 minutes until a toothpick inserted in the center comes out with just a few moist crumbs (not completely clean—you want that fudgy texture).
The brownies should still look slightly underbaked in the center; they’ll continue to set as they cool.
Remove from the oven and let cool completely in the pan before frosting—this ensures the frosting won’t melt.
Step 5: Make the Espresso Cream Cheese Frosting
- 4.5 oz cream cheese
- 3 tbsp butter
- 1 3/4 cups powdered sugar
- 3/4 tsp espresso powder
- 1 tsp vanilla essence
- 1/4 tsp salt
While the brownies cool, beat the softened cream cheese and butter together in a bowl until light and fluffy, about 2-3 minutes.
I find that Philadelphia cream cheese blends most smoothly, so it’s worth seeking out.
Sift the powdered sugar directly into the mixture to avoid lumps, then add the espresso powder, vanilla essence, and salt.
Beat everything together until smooth and spreadable, about another 1-2 minutes.
The frosting should be creamy but hold its shape.
Step 6: Frost and Finish
- cooled brownies from Step 4
- espresso cream cheese frosting from Step 5
Once the brownies are completely cooled, spread the espresso frosting evenly over the top using an offset spatula or the back of a spoon.
For clean slices, chill the frosted brownies in the refrigerator for at least 15-20 minutes to set the frosting, then cut into squares.
Wipe your knife between cuts with a warm, damp cloth for the cleanest presentation.
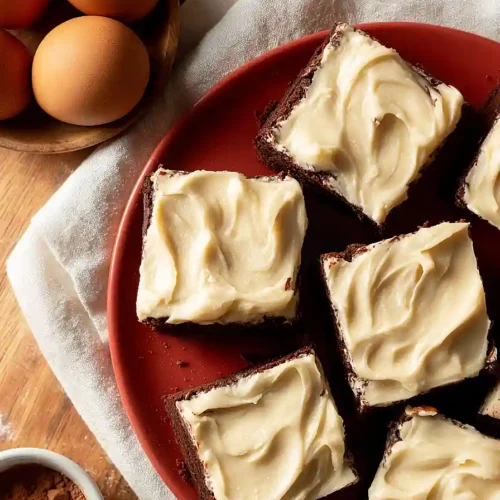
Tasty Espresso Brownies with Frosting
Ingredients
For the brownies::
- 6 oz dark chocolate (I use Ghirardelli 60% cacao bittersweet chips for a rich base)
- 3/4 cup butter (melted and cooled to room temperature)
- 1 1/4 cups sugar
- 1.5 tbsp espresso powder (I use King Arthur Flour espresso powder for its intense depth)
- 2 tsp vanilla essence
- 3 eggs (room temperature, about 70°F, to ensure a smooth batter)
- 2/3 cup flour
- 1/4 cup cocoa powder
- 1/2 tsp salt
For the frosting::
- 4.5 oz cream cheese (I prefer Philadelphia brand for the smoothest consistency)
- 3 tbsp butter (softened to room temperature)
- 1 3/4 cups powdered sugar (sifted to remove lumps for a silky finish)
- 3/4 tsp espresso powder
- 1 tsp vanilla essence
- 1/4 tsp salt
Instructions
- Preheat your oven to 350°F and line an 8x8 or 9x9 inch baking pan with parchment paper, leaving some overhang on the sides for easy removal. While the oven heats, sift together the flour, cocoa powder, and salt in a small bowl—this removes lumps and helps distribute the cocoa evenly throughout the batter. Have all your other ingredients measured and ready, ensuring the eggs are at room temperature (about 70°F) for a smooth, emulsified batter.
- Combine the dark chocolate chips and melted butter in a microwave-safe bowl and microwave in 30-second intervals, stirring between each burst, until completely smooth and combined. Remove from heat and cool for 2-3 minutes until just warm to the touch. Stir in the sugar, espresso powder, and vanilla essence until well combined, mixing vigorously to help dissolve the sugar and incorporate the espresso flavor—this is where the deep coffee notes begin to develop.
- Add the room-temperature eggs one at a time to the chocolate mixture, beating well after each addition to ensure proper emulsification—this creates a silky, cohesive batter. Once all eggs are incorporated, gently fold in the dry ingredient mixture from Step 1 using a spatula or wooden spoon, stirring until just combined and no flour streaks remain. I like to be careful not to overmix at this stage, as it can develop gluten and make the brownies tough rather than fudgy.
- Pour the batter into your prepared pan and spread it evenly with a spatula. Bake for 20-25 minutes until a toothpick inserted in the center comes out with just a few moist crumbs (not completely clean—you want that fudgy texture). The brownies should still look slightly underbaked in the center; they'll continue to set as they cool. Remove from the oven and let cool completely in the pan before frosting—this ensures the frosting won't melt.
- While the brownies cool, beat the softened cream cheese and butter together in a bowl until light and fluffy, about 2-3 minutes. I find that Philadelphia cream cheese blends most smoothly, so it's worth seeking out. Sift the powdered sugar directly into the mixture to avoid lumps, then add the espresso powder, vanilla essence, and salt. Beat everything together until smooth and spreadable, about another 1-2 minutes. The frosting should be creamy but hold its shape.
- Once the brownies are completely cooled, spread the espresso frosting evenly over the top using an offset spatula or the back of a spoon. For clean slices, chill the frosted brownies in the refrigerator for at least 15-20 minutes to set the frosting, then cut into squares. Wipe your knife between cuts with a warm, damp cloth for the cleanest presentation.


