I never thought I’d be the person making strawberry pie on a weeknight, but here we are. My kids used to beg for those glossy, sugar-loaded strawberry pies from the bakery down the street—you know the ones, with that bright red filling that’s basically just corn syrup. Then we started eating keto, and I figured those days were behind us.
Turns out, you can make a pretty great strawberry pie without all the sugar. The secret is using gelatin to get that same jiggly texture and letting real strawberries do the heavy lifting on flavor. No weird aftertaste, no sad compromises. Just a cream-topped pie that actually tastes like strawberries instead of food coloring.
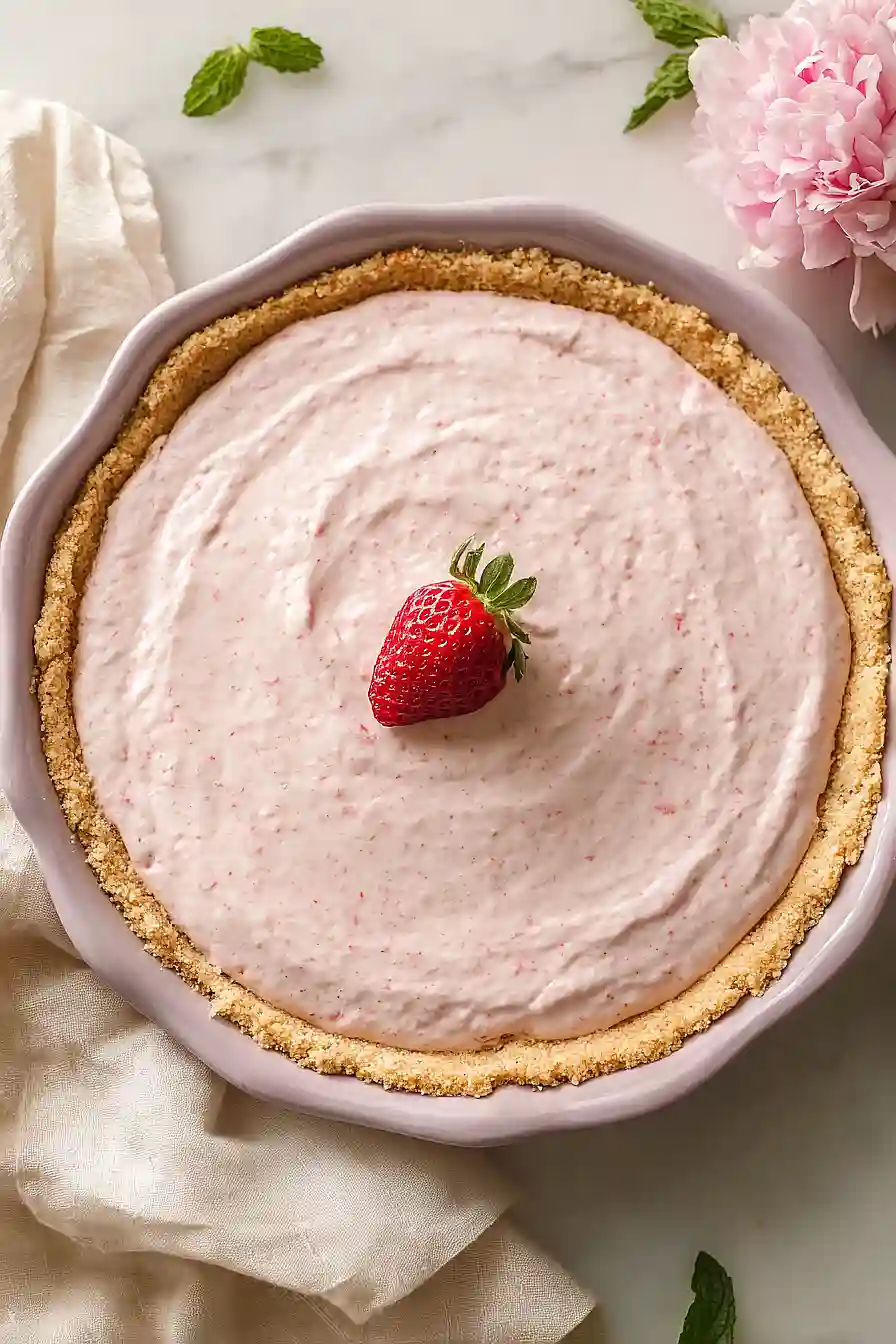
Why You’ll Love This Keto Strawberry Pie
- Keto-friendly dessert – This pie uses almond flour and sugar-free sweetener, so you can enjoy a sweet treat without the carbs or guilt.
- Fresh strawberry flavor – Real strawberries give this pie a naturally sweet and fruity taste that doesn’t rely on artificial flavors.
- Simple ingredients – You probably already have most of these pantry staples on hand, making it easy to whip up whenever a craving hits.
- Perfect for special occasions – This pie looks impressive enough for holidays or dinner parties, but it’s actually pretty straightforward to make.
What Kind of Strawberries Should I Use?
Fresh strawberries are definitely the way to go for this keto pie, and you’ll want to pick ones that are bright red and firm to the touch. Look for berries that still have their green caps attached and avoid any that have soft spots or look mushy. If fresh strawberries aren’t in season, you can use frozen strawberries that have been thawed and drained well, though the texture won’t be quite as nice. When you get your berries home, give them a quick rinse right before using them, but don’t wash them ahead of time or they’ll get soggy in the fridge.
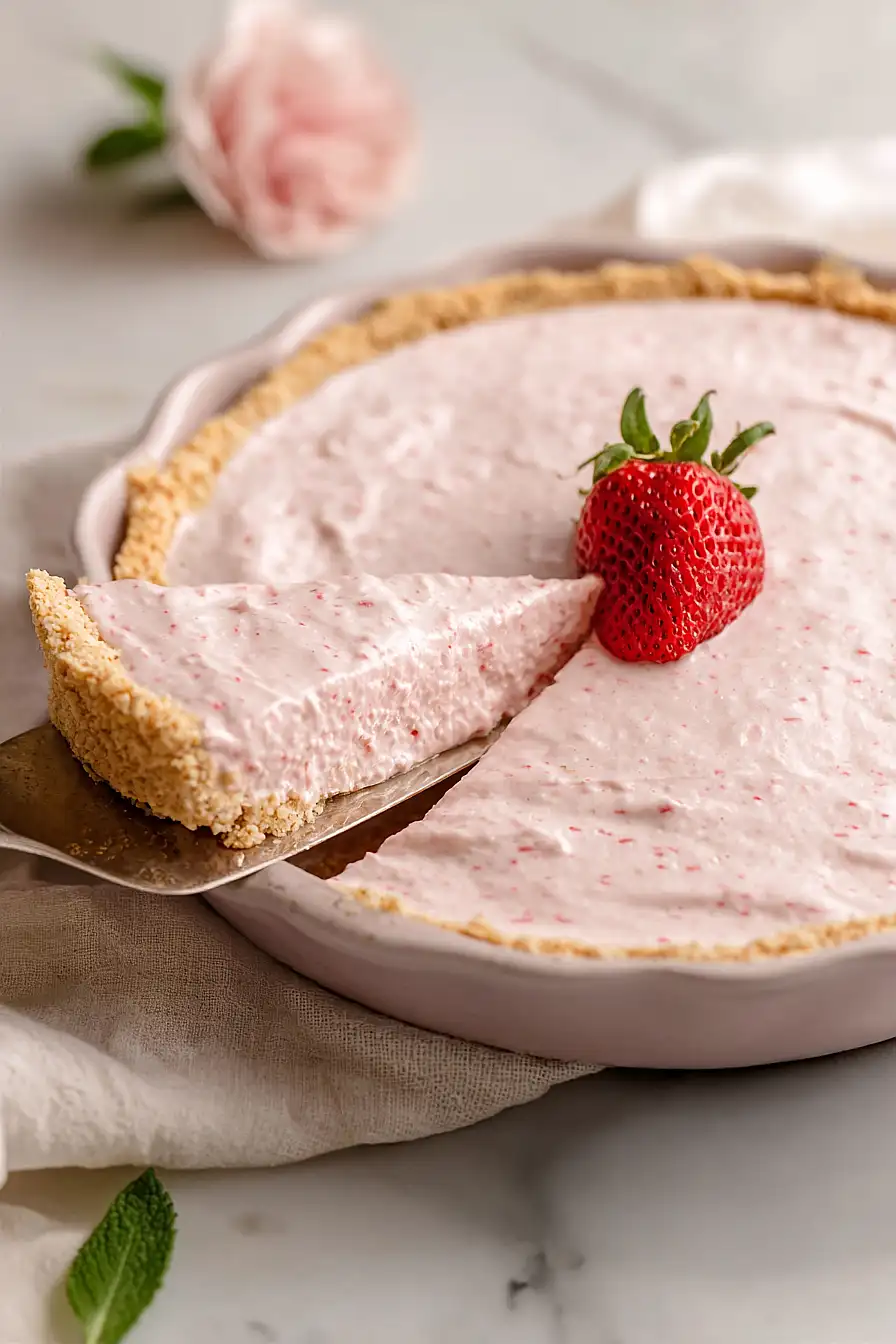
Options for Substitutions
This keto pie is pretty forgiving when it comes to swaps, so here are some options:
- Almond flour: You can use other nut flours like hazelnut or pecan flour for the crust. Coconut flour won’t work here as it absorbs way more liquid and would make the crust dry and crumbly.
- Powdered sweetener: Any keto-friendly powdered sweetener works – erythritol, monk fruit, or allulose are all good choices. Just stick with powdered versions since granulated sweeteners can make the texture grainy.
- Butter: Coconut oil works as a dairy-free swap for the crust, though it’ll give a slight coconut flavor. Use it in the same amount and make sure it’s solid when mixing.
- Strawberries: Fresh raspberries or blackberries make great substitutes and keep the carb count low. Blueberries work too, though they’re slightly higher in carbs.
- Gelatin: Agar powder can replace gelatin for a vegetarian version – use about 1 teaspoon agar powder instead, but note it sets firmer than gelatin.
- Cream: Heavy whipping cream is best here, but you can use coconut cream for a dairy-free option. Make sure to chill the can overnight and only use the thick part on top.
Watch Out for These Mistakes While Baking
The biggest mistake with almond flour crusts is not pressing the dough firmly enough into the pie plate, which can cause it to crumble when you slice the pie – use the bottom of a measuring cup to pack it down evenly and create a solid base.
When working with gelatin, make sure the strawberry mixture has cooled for the full 20 minutes before adding it to the whipped cream, or the heat will deflate your cream and leave you with a runny filling instead of a fluffy one.
Don’t skip pricking the crust with a fork before baking, as this prevents air bubbles from forming and keeps your crust flat and even.
Finally, resist the temptation to cut into the pie early – the full 3-hour chill time is necessary for the gelatin to set properly, so your slices hold their shape instead of sliding apart on the plate.
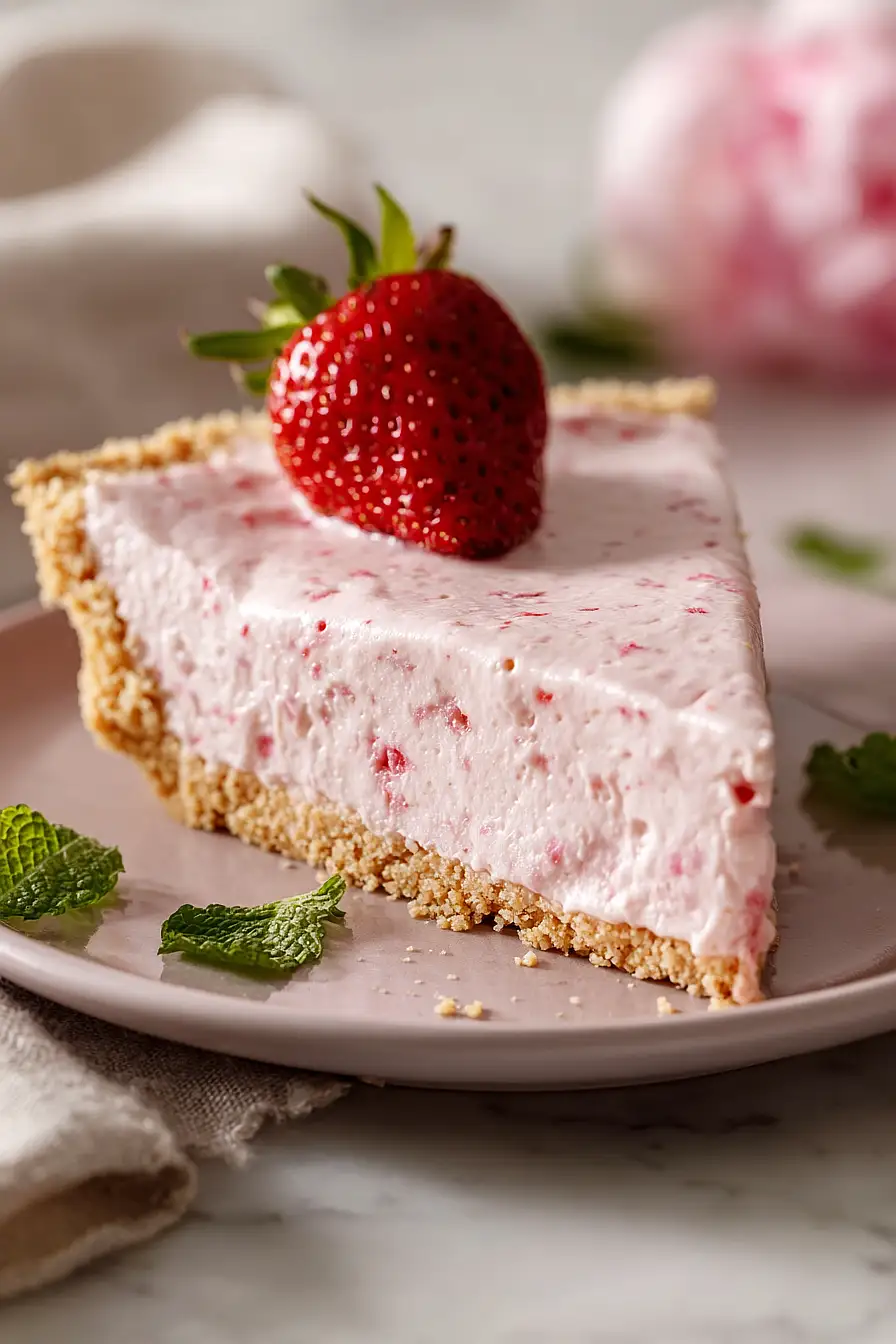
What to Serve With Keto Strawberry Pie?
This pie is pretty rich and sweet on its own, so I like to keep things simple when serving it. A dollop of unsweetened whipped cream on top adds a nice light touch without making it too heavy, and you can even add a few fresh strawberry slices for a pop of color. If you’re serving this for a special occasion, a hot cup of coffee or unsweetened tea pairs really well with the creamy filling and cuts through the richness. For a fun brunch idea, this pie also works great alongside some scrambled eggs and bacon to balance out the sweet with something savory.
Storage Instructions
Refrigerate: This strawberry pie needs to stay cold to keep its shape. Cover it loosely with plastic wrap or foil and keep it in the fridge for up to 4 days. The crust might soften a bit over time, but it’ll still taste great.
Freeze: You can freeze individual slices wrapped tightly in plastic wrap for up to 2 months. Just know that the cream filling might change texture slightly when thawed, becoming a bit softer than when fresh.
Serve: Let frozen slices thaw in the fridge for a few hours before serving. This pie is best enjoyed cold straight from the fridge, so there’s no need to bring it to room temperature.
| Preparation Time | 20-30 minutes |
| Cooking Time | 15-20 minutes |
| Total Time | 4-5 hours |
| Level of Difficulty | Medium |
| Servings | 8 slices |
Estimated Nutrition
Estimated nutrition for the whole recipe (without optional ingredients):
- Calories: 1600-1750
- Protein: 25-30 g
- Fat: 140-150 g
- Carbohydrates: 60-75 g
Ingredients
For the crust:
- 1 3/4 cups almond flour (I always use Blue Diamond for a finer crumb)
- 1/4 cup powdered sweetener
- 1/4 tsp salt
- 6 tablespoons butter (I like Kerrygold unsalted butter for this)
For the filling:
- 2 cups strawberries (sliced into 1/4-inch thick rounds)
- 1/4 cup water
- 3 tsp gelatin
- 1 cup cream (chilled at least 24 hours for better whipping)
- 1/2 cup powdered sweetener
- 1 tsp vanilla essence
- 1/2 teaspoon lemon zest
Step 1: Make and Bake the Almond Flour Crust
- 1 3/4 cups almond flour
- 1/4 cup powdered sweetener
- 1/4 tsp salt
- 6 tablespoons butter
Preheat your oven to 325°F.
Melt the butter in a small saucepan over low heat, then combine it with the almond flour, powdered sweetener, and salt in a bowl, mixing until the texture resembles wet sand.
Press this mixture firmly and evenly into a 9-inch pie dish, using the bottom of a measuring cup to create an even layer on the bottom and sides.
Prick the bottom all over with a fork to prevent bubbling, then bake for 15-20 minutes until the crust is golden brown and fragrant.
Remove from the oven and let cool to room temperature—this is a good time to prepare your filling ingredients while the crust cools.
Step 2: Prepare the Strawberry Gelatin Base
- 2 cups strawberries
- 1/4 cup water
- 3 tsp gelatin
Slice the strawberries into 1/4-inch thick rounds and place them in a blender with the water.
Blend until completely smooth, then pour the strawberry mixture into a saucepan.
Sprinkle the gelatin over the strawberry liquid and let it sit for 1-2 minutes to bloom (this helps it dissolve evenly).
Place the pot over medium-low heat and gently simmer, stirring occasionally, until the gelatin is completely dissolved and the mixture is smooth, about 5 minutes.
Remove from heat and let cool for 20 minutes at room temperature—the mixture should be cool but still pourable.
Step 3: Whip the Cream Filling
- 1 cup cream
- 1/2 cup powdered sweetener
- 1 tsp vanilla essence
- 1/2 teaspoon lemon zest
Pour the chilled cream into a clean bowl and begin beating with an electric mixer on medium-high speed.
When the cream starts to thicken slightly, add the powdered sweetener, vanilla essence, and lemon zest.
Continue beating until stiff peaks form—the cream should hold its shape when you lift the beaters.
I find that using cream chilled for at least 24 hours makes a noticeable difference in how quickly and firmly it whips, so don’t skip that step if possible.
Be careful not to overbeat or you’ll end up with butter, so watch carefully once you reach soft peaks.
Step 4: Fold Strawberry Gelatin into Whipped Cream
- whipped cream mixture from Step 3
- strawberry gelatin base from Step 2
Once the strawberry liquid from Step 2 has cooled for 20 minutes and the whipped cream from Step 3 reaches stiff peaks, gently fold the strawberry mixture into the cream using a rubber spatula.
Use a folding motion—cutting down through the center, scraping along the bottom, and turning the bowl—rather than stirring, which would deflate the whipped cream.
The filling should have a marbled appearance with swirls of strawberry throughout.
Work gently and quickly to maintain as much volume as possible in the cream.
Step 5: Fill and Chill the Pie
- baked crust from Step 1
- strawberry-cream filling from Step 4
Pour the strawberry-cream filling into the cooled crust from Step 1, spreading it evenly with a spatula.
Cover the pie loosely with plastic wrap and refrigerate for at least 3 hours, or until the filling is completely set and firm to the touch.
For best results, I prefer to chill it overnight—this allows the flavors to meld and the texture to become perfectly creamy.
Step 6: Serve the Pie
Remove the pie from the refrigerator and let it sit at room temperature for 5 minutes before slicing—this makes cutting cleaner and the filling slightly easier to portion.
Slice with a sharp knife, wiping the blade between cuts for clean edges.
Serve chilled or at room temperature according to preference.
Simple Keto Strawberry Pie
Ingredients
For the crust
- 1 3/4 cups almond flour (I always use Blue Diamond for a finer crumb)
- 1/4 cup powdered sweetener
- 1/4 tsp salt
- 6 tablespoons butter (I like Kerrygold unsalted butter for this)
For the filling
- 2 cups strawberries (sliced into 1/4-inch thick rounds)
- 1/4 cup water
- 3 tsp gelatin
- 1 cup cream (chilled at least 24 hours for better whipping)
- 1/2 cup powdered sweetener
- 1 tsp vanilla essence
- 1/2 teaspoon lemon zest
Instructions
- Preheat your oven to 325°F. Melt the butter in a small saucepan over low heat, then combine it with the almond flour, powdered sweetener, and salt in a bowl, mixing until the texture resembles wet sand. Press this mixture firmly and evenly into a 9-inch pie dish, using the bottom of a measuring cup to create an even layer on the bottom and sides. Prick the bottom all over with a fork to prevent bubbling, then bake for 15-20 minutes until the crust is golden brown and fragrant. Remove from the oven and let cool to room temperature—this is a good time to prepare your filling ingredients while the crust cools.
- Slice the strawberries into 1/4-inch thick rounds and place them in a blender with the water. Blend until completely smooth, then pour the strawberry mixture into a saucepan. Sprinkle the gelatin over the strawberry liquid and let it sit for 1-2 minutes to bloom (this helps it dissolve evenly). Place the pot over medium-low heat and gently simmer, stirring occasionally, until the gelatin is completely dissolved and the mixture is smooth, about 5 minutes. Remove from heat and let cool for 20 minutes at room temperature—the mixture should be cool but still pourable.
- Pour the chilled cream into a clean bowl and begin beating with an electric mixer on medium-high speed. When the cream starts to thicken slightly, add the powdered sweetener, vanilla essence, and lemon zest. Continue beating until stiff peaks form—the cream should hold its shape when you lift the beaters. I find that using cream chilled for at least 24 hours makes a noticeable difference in how quickly and firmly it whips, so don't skip that step if possible. Be careful not to overbeat or you'll end up with butter, so watch carefully once you reach soft peaks.
- Once the strawberry liquid from Step 2 has cooled for 20 minutes and the whipped cream from Step 3 reaches stiff peaks, gently fold the strawberry mixture into the cream using a rubber spatula. Use a folding motion—cutting down through the center, scraping along the bottom, and turning the bowl—rather than stirring, which would deflate the whipped cream. The filling should have a marbled appearance with swirls of strawberry throughout. Work gently and quickly to maintain as much volume as possible in the cream.
- Pour the strawberry-cream filling into the cooled crust from Step 1, spreading it evenly with a spatula. Cover the pie loosely with plastic wrap and refrigerate for at least 3 hours, or until the filling is completely set and firm to the touch. For best results, I prefer to chill it overnight—this allows the flavors to meld and the texture to become perfectly creamy.
- Remove the pie from the refrigerator and let it sit at room temperature for 5 minutes before slicing—this makes cutting cleaner and the filling slightly easier to portion. Slice with a sharp knife, wiping the blade between cuts for clean edges. Serve chilled or at room temperature according to preference.







