Finding a unique and interesting way to use up garden radishes can feel like an impossible task. Sure, you can toss them in salads or pickle them, but if you’ve got a bumper crop to work through, you’ll run out of ideas pretty quickly, and let’s be honest, there’s only so many radish salads one family can eat.
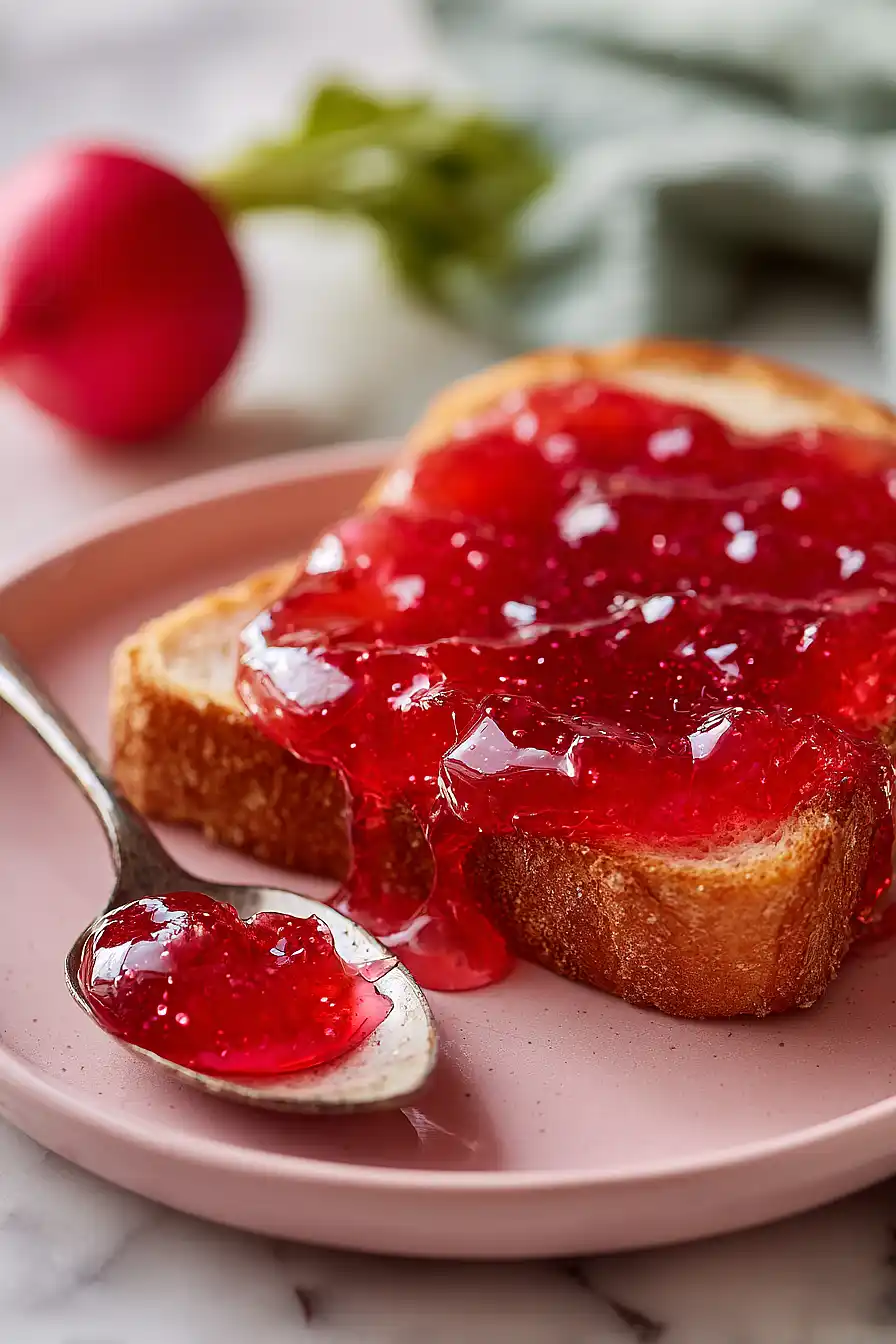
That’s where this radish jelly comes in handy: it’s sweet with just a hint of spice from the horseradish, makes a great appetizer spread over cream cheese and crackers, and gives you a creative way to preserve those fresh radishes when they’re in season.
Why You’ll Love This Radish Jelly
- Quick and easy – This jelly comes together in just 25-35 minutes, making it perfect for when you want homemade preserves without spending all day in the kitchen.
- Unique flavor combination – The sweet jelly with a subtle kick from horseradish creates an interesting spread that’ll surprise your taste buds in the best way.
- Simple ingredients – You only need five basic ingredients to make this jelly, and most of them are probably already in your pantry.
- Great for gifting – This homemade jelly makes a thoughtful gift for friends and family who appreciate trying something different from the usual grape or strawberry.
What Kind of Radishes Should I Use?
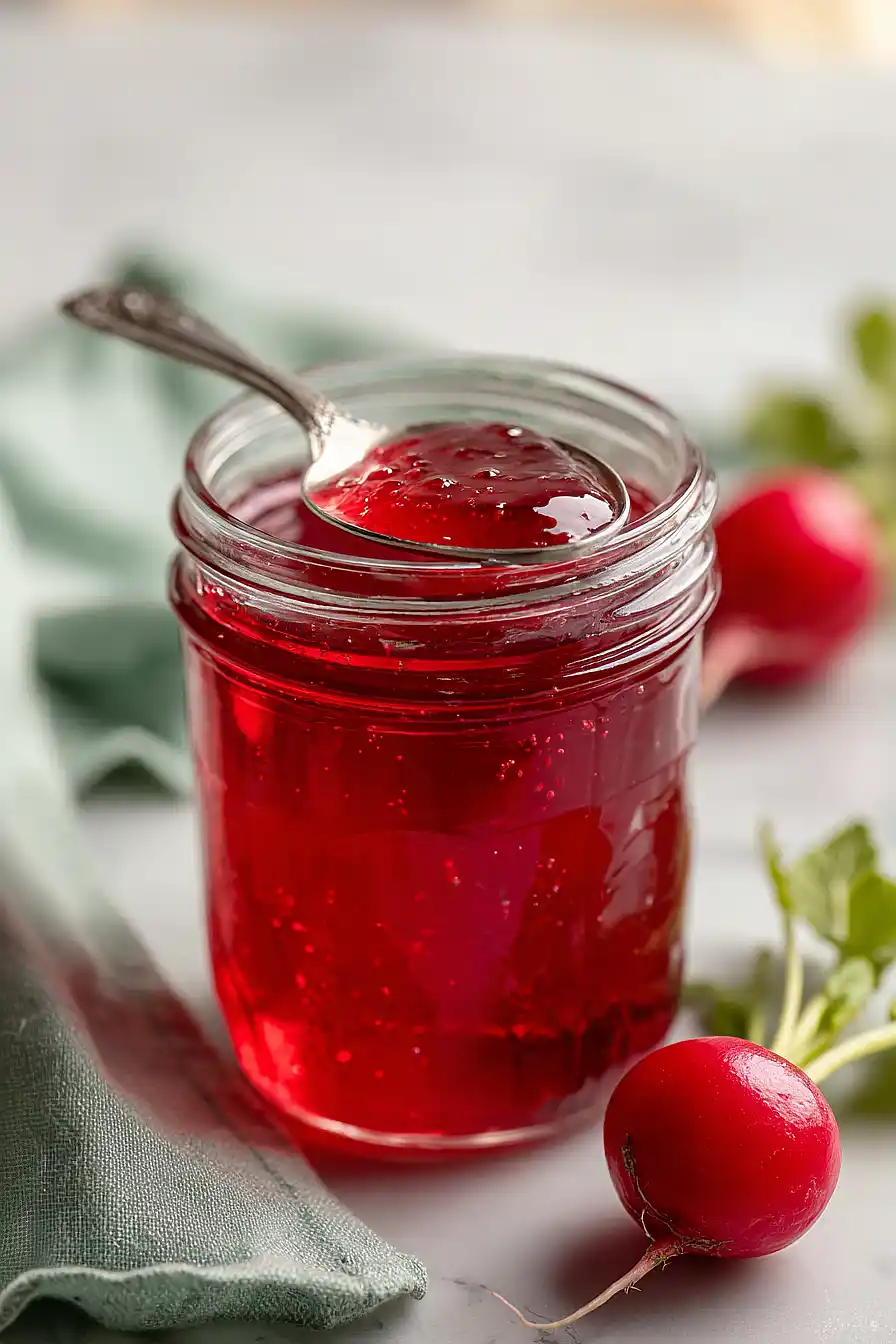
You can use pretty much any type of radish for this jelly, though the common red radishes you find at the grocery store work perfectly fine. If you want a milder, slightly sweeter flavor, daikon radishes are a great option, while breakfast radishes or French radishes will give you a peppery kick. The key is to chop them finely so they break down well during the cooking process and release their flavors into the jelly. If you’re using watermelon radishes, keep in mind they’re a bit milder and will give your jelly a lovely pink hue, though the flavor will be less sharp than traditional red radishes.
Options for Substitutions
While this unique jelly recipe is pretty straightforward, here are a few substitution options if you need them:
- Radishes: You can use any variety of radishes – red globe, French breakfast, or even daikon radishes. Just make sure to chop them finely so they release their flavor properly into the jelly.
- Pectin: Don’t substitute the pectin – it’s essential for getting your jelly to set correctly. Make sure you’re using the exact amount called for in the recipe, as different pectin brands may have different setting strengths.
- Prepared horseradish: If you only have fresh horseradish root, you can grate about 1 tablespoon of it finely. Keep in mind that fresh horseradish is stronger, so start with less and taste as you go.
- Granulated sugar: Stick with regular granulated sugar for this recipe. Other sweeteners or sugar substitutes can interfere with the pectin’s ability to set the jelly properly.
Watch Out for These Mistakes While Cooking
The biggest mistake when making radish jelly is not using a candy thermometer to check the temperature – if you don’t reach that crucial 220°F mark, your jelly won’t set properly and you’ll end up with a runny syrup instead of a spreadable consistency.
Another common error is skipping the foam-skimming step, which might seem unnecessary but actually affects both the clarity and texture of your finished jelly.
Don’t add the horseradish too early in the process, as the heat will cook off its signature kick – waiting until after you remove the pot from heat preserves that spicy flavor.
Finally, resist the urge to move or shake the jars during that 12-24 hour resting period, since any movement can prevent the jelly from setting correctly.
What to Serve With Radish Jelly?
Radish jelly is one of those sweet and spicy condiments that works great on a cheese board alongside crackers and sharp cheddar or cream cheese. I love spreading it on toast points with a little goat cheese for an appetizer that always surprises people in the best way. It’s also really good as a glaze for roasted pork or chicken – just brush it on during the last few minutes of cooking for a nice sticky finish. If you’re feeling adventurous, try it on a turkey or roast beef sandwich instead of regular mustard for a sweet kick that pairs perfectly with the savory meat.
Storage Instructions
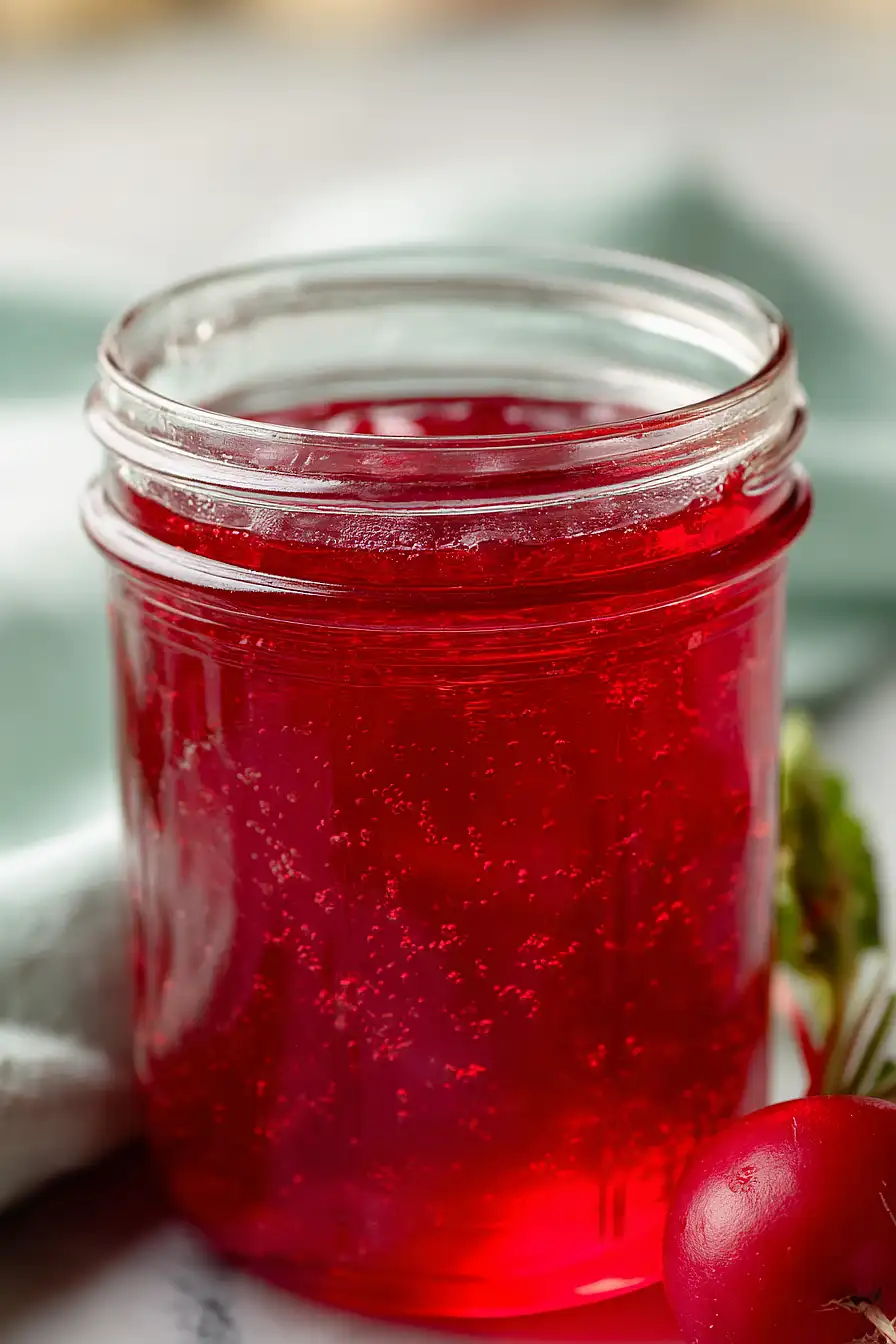
Store: Once your jars have cooled and sealed properly, store them in a cool, dark place like your pantry for up to a year. After opening a jar, keep it in the refrigerator and use it within 3 weeks for the best flavor and texture.
Check Seals: Make sure to check that all your jar lids have sealed correctly before storing. Press down on the center of each lid – if it doesn’t pop back, you’re good to go. Any jars that didn’t seal should go straight into the fridge and be used within a few weeks.
| Preparation Time | 15-20 minutes |
| Cooking Time | 10-15 minutes |
| Total Time | 25-35 minutes |
| Level of Difficulty | Medium |
| Servings | 4 cups of jelly |
Estimated Nutrition
Estimated nutrition for the whole recipe (without optional ingredients):
- Calories: 1850-1950
- Protein: 2-4 g
- Fat: 0-1 g
- Carbohydrates: 470-490 g
Ingredients
- 2 cups radishes (finely grated and squeezed of excess moisture)
- 3 cups granulated sugar
- 1 cup water
- 1.75 oz fruit pectin
- 2 1/2 tsp prepared horseradish
- 1 tbsp lemon juice
Step 1: Prepare the Radishes and Set Up Equipment
- 2 cups radishes
- Canning jars
Finely grate the radishes using a box grater or food processor, then wrap them in a clean kitchen towel and squeeze firmly to remove excess moisture—this step is crucial because radishes are very watery, and removing that liquid prevents a thin, runny jelly.
While preparing the radishes, fill your canning pot with water and bring it to a boil for the water bath, then place your jars in a 200°F oven for 5-10 minutes to sterilize and warm them.
Step 2: Build the Jelly Base
- Prepared radishes from Step 1
- 3 cups granulated sugar
- 1 cup water
In a large, heavy-bottomed pot, combine the squeezed radishes, sugar, and water over medium heat.
Stir frequently until the sugar completely dissolves, which should take about 5-7 minutes—you’ll know it’s ready when you don’t see any granules on the spoon.
Once dissolved, increase the heat to high and bring the mixture to a rolling boil, stirring occasionally to ensure even heating.
Step 3: Incorporate Pectin and Reach Target Temperature
- Boiling mixture from Step 2
- 1.75 oz fruit pectin
Once the mixture reaches a rolling boil, add the fruit pectin while stirring constantly to prevent clumping.
Continue boiling and stir frequently, checking the temperature with a reliable candy or jelly thermometer—I find it helpful to clip the thermometer to the pot side so you can monitor without constantly lifting it.
When the mixture reaches 220°F (about 1-2 minutes after adding pectin), remove the pot from heat immediately; this temperature ensures proper gel formation.
Step 4: Finish and Jar the Jelly
- Cooked jelly mixture from Step 3
- 2 1/2 tsp prepared horseradish
- 1 tbsp lemon juice
- Warm sterilized jars from Step 1
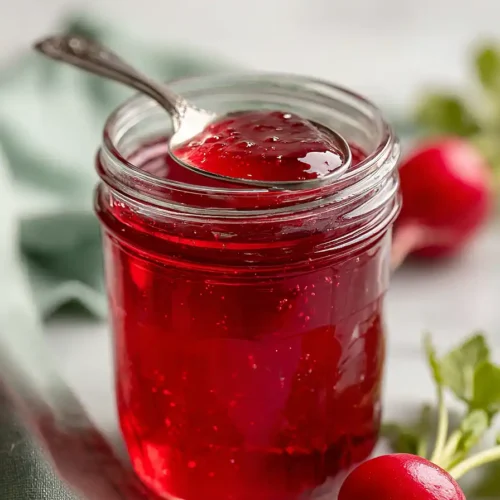
Quickly skim off any pink foam that has accumulated on the surface using a spoon or skimming tool, as this improves the clarity and appearance of the finished jelly.
Stir in the prepared horseradish and lemon juice until fully incorporated—the horseradish adds a subtle peppery bite that makes this jelly unique.
Working quickly while the jelly is still hot, ladle it into the warm, sterilized jars from Step 1, leaving about 1/4 inch of headspace at the top.
Step 5: Process and Cool
- Jars from Step 4
Wipe the jar rims clean with a damp cloth, then place the lids on the jars and screw the bands on finger-tight.
Place the jars into the pot of boiling water from Step 1, ensuring they’re covered by at least 1 inch of water, and process for 10 minutes.
After processing, remove the jars with a jar lifter and place them on a clean kitchen towel at room temperature—allow them to cool undisturbed for 12-24 hours while the pectin sets, then check that the lids have sealed (they should be slightly concave and won’t flex when pressed).
Sweet Radish Jelly
Ingredients
- 2 cups radishes (finely grated and squeezed of excess moisture)
- 3 cups granulated sugar
- 1 cup water
- 1.75 oz fruit pectin
- 2 1/2 tsp prepared horseradish
- 1 tbsp lemon juice
Instructions
- Finely grate the radishes using a box grater or food processor, then wrap them in a clean kitchen towel and squeeze firmly to remove excess moisture—this step is crucial because radishes are very watery, and removing that liquid prevents a thin, runny jelly. While preparing the radishes, fill your canning pot with water and bring it to a boil for the water bath, then place your jars in a 200°F oven for 5-10 minutes to sterilize and warm them.
- In a large, heavy-bottomed pot, combine the squeezed radishes, sugar, and water over medium heat. Stir frequently until the sugar completely dissolves, which should take about 5-7 minutes—you'll know it's ready when you don't see any granules on the spoon. Once dissolved, increase the heat to high and bring the mixture to a rolling boil, stirring occasionally to ensure even heating.
- Once the mixture reaches a rolling boil, add the fruit pectin while stirring constantly to prevent clumping. Continue boiling and stir frequently, checking the temperature with a reliable candy or jelly thermometer—I find it helpful to clip the thermometer to the pot side so you can monitor without constantly lifting it. When the mixture reaches 220°F (about 1-2 minutes after adding pectin), remove the pot from heat immediately; this temperature ensures proper gel formation.
- Quickly skim off any pink foam that has accumulated on the surface using a spoon or skimming tool, as this improves the clarity and appearance of the finished jelly. Stir in the prepared horseradish and lemon juice until fully incorporated—the horseradish adds a subtle peppery bite that makes this jelly unique. Working quickly while the jelly is still hot, ladle it into the warm, sterilized jars from Step 1, leaving about 1/4 inch of headspace at the top.
- Wipe the jar rims clean with a damp cloth, then place the lids on the jars and screw the bands on finger-tight. Place the jars into the pot of boiling water from Step 1, ensuring they're covered by at least 1 inch of water, and process for 10 minutes. After processing, remove the jars with a jar lifter and place them on a clean kitchen towel at room temperature—allow them to cool undisturbed for 12-24 hours while the pectin sets, then check that the lids have sealed (they should be slightly concave and won't flex when pressed).


