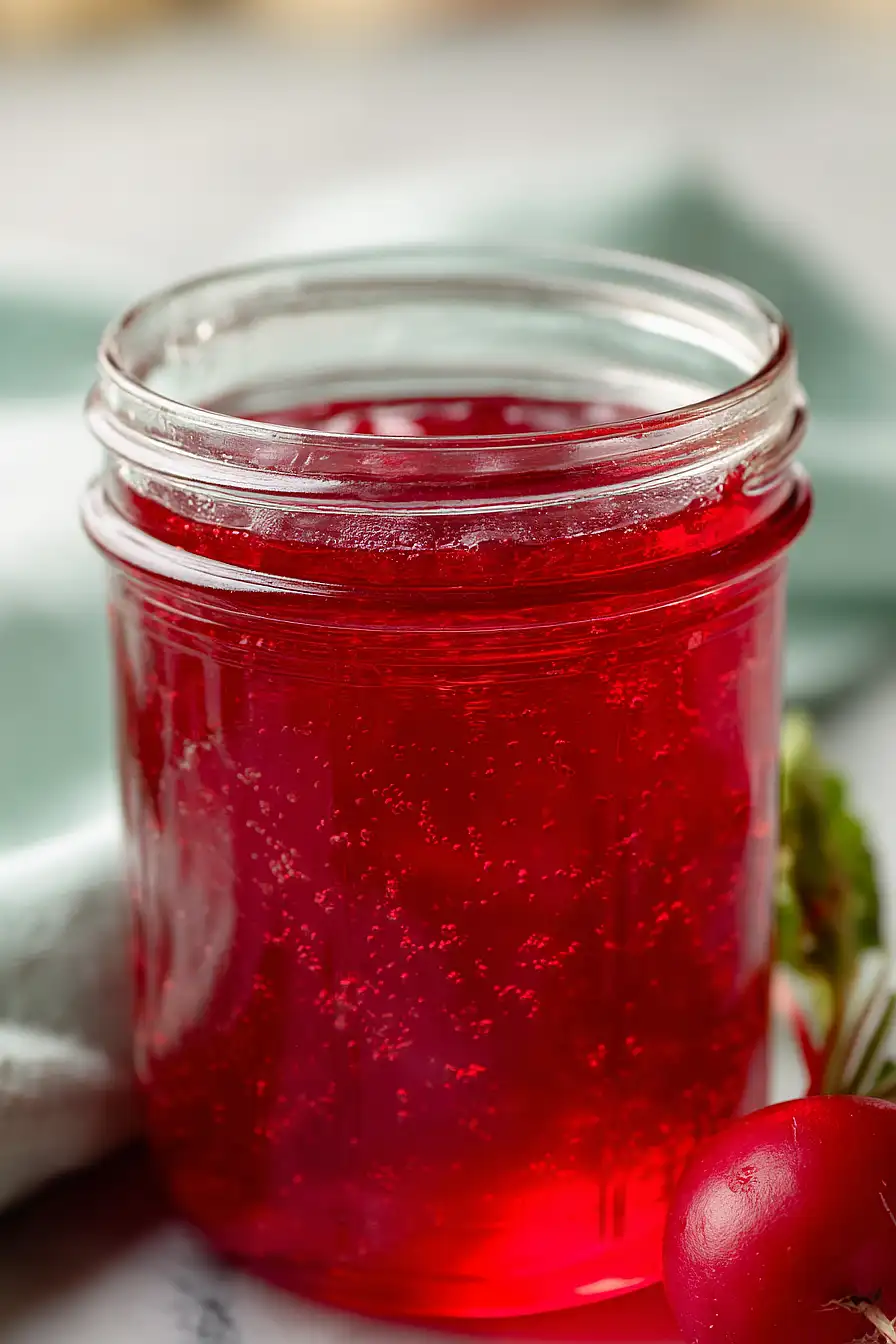
Looking for a unique way to use up those radishes sitting in your crisper drawer? I know what you’re thinking – radish jelly sounds a little unusual, maybe even strange. But hear me out, because this sweet and slightly spicy spread is one of those recipes that surprises everyone who tries it.
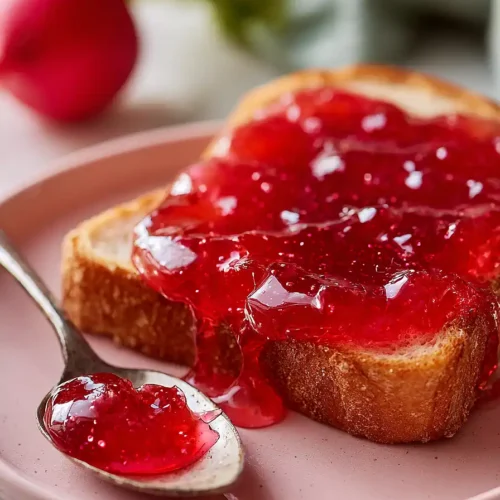
The beauty of radish jelly is that it takes something most of us only eat raw in salads and turns it into a spread that’s perfect for cream cheese and crackers, glazing meats, or just jazzing up your morning toast. The radishes mellow out when cooked, and combined with a hint of horseradish and lemon, you get this interesting flavor that’s both sweet and has just enough kick to keep things interesting.

Why You’ll Love This Radish Jelly
- Quick and easy – This jelly comes together in just 30-45 minutes, making it perfect for when you want homemade preserves without spending all day in the kitchen.
- Unique flavor combination – The sweet jelly base with a subtle kick from horseradish creates an interesting spread that’ll make your friends ask for the recipe.
- Simple ingredients – You only need five basic ingredients, and radishes are usually affordable and easy to find at any grocery store.
- Great for gifting – This homemade jelly makes a thoughtful present for holidays or hostess gifts, and it’s something most people haven’t tried before.
What Kind of Radishes Should I Use?
You can use pretty much any radishes you have on hand for this jelly, whether that’s the classic red globe radishes from the grocery store or the longer French breakfast radishes. Watermelon radishes will also work great and add a fun pink color to your jelly. The key is to make sure your radishes are fresh and firm – avoid any that feel soft or look shriveled. When you’re chopping them up, you don’t need to peel them first since the skin adds a nice bit of color and won’t affect the texture of your finished jelly.

Options for Substitutions
While this unique jelly recipe has some key ingredients you’ll want to keep, there’s still room for a few tweaks:
- Radishes: Red radishes are the standard choice here, but you can experiment with daikon radish for a milder flavor. Just make sure to chop them to the same size so they cook evenly.
- Pectin: The pectin is essential for getting your jelly to set properly, so don’t skip it. However, if you have liquid pectin instead of powdered, you can use that – just follow the liquid pectin instructions on the package as the timing and order of ingredients will be different.
- Granulated sugar: Stick with regular granulated sugar for this recipe. Substituting with honey or other sweeteners will affect how the jelly sets, and you might end up with syrup instead.
- Prepared horseradish: If you only have fresh horseradish root, you can grate about 1 tablespoon of it to replace the prepared version. Keep in mind fresh horseradish is stronger, so start with less and taste as you go.
Watch Out for These Mistakes While Cooking
The biggest mistake when making radish jelly is not reaching the proper temperature of 220°F, which means your jelly won’t set correctly and you’ll end up with a runny syrup instead of a spreadable consistency – use a candy thermometer to be sure.
Skipping the foam removal step might seem like no big deal, but that foam can create air pockets and affect the texture of your finished jelly, so take the extra minute to skim it off with a spoon.
Another common error is adding the horseradish while the mixture is still boiling, which can cook off its sharp, peppery flavor – always wait until you’ve removed the pot from heat to stir it in.
Finally, resist the urge to check if your jelly has set before the full 12-hour rest period, as moving or tilting the jars too early can prevent them from setting properly.
What to Serve With Radish Jelly?
Radish jelly is one of those unexpected spreads that really shines on a cheese board alongside sharp cheddar, gouda, or cream cheese. The slight peppery kick from the radishes and horseradish makes it perfect for spreading on crackers or toasted baguette slices as an appetizer. I love using it as a glaze for roasted pork or chicken during the last few minutes of cooking, which gives the meat a sweet and tangy finish. You can also spread it on a turkey or roast beef sandwich instead of regular mustard for something a little different.
Storage Instructions
Store: Once your jars have cooled and sealed properly, store them in a cool, dark place like your pantry for up to a year. After opening a jar, keep it in the fridge and use within 3 weeks for the best flavor and texture.
Can: If you processed your jars in a water bath, make sure the lids have sealed by pressing down on the center – it shouldn’t pop back up. Any jars that didn’t seal should go straight to the fridge and be used first within a few weeks.
| Preparation Time | 20-30 minutes |
| Cooking Time | 10-15 minutes |
| Total Time | 30-45 minutes |
| Level of Difficulty | Medium |
| Servings | 4 cups of jelly |
Estimated Nutrition
Estimated nutrition for the whole recipe (without optional ingredients):
- Calories: 2000-2150
- Protein: 1-2 g
- Fat: 0-1 g
- Carbohydrates: 510-540 g
Ingredients
- 2 cups radishes (finely grated and squeezed of excess liquid)
- 2 3/4 cups granulated sugar
- 1 cup water
- 1.75 oz fruit pectin
- 1 tbsp lemon juice
- 2 1/2 tsp freshly grated horseradish
- 1 pinch salt
Step 1: Prepare Radishes and Sterilize Jars
- 2 cups radishes
Finely grate the radishes using a box grater or food processor, then transfer to a fine-mesh strainer lined with cheesecloth.
Press gently to squeeze out excess liquid—you want the radishes moist but not dripping, as excess water will prevent the jelly from setting properly.
While the radishes drain, sterilize your jars and lids by placing them in a 200°F oven for 5-10 minutes.
I find it helpful to line a baking sheet with paper towels to catch any condensation as the jars cool slightly.
Step 2: Combine Base Ingredients and Dissolve Sugar
- 2 cups radishes
- 2 3/4 cups granulated sugar
- 1 cup water
In a large, heavy-bottomed pot, combine the squeezed radishes, granulated sugar, and water.
Heat over medium heat, stirring occasionally until the sugar completely dissolves and the mixture becomes clear.
This typically takes 5-8 minutes.
Once the sugar is fully dissolved, increase the heat to medium-high and bring the mixture to a rolling boil, stirring frequently to prevent scorching on the bottom.
Step 3: Add Pectin and Reach Setting Point
- 1.75 oz fruit pectin
Once the mixture is at a rolling boil, immediately stir in the fruit pectin, making sure to break up any lumps and distribute it evenly throughout the liquid.
Continue boiling for exactly 1 minute, stirring constantly.
The mixture should reach approximately 220°F on a candy thermometer—this is the gel point where the pectin will set properly.
I always use a thermometer rather than relying on the cold plate test for jelly, as it’s more reliable with pectin-based recipes.
Step 4: Finish and Jar the Jelly
- 1 tbsp lemon juice
- 2 1/2 tsp freshly grated horseradish
- 1 pinch salt
Remove the pot from heat immediately after reaching 220°F.
Using a skimmer or spoon, gently remove any foam that has formed on the surface—this ensures a clear, beautiful jelly.
Quickly stir in the lemon juice, horseradish, and salt, distributing the horseradish evenly so its peppery bite is consistent throughout.
Working quickly while the jelly is still hot, carefully pour it into the sterilized jars from Step 1, leaving about 1/4 inch of headspace.
Wipe the jar rims clean with a damp cloth before sealing with the sterilized lids.
Step 5: Process in Water Bath and Cool
Place the filled and sealed jars into a water bath canner (or large pot) filled with enough water to cover the jars by 1-2 inches.
Bring the water to a rolling boil and process the jars for 10 minutes.
This ensures proper sealing and shelf stability.
Carefully remove the jars using a jar lifter and place them on a clean kitchen towel to cool undisturbed.
Let them rest at room temperature for 12-24 hours before checking the seals—you should hear a faint ‘ping’ as each jar cools and seals.
Best Radish Jelly
Ingredients
- 2 cups radishes (finely grated and squeezed of excess liquid)
- 2 3/4 cups granulated sugar
- 1 cup water
- 1.75 oz fruit pectin
- 1 tbsp lemon juice
- 2 1/2 tsp freshly grated horseradish
- 1 pinch salt
Instructions
- Finely grate the radishes using a box grater or food processor, then transfer to a fine-mesh strainer lined with cheesecloth. Press gently to squeeze out excess liquid—you want the radishes moist but not dripping, as excess water will prevent the jelly from setting properly. While the radishes drain, sterilize your jars and lids by placing them in a 200°F oven for 5-10 minutes. I find it helpful to line a baking sheet with paper towels to catch any condensation as the jars cool slightly.
- In a large, heavy-bottomed pot, combine the squeezed radishes, granulated sugar, and water. Heat over medium heat, stirring occasionally until the sugar completely dissolves and the mixture becomes clear. This typically takes 5-8 minutes. Once the sugar is fully dissolved, increase the heat to medium-high and bring the mixture to a rolling boil, stirring frequently to prevent scorching on the bottom.
- Once the mixture is at a rolling boil, immediately stir in the fruit pectin, making sure to break up any lumps and distribute it evenly throughout the liquid. Continue boiling for exactly 1 minute, stirring constantly. The mixture should reach approximately 220°F on a candy thermometer—this is the gel point where the pectin will set properly. I always use a thermometer rather than relying on the cold plate test for jelly, as it's more reliable with pectin-based recipes.
- Remove the pot from heat immediately after reaching 220°F. Using a skimmer or spoon, gently remove any foam that has formed on the surface—this ensures a clear, beautiful jelly. Quickly stir in the lemon juice, horseradish, and salt, distributing the horseradish evenly so its peppery bite is consistent throughout. Working quickly while the jelly is still hot, carefully pour it into the sterilized jars from Step 1, leaving about 1/4 inch of headspace. Wipe the jar rims clean with a damp cloth before sealing with the sterilized lids.
- Place the filled and sealed jars into a water bath canner (or large pot) filled with enough water to cover the jars by 1-2 inches. Bring the water to a rolling boil and process the jars for 10 minutes. This ensures proper sealing and shelf stability. Carefully remove the jars using a jar lifter and place them on a clean kitchen towel to cool undisturbed. Let them rest at room temperature for 12-24 hours before checking the seals—you should hear a faint 'ping' as each jar cools and seals.


