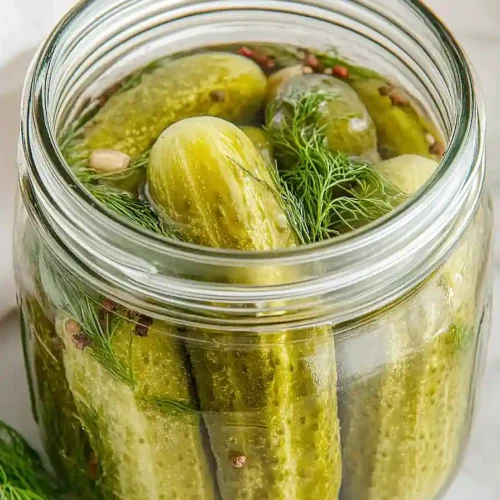
Here is my favorite water bath canning dill pickle recipe, with easy step-by-step instructions for making crisp, tangy pickles that you can store in your pantry for months.
These dill pickles are always a hit at our summer barbecues and potlucks. I like to make several jars at once when cucumbers are in season, so we have plenty to snack on throughout the year. There’s nothing quite like the satisfying crunch of a homemade pickle, right?
Why You’ll Love This Dill Pickle
- Simple pantry ingredients – You probably already have most of these basics like vinegar, salt, and garlic sitting in your kitchen right now.
- Ready in about an hour – From start to finish, you can have homemade pickles processed and sealed in just 45-65 minutes, which is pretty quick for canning.
- Customizable heat level – The optional hot chili peppers let you control exactly how spicy you want your pickles, or skip them entirely for a mild version the whole family will enjoy.
- Fresh, crisp results – Water bath canning preserves that satisfying crunch you want in a good pickle, way better than most store-bought versions.
- Long-lasting pantry staple – Once canned, these pickles will keep for months in your pantry, giving you that homemade taste whenever a craving hits.
What Kind of Cucumbers Should I Use?
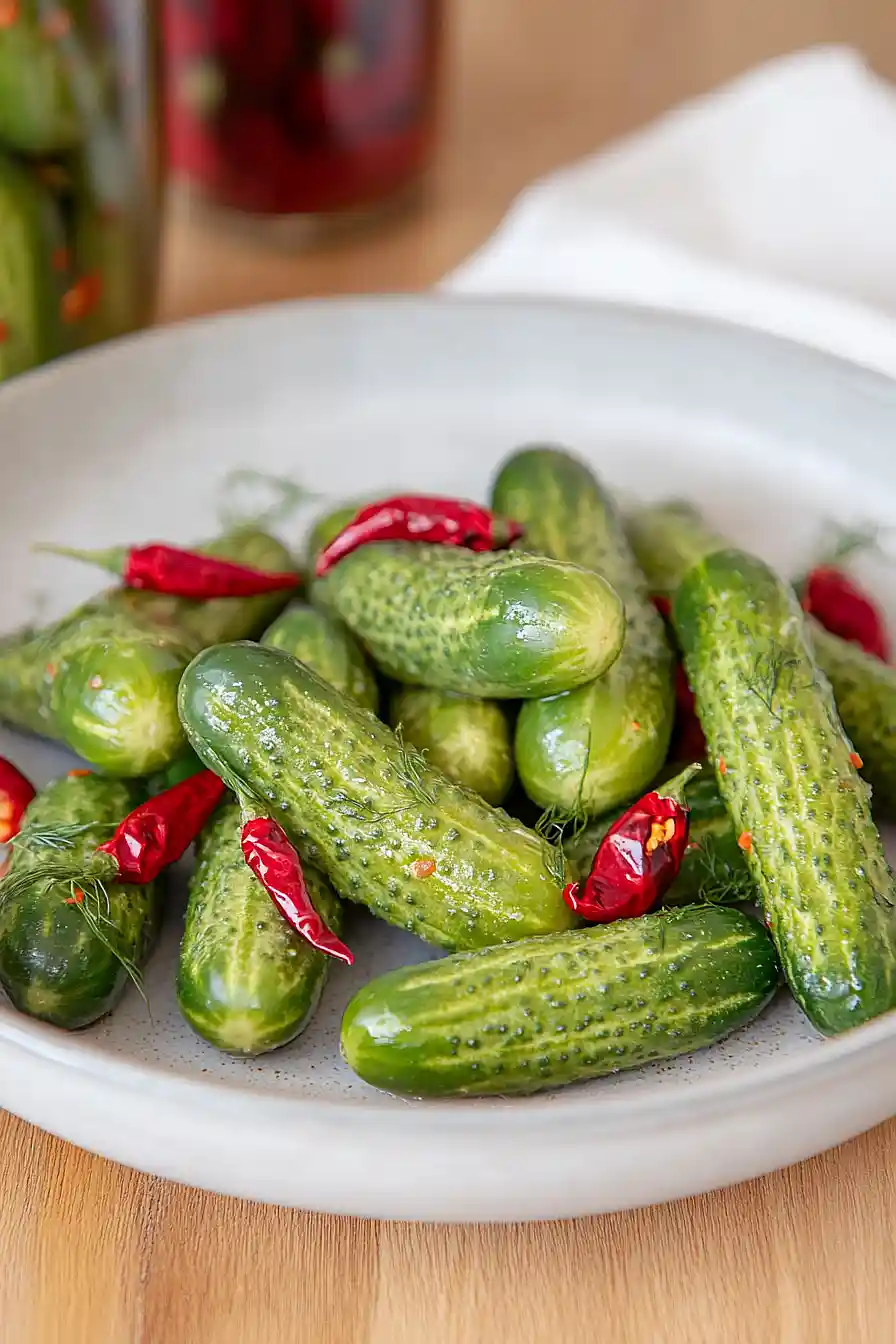
For the best dill pickles, you’ll want to use pickling cucumbers rather than regular slicing cucumbers from the grocery store. Pickling cucumbers are shorter, have thinner skins, and contain less water, which means they’ll stay crisp after canning. Look for cucumbers that are about 3-4 inches long and feel firm when you squeeze them gently. If you can’t find pickling cucumbers, small regular cucumbers will work, but try to choose ones that are as firm as possible and avoid any that feel soft or have wrinkled skin. The fresher your cucumbers, the crispier your pickles will be, so try to use them within a day or two of picking or buying them.
Options for Substitutions
While pickle-making has some non-negotiable ingredients for safety, there are still a few swaps you can make:
- Pickling cucumbers: You really need actual pickling cucumbers here – regular slicing cucumbers won’t give you that crisp texture. Kirby cucumbers work great if you can’t find traditional pickling varieties.
- Vinegar: Don’t substitute the vinegar amount or type – you need 5% acidity white vinegar for safe canning. This isn’t the place to experiment with different vinegars.
- Pickling salt: You can use kosher salt or sea salt instead, but avoid table salt with iodine as it can make your brine cloudy and affect the taste.
- Fresh dill: If you can’t find fresh dill heads, use 2 tablespoons of dill seed per jar instead. Fresh dill leaves work too, but use about double the amount.
- Mixed pickling spice: Feel free to customize this blend – add more peppercorns, mustard seeds, or coriander seeds based on your taste preferences.
- Hot chili peppers: Skip these entirely for mild pickles, or try different varieties like jalapeños or serrano peppers for varying heat levels.
Watch Out for These Mistakes While Canning
The biggest mistake when water bath canning pickles is using table salt instead of pickling salt, which contains anti-caking agents that can make your brine cloudy and affect the texture of your pickles.
Another common error is not maintaining a proper water bath temperature – your jars need to be fully submerged in boiling water for the full processing time to ensure safe preservation.
Make sure your cucumbers are fresh and firm (ideally picked within 24 hours), as soft or overripe cucumbers will result in mushy pickles no matter how perfect your technique is.
Always leave the recommended headspace of 1/2 inch at the top of each jar and wipe the rim clean before applying lids, since any residue can prevent a proper seal and lead to spoilage.
What to Serve With Dill Pickles?
These homemade dill pickles are perfect alongside classic deli sandwiches – think pastrami on rye, turkey clubs, or even a simple ham and cheese. They’re also great on a charcuterie board with some aged cheeses, crackers, and maybe some salami or other cured meats. I love serving them with burgers and hot dogs at summer barbecues, or chopping them up to add a tangy crunch to potato salad or egg salad. For a quick snack, try them with some cream cheese and bagels, or just eat them straight from the jar when you’re craving something salty and sour.
Storage Instructions
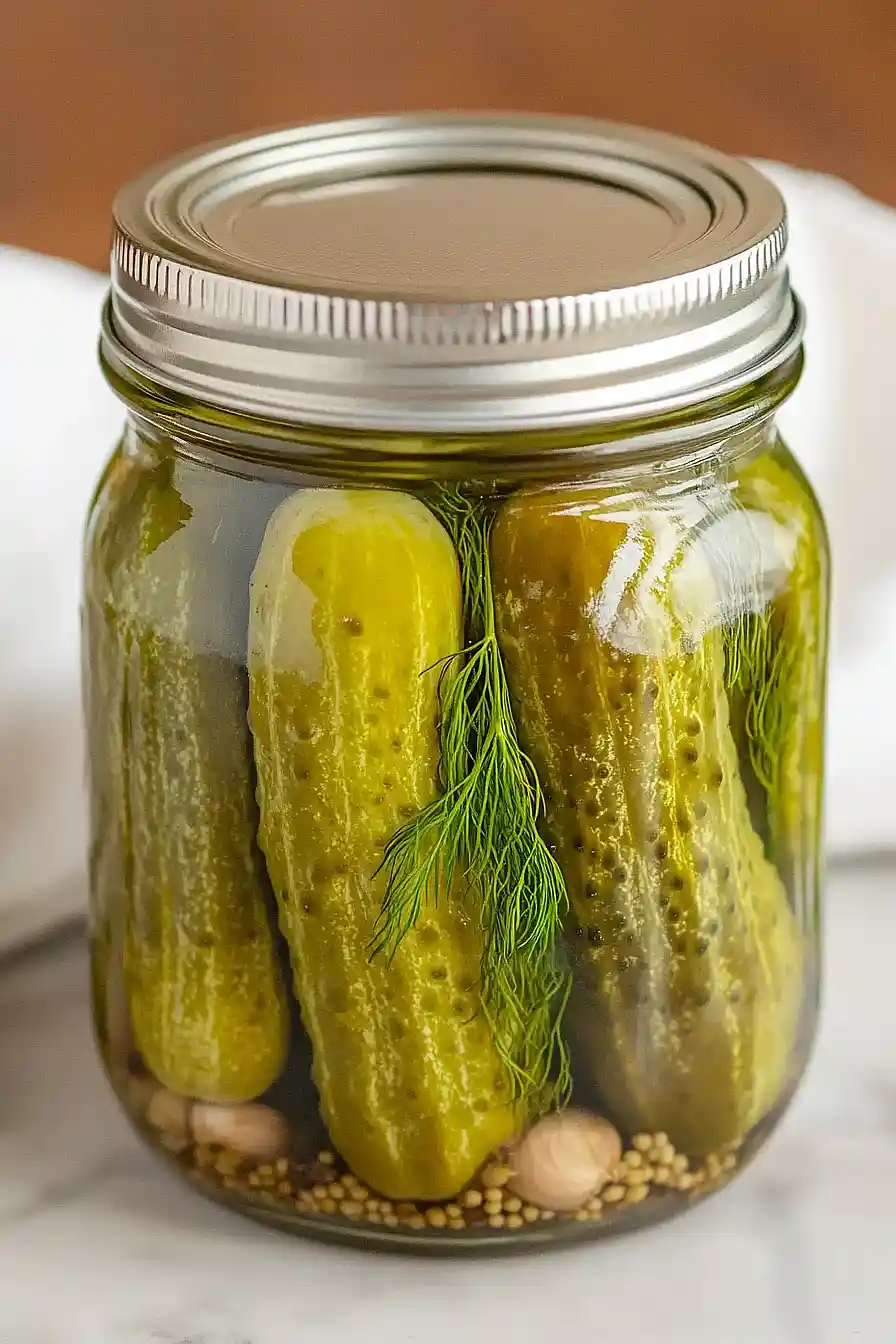
Store: Once your pickles have been properly water bath canned and cooled, store the sealed jars in a cool, dark place like a pantry or basement. They’ll keep for up to 1 year and actually taste better after sitting for a few weeks to let all those flavors meld together.
Refrigerate: After opening a jar, keep your pickles in the fridge where they’ll stay crisp and tasty for several months. Make sure to keep them covered with the brine to maintain that perfect pickle texture and flavor.
Check Seals: Before storing, always check that your jar lids have sealed properly by pressing the center – it shouldn’t pop up and down. Any jars that didn’t seal should go straight to the fridge and be eaten within a few weeks. It’s better to be safe when it comes to home canning!
| Preparation Time | 30-45 minutes |
| Cooking Time | 15-20 minutes |
| Total Time | 45-65 minutes |
| Level of Difficulty | Medium |
Estimated Nutrition
Estimated nutrition for the whole recipe (without optional ingredients):
- Calories: 100-150
- Protein: 6-8 g
- Fat: 0-1 g
- Carbohydrates: 20-24 g
Ingredients
For the brine:
- 4 cups water
- 4 cups vinegar
- 1/4 cup pickling salt
For assembling the jars:
- 4 lb small pickling cucumbers
- 12 sprigs dill (heads and greens)
- 8 garlic cloves (peeled, use as desired)
- 8 small fresh chili peppers (optional)
- 4 tsp mixed pickling spices
Step 1: Prepare the Cucumbers
- 4 lb small pickling cucumbers
Thoroughly scrub the cucumbers to remove any dirt.
Cut a 1/4 inch slice off the blossom end of each cucumber to help maintain their texture during pickling.
Step 2: Sterilize the Jars
Prepare the preserving jars by washing them thoroughly and sterilizing them.
You can follow your preferred canning book instructions for this process.
I always make sure the jars are completely clean—this is vital for successful pickling.
Step 3: Make the Pickling Brine
- 4 cups water
- 4 cups vinegar
Combine the water and vinegar in a large saucepan.
Bring the mixture to a boil over high heat, then reduce the heat and let it simmer while you prepare the jars.
Keeping the liquid hot will help fill the jars more quickly and safely.
Step 4: Assemble the Jars
- 12 sprigs dill (heads and greens)
- 8 garlic cloves (peeled, use as desired)
- 8 small fresh chili peppers (optional)
- 1/4 cup pickling salt
- 4 tsp mixed pickling spices
- prepared cucumbers (from Step 1)
- hot vinegar solution (from Step 3)
Working with one jar at a time, place 3 dill heads and some greens, 2 peeled garlic cloves, and 2 fresh chili peppers (if using) into the jar.
Add 1 tablespoon pickling salt and 1 teaspoon mixed pickling spices.
Then, pack the prepared cucumbers (from Step 1) tightly into the jar, leaving about 1 inch of headspace at the top.
Pour the hot vinegar solution (from Step 3) over the cucumbers, leaving 1/2 inch headspace.
Use a non-metallic utensil to release any trapped air bubbles, then refill with brine as needed to leave 1/4 inch headspace.
Wipe the rims clean and seal each jar with a lid and ring according to your canning instructions.
Step 5: Process and Store the Pickles
Repeat the assembling process for the remaining jars.
Once all jars are filled and sealed, process them in a boiling water bath for 15 minutes to ensure safe preservation.
Allow the jars to cool at room temperature.
For the best flavor, I recommend letting the pickles sit for at least two weeks before opening a jar.
Authentic Water Bath Canning Dill Pickle
Ingredients
For the brine:
- 4 cups water
- 4 cups vinegar
- 1/4 cup pickling salt
For assembling the jars:
- 4 lb small pickling cucumbers
- 12 sprigs dill (heads and greens)
- 8 garlic cloves (peeled, use as desired)
- 8 small fresh chili peppers (optional)
- 4 tsp mixed pickling spices
Instructions
- Thoroughly scrub the cucumbers to remove any dirt. Cut a 1/4 inch slice off the blossom end of each cucumber to help maintain their texture during pickling.
- Prepare the preserving jars by washing them thoroughly and sterilizing them. You can follow your preferred canning book instructions for this process. I always make sure the jars are completely clean—this is vital for successful pickling.
- Combine the water and vinegar in a large saucepan. Bring the mixture to a boil over high heat, then reduce the heat and let it simmer while you prepare the jars. Keeping the liquid hot will help fill the jars more quickly and safely.
- Working with one jar at a time, place 3 dill heads and some greens, 2 peeled garlic cloves, and 2 fresh chili peppers (if using) into the jar. Add 1 tablespoon pickling salt and 1 teaspoon mixed pickling spices. Then, pack the prepared cucumbers (from Step 1) tightly into the jar, leaving about 1 inch of headspace at the top. Pour the hot vinegar solution (from Step 3) over the cucumbers, leaving 1/2 inch headspace. Use a non-metallic utensil to release any trapped air bubbles, then refill with brine as needed to leave 1/4 inch headspace. Wipe the rims clean and seal each jar with a lid and ring according to your canning instructions.
- Repeat the assembling process for the remaining jars. Once all jars are filled and sealed, process them in a boiling water bath for 15 minutes to ensure safe preservation. Allow the jars to cool at room temperature. For the best flavor, I recommend letting the pickles sit for at least two weeks before opening a jar.

