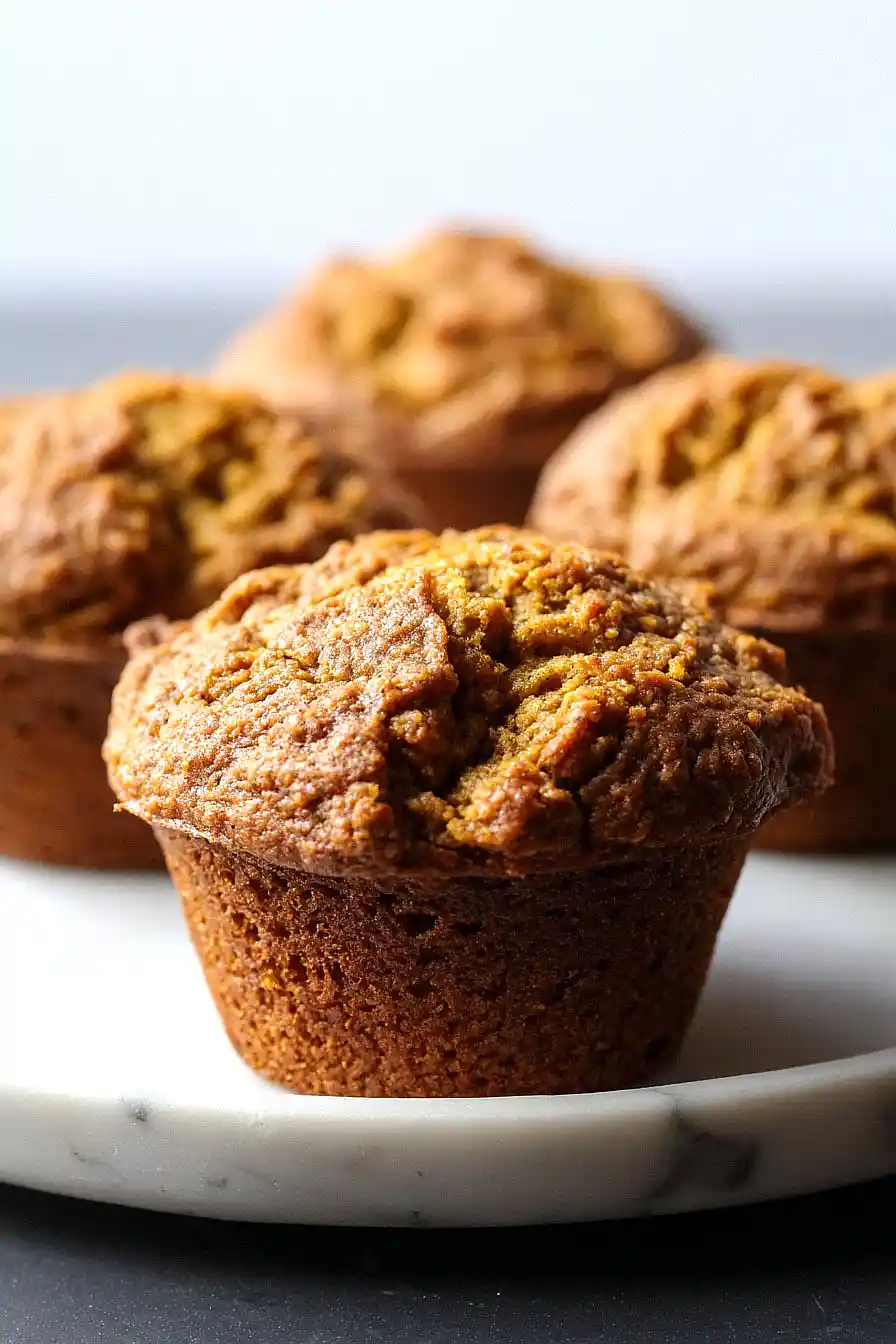
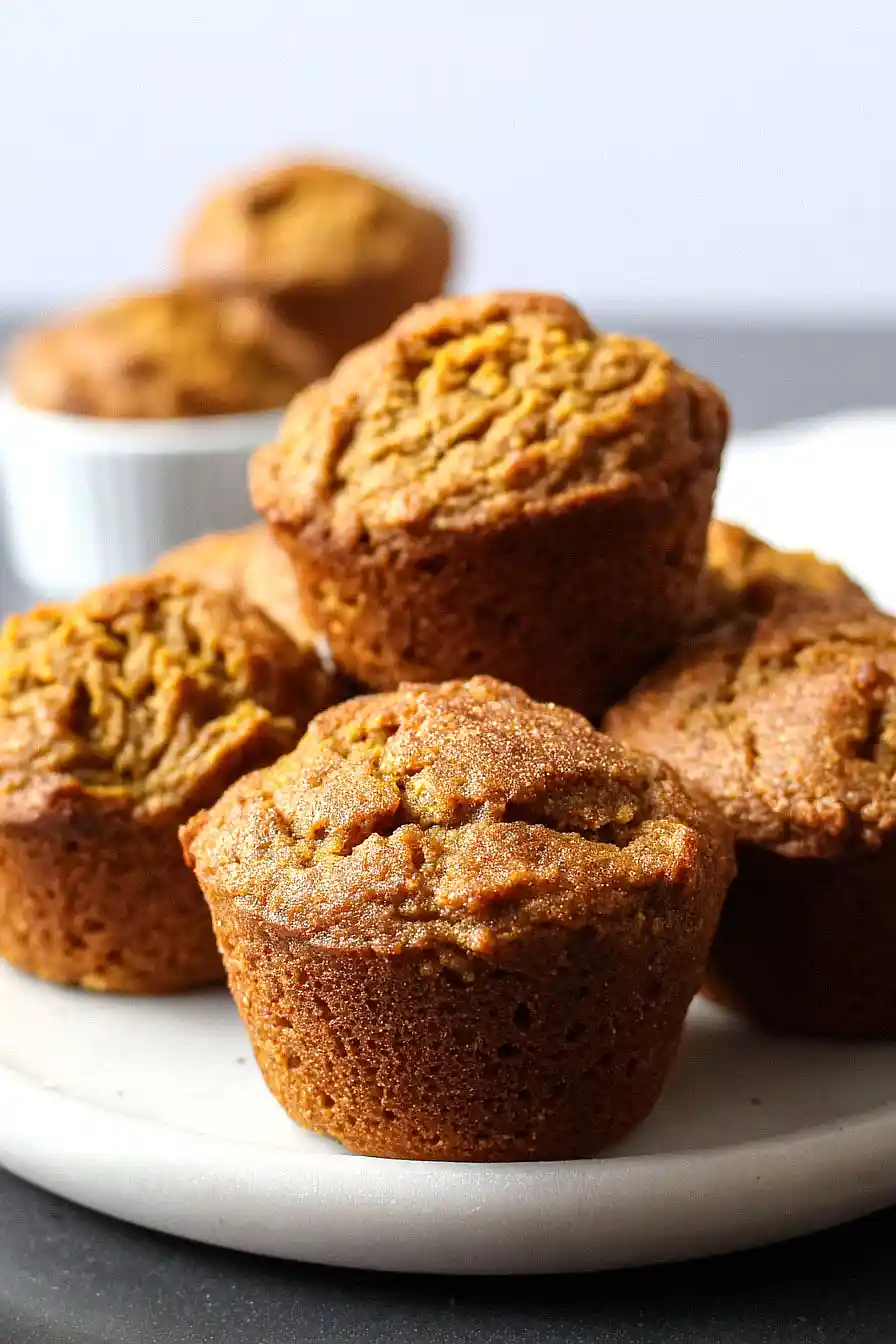
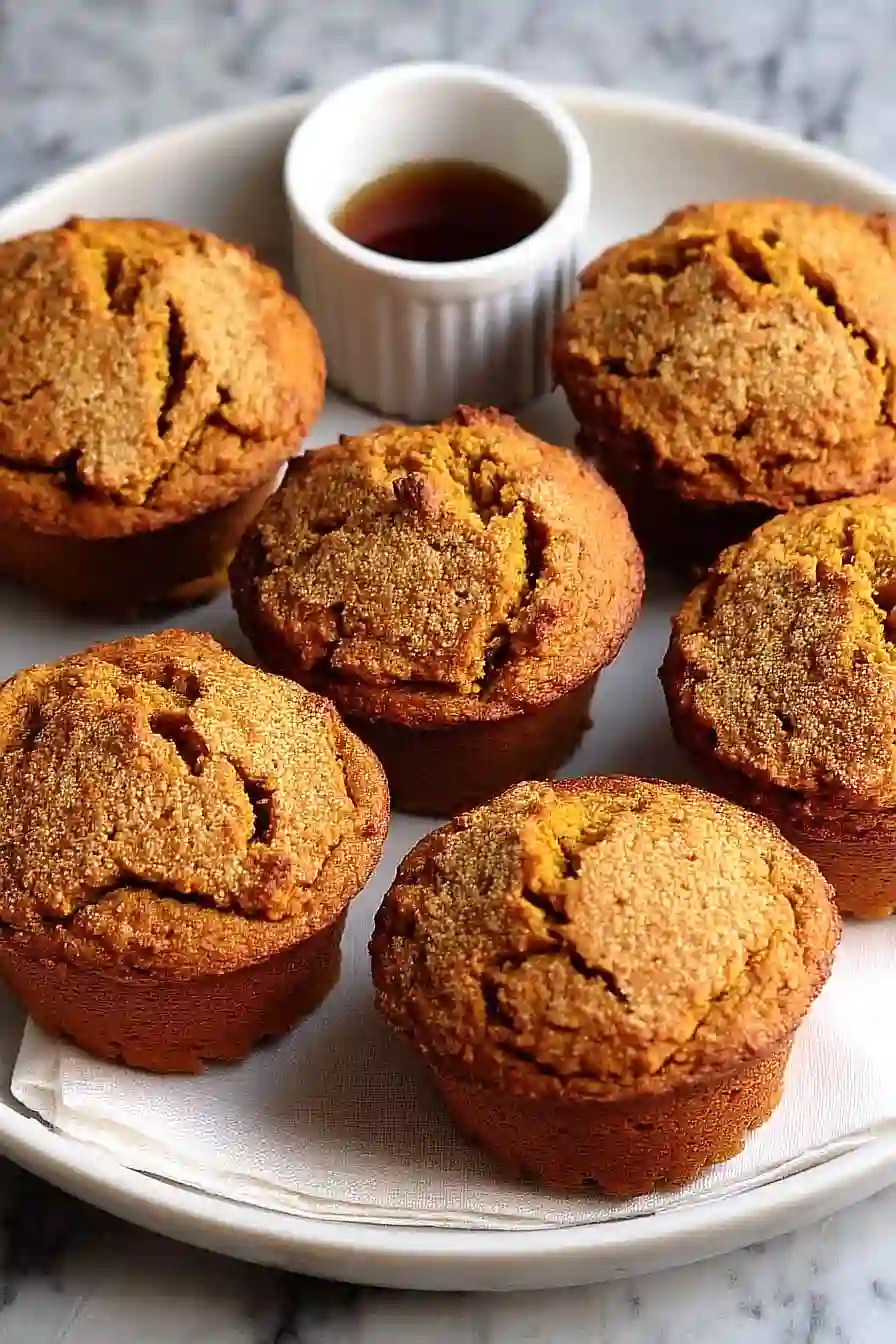
I used to think pumpkin muffins were off-limits once I started the AIP diet. All those regular recipes called for eggs, butter, and wheat flour—basically everything I couldn’t have anymore.
But here’s the thing about AIP baking: it just takes a little creativity with ingredients. These pumpkin muffins use coconut flour and tapioca starch instead of wheat, and they’re naturally sweetened with maple syrup. The best part? They’re so moist and flavorful that nobody will guess they’re missing the usual suspects. My kids devour them for breakfast, and I don’t have to worry about any tummy troubles later.
Why You’ll Love These AIP Pumpkin Muffins
- AIP-friendly ingredients – These muffins are made with compliant ingredients like tigernut flour and arrowroot, so you can enjoy a sweet treat while following the autoimmune protocol.
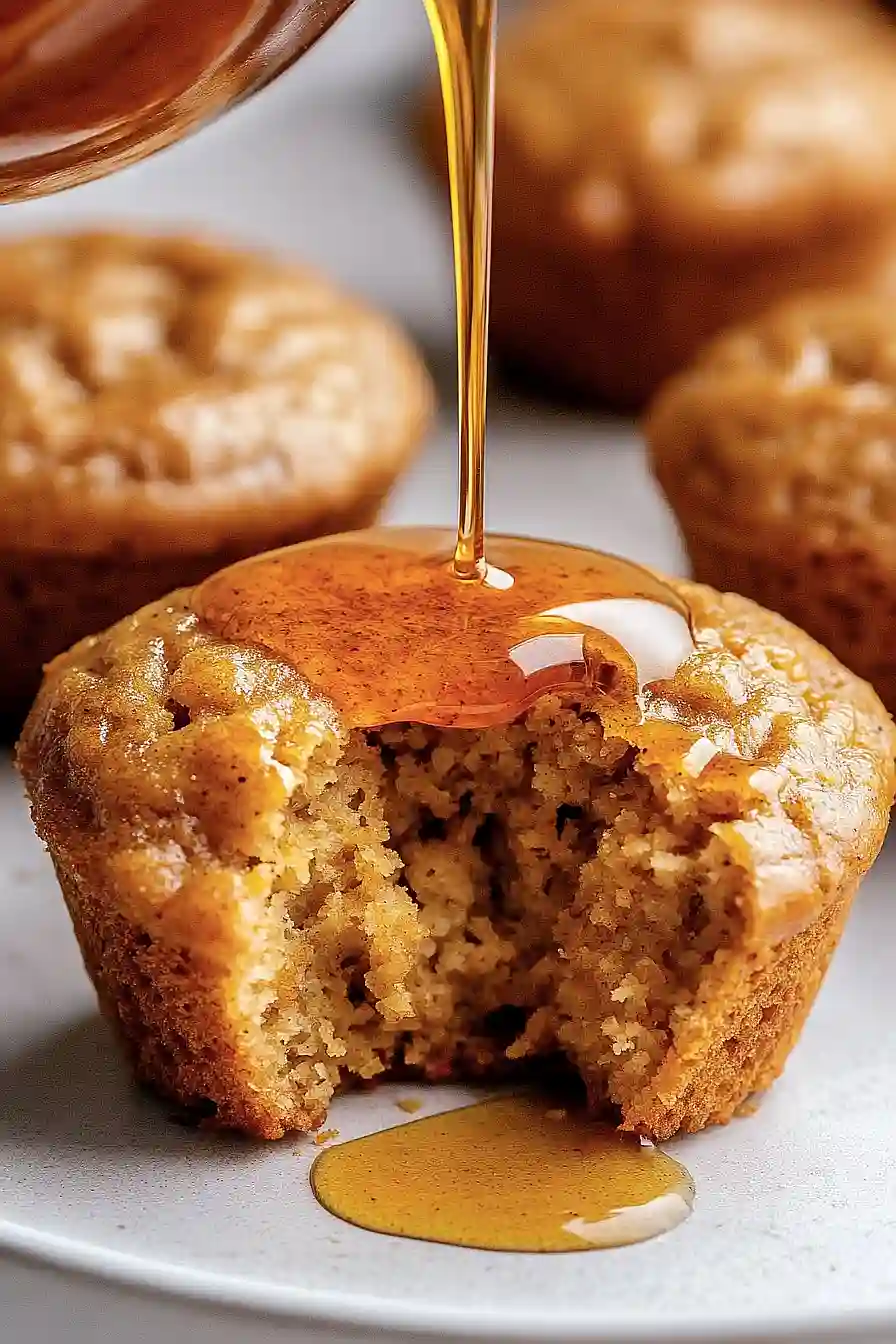
- Naturally sweetened – Using maple syrup instead of refined sugar gives these muffins a rich, natural sweetness that pairs perfectly with the warm spices.
- Quick and easy – With just 35-50 minutes from start to finish, you can have fresh, homemade muffins ready for breakfast or an afternoon snack.
- Cozy fall flavors – The combination of pumpkin, cinnamon, ginger, and cloves creates that perfect autumn taste that makes your kitchen smell amazing.
- Simple ingredients – No complicated steps or hard-to-find ingredients – just mix, bake, and enjoy these fluffy, satisfying muffins.
What Kind of Pumpkin Purée Should I Use?
You can use either canned pumpkin purée or make your own from fresh pumpkins for these muffins. Canned pumpkin is convenient and works perfectly well – just make sure you’re buying plain pumpkin purée and not pumpkin pie filling, which already has spices added. If you want to make your own, sugar pumpkins or pie pumpkins are your best bet since they have a smoother texture and less water content than carving pumpkins. Whether you go canned or fresh, the pumpkin should have a thick, smooth consistency without excess liquid, which helps keep your muffins from getting too dense or soggy.
Options for Substitutions
These AIP-friendly muffins are designed with specific dietary needs in mind, but here are some swaps you can make:
- Tigernut flour: This is pretty essential for the AIP protocol, but if you’re not following AIP strictly, you could try cassava flour using about 120 grams instead. The texture will be slightly different but still tasty.
- Pumpkin purée: Sweet potato purée works great as a 1:1 swap and gives similar moisture and sweetness. You could also try butternut squash purée for a slightly different flavor.
- Arrowroot: Tapioca starch can replace arrowroot in equal amounts. If you’re not on AIP, potato starch works too, but stick with arrowroot or tapioca for compliance.
- Maple syrup: Honey works as a direct substitute if you’re okay with it on your AIP journey. You might need to reduce other liquids slightly since honey is thicker than maple syrup.
- Spices: Feel free to adjust the cinnamon, ginger, and cloves to your taste. You could add a pinch of nutmeg if it’s AIP-compliant for you, or reduce any spices that seem too strong.
Watch Out for These Mistakes While Baking
The biggest mistake when making AIP pumpkin muffins is overmixing the batter, which can make your muffins dense and gummy since tigernut flour behaves differently than regular flour – just stir until the ingredients are barely combined.
Another common error is not measuring your pumpkin purée accurately, as too much moisture will result in muffins that never fully set in the center, so make sure to use exactly 250 grams and drain any excess liquid if your purée seems watery.
Don’t skip the apple cider vinegar reaction with baking soda – mix these two ingredients quickly and get your muffins in the oven right away, as this chemical reaction is what gives your muffins their lift.
Finally, resist the urge to open the oven door during the first 15 minutes of baking, as the temperature drop can cause your muffins to collapse and become heavy instead of light and fluffy.
What to Serve With AIP Pumpkin Muffins?
These muffins are perfect for breakfast or an afternoon snack, and they pair beautifully with a hot cup of herbal tea like chamomile or ginger tea. Since they’re already sweet from the maple syrup and warming spices, they don’t need much else, but a drizzle of extra maple syrup or a sprinkle of cinnamon can make them feel extra special. I love serving them alongside fresh fruit like sliced apples or pears, which complement the fall flavors perfectly. They’re also great with a cup of bone broth if you’re following AIP and want something more substantial for breakfast.
Storage Instructions
Store: These AIP pumpkin muffins stay moist and delicious when kept in an airtight container at room temperature for up to 3 days. If your kitchen gets pretty warm, you can pop them in the fridge where they’ll keep for about a week. I like to wrap them individually in parchment paper to keep them from sticking together.
Freeze: Muffins freeze really well, and these are no exception! Once they’re completely cool, wrap each one in plastic wrap or store them in a freezer bag with parchment between layers. They’ll keep in the freezer for up to 3 months, which is perfect for having a quick AIP-friendly snack ready to go.
Thaw: To enjoy your frozen muffins, just let them thaw at room temperature for about 30 minutes, or you can warm them up in the microwave for 20-30 seconds. They taste almost as good as fresh, and the pumpkin flavor really comes through nicely after thawing.
| Preparation Time | 10-15 minutes |
| Cooking Time | 25-35 minutes |
| Total Time | 35-50 minutes |
| Level of Difficulty | Easy |
Estimated Nutrition
Estimated nutrition for the whole recipe (without optional ingredients):
- Calories: 1050-1150
- Protein: 7-9 g
- Fat: 28-32 g
- Carbohydrates: 205-225 g
Ingredients
For the wet mixture:
- 1/2 cup maple syrup (125 ml)
- 1 cup pumpkin purée (250 g)
- 1 tsp vanilla extract
- 1 tbsp apple cider vinegar
For the dry mixture:
- 1 1/4 cups tigernut flour (150 g)
- 1/3 cup arrowroot powder (50 g)
- 1 tsp baking soda
- 1 tsp ground cinnamon
- 1/8 tsp ground ginger
- 1/8 tsp ground cloves
Step 1: Preheat the Oven
Preheat your oven to 360° F (180° C).
This ensures the oven is at the right temperature when your batter is ready.
Step 2: Blend the Wet Ingredients
- 1/2 cup maple syrup (125 ml)
- 1 cup pumpkin purée (250 g)
- 1 tsp vanilla extract
- 1 tbsp apple cider vinegar
In a blender, combine the maple syrup, pumpkin purée, vanilla extract, and apple cider vinegar.
Blend the mixture until thoroughly combined and smooth.
Step 3: Mix the Dry Ingredients
- 1 1/4 cups tigernut flour (150 g)
- 1/3 cup arrowroot powder (50 g)
- 1 tsp baking soda
- 1 tsp ground cinnamon
- 1/8 tsp ground ginger
- 1/8 tsp ground cloves
In a large bowl, whisk together the tigernut flour, arrowroot powder, baking soda, ground cinnamon, ground ginger, and ground cloves.
Make sure the dry ingredients are well-distributed before adding the wet mixture.
Step 4: Combine Wet and Dry Ingredients
- blended wet mixture from Step 2
- combined dry ingredients from Step 3
Pour the blended wet ingredients from Step 2 into the bowl of dry ingredients from Step 3.
Mix everything until well combined, ensuring there are no dry patches left.
I find using a spatula to fold the batter helps maintain its light texture.
Step 5: Prepare the Muffin Pan and Fill
- batter from Step 4
Line or lightly oil a muffin pan (or use a 4×8 inch baking tin if making bread).
Divide the batter from Step 4 evenly among the muffin cups—this should yield about 6-8 muffins, depending on the size of your pan.
Step 6: Bake and Let Cool
Bake the muffins for about 25 minutes (or 35 minutes if making bread).
Check for doneness by inserting a thin-bladed knife into the center—if it comes out clean, they’re ready.
Let the baked muffins cool in the pan before removing.
For extra tenderness, I like to let them rest for a few more minutes on a wire rack before serving.
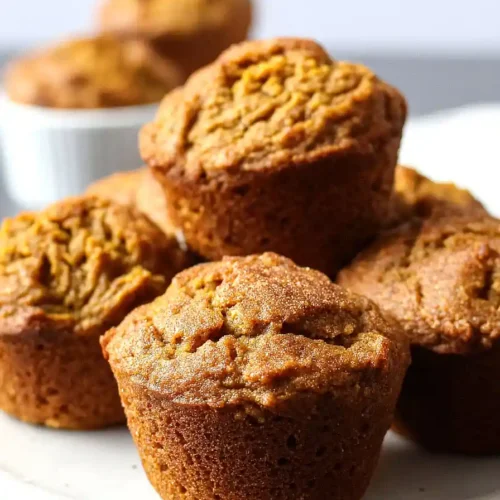
Best AIP Pumpkin Muffins
Ingredients
For the wet mixture:
- 1/2 cup maple syrup (125 ml)
- 1 cup pumpkin purée (250 g)
- 1 tsp vanilla extract
- 1 tbsp apple cider vinegar
For the dry mixture:
- 1 1/4 cups tigernut flour (150 g)
- 1/3 cup arrowroot powder (50 g)
- 1 tsp baking soda
- 1 tsp ground cinnamon
- 1/8 tsp ground ginger
- 1/8 tsp ground cloves
Instructions
- Preheat your oven to 360° F (180° C). This ensures the oven is at the right temperature when your batter is ready.
- In a blender, combine the maple syrup, pumpkin purée, vanilla extract, and apple cider vinegar. Blend the mixture until thoroughly combined and smooth.
- In a large bowl, whisk together the tigernut flour, arrowroot powder, baking soda, ground cinnamon, ground ginger, and ground cloves. Make sure the dry ingredients are well-distributed before adding the wet mixture.
- Pour the blended wet ingredients from Step 2 into the bowl of dry ingredients from Step 3. Mix everything until well combined, ensuring there are no dry patches left. I find using a spatula to fold the batter helps maintain its light texture.
- Line or lightly oil a muffin pan (or use a 4x8 inch baking tin if making bread). Divide the batter from Step 4 evenly among the muffin cups—this should yield about 6-8 muffins, depending on the size of your pan.
- Bake the muffins for about 25 minutes (or 35 minutes if making bread). Check for doneness by inserting a thin-bladed knife into the center—if it comes out clean, they're ready. Let the baked muffins cool in the pan before removing. For extra tenderness, I like to let them rest for a few more minutes on a wire rack before serving.

