I’ll be honest—I used to think homemade wraps were one of those things that seemed way too complicated to bother with. Why make them when you can just grab a package at the store, right?
Then I discovered this Greek yogurt wrap recipe, and it completely changed my mind. We’re talking just six ingredients and about 20 minutes from start to finish. No yeast, no rising time, no fancy equipment. Just Greek yogurt, flour, and a few pantry staples that come together into soft, pliable wraps that actually taste fresh. My kids now request these for their lunch wraps instead of the store-bought ones, which tells you everything you need to know.
Why You’ll Love These Greek Yogurt Wraps
- Just 4 ingredients – You only need yogurt, flour, baking powder, and salt to make these wraps from scratch—no fancy ingredients required.
- High in protein – Thanks to the Greek yogurt, these wraps pack more protein than store-bought tortillas, keeping you fuller for longer.
- Ready in under 45 minutes – From mixing the dough to cooking the last wrap, you’ll have fresh homemade wraps on the table in no time.
- Budget-friendly – Making your own wraps costs way less than buying them at the store, and you probably already have these ingredients in your kitchen.
- Soft and flexible – These wraps stay pliable and won’t crack when you fold them, making them perfect for all your favorite fillings.
What Kind of Greek Yogurt Should I Use?
For these wraps, full-fat Greek yogurt is your best bet since it creates a richer dough that’s easier to work with and tastes better. That said, low-fat or even fat-free Greek yogurt will still work if that’s what you have on hand – just know that the dough might be slightly stickier and less forgiving. Make sure you’re using plain Greek yogurt, not regular yogurt, as Greek yogurt is thicker and has been strained to remove excess liquid. If your yogurt seems watery when you open it, give it a quick stir to incorporate any liquid that’s separated, or drain off the excess before measuring.

Options for Substitutions
This simple wrap recipe is pretty straightforward, but here are a few swaps you can make:
- Greek yogurt: Regular plain yogurt works fine here, though the wraps might be slightly less thick. You can also try plain skyr or even sour cream in a pinch – just note that sour cream will give a tangier flavor.
- All-purpose flour: Whole wheat flour can replace half or all of the all-purpose flour for a nuttier taste and more fiber. If using all whole wheat, you might need to add a tablespoon or two of extra yogurt since it absorbs more liquid.
- Baking powder: Don’t skip the baking powder – it’s what makes these wraps soft and pliable instead of tough and dense. If you’re out, you can make your own by mixing 1/2 teaspoon baking soda with 1 teaspoon cream of tartar.
- Olive oil spray: Any cooking spray works here, or you can brush the pan lightly with butter or regular olive oil instead.
Watch Out for These Mistakes While Cooking
The biggest mistake people make with these wraps is cooking them on heat that’s too high, which causes the outside to burn before the inside cooks through – medium heat works much better and gives you that golden color without charring.
Don’t skip the 10-minute rest after kneading, as this allows the gluten to relax and makes rolling out the dough way easier without it constantly shrinking back.
When rolling out your dough balls, aim for an even thickness throughout (about 1/8 inch) so they cook at the same rate – thick spots will stay doughy while thin areas get crispy.
Finally, resist the urge to press down on the wraps while they’re cooking, since this prevents them from puffing up and developing those nice air pockets that make them soft and pliable instead of dense.
What to Serve With Greek Yogurt Wraps?
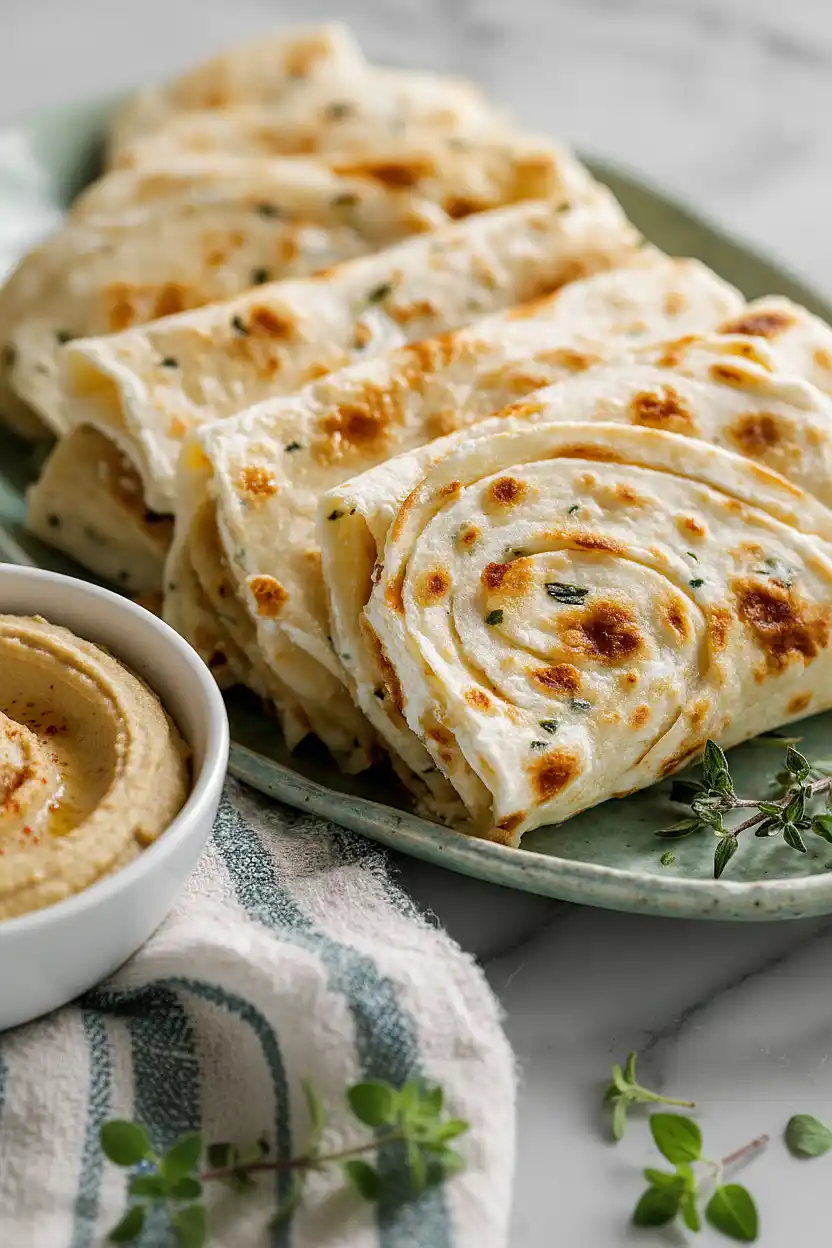
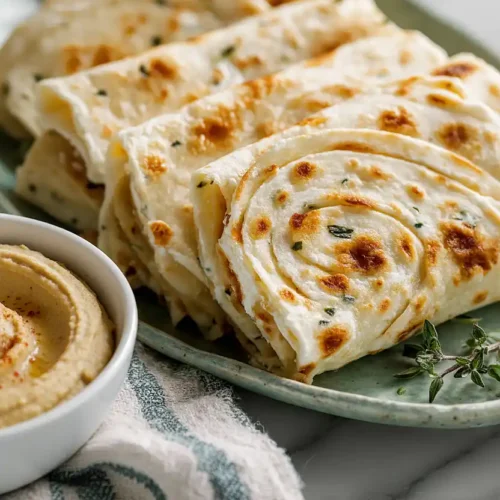
These wraps are pretty much a blank canvas, so you can fill them with whatever you’re craving. I love stuffing them with grilled chicken, hummus, cucumber, tomatoes, and feta for a Mediterranean-style lunch that comes together in minutes. They also work great for breakfast wraps with scrambled eggs, cheese, and some sautéed veggies, or you can go the sweeter route with peanut butter, banana, and a drizzle of honey. If you’re making them for a crowd, set up a wrap bar with different proteins, veggies, and sauces so everyone can build their own.
Storage Instructions
Store: Keep your wraps fresh by stacking them with parchment paper in between, then store in an airtight container or zip-top bag in the fridge for up to 5 days. They’re perfect for meal prep since you can make a batch on Sunday and have them ready for quick lunches all week.
Freeze: These wraps freeze really well for up to 3 months. Just separate them with parchment paper and stack them in a freezer bag. I like to freeze them flat so they don’t take up much space, and you can grab just one or two whenever you need them.
Use: Thaw frozen wraps in the fridge overnight or at room temperature for about 30 minutes. If they feel a bit stiff after storing, warm them up in a dry skillet for 10-15 seconds on each side to make them soft and pliable again before filling.
| Preparation Time | 20-30 minutes |
| Cooking Time | 10-15 minutes |
| Total Time | 30-45 minutes |
| Level of Difficulty | Easy |
| Servings | 4 wraps |
Estimated Nutrition
Estimated nutrition for the whole recipe (without optional ingredients):
- Calories: 350-400
- Protein: 11-14 g
- Fat: 3-5 g
- Carbohydrates: 65-75 g
Ingredients
- 3/4 cup greek yogurt (I use FAGE Total 5% for the best moisture and texture)
- 1 1/4 cups all-purpose flour
- 1 1/2 tsp baking powder
- 1/4 tsp salt
- 1/4 tsp garlic powder
- olive oil spray
Step 1: Mix Dry Ingredients and Combine with Yogurt
- 1 1/4 cups all-purpose flour
- 1 1/2 tsp baking powder
- 1/4 tsp salt
- 1/4 tsp garlic powder
- 3/4 cup greek yogurt
In a medium bowl, whisk together the flour, baking powder, salt, and garlic powder.
Create a well in the center and add the Greek yogurt all at once.
Using a wooden spoon or your hands, stir and mix until a shaggy dough forms.
The dough will come together quickly—don’t overwork it at this stage.
Step 2: Knead Dough and Allow to Rest
- dough from Step 1
Turn the dough out onto a lightly floured surface and knead for 3-5 minutes until it becomes smooth and elastic.
The dough should be soft but not sticky—if it sticks, dust with a bit more flour.
Once kneaded, form it into a ball, return it to the bowl, and let it rest at room temperature for 10 minutes.
This resting period allows the baking powder to activate slightly and makes the dough easier to work with.
Step 3: Divide and Roll Out Wraps
- dough from Step 2
After the rest, divide the dough into 4 equal pieces and roll each one into a ball.
On a floured surface, flatten each ball into a thin circle about 1/4-inch thick, roughly 8 inches in diameter.
I like to use a rolling pin to get even thickness, which ensures the wraps cook uniformly.
Stack the rolled circles on a plate or cutting board, lightly dusting each with flour to prevent sticking.
Step 4: Cook Wraps Until Golden and Puffed
- rolled wraps from Step 3
- olive oil spray
Heat a large skillet or cast iron pan over medium-high heat and lightly spray with olive oil.
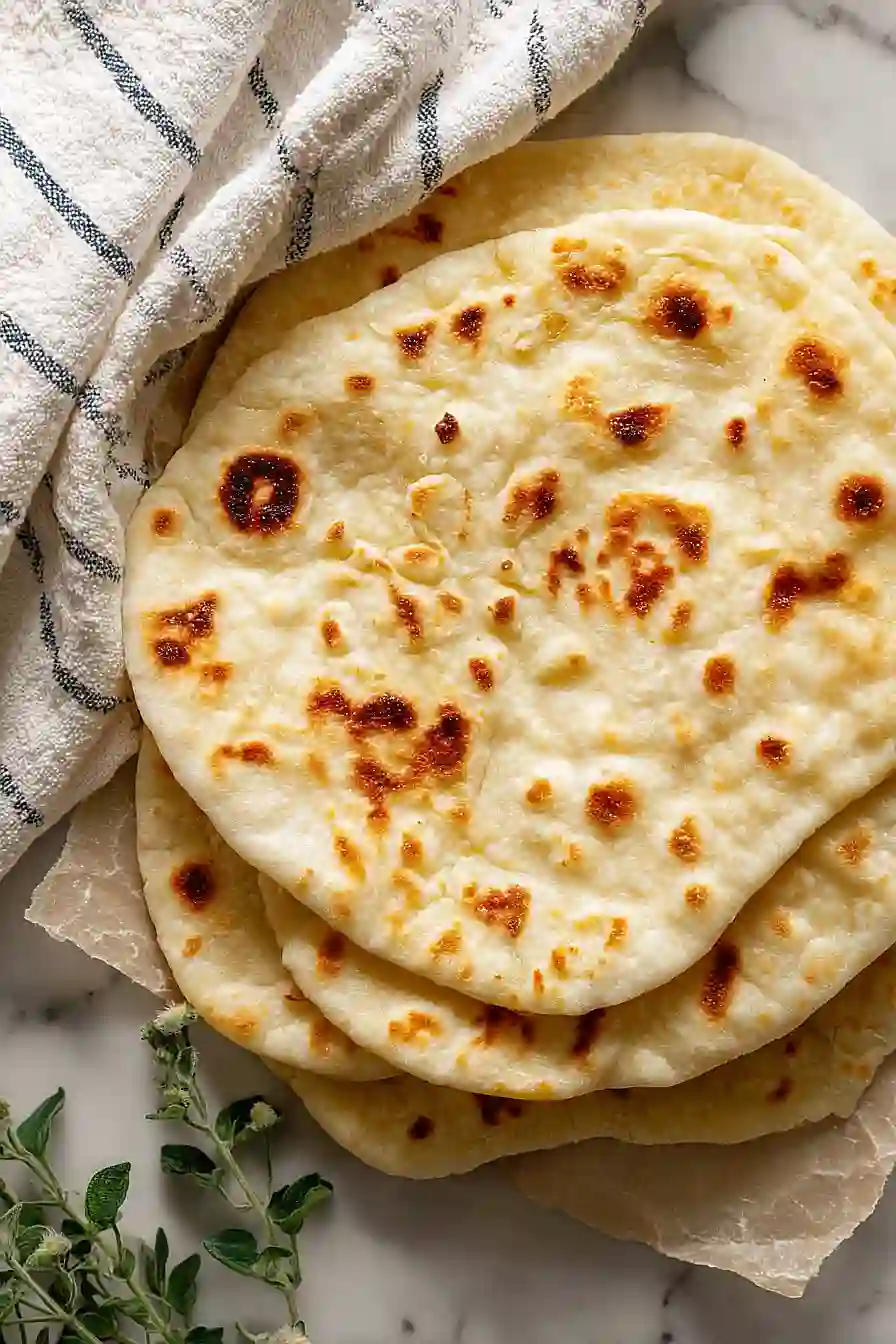
Once hot, place one wrap in the pan and cook for 2-3 minutes until bubbles begin to form on the surface and the bottom starts to turn golden.
Flip the wrap carefully and cook the other side for 1-2 minutes until it’s also golden and lightly charred in spots.
Transfer to a plate and repeat with the remaining wraps.
I find that these wraps taste best served warm, so keep them stacked and covered with a clean kitchen towel to retain moisture while you finish cooking the rest.
Crispy Greek Yogurt Wraps
Ingredients
- 3/4 cup greek yogurt (I use FAGE Total 5% for the best moisture and texture)
- 1 1/4 cups all-purpose flour
- 1 1/2 tsp baking powder
- 1/4 tsp salt
- 1/4 tsp garlic powder
- olive oil spray
Instructions
- In a medium bowl, whisk together the flour, baking powder, salt, and garlic powder. Create a well in the center and add the Greek yogurt all at once. Using a wooden spoon or your hands, stir and mix until a shaggy dough forms. The dough will come together quickly—don't overwork it at this stage.
- Turn the dough out onto a lightly floured surface and knead for 3-5 minutes until it becomes smooth and elastic. The dough should be soft but not sticky—if it sticks, dust with a bit more flour. Once kneaded, form it into a ball, return it to the bowl, and let it rest at room temperature for 10 minutes. This resting period allows the baking powder to activate slightly and makes the dough easier to work with.
- After the rest, divide the dough into 4 equal pieces and roll each one into a ball. On a floured surface, flatten each ball into a thin circle about 1/4-inch thick, roughly 8 inches in diameter. I like to use a rolling pin to get even thickness, which ensures the wraps cook uniformly. Stack the rolled circles on a plate or cutting board, lightly dusting each with flour to prevent sticking.
- Heat a large skillet or cast iron pan over medium-high heat and lightly spray with olive oil. Once hot, place one wrap in the pan and cook for 2-3 minutes until bubbles begin to form on the surface and the bottom starts to turn golden. Flip the wrap carefully and cook the other side for 1-2 minutes until it's also golden and lightly charred in spots. Transfer to a plate and repeat with the remaining wraps. I find that these wraps taste best served warm, so keep them stacked and covered with a clean kitchen towel to retain moisture while you finish cooking the rest.


