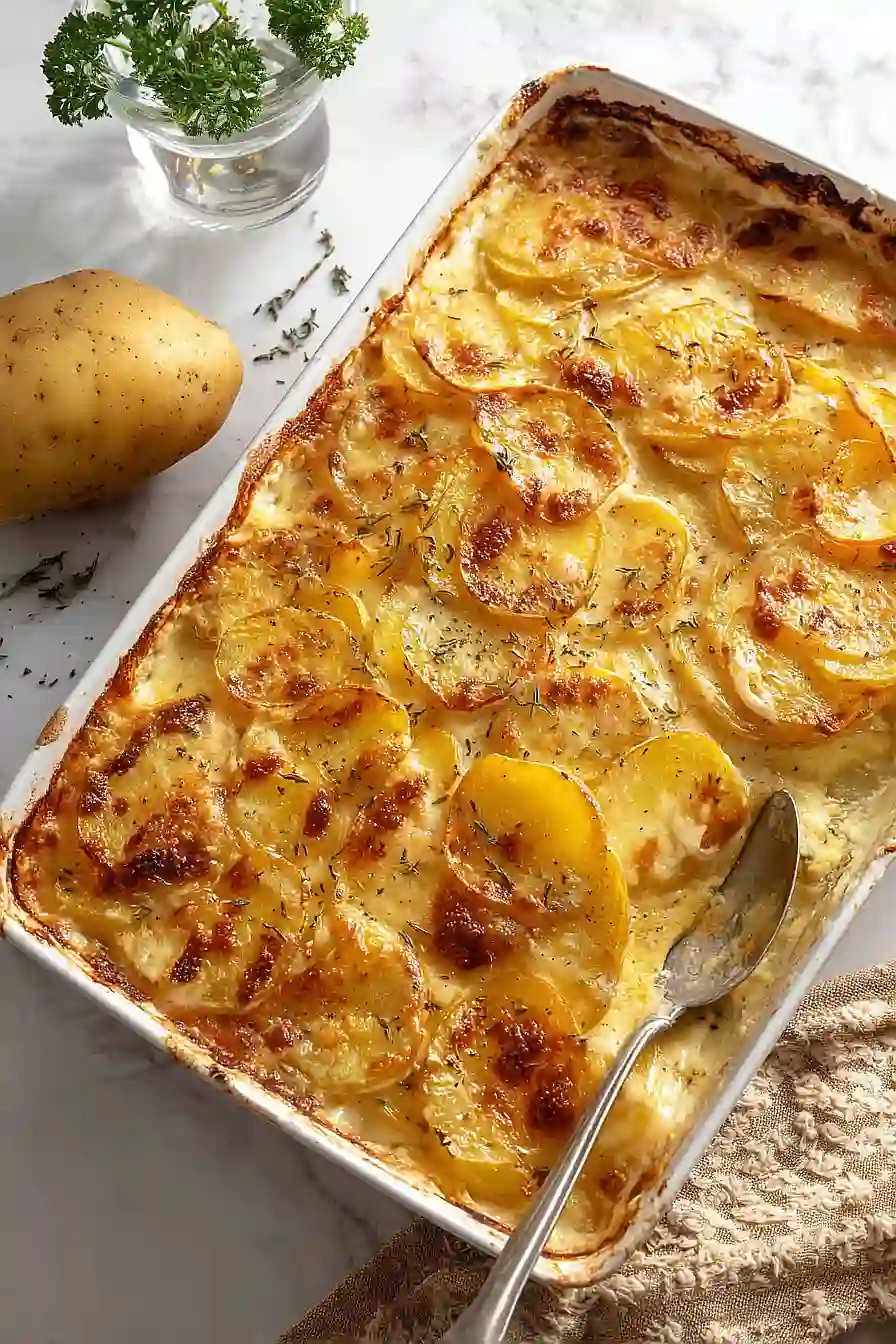
Scalloped potatoes are one of those dishes that remind me of Sunday dinners at my grandmother’s house. Creamy, comforting, and always the first thing to disappear from the table. But when my doctor mentioned watching my sodium intake, I thought my scalloped potato days were over. Turns out, I was wrong.
The secret to low sodium scalloped potatoes is all about building flavor without relying on salt. We’re talking herbs, spices, and a creamy sauce that tastes just as good as the traditional version. I’ve made this recipe at least a dozen times now, and honestly, nobody at my table can tell the difference. My kids still ask for seconds, and my husband hasn’t noticed I swapped out the recipe.
The best part? You don’t need any fancy ingredients. Just some basic pantry staples and about fifteen minutes of prep time. Then the oven does all the work while you handle everything else for dinner.
Why You’ll Love These Low Sodium Scalloped Potatoes
- Heart-healthy comfort food – You get all the creamy, cheesy goodness of traditional scalloped potatoes without the excess sodium, making it perfect for anyone watching their salt intake.
- Simple ingredients – This recipe uses everyday staples you probably already have in your kitchen, so no special shopping trip required.
- Flavorful without the salt – The combination of garlic, paprika, mustard, and poultry seasoning creates layers of flavor that make you forget you’re eating a low-sodium dish.
- Perfect side dish – These scalloped potatoes pair well with just about any main course and are great for family dinners or holiday gatherings.
What Kind of Potatoes Should I Use?
For scalloped potatoes, you’ll want to reach for starchy or all-purpose potatoes like Russets or Yukon Golds. Russets are great because they absorb the creamy sauce really well and get nice and tender, while Yukon Golds hold their shape a bit better and add a naturally buttery flavor. Avoid waxy potatoes like red potatoes or fingerlings for this recipe, as they don’t absorb the sauce as well and can turn out a bit too firm. When you’re prepping your potatoes, try to slice them evenly – about 1/8 inch thick works perfectly – so they all cook at the same rate and you don’t end up with some slices mushy and others still crunchy.
Options for Substitutions
This recipe is pretty forgiving, so here are some swaps you can make if you need to:
- Potatoes: Russet potatoes are the classic choice for scalloped potatoes because they hold their shape well, but Yukon golds work great too and add a creamier texture. Just avoid waxy red potatoes as they don’t absorb the sauce as nicely.
- Butter: You can use olive oil or vegetable oil instead of butter if needed. Use the same amount, but keep in mind the sauce will be slightly less rich.
- Milk: Whole milk gives the best creamy result, but 2% milk works fine. You can also use unsweetened almond milk or oat milk for a dairy-free version, though the sauce will be a bit thinner.
- Chicken broth: Since this is a low-sodium recipe, make sure you’re using low-sodium broth. Vegetable broth works just as well if you want to keep it vegetarian.
- Flour: For a gluten-free option, cornstarch works well – just use 2 tablespoons instead of 1/4 cup flour. Mix it with a bit of cold milk before adding to prevent lumps.
- Mustard: Dijon or yellow mustard both work here. If you don’t have either, you can skip it, though it does add a nice tangy depth to the sauce.
Watch Out for These Mistakes While Baking
The biggest mistake when making scalloped potatoes is slicing your potatoes unevenly, which leads to some pieces turning mushy while others stay hard – aim for consistent 1/8-inch slices using a mandoline or sharp knife for the best results.
Many people rush the sauce-making process and end up with lumps, so make sure to whisk constantly while adding the milk and broth slowly, and let that flour cook for the full 1-2 minutes to avoid a raw flour taste.
Don’t skip the 15-minute resting period after baking, as this allows the sauce to thicken up and makes slicing much cleaner, and if your potatoes are browning too quickly during the second bake, tent them loosely with foil.
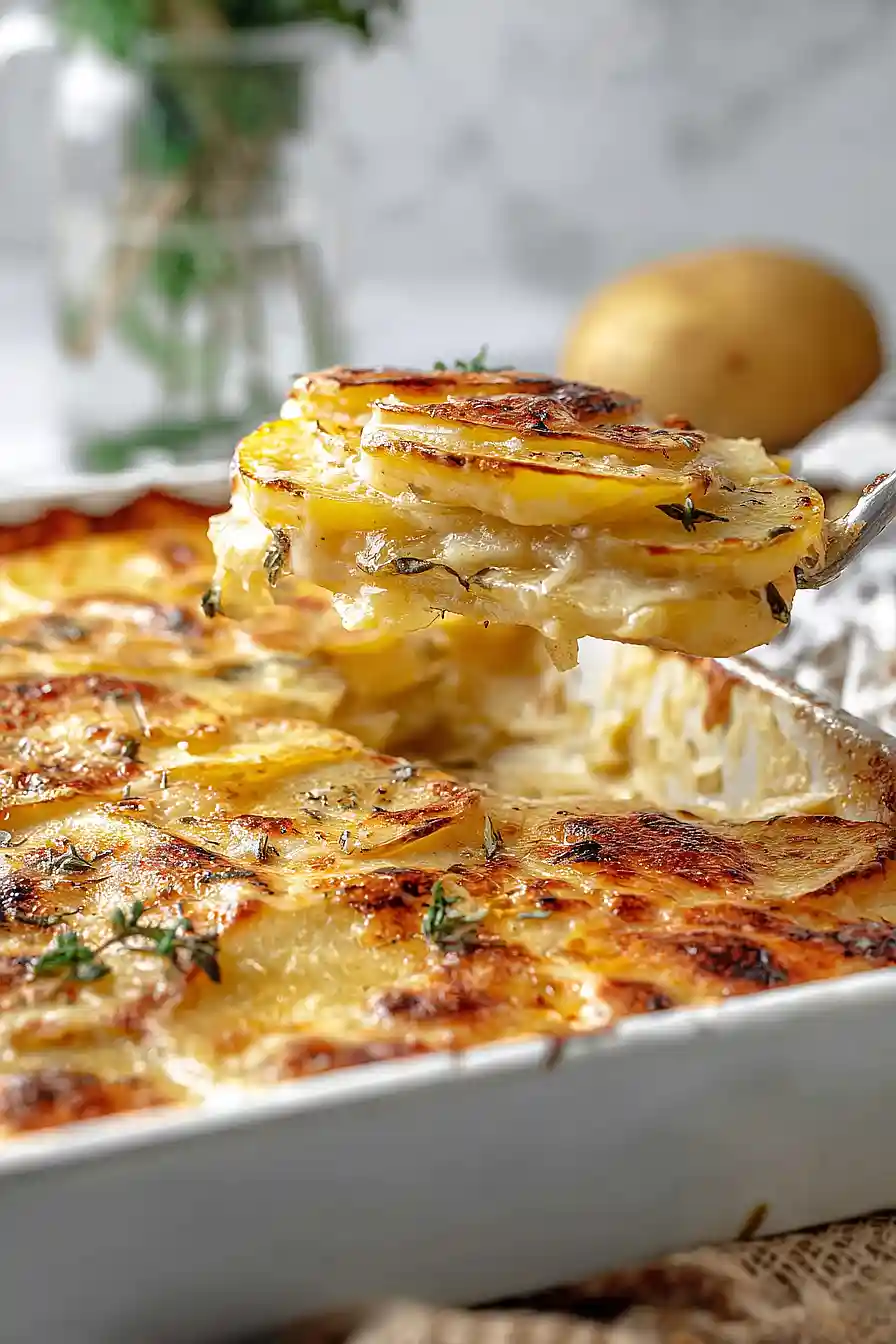
For extra creamy results, overlap your potato slices like shingles on a roof rather than just stacking them flat, which helps the sauce coat every layer evenly.
What to Serve With Scalloped Potatoes?
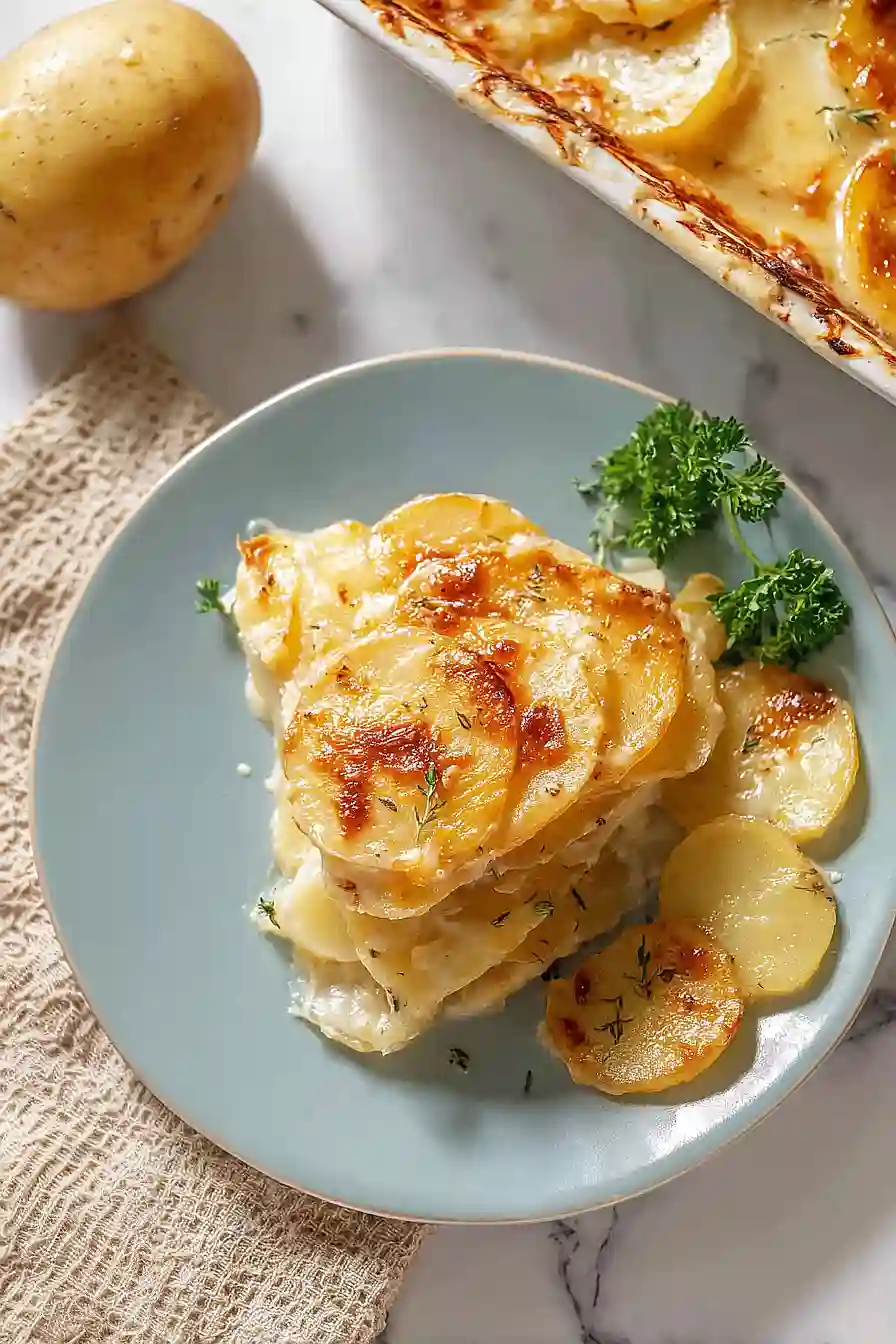
Scalloped potatoes are pretty rich and filling on their own, so they pair best with simple proteins like roasted chicken, baked ham, or grilled pork chops. I love serving them alongside a crisp green salad with a light vinaigrette to balance out all that creamy goodness. If you’re going for a full dinner spread, steamed green beans or roasted Brussels sprouts make great veggie sides that won’t compete with the potatoes. Since this dish is already pretty hearty, keep the rest of your meal on the lighter side so everything doesn’t feel too heavy.
Storage Instructions
Store: Keep your leftover scalloped potatoes in an airtight container in the fridge for up to 4 days. They actually taste pretty great the next day once all those flavors have had time to hang out together!
Freeze: You can freeze scalloped potatoes for up to 2 months, though the texture might change a bit since potatoes can get a little grainy when frozen. If you do freeze them, let them thaw in the fridge overnight before reheating.
Reheat: Warm them up in the oven at 350°F covered with foil until heated through, about 20-25 minutes. You can also microwave individual portions, but add a splash of milk if they seem dry. The oven method keeps them creamier and helps crisp up the top again.
| Preparation Time | 20-30 minutes |
| Cooking Time | 80-90 minutes |
| Total Time | 110-135 minutes |
| Level of Difficulty | Medium |
| Servings | 6 servings |
Estimated Nutrition
Estimated nutrition for the whole recipe (without optional ingredients):
- Calories: 900-1050
- Protein: 20-25 g
- Fat: 38-45 g
- Carbohydrates: 120-135 g
Ingredients
For the potatoes:
- 4 medium potatoes (scrubbed and sliced into 1/8-inch thick rounds)
- 1 small onion
For the sauce:
- 4 tbsp unsalted butter
- 1 tbsp minced garlic
- 1/4 cup all-purpose flour
- 1 1/2 cups milk (room temperature)
- 1 cup unsalted chicken broth
- 3/4 tsp paprika
- 1 1/2 tsp salt-free seasoning (Mrs. Dash Original works great here)
- 1 tsp ground mustard
- 1/2 tsp poultry seasoning
- 1/4 tsp dried thyme
- 1 tsp black pepper
Step 1: Prep Ingredients and Preheat Oven
- 4 medium potatoes, scrubbed and sliced
- 1 small onion, diced
- 1 tbsp minced garlic
- 3/4 tsp paprika
- 1 1/2 tsp salt-free seasoning
- 1 tsp ground mustard
- 1/2 tsp poultry seasoning
- 1/4 tsp dried thyme
- 1 tsp black pepper
Preheat your oven to 350°F.
While it heats, scrub the potatoes and slice them into 1/8-inch thick rounds—I like to use a mandoline for consistent thickness, which helps them cook evenly.
Dice the small onion and mince the garlic.
Measure out all your seasonings (paprika, salt-free seasoning, mustard, poultry seasoning, thyme, and black pepper) into a small bowl so they’re ready to add quickly to the sauce.
Step 2: Create the Sauce Base
- 4 tbsp unsalted butter
- 1 small onion, diced
- 1 tbsp minced garlic
- 1/4 cup all-purpose flour
Melt the unsalted butter in a medium saucepan over medium heat.
Add the diced onion and cook for 3-4 minutes, stirring occasionally, until softened and slightly translucent.
Add the minced garlic and cook for another 1-2 minutes until fragrant.
Sprinkle the flour over the mixture and stir constantly for 1-2 minutes to create a roux—this removes the raw flour taste and helps thicken the sauce.
Step 3: Build the Creamy Sauce
- 1 1/2 cups milk
- 1 cup unsalted chicken broth
- 3/4 tsp paprika
- 1 1/2 tsp salt-free seasoning
- 1 tsp ground mustard
- 1/2 tsp poultry seasoning
- 1/4 tsp dried thyme
- 1 tsp black pepper
Lower the heat to medium-low and slowly whisk in the room-temperature milk and chicken broth, stirring constantly to prevent lumps from forming.
Keep whisking until the sauce thickens enough to coat the back of a spoon, about 3-5 minutes.
Add all the seasonings from your prepared mixture and stir well to combine.
Increase heat to medium and bring the sauce to a gentle boil while stirring constantly for 1 minute—this helps the flavors meld and ensures the sauce is properly thickened.
I like to taste a small spoon of sauce at this point and adjust seasonings if needed, since we’re using low-sodium ingredients.
Step 4: Assemble the Scalloped Potatoes
- 4 medium potatoes, sliced from Step 1
- sauce from Step 3
Pour a thin layer of the sauce from Step 3 onto the bottom of a 9×13-inch baking dish.
Arrange a layer of sliced potatoes over the sauce, then pour more sauce over them.
Repeat this layering process until all potatoes and sauce are used, finishing with a layer of sauce on top to prevent the top potatoes from drying out during baking.
Step 5: Covered Bake and Final Finish
Cover the baking dish tightly with foil and bake for 45 minutes at 350°F.
Remove the foil and bake for an additional 35-45 minutes until the potatoes are tender when pierced with a fork and the top is lightly golden.
If you want an extra-creamy top layer, broil for 2-3 minutes until golden brown—watch carefully as broilers vary in intensity.
Let the casserole rest for 15 minutes before serving; this allows the sauce to set slightly and makes it easier to serve clean portions.
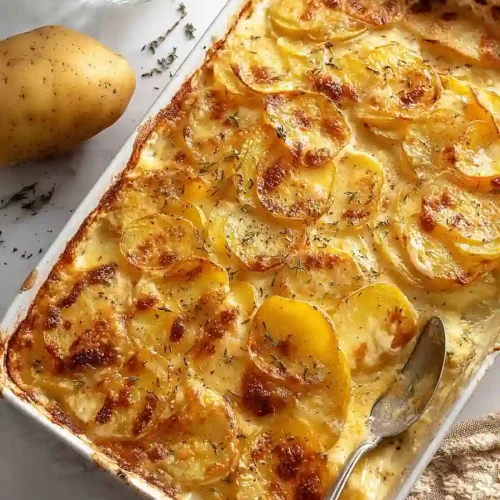
Delicious Low Sodium Scalloped Potatoes
Ingredients
For the potatoes
- 4 medium potatoes (scrubbed and sliced into 1/8-inch thick rounds)
- 1 small onion
For the sauce
- 4 tbsp unsalted butter
- 1 tbsp minced garlic
- 1/4 cup all-purpose flour
- 1 1/2 cups milk (room temperature)
- 1 cup unsalted chicken broth
- 3/4 tsp paprika
- 1 1/2 tsp salt-free seasoning (Mrs. Dash Original works great here)
- 1 tsp ground mustard
- 1/2 tsp poultry seasoning
- 1/4 tsp dried thyme
- 1 tsp black pepper
Instructions
- Preheat your oven to 350°F. While it heats, scrub the potatoes and slice them into 1/8-inch thick rounds—I like to use a mandoline for consistent thickness, which helps them cook evenly. Dice the small onion and mince the garlic. Measure out all your seasonings (paprika, salt-free seasoning, mustard, poultry seasoning, thyme, and black pepper) into a small bowl so they're ready to add quickly to the sauce.
- Melt the unsalted butter in a medium saucepan over medium heat. Add the diced onion and cook for 3-4 minutes, stirring occasionally, until softened and slightly translucent. Add the minced garlic and cook for another 1-2 minutes until fragrant. Sprinkle the flour over the mixture and stir constantly for 1-2 minutes to create a roux—this removes the raw flour taste and helps thicken the sauce.
- Lower the heat to medium-low and slowly whisk in the room-temperature milk and chicken broth, stirring constantly to prevent lumps from forming. Keep whisking until the sauce thickens enough to coat the back of a spoon, about 3-5 minutes. Add all the seasonings from your prepared mixture and stir well to combine. Increase heat to medium and bring the sauce to a gentle boil while stirring constantly for 1 minute—this helps the flavors meld and ensures the sauce is properly thickened. I like to taste a small spoon of sauce at this point and adjust seasonings if needed, since we're using low-sodium ingredients.
- Pour a thin layer of the sauce from Step 3 onto the bottom of a 9x13-inch baking dish. Arrange a layer of sliced potatoes over the sauce, then pour more sauce over them. Repeat this layering process until all potatoes and sauce are used, finishing with a layer of sauce on top to prevent the top potatoes from drying out during baking.
- Cover the baking dish tightly with foil and bake for 45 minutes at 350°F. Remove the foil and bake for an additional 35-45 minutes until the potatoes are tender when pierced with a fork and the top is lightly golden. If you want an extra-creamy top layer, broil for 2-3 minutes until golden brown—watch carefully as broilers vary in intensity. Let the casserole rest for 15 minutes before serving; this allows the sauce to set slightly and makes it easier to serve clean portions.


