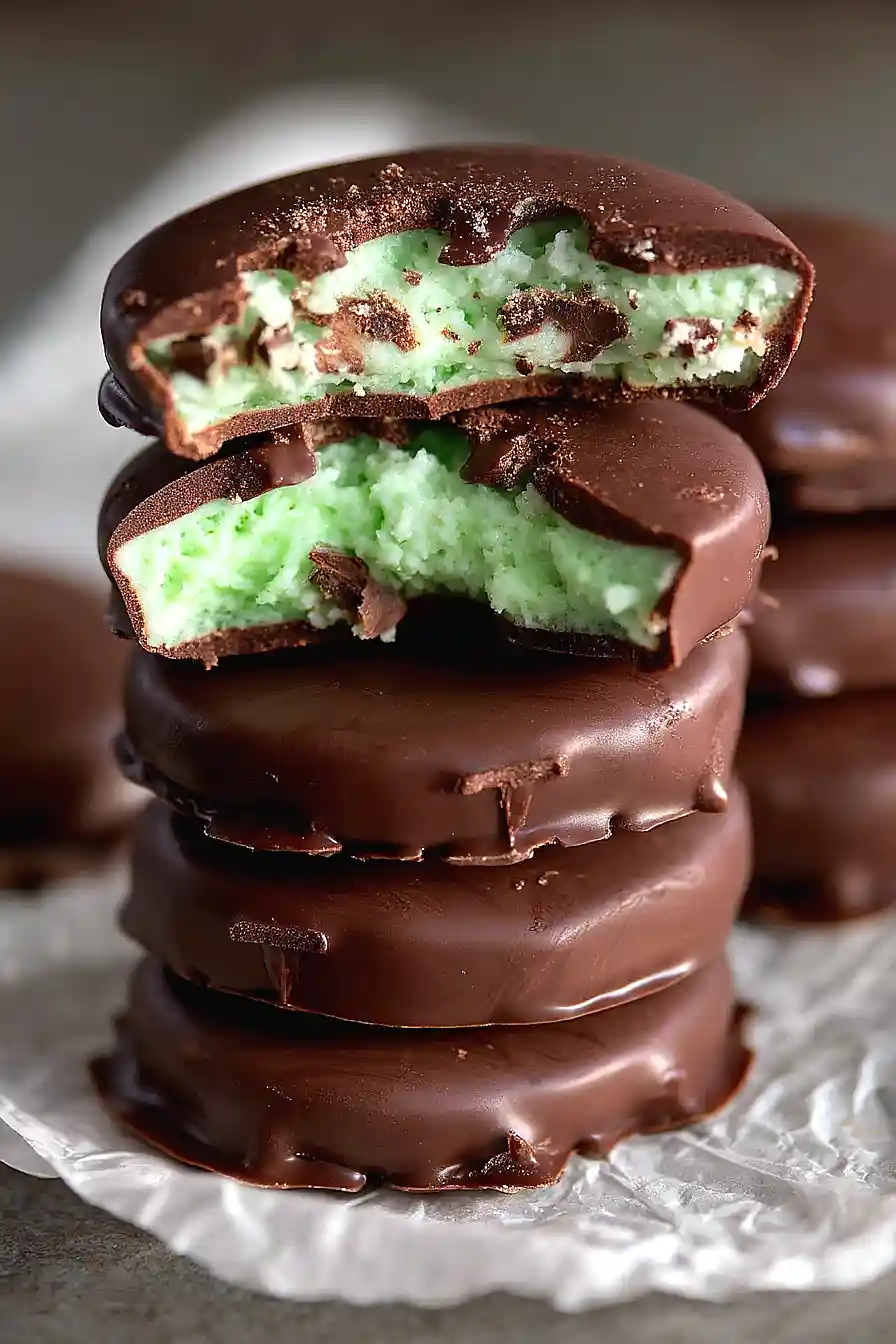
Here is my favorite chocolate covered mint patties recipe, with a smooth, minty center made from butter, corn syrup, and mint extract, all wrapped in a coating of rich melted chocolate.
These mint patties are my family’s go-to treat when we need something sweet and refreshing after dinner. I always make a big batch because they disappear so quickly. Plus, they’re way better than the store-bought kind, right?

Why You’ll Love These Chocolate Covered Mint Patties
- Homemade treat that tastes better than store-bought – These mint patties have that perfect balance of cool mint and rich chocolate, and you control exactly how minty they are.
- Simple ingredients you probably have – No fancy equipment or hard-to-find ingredients needed—just basic pantry staples and some chocolate coating.
- Fun to make with kids – Rolling and dipping the patties is an easy activity that little hands can help with, making it a great weekend project.
- Perfect for gifting – These homemade mint patties look impressive and make thoughtful gifts for holidays, teacher appreciation, or any special occasion.
- Customizable color and flavor – You can adjust the green food coloring to make them as festive as you want, or skip it entirely for a classic look.
What Kind of Chocolate Should I Use?
For coating your mint patties, chocolate candy coating (also called candy melts or almond bark) is really the way to go. It melts smoothly, sets up nicely at room temperature, and gives you that classic snap when you bite into it. You can find brands like CandiQuik or Ghirardelli melting wafers at most grocery stores in the baking aisle. If you want to use regular chocolate chips instead, just know that you’ll need to temper them or add a bit of coconut oil to help them set properly – otherwise they might stay a bit soft or get streaky. Dark, milk, or semi-sweet chocolate all work great depending on your preference, though I find that dark chocolate pairs especially well with the sweetness of the mint filling.
Options for Substitutions
This recipe is pretty straightforward, but here are some swaps you can make if needed:
- Light corn syrup: You can use honey or agave syrup instead, though the texture might be slightly different. The patties may be a bit softer, so you might need to add a little extra powdered sugar to firm them up.
- Butter: Margarine or coconut oil can work in place of butter. If using coconut oil, make sure it’s at room temperature so it has a similar consistency to softened butter.
- Mint extract: Peppermint extract works just as well and gives a slightly stronger minty flavor. You can also try other extracts like vanilla or almond if you want to skip the mint altogether.
- Green food coloring: This is totally optional – you can leave it out for white patties, or use any color you like for different occasions.
- Chocolate candy coating: If you don’t have candy coating, use chocolate chips (about 2 cups) mixed with 1 tablespoon of coconut oil or shortening to help with melting and coating. Dark, milk, or semi-sweet chocolate all work great.
Watch Out for These Mistakes While Making
The biggest mistake when making mint patties is adding the powdered sugar too quickly, which can create a crumbly mixture that won’t hold together – add it gradually, one cup at a time, until the dough is smooth and pliable like Play-Doh.
Another common error is skipping the chilling step after shaping your patties, but refrigerating them for at least 30 minutes makes the chocolate coating process much cleaner and prevents the filling from oozing out.
When melting your chocolate coating, avoid overheating it in the microwave by using 30-second intervals and stirring between each one, since burnt chocolate becomes thick and grainy instead of smooth.
Finally, make sure your mint patties are completely cold before dipping them in chocolate – warm filling will cause the chocolate to slide right off and create a messy coating.

What to Serve With Chocolate Covered Mint Patties?
These mint patties are perfect on their own as an after-dinner treat, but they’re also great alongside a cup of hot coffee or tea. I love serving them at the end of a meal with some fresh berries like strawberries or raspberries, which balance out the sweetness nicely. They also make a nice addition to a dessert platter with other homemade candies or cookies, especially during the holidays. If you’re feeling fancy, try pairing them with a scoop of vanilla ice cream or even chocolate ice cream for a minty-chocolate dessert experience.
Storage Instructions
Store: These mint patties keep really well in an airtight container at room temperature for up to 2 weeks. Just make sure the chocolate coating is completely set before stacking them, and you can put wax paper between layers to keep them from sticking together.
Refrigerate: If you want them to last even longer or prefer a firmer texture, store them in the fridge for up to a month. They’ll get nice and cold, which makes them extra refreshing! Let them sit out for a few minutes before eating if you don’t want them super chilled.
Freeze: Mint patties are perfect for freezing! Layer them with parchment paper in a freezer-safe container and they’ll keep for up to 3 months. You can eat them straight from the freezer for a cool treat, or let them thaw at room temperature for about 10 minutes.
| Preparation Time | 30-40 minutes |
| Cooking Time | 0 minutes |
| Total Time | 90-120 minutes |
| Level of Difficulty | Medium |
| Servings | 48 pieces |
Estimated Nutrition
Estimated nutrition for the whole recipe (without optional ingredients):
- Calories: 2950-3200
- Protein: 7-10 g
- Fat: 90-110 g
- Carbohydrates: 540-590 g
Ingredients
For the mint patties:
- 5 tbsp butter (softened to room temperature)
- 1/3 cup light corn syrup
- 1.5 tsp mint extract (for best flavor and aroma)
- green food coloring (just a few drops for pale green color)
- 4.5 cups powdered sugar (sifted to remove lumps)
- 1/2 tsp salt
For the chocolate coating:
- 10 oz chocolate candy coating (or melting chocolate)
Step 1: Prepare the Mint Filling Base
- 5 tbsp butter
- 1/3 cup light corn syrup
- 1.5 tsp mint extract
- green food coloring
- 1/2 tsp salt
In a medium bowl, combine the softened butter, light corn syrup, mint extract, salt, and a few drops of green food coloring.
Mix thoroughly until the color is evenly distributed and the mixture is smooth and well combined.
This creates a flavorful base that will hold all your other ingredients together.
Step 2: Incorporate Powdered Sugar and Knead the Dough
- 4.5 cups powdered sugar
- mint filling base from Step 1
Add the sifted powdered sugar gradually, one cup at a time, stirring well after each addition.
Once the mixture becomes too stiff to stir with a spoon (around 3-4 cups of sugar), switch to kneading by hand.
Continue kneading and adding the remaining powdered sugar until you have a smooth, non-sticky dough with a firm, fudgy consistency.
I like to work on a clean surface dusted lightly with powdered sugar to prevent sticking—this makes the kneading process much easier and keeps your hands cleaner.
Step 3: Shape and Chill the Patties
- mint dough from Step 2
Roll the mint dough into 1-inch balls, then place them on a piece of waxed paper.
Gently flatten each ball into a patty shape about 1/4-inch thick using the palm of your hand or the bottom of a glass.
Once all patties are shaped, refrigerate them for 60-90 minutes until they’re completely firm and hold their shape well.
This chilling step is crucial because it prevents the patties from falling apart when you dip them in hot chocolate.
Step 4: Melt the Chocolate Coating
- 10 oz chocolate candy coating
While the patties chill, melt the chocolate candy coating according to package directions, using either a double boiler or microwave in 30-second intervals, stirring between each interval.
Heat the chocolate just until smooth and pourable—don’t overheat it or it will become thick and clumpy.
Transfer the melted chocolate to a shallow bowl or cup that’s deep enough to dip the patties without them touching the bottom.
Step 5: Dip and Set the Candies
- chilled patties from Step 3
- melted chocolate coating from Step 4
Remove the chilled patties from the refrigerator and work quickly while the chocolate is still warm.
Using a fork, carefully dip each patty into the melted chocolate, coating it completely on all sides.
Tap the fork gently against the side of the bowl to remove excess chocolate, then place the coated patty back on a clean piece of waxed paper.
Work in batches if needed to keep your pace steady.
I find that if the chocolate starts to cool and thicken, a quick 10-15 second reheat brings it back to the right consistency without any problems.
Step 6: Let Chocolate Set and Store
Allow all the dipped candies to sit at room temperature for 30-45 minutes until the chocolate coating is completely firm and set.
You can also refrigerate them for faster setting if you’re short on time.
Once set, the patties are ready to enjoy and can be stored in an airtight container at room temperature for up to two weeks.

Easy Chocolate Covered Mint Patties
Ingredients
For the mint patties:
- 5 tbsp butter (softened to room temperature)
- 1/3 cup light corn syrup
- 1.5 tsp mint extract (for best flavor and aroma)
- green food coloring (just a few drops for pale green color)
- 4.5 cups powdered sugar (sifted to remove lumps)
- 1/2 tsp salt
For the chocolate coating:
- 10 oz chocolate candy coating (or melting chocolate)
Instructions
- In a medium bowl, combine the softened butter, light corn syrup, mint extract, salt, and a few drops of green food coloring. Mix thoroughly until the color is evenly distributed and the mixture is smooth and well combined. This creates a flavorful base that will hold all your other ingredients together.
- Add the sifted powdered sugar gradually, one cup at a time, stirring well after each addition. Once the mixture becomes too stiff to stir with a spoon (around 3-4 cups of sugar), switch to kneading by hand. Continue kneading and adding the remaining powdered sugar until you have a smooth, non-sticky dough with a firm, fudgy consistency. I like to work on a clean surface dusted lightly with powdered sugar to prevent sticking—this makes the kneading process much easier and keeps your hands cleaner.
- Roll the mint dough into 1-inch balls, then place them on a piece of waxed paper. Gently flatten each ball into a patty shape about 1/4-inch thick using the palm of your hand or the bottom of a glass. Once all patties are shaped, refrigerate them for 60-90 minutes until they're completely firm and hold their shape well. This chilling step is crucial because it prevents the patties from falling apart when you dip them in hot chocolate.
- While the patties chill, melt the chocolate candy coating according to package directions, using either a double boiler or microwave in 30-second intervals, stirring between each interval. Heat the chocolate just until smooth and pourable—don't overheat it or it will become thick and clumpy. Transfer the melted chocolate to a shallow bowl or cup that's deep enough to dip the patties without them touching the bottom.
- Remove the chilled patties from the refrigerator and work quickly while the chocolate is still warm. Using a fork, carefully dip each patty into the melted chocolate, coating it completely on all sides. Tap the fork gently against the side of the bowl to remove excess chocolate, then place the coated patty back on a clean piece of waxed paper. Work in batches if needed to keep your pace steady. I find that if the chocolate starts to cool and thicken, a quick 10-15 second reheat brings it back to the right consistency without any problems.
- Allow all the dipped candies to sit at room temperature for 30-45 minutes until the chocolate coating is completely firm and set. You can also refrigerate them for faster setting if you're short on time. Once set, the patties are ready to enjoy and can be stored in an airtight container at room temperature for up to two weeks.


