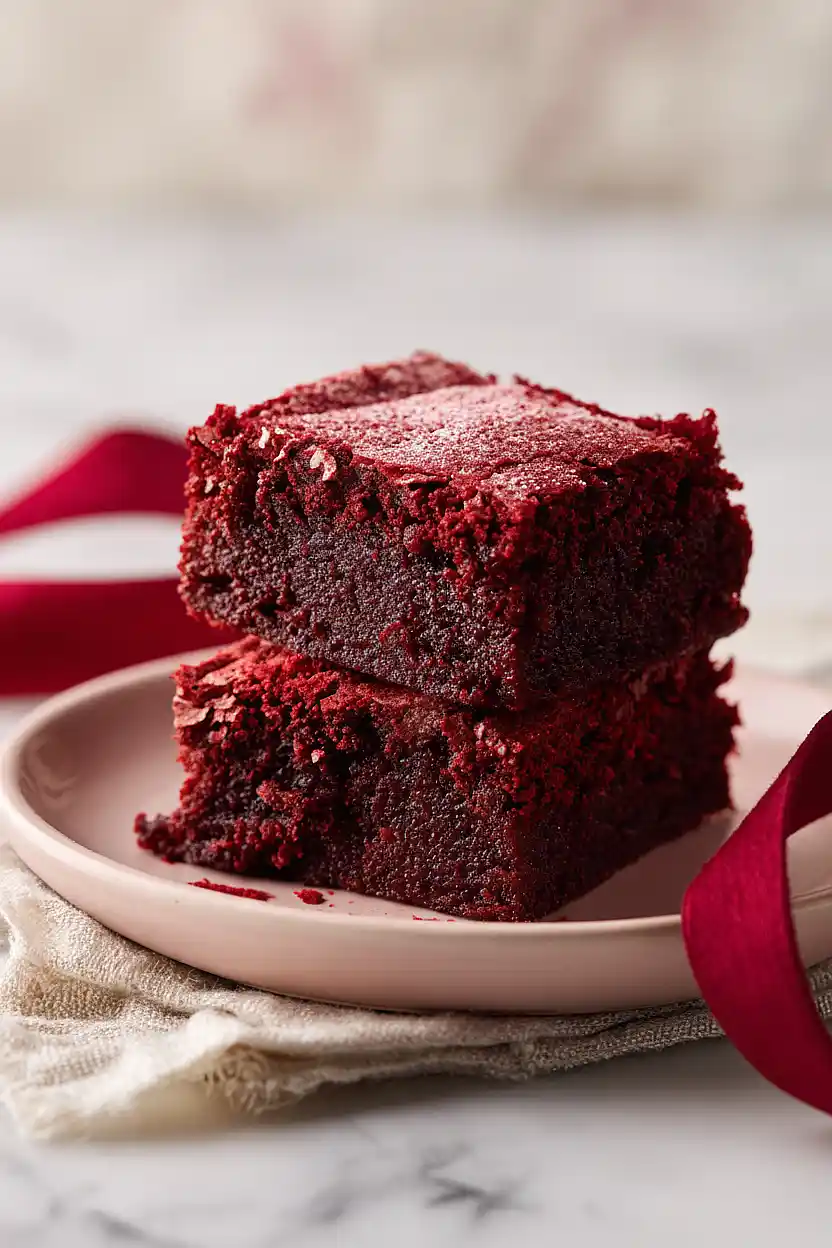
I didn’t try a red velvet brownie until I was in my twenties, and I remember thinking it was just a chocolate brownie with food coloring. I wasn’t totally wrong, but I wasn’t right either. Real red velvet has this thing going on where the cocoa is subtle and the texture is almost cake-like, but still fudgy. It’s its own thing.
When I had to go gluten-free a few years back, I thought my red velvet days were over. Gluten-free baking can be tricky—you need the right flour blend or everything falls apart. But after about a dozen failed batches, I figured out that the secret is using a good measure-for-measure flour and not overthinking it. These brownies taste just like the regular version, and nobody can tell the difference.

Why You’ll Love These Gluten Free Red Velvet Brownies
- Gluten-free friendly – These brownies are perfect for anyone avoiding gluten, so you can enjoy a classic treat without worry.
- Quick and easy – Ready in under an hour from start to finish, these brownies come together fast when you need a dessert in a pinch.
- Simple pantry ingredients – You probably have most of these staples in your kitchen already, making this an easy recipe to whip up anytime.
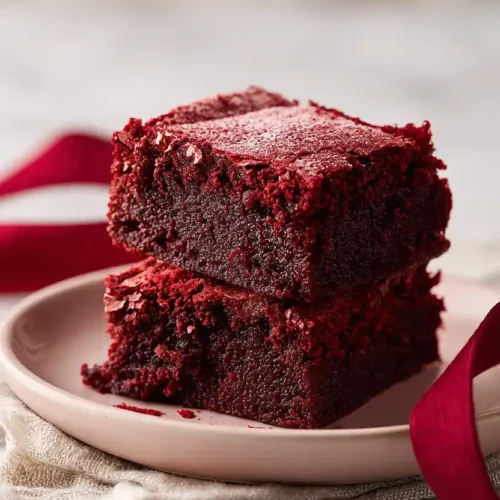
- Eye-catching dessert – The signature red color makes these brownies a showstopper at parties, potlucks, or just a fun weekend baking project.
- Fudgy chocolate flavor – These brownies have that perfect balance of cocoa richness and sweetness that makes red velvet desserts so addictive.
What Kind of Flour Should I Use?
Since this is a gluten-free recipe, you’ll want to use a good quality gluten-free flour blend that’s designed for baking. Most all-purpose gluten-free flour blends work great for brownies because they already contain a mix of rice flour, tapioca starch, and other ingredients that help mimic regular flour. I’ve had good results with brands like Bob’s Red Mill 1-to-1 Baking Flour or King Arthur Measure for Measure, which you can swap in at the same amount as regular flour. Just make sure whatever blend you choose contains xanthan gum or another binder – if it doesn’t, you might want to add about 1/4 teaspoon to help your brownies hold together properly.
Options for Substitutions
Here are some swaps you can make to customize these brownies:
- Gluten-free flour: Make sure you’re using a gluten-free flour blend that’s meant for baking – ones with xanthan gum already added work best. Bob’s Red Mill 1-to-1 or King Arthur Measure for Measure are good options. Regular all-purpose flour won’t work if you need to keep these gluten-free.
- Butter: You can use coconut oil or a dairy-free butter substitute if you need these to be dairy-free. Just make sure it’s melted and cooled slightly before mixing.
- Eggs: For an egg-free version, try using flax eggs (1 tablespoon ground flaxseed mixed with 3 tablespoons water per egg, let sit for 5 minutes). The texture will be slightly denser but still tasty.
- Red food color: If you want to avoid artificial dyes, you can use natural alternatives like beet powder or freeze-dried strawberry powder. Start with 2-3 tablespoons and add more until you get the color you want. Keep in mind the red won’t be quite as bright.
- White and brown sugar: You can use all brown sugar for a deeper molasses flavor, or all white sugar if that’s what you have. Coconut sugar works too, though it’ll give the brownies a slightly different taste.
Watch Out for These Mistakes While Baking
The biggest mistake when making gluten-free brownies is overmixing the batter once you add the flour mixture, which can make them tough and crumbly instead of fudgy – stir just until the ingredients are combined and no white streaks remain.
Since gluten-free flour behaves differently than regular flour, overbaking is another common issue that leads to dry, cracked brownies, so start checking for doneness at 28 minutes by inserting a toothpick into the center (it should come out with a few moist crumbs, not completely clean).
The red food coloring can sometimes make it tricky to judge if your brownies are done by looking at them, so rely on that toothpick test rather than visual cues alone.
Finally, resist the urge to cut into these brownies right away – letting them cool completely in the pan helps them set properly and prevents them from falling apart when you slice them.

What to Serve With Red Velvet Brownies?
These brownies are pretty rich on their own, so I love serving them with a big scoop of vanilla ice cream that melts right into all those fudgy corners. A dollop of cream cheese frosting on top is another great option since red velvet and cream cheese are best friends – you can either spread it on after baking or just add a spoonful on each brownie when serving. If you’re making these for a party or get-together, try cutting them into small squares and arranging them on a platter with fresh strawberries and raspberries for a nice color contrast. A cold glass of milk is always a winner too, especially if you’re enjoying these as an afternoon snack.
Storage Instructions
Store: Keep your red velvet brownies in an airtight container at room temperature for up to 3 days, or in the fridge for up to a week. I like to layer them with parchment paper so they don’t stick together, and they actually taste even fudgier the next day!
Freeze: These brownies freeze really well for up to 3 months. Just wrap them individually in plastic wrap, then store in a freezer bag. It’s great for portion control, and you can grab one whenever you need a chocolate fix.
Thaw: Let frozen brownies sit at room temperature for about 30 minutes to an hour, or pop them in the microwave for 15-20 seconds if you want them warm and gooey. They taste just as good as fresh!
| Preparation Time | 10-15 minutes |
| Cooking Time | 30-35 minutes |
| Total Time | 40-50 minutes |
| Level of Difficulty | Easy |
| Servings | 16 brownies |
Estimated Nutrition
Estimated nutrition for the whole recipe (without optional ingredients):
- Calories: 1850-2000
- Protein: 20-24 g
- Fat: 60-70 g
- Carbohydrates: 310-340 g
Ingredients
- 1 cup gluten-free flour (I always use King Arthur Measure for Measure for the best structure)
- 1/4 tsp salt
- 1/2 tsp baking powder
- 1/3 cup cocoa powder
- 1/2 cup butter (I like Kerrygold unsalted butter for this)
- 2 eggs (room temperature, about 70°F)
- 1 tablespoon vanilla extract
- 1/2 cup sugar
- 3 tbsp water
- 3/4 cup brown sugar (packed firmly for a fudgier texture)
- 1.5 oz red food color
Step 1: Prepare Your Pan and Preheat the Oven
- Butter or cooking spray for greasing
Preheat your oven to 350°F.
While it heats, grease a 9×13 inch baking dish (or 8×8 for thicker brownies) with butter or cooking spray, making sure to coat the bottom and all sides evenly.
This prevents sticking and ensures clean edges when you cut the finished brownies.
Step 2: Mix the Dry Ingredients
- 1 cup gluten-free flour
- 1/4 tsp salt
- 1/2 tsp baking powder
- 1/3 cup cocoa powder
In a medium bowl, whisk together the gluten-free flour, salt, baking powder, and cocoa powder.
Whisk thoroughly for about 30 seconds to ensure the leavening and cocoa are evenly distributed throughout the flour—this is crucial for gluten-free baking to achieve proper structure and consistent texture.
Set this dry mixture aside.
Step 3: Cream the Butter and Combine Wet Ingredients
- 1/2 cup butter
- 2 eggs
- 1 tablespoon vanilla extract
- 1/2 cup sugar
- 3/4 cup brown sugar
- 1.5 oz red food color
In a large bowl, melt the butter over low heat or let it soften to room temperature, then add the room-temperature eggs one at a time, stirring well after each addition.
Pour in the vanilla extract, then add both sugars and the red food color, stirring until everything is well combined and the color is evenly distributed throughout the batter.
I like to use Kerrygold unsalted butter here because it adds a subtle richness that complements the chocolate and red velvet flavor beautifully.
Step 4: Combine Wet and Dry Ingredients
- Dry ingredient mixture from Step 2
- Wet ingredient mixture from Step 3
- 3 tbsp water
Add the dry ingredient mixture from Step 2 to the wet mixture, stirring just until combined—don’t overmix.
Pour in the water and stir until the batter is smooth and no dry streaks remain.
The water adds moisture to compensate for the gluten-free flour’s tendency to absorb liquid differently, creating that fudgy texture we’re after.
I find that packing the brown sugar firmly gives the brownies an extra-moist, fudgier crumb.
Step 5: Pour and Bake
- Batter from Step 4
Pour the batter into your prepared pan from Step 1, spreading it evenly into all corners with a spatula.
Bake at 350°F for 30–35 minutes, until a toothpick inserted into the center comes out with a few moist crumbs—you don’t want it completely clean, as that means overbaked brownies.
The edges should look set while the center may still look slightly underdone; it will continue to cook as it cools.
Step 6: Cool and Serve
Remove the brownies from the oven and let them cool in the pan for at least 15–20 minutes before cutting.
This cooling time allows the structure to set properly, making them easier to slice cleanly.
Cut into squares and serve at room temperature or slightly warm for the best texture and flavor.
Easy Gluten Free Red Velvet Brownies
Ingredients
- 1 cup gluten-free flour (I always use King Arthur Measure for Measure for the best structure)
- 1/4 tsp salt
- 1/2 tsp baking powder
- 1/3 cup cocoa powder
- 1/2 cup butter (I like Kerrygold unsalted butter for this)
- 2 eggs (room temperature, about 70°F)
- 1 tablespoon vanilla extract
- 1/2 cup sugar
- 3 tbsp water
- 3/4 cup brown sugar (packed firmly for a fudgier texture)
- 1.5 oz red food color
Instructions
- Preheat your oven to 350°F. While it heats, grease a 9x13 inch baking dish (or 8x8 for thicker brownies) with butter or cooking spray, making sure to coat the bottom and all sides evenly. This prevents sticking and ensures clean edges when you cut the finished brownies.
- In a medium bowl, whisk together the gluten-free flour, salt, baking powder, and cocoa powder. Whisk thoroughly for about 30 seconds to ensure the leavening and cocoa are evenly distributed throughout the flour—this is crucial for gluten-free baking to achieve proper structure and consistent texture. Set this dry mixture aside.
- In a large bowl, melt the butter over low heat or let it soften to room temperature, then add the room-temperature eggs one at a time, stirring well after each addition. Pour in the vanilla extract, then add both sugars and the red food color, stirring until everything is well combined and the color is evenly distributed throughout the batter. I like to use Kerrygold unsalted butter here because it adds a subtle richness that complements the chocolate and red velvet flavor beautifully.
- Add the dry ingredient mixture from Step 2 to the wet mixture, stirring just until combined—don't overmix. Pour in the water and stir until the batter is smooth and no dry streaks remain. The water adds moisture to compensate for the gluten-free flour's tendency to absorb liquid differently, creating that fudgy texture we're after. I find that packing the brown sugar firmly gives the brownies an extra-moist, fudgier crumb.
- Pour the batter into your prepared pan from Step 1, spreading it evenly into all corners with a spatula. Bake at 350°F for 30–35 minutes, until a toothpick inserted into the center comes out with a few moist crumbs—you don't want it completely clean, as that means overbaked brownies. The edges should look set while the center may still look slightly underdone; it will continue to cook as it cools.
- Remove the brownies from the oven and let them cool in the pan for at least 15–20 minutes before cutting. This cooling time allows the structure to set properly, making them easier to slice cleanly. Cut into squares and serve at room temperature or slightly warm for the best texture and flavor.


