If you ask me, the Instant Pot is one of the best tools for getting dinner on the table fast.
These bone-in, skin-on chicken thighs come out tender and juicy every time, with a simple spice blend that brings out all the right flavors. Paprika, oregano, and garlic work together to create something really tasty.
The chicken cooks under pressure with just a cup of water, then you turn those pan drippings into a quick gravy with a little cornstarch slurry. A bit of butter adds richness that makes the whole dish feel special.
It’s a simple weeknight meal that doesn’t take much effort, perfect for when you need something reliable and satisfying.

Why You’ll Love These Instant Pot Chicken Thighs
- Ready in under 30 minutes – From start to finish, you’ll have juicy chicken thighs on the table faster than ordering takeout.
- Foolproof and forgiving – The Instant Pot keeps the chicken moist and tender every single time, so you don’t have to worry about overcooking or drying out the meat.
- Simple pantry ingredients – You probably already have everything you need in your kitchen right now—no special trips to the store required.
- Minimal cleanup – Everything cooks in one pot, which means less time scrubbing dishes and more time enjoying your meal.
- Perfect for meal prep – Make a batch at the beginning of the week and use the chicken in salads, wraps, or bowls for quick lunches and dinners.
What Kind of Chicken Thighs Should I Use?
You can use either bone-in or boneless chicken thighs for this recipe, though bone-in thighs tend to stay a bit more juicy during pressure cooking. Skin-on thighs will give you more flavor, but if you’re watching calories or prefer a leaner option, skinless works just fine too. Fresh chicken thighs are ideal, but frozen ones will work in a pinch – just add about 5 extra minutes to your cooking time and make sure they’re not stuck together in a frozen clump. When shopping, look for thighs that are pink in color without any gray spots, and if you’re going with skin-on, make sure the skin looks intact and not slimy.

Options for Substitutions
This recipe is pretty straightforward, but here are some swaps you can make if needed:
- Chicken thighs: You can use chicken breasts instead, but reduce the cooking time by a few minutes since breasts cook faster and can dry out more easily. Bone-in thighs work too – just add 2-3 extra minutes to the cooking time.
- Butter: If you’re out of butter or want to keep it dairy-free, just use an extra tablespoon of olive oil instead.
- Fresh garlic: No fresh garlic? Use 1/4 teaspoon of garlic powder as a substitute. It won’t be quite as punchy, but it’ll still give you that garlic flavor.
- Paprika: Regular paprika works great, but you can swap it with smoked paprika for a deeper, smokier taste. You could also try chili powder if you want a bit of heat.
- Cornstarch: For thickening the sauce, you can use flour instead – just use 2 tablespoons mixed with cold water. Arrowroot powder also works in a 1:1 ratio with cornstarch.
Watch Out for These Mistakes While Cooking
The biggest mistake when making Instant Pot chicken thighs is skipping the searing step or not getting the pot hot enough – those few minutes of browning create a flavorful crust and deeper taste that you can’t get any other way. Another common error is forgetting to scrape the bottom of the pot after searing, which can trigger the dreaded “burn” notice and stop your cooking in its tracks, so make sure to get all those browned bits off with your cup of water. Don’t rush the natural pressure release either – opening the valve too early can make your chicken thighs tough and dry instead of tender and juicy. For extra crispy skin, try placing the cooked thighs under the broiler for 2-3 minutes after they’re done, which gives you that restaurant-quality finish.
What to Serve With Chicken Thighs?
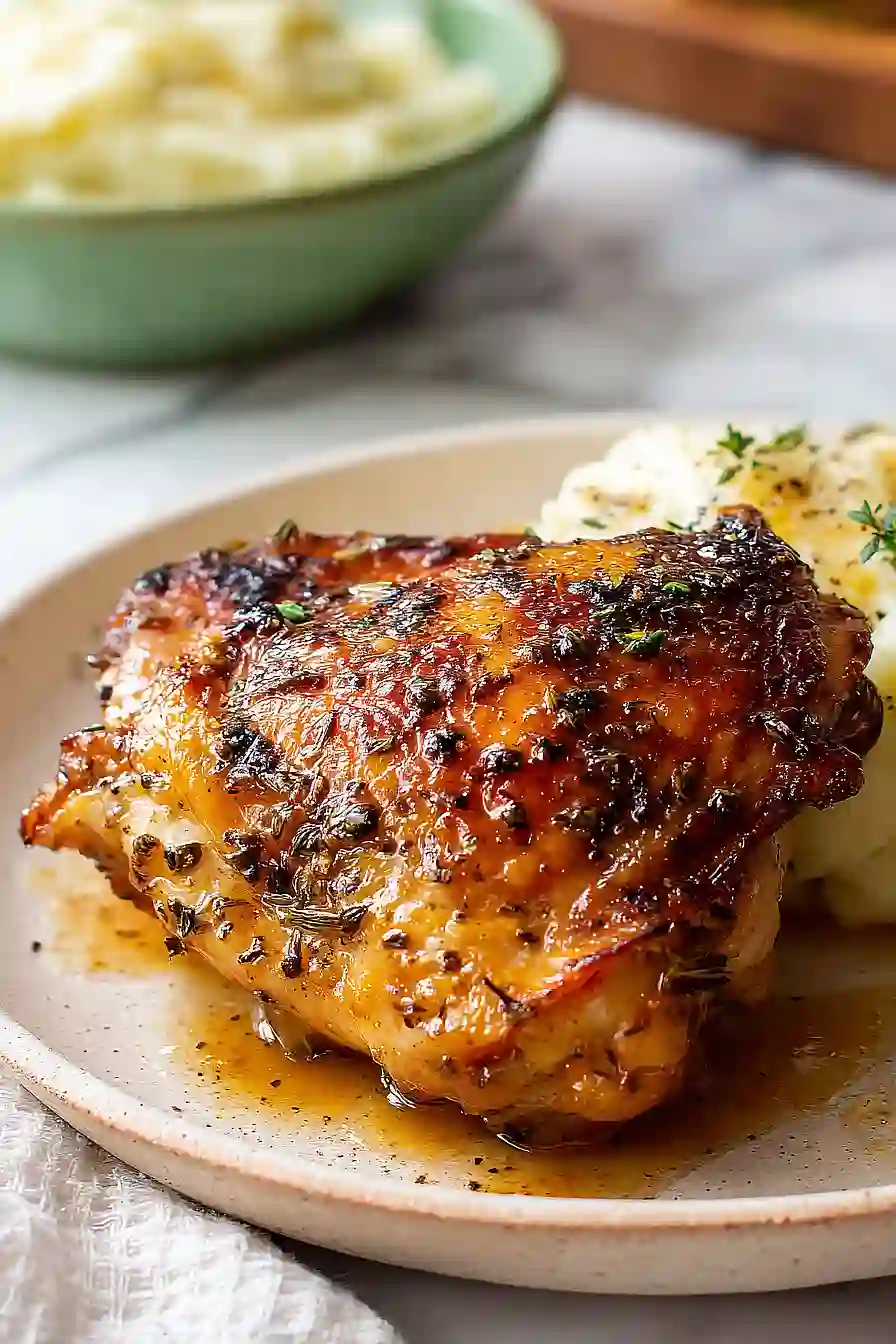
These juicy chicken thighs pair beautifully with just about any side dish you’re craving. I love serving them over fluffy white rice or creamy mashed potatoes, which soak up all those delicious pan juices. For a lighter option, roasted vegetables like broccoli, green beans, or Brussels sprouts make a great match with the savory flavors of the chicken. You could also go with a simple side salad, some buttered egg noodles, or even toss the chicken with pasta and extra sauce for a complete meal.
Storage Instructions
Store: Keep your leftover chicken thighs in an airtight container in the fridge for up to 4 days. I like to store the chicken and sauce together so the meat stays moist and flavorful. They make great leftovers for quick lunches or easy weeknight dinners.
Freeze: These chicken thighs freeze really well for up to 3 months. Let them cool completely, then store in a freezer-safe container or bag with the sauce. I recommend portioning them out before freezing so you can thaw just what you need.
Reheat: Warm up your chicken thighs in the microwave on medium power for a few minutes, or heat them gently on the stovetop with a splash of water or broth to keep them from drying out. If reheating from frozen, let them thaw in the fridge overnight first for best results.
| Preparation Time | 10-15 minutes |
| Cooking Time | 15-20 minutes |
| Total Time | 25-35 minutes |
| Level of Difficulty | Medium |
| Servings | 4 servings |
Estimated Nutrition
Estimated nutrition for the whole recipe (without optional ingredients):
- Calories: 700-800
- Protein: 55-65 g
- Fat: 50-60 g
- Carbohydrates: 8-10 g
Ingredients
For the chicken:
- 4 chicken thighs (bone-in and skin-on for maximum juiciness)
- 1.5 tsp salt
- 0.75 tsp black pepper
- 1 tsp paprika
- 1 tsp oregano
- 0.5 tsp onion powder
- 1.5 tbsp olive oil
- 1.5 tbsp butter (I like Kerrygold unsalted butter for this)
- 1.5 tsp garlic (freshly minced for best flavor)
- 1 cup water
For the gravy:
- 1 tbsp cornstarch (I use Argo for a smooth, lump-free thicken)
- 1/4 cup water (must be cold to prevent the starch from clumping)
Step 1: Prepare Chicken and Build Your Spice Blend
- 4 chicken thighs
- 1.5 tsp salt
- 0.75 tsp black pepper
- 1 tsp paprika
- 1 tsp oregano
- 0.5 tsp onion powder
Trim any excess fat or skin flaps from the chicken thighs, then pat them dry with paper towels—this helps the skin brown properly.
In a small bowl, combine salt, black pepper, paprika, oregano, and onion powder.
Generously season both sides of each chicken thigh with this spice mixture, making sure to coat the skin evenly.
I like to season the chicken a few minutes before cooking so the flavors can start to penetrate the meat.
Step 2: Sear the Chicken to Build Flavor
- 1.5 tbsp olive oil
- 1.5 tbsp butter
- Seasoned chicken thighs from Step 1
Set your Instant Pot to sauté mode and let it preheat for 2-3 minutes until the bottom shows a heat indicator.
Add the olive oil and butter, swirling together until the butter is melted and foaming.
Place the chicken thighs skin-side down and let them cook undisturbed for 2-3 minutes until the skin is golden and crispy.
Flip each thigh and cook the other side for 1 minute to lightly brown the flesh, then transfer the chicken to a clean plate and turn off the sauté function.
Step 3: Deglaze the Pot and Build the Cooking Liquid
- 1 cup water
- 1.5 tsp garlic
- Seared chicken thighs from Step 2
Pour the 1 cup of water into the pot and use a wooden spoon or spatula to scrape up all the browned bits (called fond) stuck to the bottom—this is pure flavor that will enrich your sauce.
Add the freshly minced garlic and stir it into the liquid, letting it bloom for a few seconds in the residual heat.
Place the trivet (metal rack) into the pot, then arrange the seared chicken thighs skin-side up on top of the trivet so they sit above the liquid and steam gently.
Step 4: Pressure Cook the Chicken
Close the lid of your Instant Pot and make sure the valve is set to the sealing position.
Press manual (or pressure cook) and set the timer for 12 minutes on high pressure.
The pot will take a few minutes to build pressure before the timer starts counting down.
Once the cooking time is complete, allow the pressure to release naturally for 5 minutes—this keeps the chicken moist and tender—then carefully turn the valve to venting and let any remaining steam escape.
Step 5: Remove Chicken and Thicken the Sauce
- Cooked chicken from Step 4
- 1 tbsp cornstarch
- 1/4 cup cold water
Carefully remove the chicken thighs and place them on a serving platter to rest for a few minutes—this helps the juices redistribute throughout the meat and keeps it incredibly juicy.
Pour the cooking liquid from the pot into a measuring cup (you should have about 1 cup); set the Instant Pot back to sauté mode.
In a small bowl, whisk together the cornstarch and cold water until completely smooth with no lumps—I always use cold water for the cornstarch because hot water will cause it to clump immediately.
Slowly pour the cornstarch mixture into the simmering liquid while stirring constantly until the sauce thickens into a smooth, glossy consistency, about 2-3 minutes.
Step 6: Serve and Enjoy
- Rested chicken from Step 5
- Thickened sauce from Step 5
Pour the thickened sauce over the rested chicken thighs and serve immediately while everything is warm.
The combination of tender, juicy chicken with crispy skin and rich, savory sauce makes for an incredibly satisfying meal.

Easy Instant Pot Chicken Thighs
Ingredients
For the chicken::
- 4 chicken thighs (bone-in and skin-on for maximum juiciness)
- 1.5 tsp salt
- 0.75 tsp black pepper
- 1 tsp paprika
- 1 tsp oregano
- 0.5 tsp onion powder
- 1.5 tbsp olive oil
- 1.5 tbsp butter (I like Kerrygold unsalted butter for this)
- 1.5 tsp garlic (freshly minced for best flavor)
- 1 cup water
For the gravy::
- 1 tbsp cornstarch (I use Argo for a smooth, lump-free thicken)
- 1/4 cup water (must be cold to prevent the starch from clumping)
Instructions
- Trim any excess fat or skin flaps from the chicken thighs, then pat them dry with paper towels—this helps the skin brown properly. In a small bowl, combine salt, black pepper, paprika, oregano, and onion powder. Generously season both sides of each chicken thigh with this spice mixture, making sure to coat the skin evenly. I like to season the chicken a few minutes before cooking so the flavors can start to penetrate the meat.
- Set your Instant Pot to sauté mode and let it preheat for 2-3 minutes until the bottom shows a heat indicator. Add the olive oil and butter, swirling together until the butter is melted and foaming. Place the chicken thighs skin-side down and let them cook undisturbed for 2-3 minutes until the skin is golden and crispy. Flip each thigh and cook the other side for 1 minute to lightly brown the flesh, then transfer the chicken to a clean plate and turn off the sauté function.
- Pour the 1 cup of water into the pot and use a wooden spoon or spatula to scrape up all the browned bits (called fond) stuck to the bottom—this is pure flavor that will enrich your sauce. Add the freshly minced garlic and stir it into the liquid, letting it bloom for a few seconds in the residual heat. Place the trivet (metal rack) into the pot, then arrange the seared chicken thighs skin-side up on top of the trivet so they sit above the liquid and steam gently.
- Close the lid of your Instant Pot and make sure the valve is set to the sealing position. Press manual (or pressure cook) and set the timer for 12 minutes on high pressure. The pot will take a few minutes to build pressure before the timer starts counting down. Once the cooking time is complete, allow the pressure to release naturally for 5 minutes—this keeps the chicken moist and tender—then carefully turn the valve to venting and let any remaining steam escape.
- Carefully remove the chicken thighs and place them on a serving platter to rest for a few minutes—this helps the juices redistribute throughout the meat and keeps it incredibly juicy. Pour the cooking liquid from the pot into a measuring cup (you should have about 1 cup); set the Instant Pot back to sauté mode. In a small bowl, whisk together the cornstarch and cold water until completely smooth with no lumps—I always use cold water for the cornstarch because hot water will cause it to clump immediately. Slowly pour the cornstarch mixture into the simmering liquid while stirring constantly until the sauce thickens into a smooth, glossy consistency, about 2-3 minutes.
- Pour the thickened sauce over the rested chicken thighs and serve immediately while everything is warm. The combination of tender, juicy chicken with crispy skin and rich, savory sauce makes for an incredibly satisfying meal.


