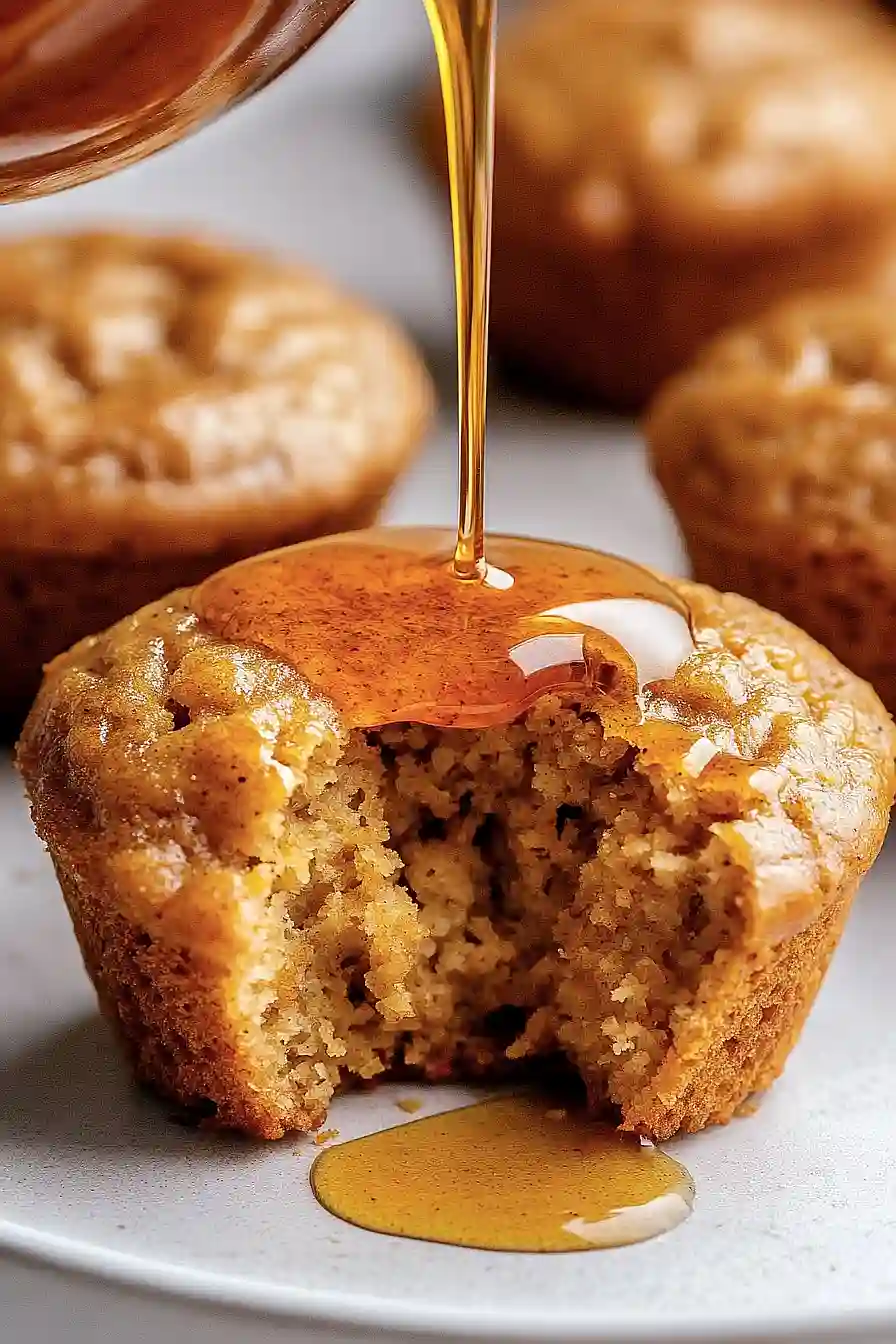
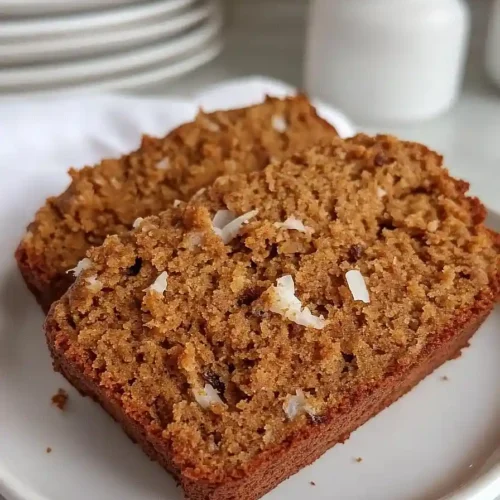
Here is my go-to pumpkin lactation bread recipe, packed with wholesome ingredients like oats, flaxseed, and pumpkin puree that are known to help support milk supply for nursing moms.
This bread has been a lifesaver during my breastfeeding days with both kids. It’s moist, lightly spiced, and makes the perfect snack when you need something nutritious and filling. Plus, it freezes really well, so you can make a batch ahead of time!
Why You’ll Love This Pumpkin Lactation Bread
- Breastfeeding support – Packed with galactagogue ingredients like oatmeal and flax meal that may help support milk production for nursing moms.
- Gluten-free friendly – Made with gluten-free flour, so it works perfectly for moms with dietary restrictions or sensitivities.
- Naturally sweetened – Uses coconut sugar instead of refined sugar, giving you a healthier treat that still satisfies your sweet tooth.
- Quick and easy – Ready in just over an hour with simple mixing and baking – perfect for busy new moms who need nutritious snacks on hand.
- Wholesome ingredients – Loaded with pumpkin, oats, and coconut that provide good nutrition while tasting like a cozy fall dessert.
What Kind of Pumpkin Should I Use?
For this lactation bread, canned pumpkin puree is your best bet and what most recipes call for when they just say “pumpkin.” Make sure you’re grabbing plain pumpkin puree, not pumpkin pie filling which already has spices and sugar added. Libby’s is a popular brand that works well, but any pure pumpkin puree will do the trick. If you want to use fresh pumpkin, you can roast and puree your own, but honestly, canned pumpkin is more convenient and gives consistent results every time. Just give the can a good stir before measuring since the puree can separate a bit.
Options for Substitutions
This nourishing bread recipe is pretty adaptable, so here are some swaps you can make:
- Gluten free flour: If you don’t need gluten-free, regular all-purpose flour works perfectly. You can also try almond flour or oat flour, though you might need to adjust the liquid slightly.
- Ground flax meal: This is key for the lactation benefits, but if you don’t have it, chia seeds work well too. Grind them up or use them whole – both add similar nutritional value.
- Coconut sugar: Brown sugar, maple syrup, or honey can replace coconut sugar. If using liquid sweeteners like maple syrup, reduce the coconut milk by a tablespoon or two.
- Coconut oil: Melted butter, vegetable oil, or even mashed banana can work here. If using banana, you’ll get extra moisture and natural sweetness.
- Coconut milk: Any milk works – dairy milk, almond milk, or oat milk are all good options.
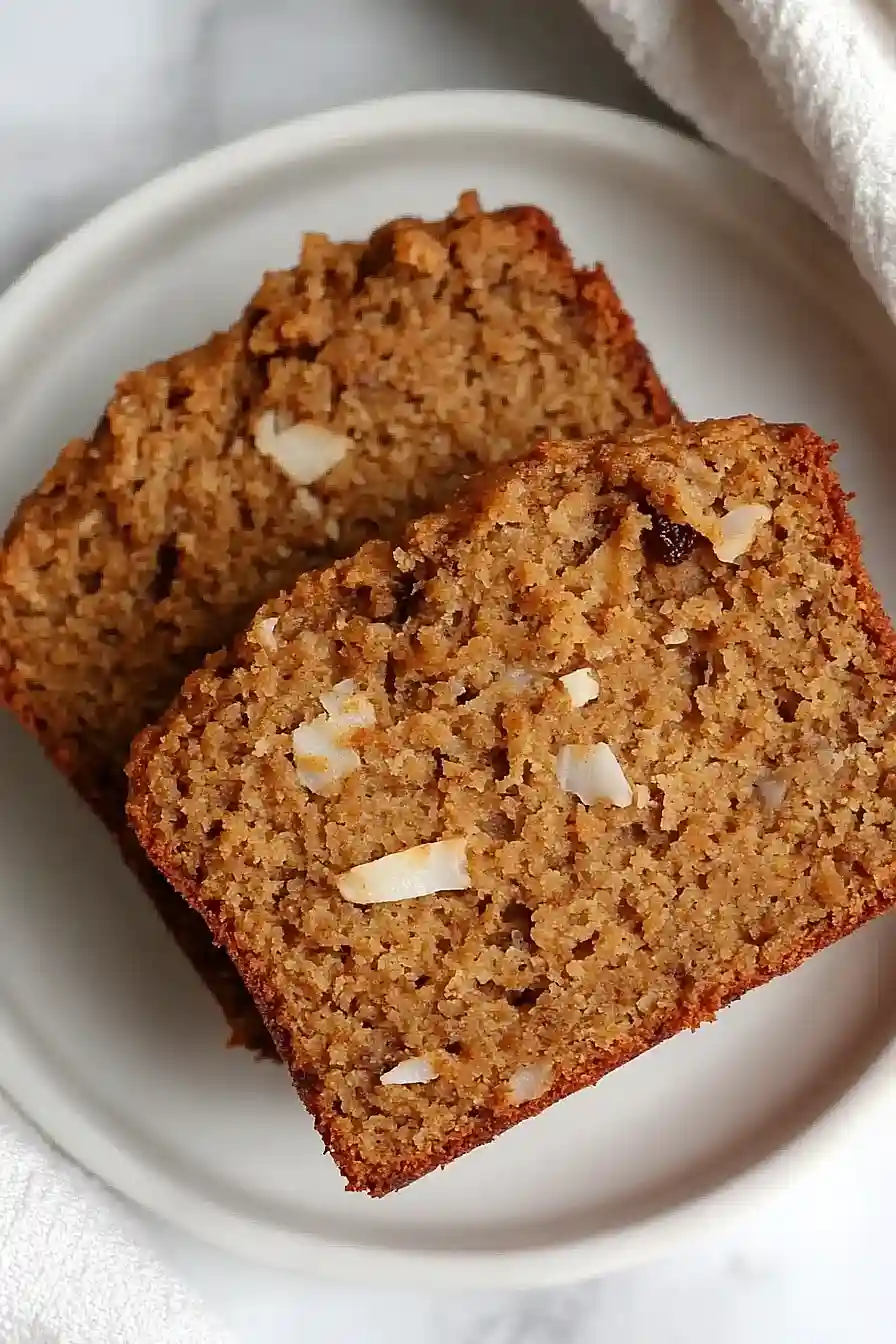
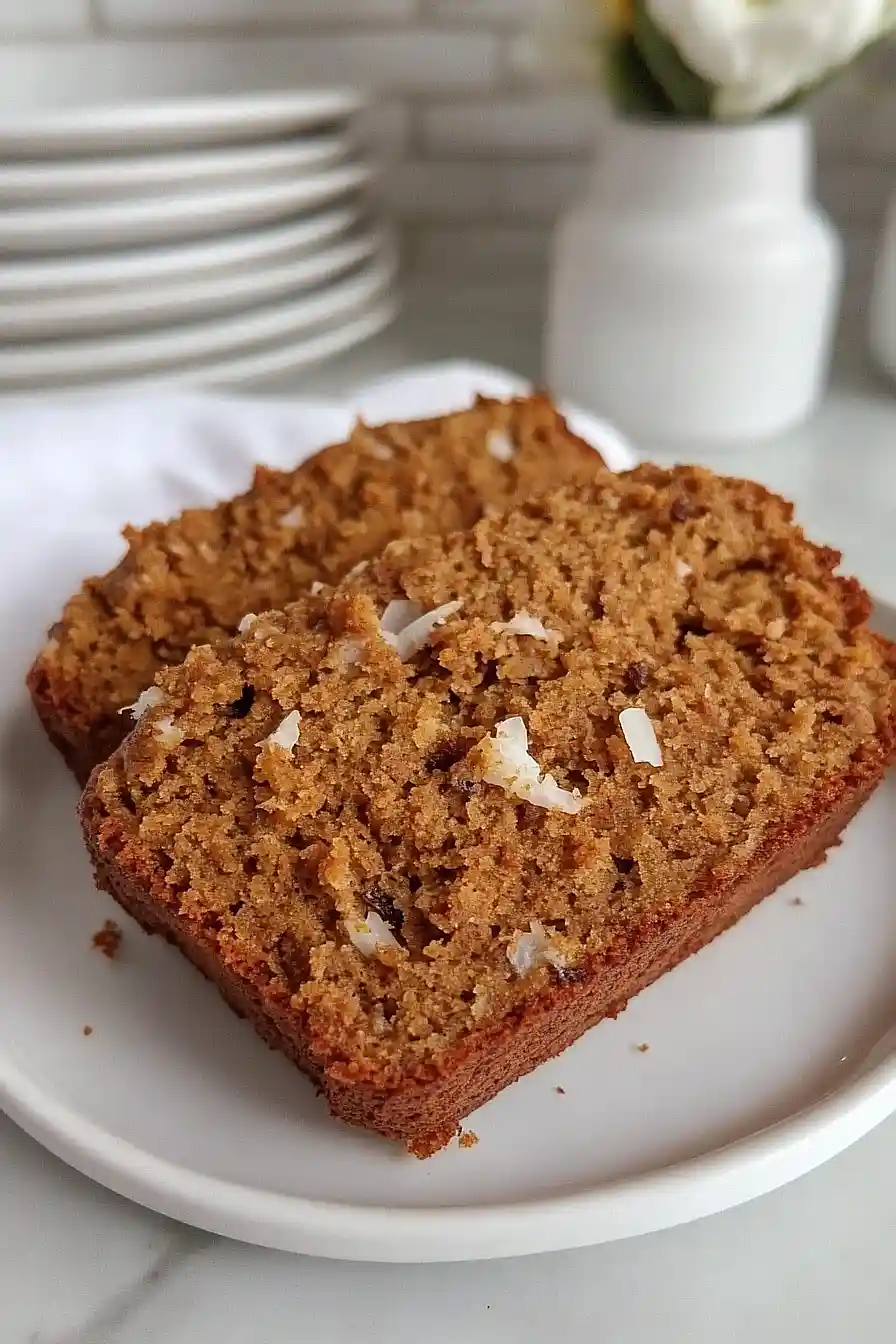
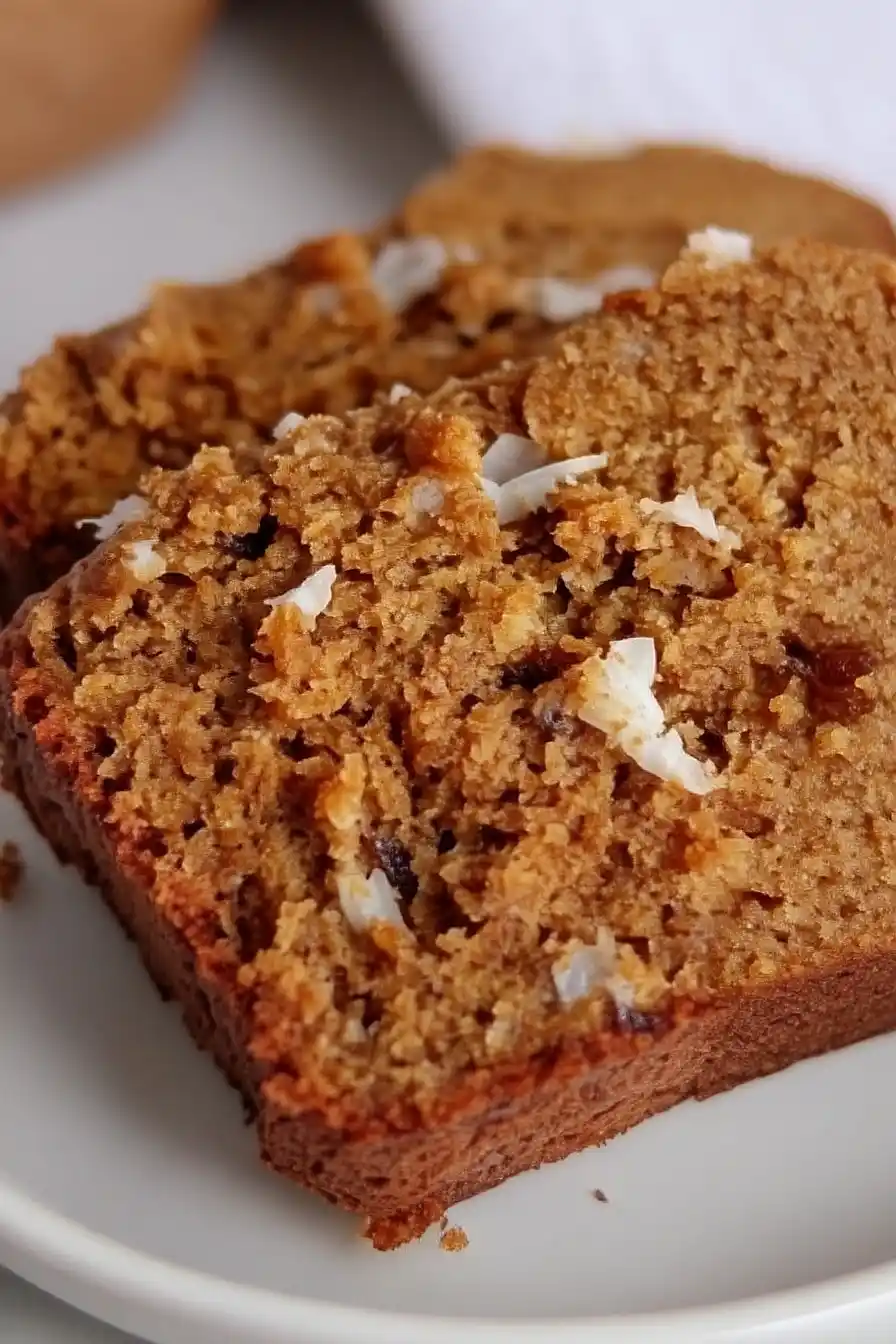
- Raisins: Swap these for dried cranberries, chopped dates, or mini chocolate chips if you want something different.
- Oatmeal: This ingredient supports milk production, so try to keep it if possible. Quick oats or rolled oats both work fine.
Watch Out for These Mistakes While Baking
The biggest mistake when baking with gluten-free flour is overmixing the batter, which can lead to a dense, gummy texture – mix just until the ingredients are combined and no dry flour remains visible.
Another common error is not measuring your wet ingredients accurately, especially the canned pumpkin, since too much moisture will prevent the bread from setting properly and leave you with a soggy center.
To avoid dry, crumbly bread, make sure your coconut oil is melted but not hot when you add it to the mixture, and don’t skip the resting time after mixing – letting the batter sit for 5-10 minutes allows the oat flour to hydrate properly.
Finally, resist the urge to open the oven door during the first 45 minutes of baking, as gluten-free breads are more sensitive to temperature changes and can collapse if disturbed too early.
What to Serve With Pumpkin Lactation Bread?
This hearty pumpkin bread is perfect for breakfast or an afternoon snack, and it pairs beautifully with a warm cup of coffee or herbal tea. I love spreading a little almond butter or cream cheese on a slice for extra protein and creaminess that complements the pumpkin flavors. You can also serve it alongside a bowl of Greek yogurt topped with fresh berries for a more filling meal. Since it’s already packed with oats and flax, it makes a great on-the-go breakfast when wrapped up with a piece of fruit like a banana or apple.
Storage Instructions
Keep Fresh: This pumpkin lactation bread stays moist and delicious when wrapped tightly in plastic wrap or stored in an airtight container at room temperature for up to 3 days. You can also keep it in the fridge for up to a week if you prefer it chilled, which I actually love on warm days!
Freeze: I always make extra loaves to freeze because this bread is perfect for busy nursing moms. Wrap individual slices or whole loaves tightly in plastic wrap, then place in freezer bags for up to 3 months. It’s so convenient to have ready-made lactation support snacks on hand!
Enjoy: Thaw frozen slices at room temperature for about 30 minutes, or pop them straight from the freezer into the toaster for a quick warm-up. The oatmeal and flax meal make this bread even better the next day as the flavors meld together beautifully.
| Preparation Time | 15-20 minutes |
| Cooking Time | 45-55 minutes |
| Total Time | 60-75 minutes |
| Level of Difficulty | Medium |
Estimated Nutrition
Estimated nutrition for the whole recipe (without optional ingredients):
- Calories: 2000-2200
- Protein: 32-38 g
- Fat: 75-85 g
- Carbohydrates: 320-340 g
Ingredients
For the dry base:
- 2 cups gluten-free flour blend
- 1 cup rolled oats
- 1/2 cup coconut sugar
- 2 tbsp ground flaxseed
- 1 tbsp baking powder
- 1/2 tbsp pumpkin pie spice
- 1/2 tsp sea salt
For the wet ingredients:
- 1 can pumpkin puree
- 2 large eggs
- 1/3 cup coconut oil
- 1/4 cup unsweetened coconut milk
For the mix-ins and topping:
- 1/2 cup raisins
- 1/4 cup unsweetened coconut flakes
Step 1: Prepare Ingredients and Preheat Oven
- 1/3 cup coconut oil (for greasing, if not using parchment paper)
Preheat your oven to 400°F (200°C).
This will ensure it reaches the right temperature by the time your batter is ready.
While the oven is preheating, gather all your ingredients and line a 9 x 5 x 2-1/2 inch loaf pan with parchment paper, or grease it lightly with coconut oil or cooking spray.
Step 2: Combine Dry Ingredients
- 2 cups gluten-free flour blend
- 1 cup rolled oats
- 2 tbsp ground flaxseed
- 1/2 cup coconut sugar
- 1 tbsp baking powder
- 1/2 tbsp pumpkin pie spice
- 1/2 tsp sea salt
In a large mixing bowl, combine the gluten-free flour blend, rolled oats, ground flaxseed, coconut sugar, baking powder, pumpkin pie spice, and sea salt.
Stir these dry ingredients well to make sure everything is evenly distributed.
I always find that combining the dry ingredients first helps the loaf rise more evenly.
Step 3: Mix in Wet Ingredients
- 1 can pumpkin puree
- 2 large eggs
- 1/3 cup coconut oil
- 1/4 cup unsweetened coconut milk
Add the pumpkin puree to the bowl of dry ingredients and mix until just combined.
Next, add in the eggs, melted coconut oil, and coconut milk.
Stir well until all the ingredients are incorporated and the batter is smooth and cohesive.
Step 4: Add Mix-ins and Finish the Batter
- 1/2 cup raisins
Gently fold in the raisins into the batter until evenly distributed.
Let the finished batter rest in the bowl for 2-5 minutes, allowing the oats and flaxseed to absorb some moisture and the batter to come together.
I like to let the batter rest; it gives the bread a great texture.
Step 5: Transfer to Pan and Top with Coconut Flakes
- batter from Step 4
- 1/4 cup unsweetened coconut flakes
Pour the rested batter into your prepared loaf pan and spread it out evenly.
Sprinkle the unsweetened coconut flakes evenly over the top, then use a spatula to gently press them into the surface of the batter so they adhere during baking.
Step 6: Bake the Pumpkin Loaf
- assembled loaf from Step 5
Bake the loaf in the preheated oven for 45-55 minutes.
Check for doneness by inserting a toothpick into the center—if it comes out clean, the bread is ready.
If not, bake for an additional 5 minutes and check again.
Step 7: Cool and Serve
Remove the loaf from the oven and let it cool in the pan for at least 10-15 minutes before transferring to a wire rack to cool completely.
Once cooled, slice and enjoy!
For extra freshness, I sometimes wrap slices individually for grab-and-go breakfasts.
Mouthwatering Pumpkin Lactation Bread
Ingredients
For the dry base:
- 2 cups gluten-free flour blend
- 1 cup rolled oats
- 1/2 cup coconut sugar
- 2 tbsp ground flaxseed
- 1 tbsp baking powder
- 1/2 tbsp pumpkin pie spice
- 1/2 tsp sea salt
For the wet ingredients:
- 1 can pumpkin puree
- 2 large eggs
- 1/3 cup coconut oil
- 1/4 cup unsweetened coconut milk
For the mix-ins and topping:
- 1/2 cup raisins
- 1/4 cup unsweetened coconut flakes
Instructions
- Preheat your oven to 400°F (200°C). This will ensure it reaches the right temperature by the time your batter is ready. While the oven is preheating, gather all your ingredients and line a 9 x 5 x 2-1/2 inch loaf pan with parchment paper, or grease it lightly with coconut oil or cooking spray.
- In a large mixing bowl, combine the gluten-free flour blend, rolled oats, ground flaxseed, coconut sugar, baking powder, pumpkin pie spice, and sea salt. Stir these dry ingredients well to make sure everything is evenly distributed. I always find that combining the dry ingredients first helps the loaf rise more evenly.
- Add the pumpkin puree to the bowl of dry ingredients and mix until just combined. Next, add in the eggs, melted coconut oil, and coconut milk. Stir well until all the ingredients are incorporated and the batter is smooth and cohesive.
- Gently fold in the raisins into the batter until evenly distributed. Let the finished batter rest in the bowl for 2-5 minutes, allowing the oats and flaxseed to absorb some moisture and the batter to come together. I like to let the batter rest; it gives the bread a great texture.
- Pour the rested batter into your prepared loaf pan and spread it out evenly. Sprinkle the unsweetened coconut flakes evenly over the top, then use a spatula to gently press them into the surface of the batter so they adhere during baking.
- Bake the loaf in the preheated oven for 45-55 minutes. Check for doneness by inserting a toothpick into the center—if it comes out clean, the bread is ready. If not, bake for an additional 5 minutes and check again.
- Remove the loaf from the oven and let it cool in the pan for at least 10-15 minutes before transferring to a wire rack to cool completely. Once cooled, slice and enjoy! For extra freshness, I sometimes wrap slices individually for grab-and-go breakfasts.