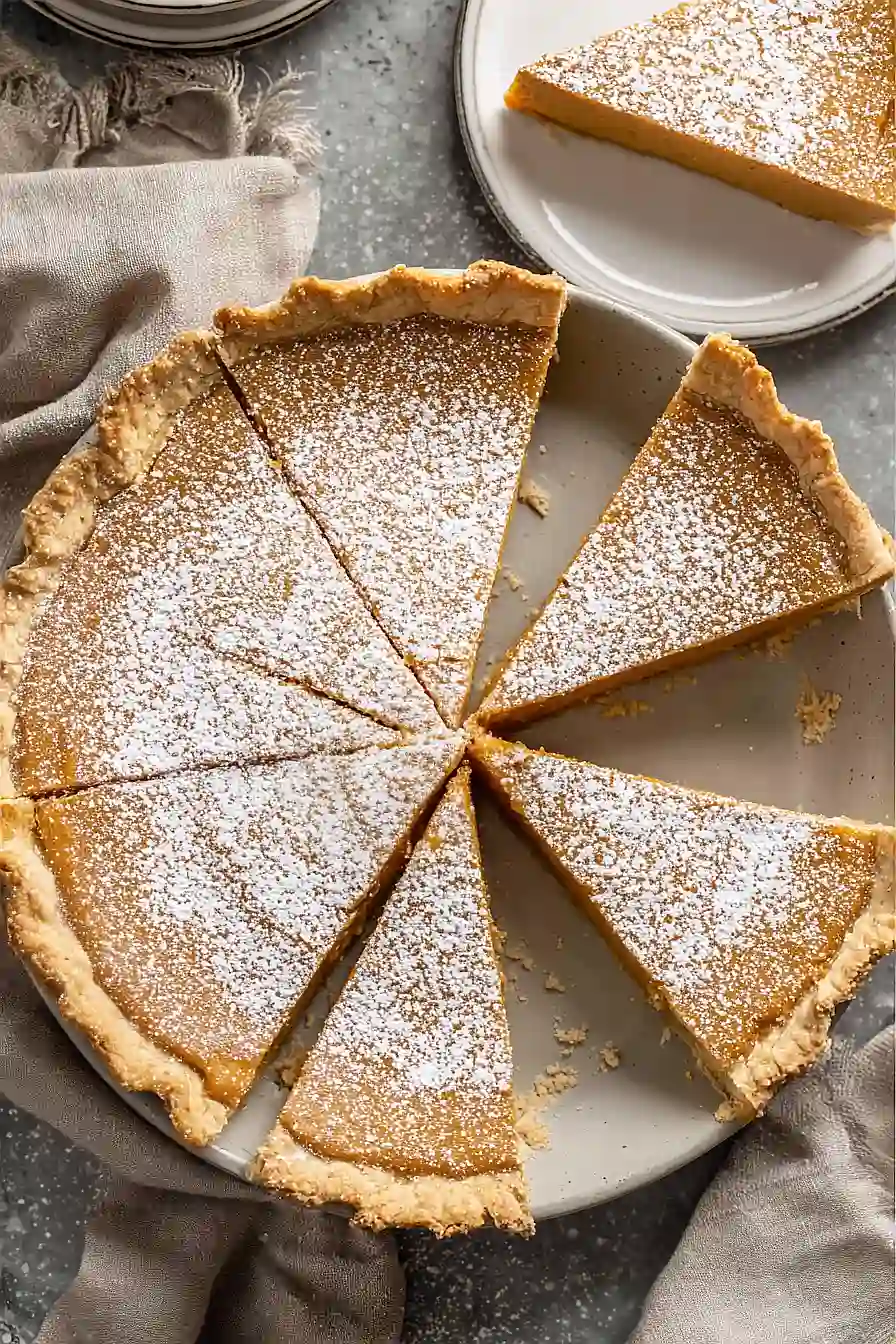
Sweet potato pie holds a special place on my holiday table. It’s the dessert that disappears first, and I always get asked for the recipe. But here’s my little secret – I use canned yams instead of fresh sweet potatoes, and nobody can tell the difference.
I started doing this a few years ago when I was running behind on Thanksgiving prep. Fresh sweet potatoes take forever to bake and cool, and I was already juggling three other pies. The canned yams saved me hours of work and gave me the same creamy, smooth filling I was after.
Now it’s become my go-to method. The texture is perfect, the flavor is just as good, and I can whip up this pie any time of year without planning ahead. Sometimes the easiest shortcuts make the best recipes.
Why You’ll Love This Sweet Potato Pie
- Quick and convenient – Using canned sweet potatoes cuts out all the roasting and peeling time, so you can have homemade pie ready in just over an hour.
- Simple pantry ingredients – Most of these items are probably already in your kitchen, making this an easy dessert to whip up without a special grocery trip.
- Perfect spice blend – The combination of cinnamon, nutmeg, and vanilla creates that classic sweet potato pie flavor that tastes just like grandma’s recipe.
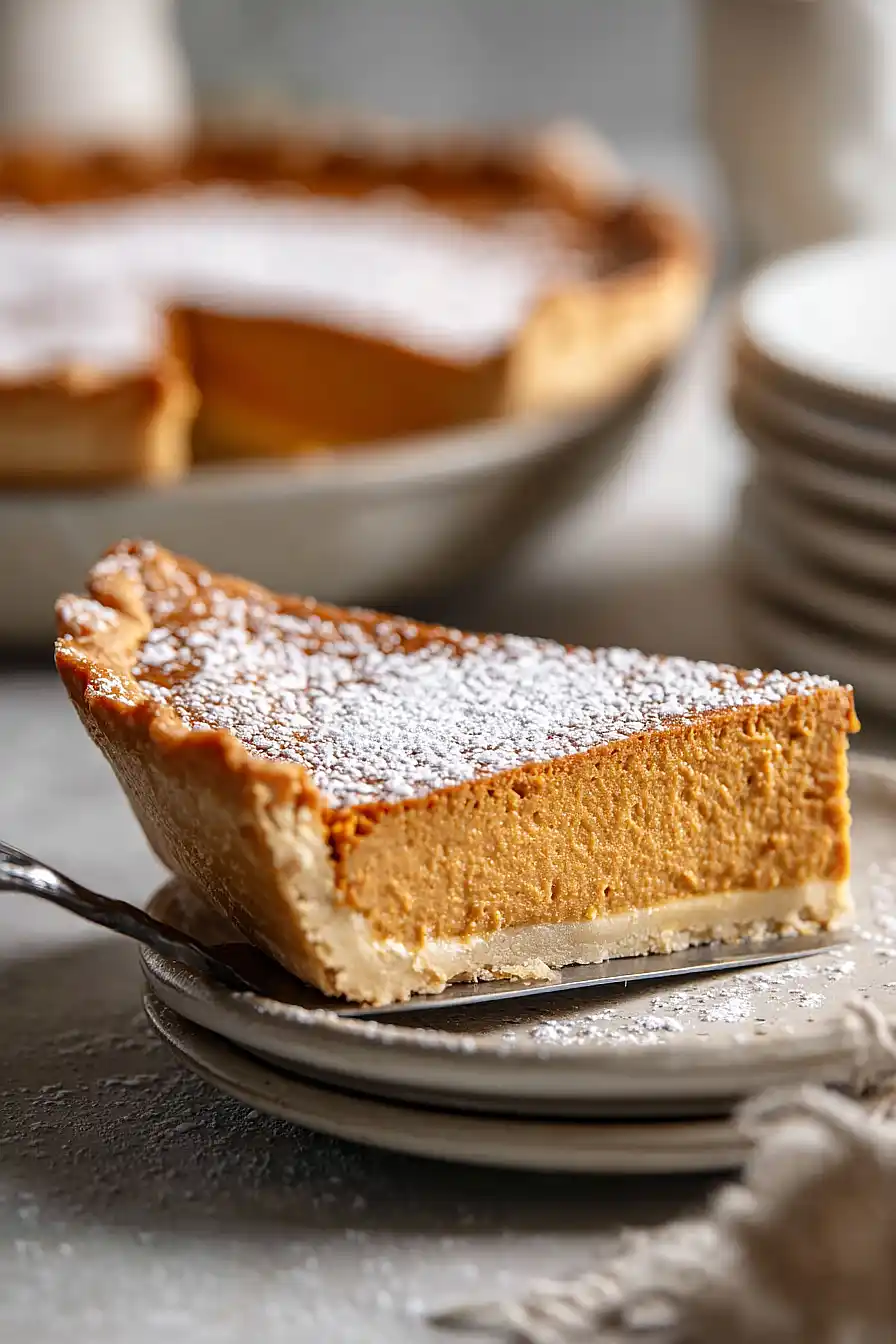
- Foolproof results – The canned sweet potatoes blend into a smooth, creamy filling that bakes up perfectly every time, even for beginner bakers.
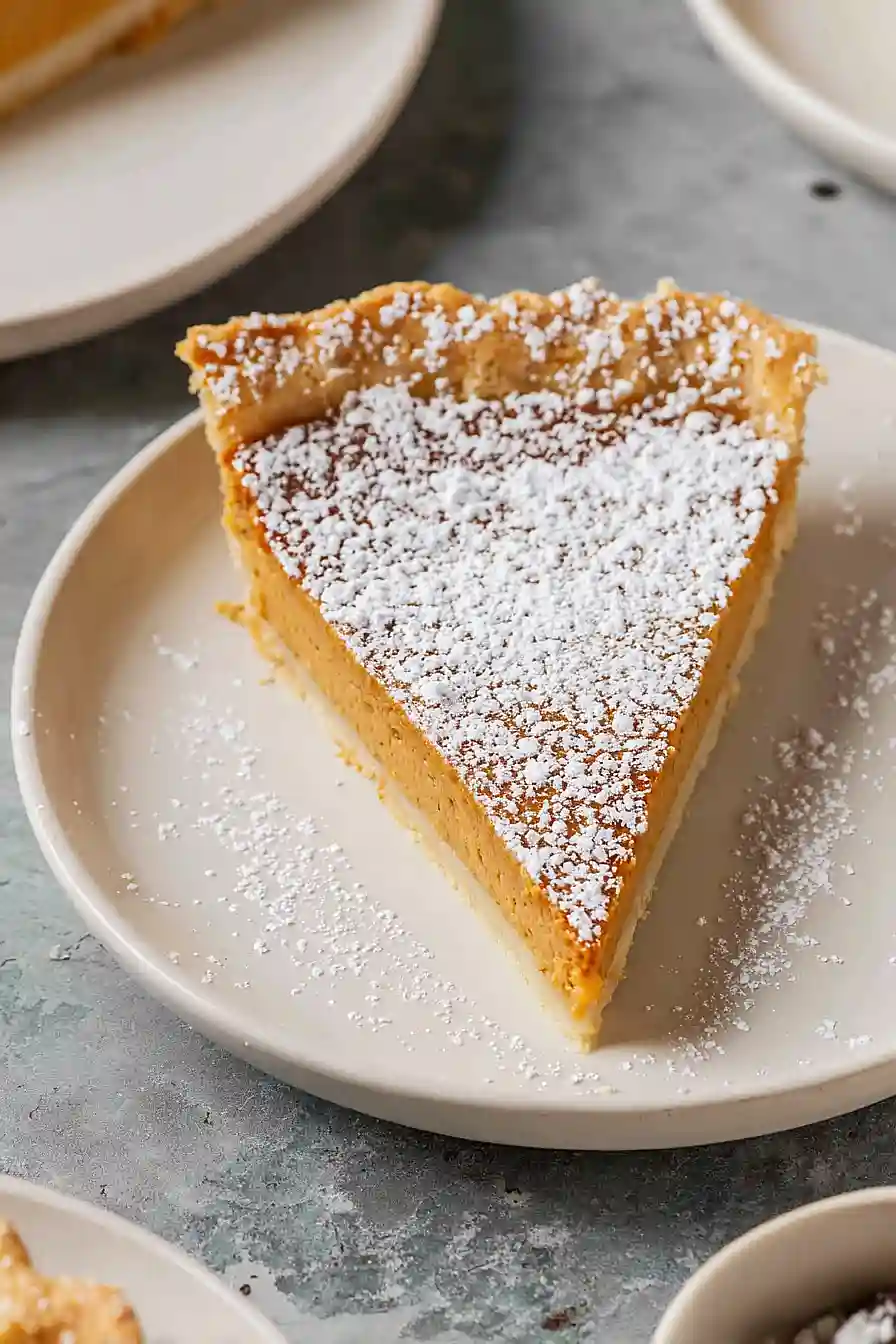
- Holiday-worthy dessert – This pie looks and tastes impressive enough for Thanksgiving dinner, but it’s easy enough to make for any weeknight treat.
What Kind of Canned Sweet Potatoes Should I Use?
For this pie, you’ll want to grab canned sweet potatoes that come in chunks with a light syrup, not the mashed variety or those packed in heavy syrup. Most grocery stores carry brands like Bruce’s or Del Monte, and either will work perfectly fine. Make sure to drain them well before using – you don’t want all that extra liquid making your pie filling too thin. If you can only find sweet potatoes in heavy syrup, just give them an extra good rinse and drain to remove some of that excess sweetness, since your pie already has plenty of sugar in the recipe.
Options for Substitutions
This sweet potato pie is pretty forgiving when it comes to swaps, so here are some options if you need them:
- Canned sweet potatoes: You can absolutely use fresh sweet potatoes instead! Roast about 2 pounds of sweet potatoes at 400°F until tender, then scoop out the flesh and mash well. Just make sure they’re completely cooled before mixing with the other ingredients.
- Frozen pie crust: A homemade crust works great too, or you can use a graham cracker crust for a different twist. If using graham cracker, reduce the baking time by about 10 minutes.
- Evaporated milk: Heavy cream or whole milk work as substitutes, though evaporated milk gives the best creamy texture. If using regular milk, the pie might be slightly less rich.
- Brown sugar: You can use all white sugar if that’s what you have, or try maple syrup (reduce to 6 tablespoons and cut back the milk slightly).
- Spices: No nutmeg? Just use extra cinnamon, or try a pinch of allspice or ginger. You can also use 1½ teaspoons of pumpkin pie spice instead of the individual spices.
- Butter: Unsalted butter works fine – just add a pinch of salt to the filling. You could also use melted coconut oil for a dairy-free option.
Watch Out for These Mistakes While Baking
The biggest mistake when making sweet potato pie with canned yams is not draining and mashing them thoroughly enough, which can leave you with a watery filling that won’t set properly – make sure to drain the syrup completely and mash until completely smooth with no lumps.
Another common error is overmixing the filling once you add the eggs, as this can create a dense, heavy texture instead of the smooth, creamy consistency you want – just mix until everything is combined.
To prevent a soggy bottom crust, place your pie on the lowest oven rack and consider blind-baking the frozen crust for 10 minutes before adding the filling, and always check for doneness by inserting a knife in the center – it should come out clean when the pie is ready.
Let the pie cool completely before slicing, as cutting into a warm pie will cause the filling to be runny and messy rather than holding its shape.
What to Serve With Sweet Potato Pie?
Sweet potato pie is perfect on its own, but a dollop of freshly whipped cream or a scoop of vanilla ice cream takes it to the next level. I love serving it alongside other classic desserts during the holidays – it pairs beautifully with pecan pie or apple crisp for a dessert spread that covers all the fall flavors. A hot cup of coffee or spiced chai tea is my go-to drink pairing since the warm spices in both complement the cinnamon and nutmeg in the pie. For something a little different, try serving small slices with a drizzle of caramel sauce or a sprinkle of toasted pecans on top.
Storage Instructions
Keep Fresh: Sweet potato pie keeps really well in the refrigerator for up to 5 days when covered with plastic wrap or foil. I actually think it tastes even better the next day after all those spices have had time to meld together. Just make sure it’s completely cooled before covering it up.
Freeze: This pie freezes like a dream for up to 3 months! Wrap it tightly in plastic wrap, then aluminum foil, or pop it in a freezer-safe container. I love making an extra pie during the holidays and stashing it away for later when I’m craving that cozy fall flavor.
Serve: For the best texture, let frozen pie thaw overnight in the fridge before serving. You can enjoy it cold straight from the fridge, or warm individual slices in the microwave for about 30 seconds. Some people love it with a dollop of whipped cream or a scoop of vanilla ice cream!
| Preparation Time | 15-20 minutes |
| Cooking Time | 50-60 minutes |
| Total Time | 65-80 minutes |
| Level of Difficulty | Easy |
Estimated Nutrition
Estimated nutrition for the whole recipe (without optional ingredients):
- Calories: 1750-1950
- Protein: 20-25 g
- Fat: 60-70 g
- Carbohydrates: 290-320 g
Ingredients
For the crust:
- 1 (9-inch) frozen pie shell (thaw for 10 minutes before filling)
For the filling:
- 2 tsp vanilla extract (pure vanilla extract recommended)
- 1 tsp ground cinnamon (freshly ground preferred)
- 2 large eggs (room temperature for better blending)
- 2 tbsp granulated sugar
- 1/4 cup melted salted butter
- 1/4 tsp ground nutmeg
- 1/2 cup evaporated milk (creates smooth, creamy texture)
- 29 oz sweet potatoes, drained (canned, I use Libby’s for consistency)
- 1/2 cup packed brown sugar (for deeper molasses flavor)
Step 1: Prepare the Pie Shell and Preheat
- 1 frozen pie shell
Remove the frozen pie shell from the freezer and let it thaw at room temperature for 10 minutes—this allows it to warm slightly and become pliable, which prevents cracking when you pour in the filling.
While the shell thaws, preheat your oven to 350°F so it reaches the proper temperature by the time you’re ready to bake.
Step 2: Blend the Filling Until Smooth
- 29 oz sweet potatoes, drained
- 1/4 cup melted salted butter
- 1/2 cup packed brown sugar
- 2 tbsp granulated sugar
- 1/2 cup evaporated milk
- 2 large eggs
- 1 tsp ground cinnamon
- 1/4 tsp ground nutmeg
- 2 tsp vanilla extract
Drain the canned sweet potatoes well and add them to a blender along with the melted butter, brown sugar, granulated sugar, evaporated milk, room-temperature eggs, cinnamon, nutmeg, and vanilla extract.
Blend on medium-high speed for 1-2 minutes until completely smooth with no lumps—the evaporated milk will create a naturally creamy, luxurious texture without needing heavy cream.
I like to use canned yams from Libby’s because they have a consistent texture that blends beautifully every time.
Step 3: Fill the Pie Shell and Bake
- filling mixture from Step 2
- thawed pie shell from Step 1
Pour the smooth filling from Step 2 into the thawed pie shell, filling it to just below the rim.
Place the pie directly on the center oven rack and bake at 350°F for 50-60 minutes.
The pie is done when the filling is set around the edges but still has a slight jiggle in the very center when you gently shake the pan—this means the custard filling is perfectly cooked and won’t be rubbery.
I let the pie bake undisturbed; if the edges start browning too quickly, you can loosely tent it with foil.
Step 4: Cool and Set
Remove the pie from the oven and let it cool at room temperature for at least 2-3 hours before slicing.
This cooling time allows the custard filling to fully set and develop its structure, ensuring clean slices instead of a runny pie.
For the best texture and flavor, serve the pie at room temperature or chilled.


