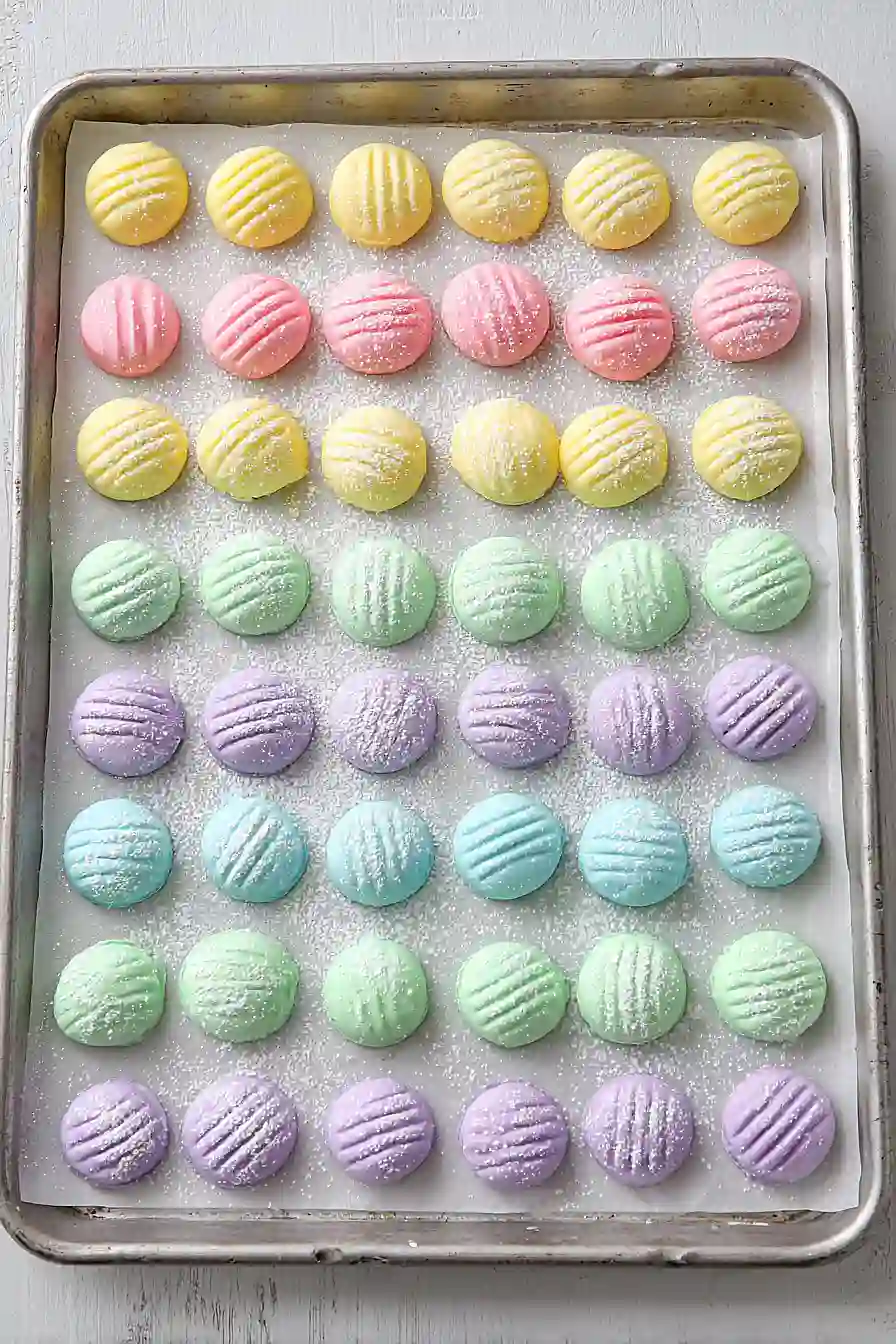
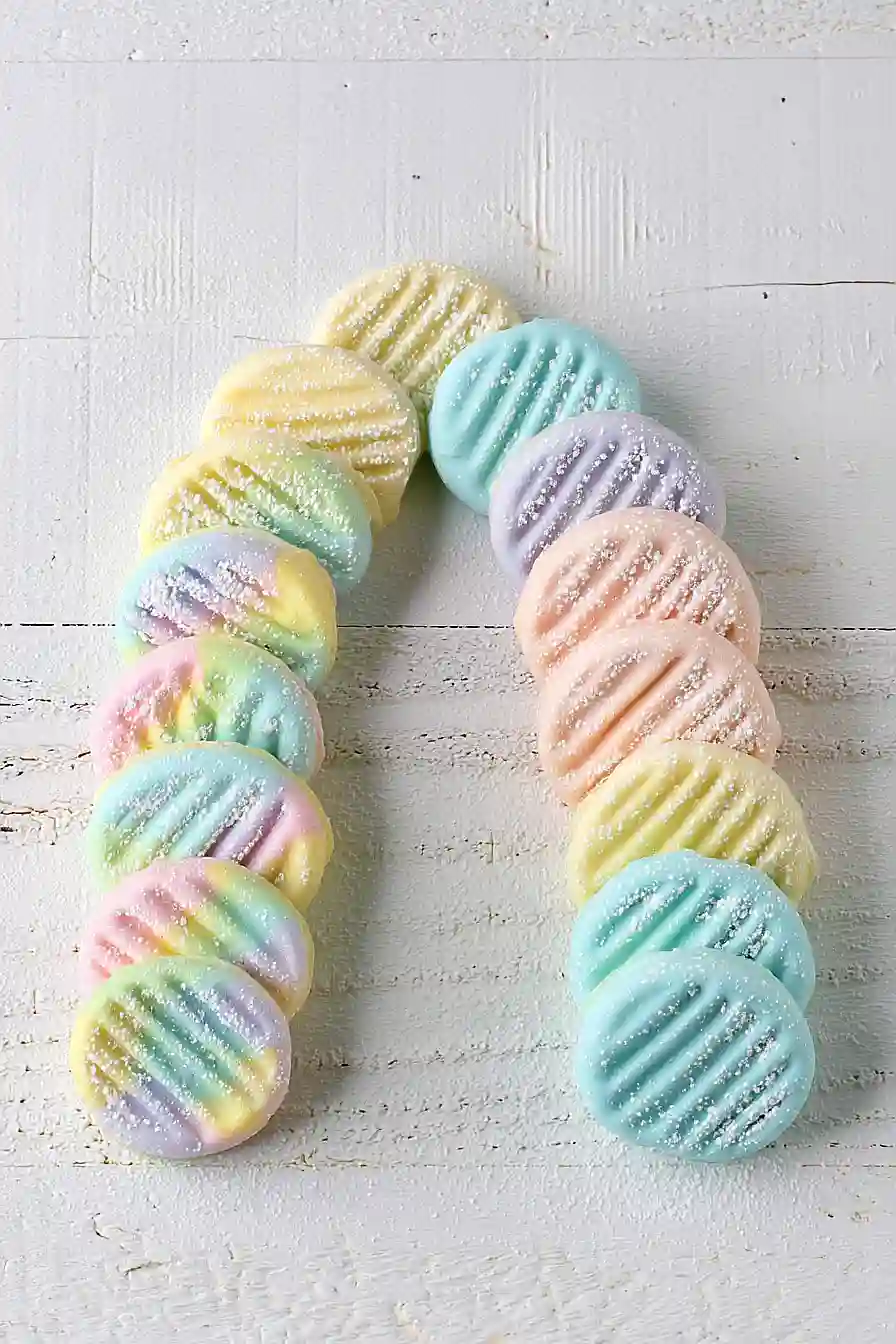
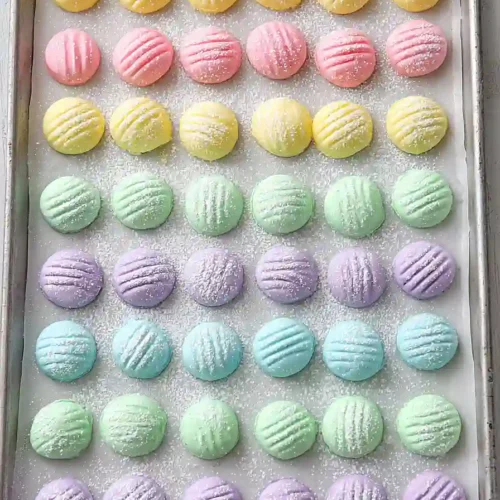
Here is my favorite old fashioned cream cheese mints recipe, with just a few simple ingredients that come together to make soft, creamy, melt-in-your-mouth mints that taste just like the ones from fancy events.
These cream cheese mints are always a hit at baby showers, weddings, and holiday gatherings. I love making them because they’re so easy but look like you spent hours in the kitchen. Plus, you can make them ahead of time and store them in the fridge until you’re ready to serve.
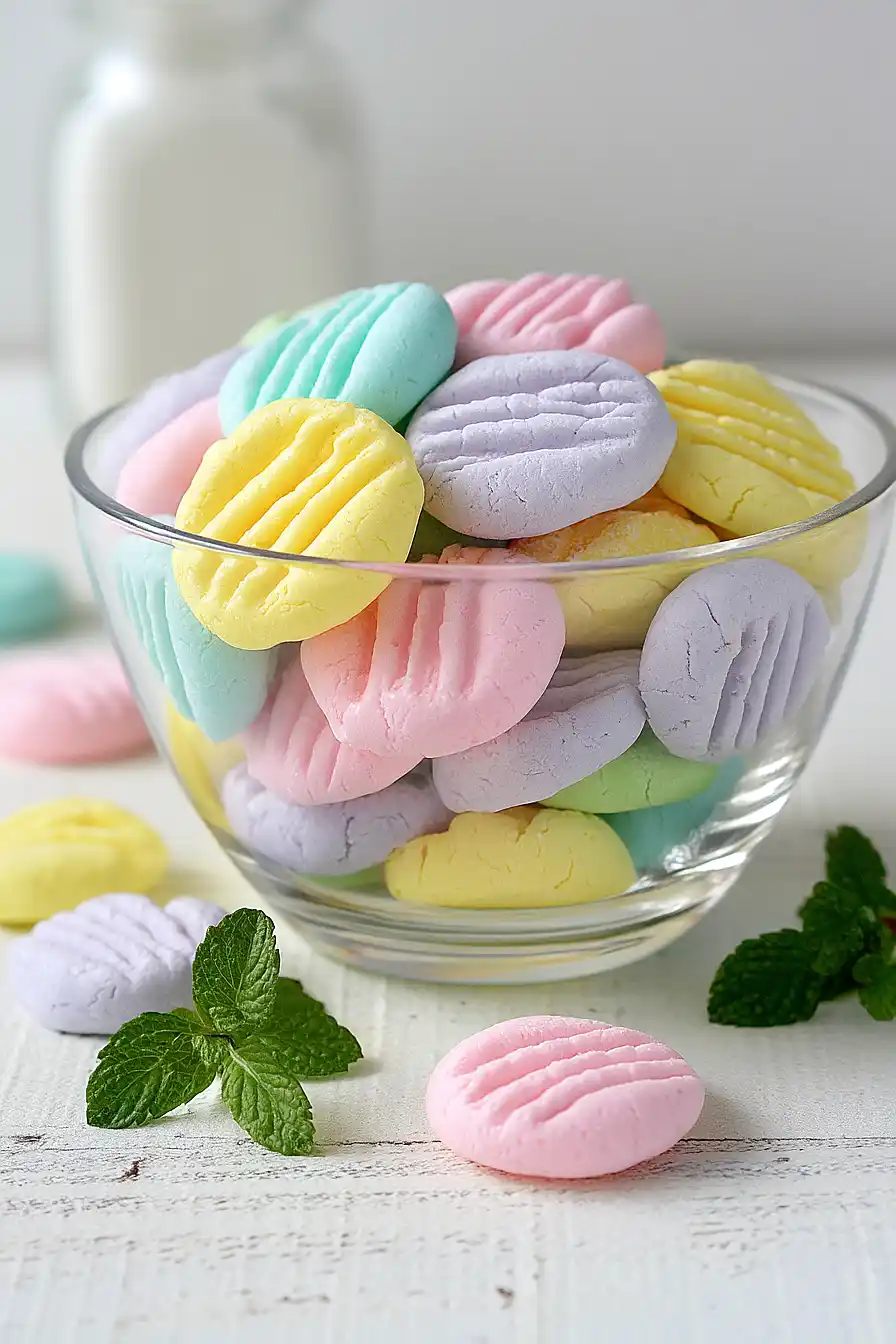
Why You’ll Love These Cream Cheese Mints
- Make-ahead convenience – These mints can be prepared days in advance and stored in the fridge, making them perfect for holiday parties or special occasions when you want to get ahead on your prep.
- Simple ingredients – You probably already have most of these pantry staples at home – just cream cheese, butter, powdered sugar, and a few extracts.
- No baking required – These old-fashioned treats come together without turning on the oven, making them a great option when you need a sweet treat but don’t want to heat up the kitchen.
- Customizable colors – Add gel food coloring to match any party theme or holiday, from pastel pink for baby showers to festive red and green for Christmas.
- Melt-in-your-mouth texture – The cream cheese and butter create these incredibly smooth, creamy mints that dissolve on your tongue just like the fancy ones from wedding receptions.
What Kind of Cream Cheese Should I Use?
For the best old fashioned cream cheese mints, you’ll want to stick with full-fat cream cheese – and this recipe specifically calls for it. The full-fat version gives you that rich, smooth texture that makes these mints so good, while low-fat or fat-free versions can make your mints grainy or too soft. Make sure your cream cheese is at room temperature before you start mixing, as cold cream cheese won’t blend well with the other ingredients and can leave you with lumps. Brand-wise, any standard cream cheese from the grocery store will work perfectly, whether it’s Philadelphia, store brand, or whatever you have on hand.
Options for Substitutions
These classic mints are pretty straightforward, but here are some swaps you can make if needed:
- Full fat cream cheese: I really recommend sticking with full fat cream cheese here – it’s what gives these mints their smooth, creamy texture. Low-fat versions will make your mints too soft and hard to work with.
- Butter: If you’re out of butter, you can use the same amount of softened margarine, though the flavor won’t be quite as rich.
- Peppermint extract: You can swap this for other extracts like almond, lemon, or orange for different flavored mints. Start with 1 teaspoon and taste-test before adding more since some extracts are stronger than others.
- Vanilla extract: This can be left out entirely if you want a stronger mint flavor, or you can replace it with more of your chosen flavoring extract.
- Confectioner’s sugar: Make sure to use powdered sugar and not granulated – there’s really no good substitute here. The powdered sugar is what creates the right texture for these mints.
- Gel food coloring: Regular liquid food coloring works too, but use it sparingly as it can make your mixture too wet. Gel coloring gives better color without affecting the texture.
Watch Out for These Mistakes While Making
The biggest mistake when making cream cheese mints is adding the powdered sugar too quickly, which can create a lumpy, difficult-to-work-with mixture – instead, add it gradually while mixing on low speed to achieve a smooth, pliable dough.
Another common error is not sifting your powdered sugar beforehand, which leads to grainy mints that don’t have that classic smooth texture you’re looking for.
Temperature matters more than you might think – if your cream cheese and butter aren’t properly softened at room temperature, you’ll end up with an uneven mixture that’s hard to roll, so plan ahead and let them sit out for about an hour before starting.
Finally, don’t skip the resting time after shaping your mints; letting them sit uncovered for 30-60 minutes helps them firm up and develop that perfect bite that makes these treats so special.
What to Serve With Cream Cheese Mints?
These little cream cheese mints are perfect for serving at baby showers, bridal showers, or any fancy tea party where you want something sweet and refreshing. They pair beautifully with other bite-sized treats like petit fours, chocolate truffles, or sugar cookies on a dessert table. I love setting them out alongside fresh fruit like strawberries or grapes, which helps balance out the rich sweetness of the mints. They’re also great to serve with coffee, tea, or even champagne at special celebrations – just arrange them on a pretty platter and watch them disappear!
Storage Instructions
Keep Fresh: These cream cheese mints stay perfectly soft when stored in an airtight container in the refrigerator for up to 2 weeks. I like to layer them between sheets of wax paper so they don’t stick together. They actually taste even better after a day or two when the flavors have had time to meld!
Freeze: You can freeze these mints for up to 3 months in a freezer-safe container with parchment paper between layers. This is great for making them ahead for holidays or special occasions. Just make sure they’re completely set before freezing so they hold their shape.
Serve: Let frozen mints thaw in the refrigerator for about 2-3 hours before serving. They’re best enjoyed chilled, so there’s no need to bring them to room temperature. If they seem a bit soft after thawing, just pop them back in the fridge for 30 minutes to firm up again.
| Preparation Time | 60-90 minutes |
| Cooking Time | 6 hours |
| Total Time | 7-7.5 hours |
| Level of Difficulty | Medium |
Estimated Nutrition
Estimated nutrition for the whole recipe (without optional ingredients):
- Calories: 4300-4700
- Protein: 9-13 g
- Fat: 110-125 g
- Carbohydrates: 850-950 g
Ingredients
For the dough:
- 8 oz block cream cheese, full fat
- 4 tbsp butter, at room temperature
- 8 1/2 to 9 1/2 cups powdered sugar, sifted
- 1 1/2 tsp peppermint extract
- 1 tsp vanilla extract
- Gel food coloring, as desired
For shaping and finishing:
- 1/2 cup powdered sugar, for coating and dusting
Step 1: Soften Butter and Cream Cheese
- 8 oz block cream cheese, full fat
- 4 tbsp butter, at room temperature
Set the cream cheese and butter out at room temperature for about one hour so they soften.
This step ensures they will blend together evenly and result in a creamy, smooth base for the mints.
Step 2: Cream Butter and Cream Cheese
- softened cream cheese (from Step 1)
- softened butter (from Step 1)
In a large mixing bowl, use an electric mixer to cream together the softened cream cheese and butter until the mixture is smooth and creamy.
Step 3: Add Sugar and Extracts to Form Dough
- 8 1/2 to 9 1/2 cups powdered sugar, sifted
- 1 1/2 tsp peppermint extract
- 1 tsp vanilla extract
- creamed mixture (from Step 2)
Add 1 cup of the powdered sugar to the bowl with the creamed mixture and mix until smooth.
Then, add the peppermint and vanilla extracts, mixing until they are fully incorporated.
Gradually add the remaining powdered sugar in intervals, mixing after each addition, until the dough reaches a Play-Doh-like consistency and no longer sticks to your fingers.
The dough will become thick, so you may need to mix some of the sugar in by hand towards the end.
Step 4: Color the Dough and Refrigerate
- gel food coloring, as desired
- dough (from Step 3)
Separate the dough into as many portions as desired for color variations.
For each portion, add a small amount of gel food coloring, then knead until the color is evenly distributed.
Wrap each colored dough ball tightly in plastic wrap, and refrigerate for one hour to allow the dough to firm up.
Step 5: Shape the Mints
- colored dough balls (from Step 4)
Line a baking sheet with parchment paper to prevent sticking.
Remove the colored dough from the refrigerator and measure out 1 teaspoon of dough for each mint.
Roll the dough into balls and place them evenly spaced on the prepared baking sheet.
Step 6: Flatten and Mark the Mints
- 1/2 cup powdered sugar, for coating and dusting
- rolled dough balls (from Step 5)
Pour 1/2 cup powdered sugar into a small bowl for dusting.
Dip a fork into the powdered sugar, then gently press the prongs down on each dough ball to flatten it and create a line pattern.
Redip the fork in powdered sugar as needed to prevent sticking while shaping all the mints.
I like to be generous with the sugar here to make sure the mints don’t stick to the fork or each other.
Step 7: Harden and Store the Mints
Let the shaped mints sit out at room temperature for 4 hours to start hardening, then flip them over and allow them to harden for an additional 2 hours.
Once firm on the outside but still soft on the inside, transfer the mints to an airtight container in the refrigerator, separating layers with wax paper or parchment to prevent sticking.
The mints will stay fresh for up to two weeks.
For parties, you can safely leave them out at room temperature for up to a day.
Tasty Old Fashioned Cream Cheese Mints
Ingredients
For the dough:
- 8 oz block cream cheese, full fat
- 4 tbsp butter, at room temperature
- 8 1/2 to 9 1/2 cups powdered sugar, sifted
- 1 1/2 tsp peppermint extract
- 1 tsp vanilla extract
- gel food coloring, as desired
For shaping and finishing:
- 1/2 cup powdered sugar, for coating and dusting
Instructions
- Set the cream cheese and butter out at room temperature for about one hour so they soften. This step ensures they will blend together evenly and result in a creamy, smooth base for the mints.
- In a large mixing bowl, use an electric mixer to cream together the softened cream cheese and butter until the mixture is smooth and creamy.
- Add 1 cup of the powdered sugar to the bowl with the creamed mixture and mix until smooth. Then, add the peppermint and vanilla extracts, mixing until they are fully incorporated. Gradually add the remaining powdered sugar in intervals, mixing after each addition, until the dough reaches a Play-Doh-like consistency and no longer sticks to your fingers. The dough will become thick, so you may need to mix some of the sugar in by hand towards the end.
- Separate the dough into as many portions as desired for color variations. For each portion, add a small amount of gel food coloring, then knead until the color is evenly distributed. Wrap each colored dough ball tightly in plastic wrap, and refrigerate for one hour to allow the dough to firm up.
- Line a baking sheet with parchment paper to prevent sticking. Remove the colored dough from the refrigerator and measure out 1 teaspoon of dough for each mint. Roll the dough into balls and place them evenly spaced on the prepared baking sheet.
- Pour 1/2 cup powdered sugar into a small bowl for dusting. Dip a fork into the powdered sugar, then gently press the prongs down on each dough ball to flatten it and create a line pattern. Redip the fork in powdered sugar as needed to prevent sticking while shaping all the mints. I like to be generous with the sugar here to make sure the mints don’t stick to the fork or each other.
- Let the shaped mints sit out at room temperature for 4 hours to start hardening, then flip them over and allow them to harden for an additional 2 hours. Once firm on the outside but still soft on the inside, transfer the mints to an airtight container in the refrigerator, separating layers with wax paper or parchment to prevent sticking. The mints will stay fresh for up to two weeks. For parties, you can safely leave them out at room temperature for up to a day.

