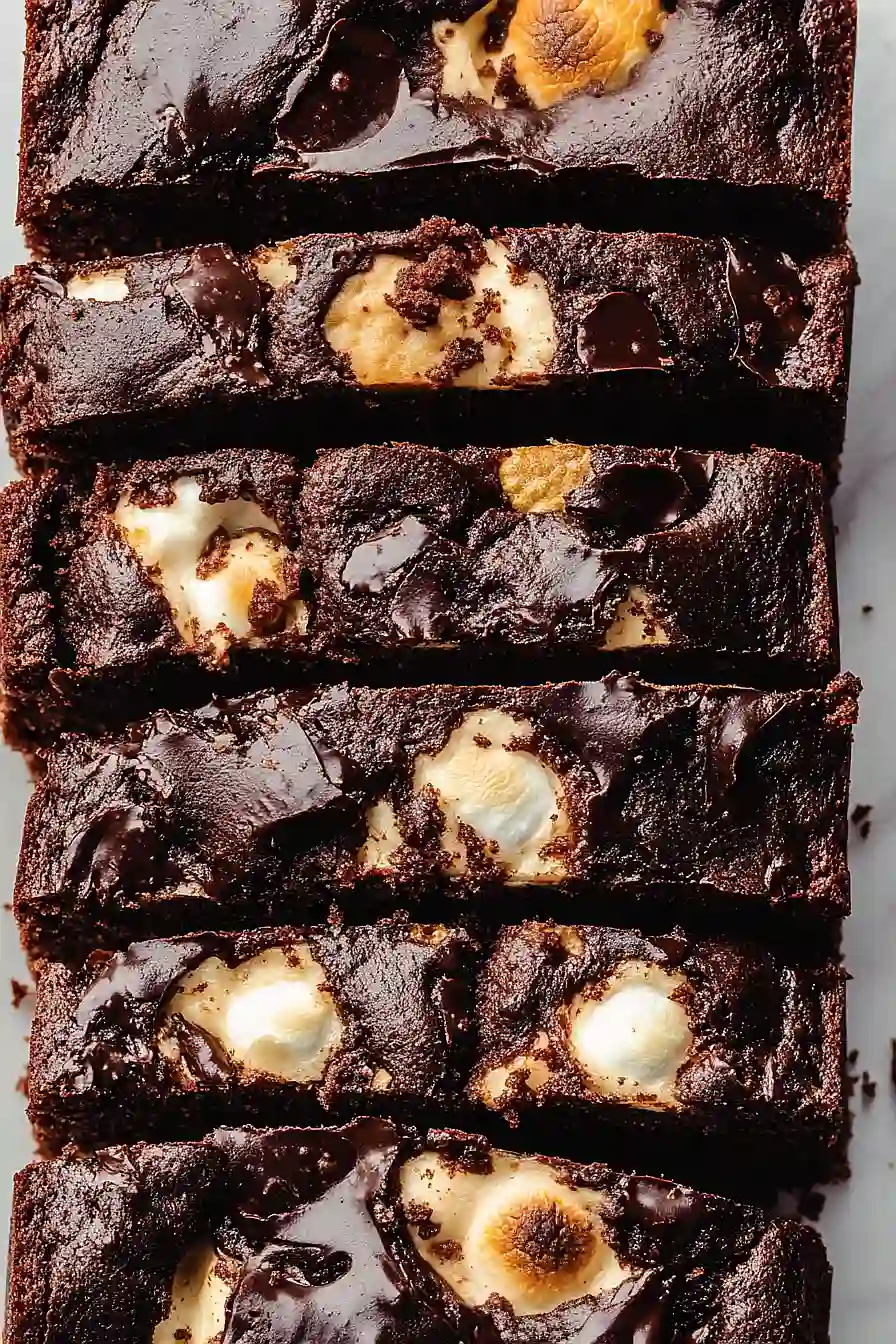
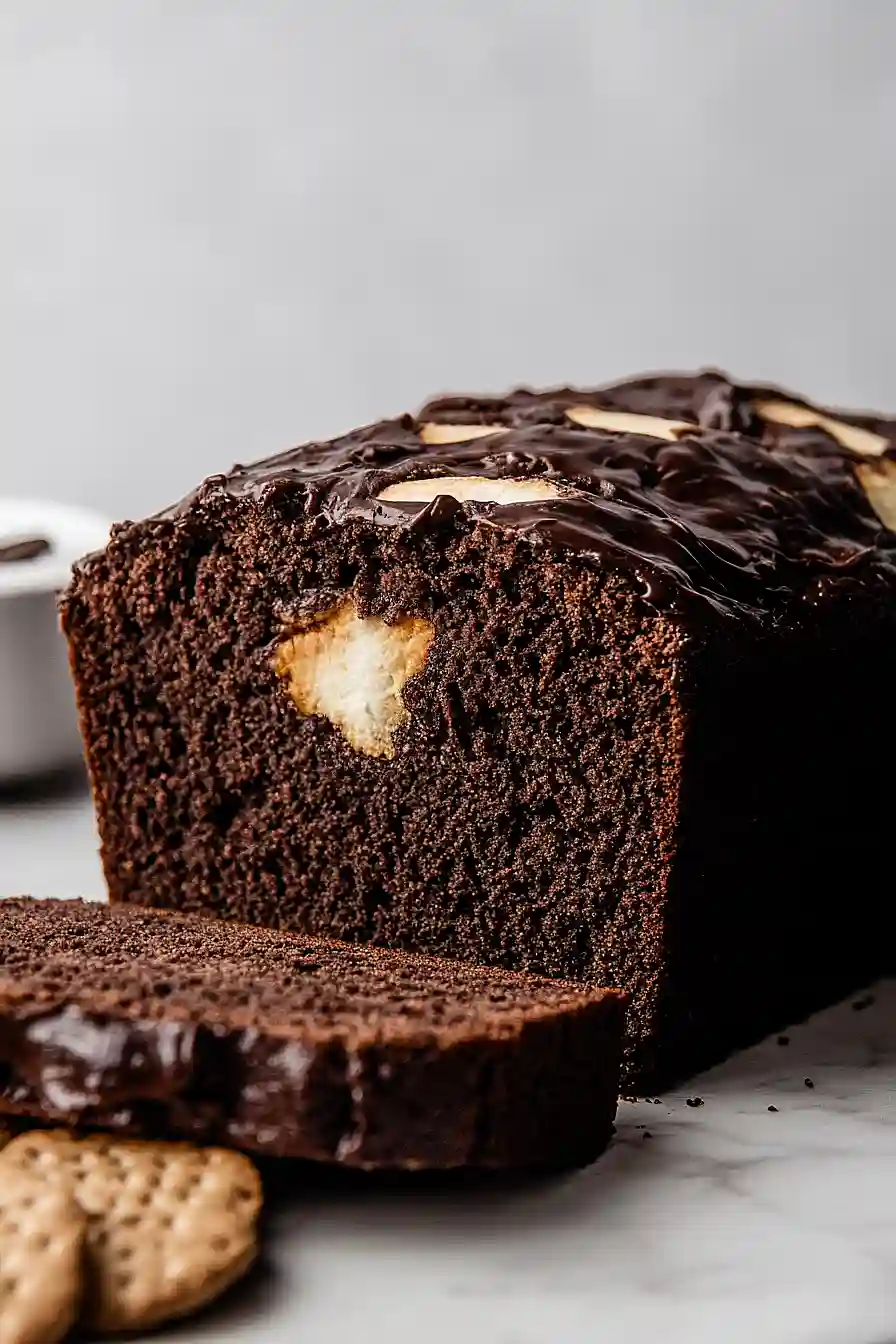
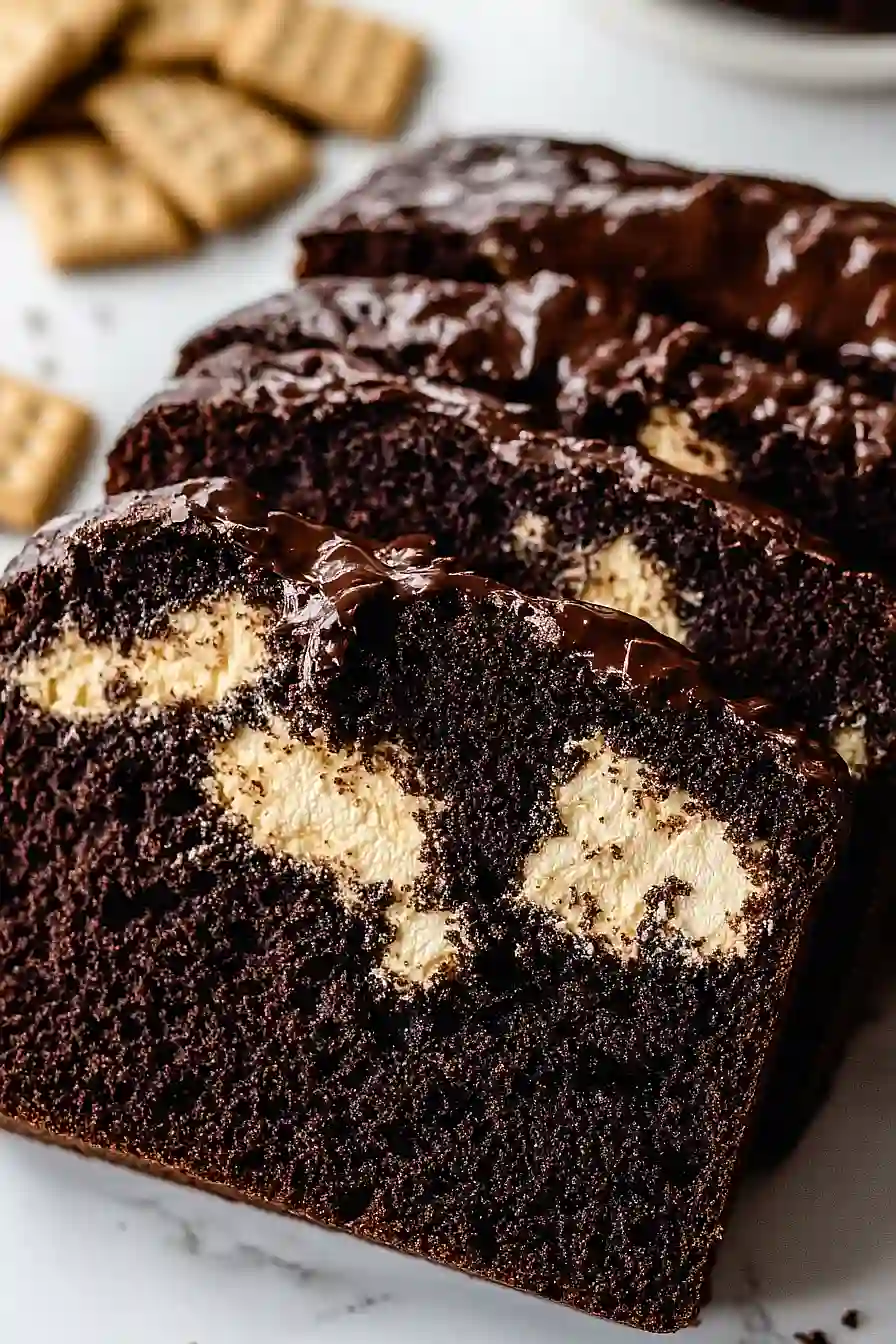
Finding a way to enjoy the nostalgic flavors of s’mores without building a campfire can seem impossible. After all, those gooey marshmallows and melted chocolate sandwiched between graham crackers are hard to recreate in your everyday kitchen, and things get even trickier when you’re craving that smoky sweetness on a random Tuesday morning.
Luckily, this s’mores quick bread captures all those beloved flavors in an easy-to-make loaf that’s perfect for breakfast, snack time, or dessert, and requires nothing more than your regular oven and a few simple ingredients.
Why You’ll Love This S’mores Quick Bread
- No campfire needed – You get all the classic s’mores flavors – chocolate, marshmallows, and graham crackers – baked right into a cozy loaf that you can enjoy any time of year.
- Simple ingredients – This recipe uses basic baking staples you probably already have in your pantry, plus some graham crackers and mini marshmallows for that authentic s’mores taste.
- Quick and easy – Ready in just over an hour with minimal prep work, this quick bread comes together faster than traditional yeast breads and requires no special skills.
- Perfect for sharing – Whether you’re bringing it to a potluck, packing it for a picnic, or serving it as dessert, this nostalgic treat is sure to bring smiles to everyone’s faces.
What Kind of Flour Should I Use?
All-purpose flour is your best bet for this s’mores quick bread recipe, and it’s probably what you already have in your pantry. You don’t need anything fancy here – regular all-purpose flour will give you the perfect texture that’s sturdy enough to hold all those marshmallows and graham cracker pieces. If you only have bread flour on hand, that’ll work too, though your bread might be slightly more dense. Just make sure to measure your flour correctly by spooning it into your measuring cup and leveling it off, since too much flour can make your quick bread dry and heavy.
Options for Substitutions
This s’mores quick bread is pretty forgiving when it comes to swaps, so here are some options if you need to make changes:
- All-purpose flour: You can substitute with whole wheat flour, but use about 2 tablespoons less since it absorbs more liquid. For gluten-free, use a 1:1 gluten-free flour blend.
- Unsweetened cocoa powder: If you only have sweetened cocoa powder, reduce the granulated sugar by about ¼ cup to balance the sweetness.
- Unsalted butter: You can use salted butter but skip the added salt in the recipe. Vegetable oil works too – use about 6 tablespoons and the bread will be slightly more moist.
- Milk: Any milk works here – dairy, almond, oat, or soy. You can even use buttermilk for extra tang, just add ¼ teaspoon more baking soda.
- Graham crackers: Honey graham crackers work great, or you can crush up some digestive biscuits. In a pinch, vanilla wafers will give you a similar crunch.
- Mini marshmallows: Regular marshmallows cut into pieces work fine, or try marshmallow fluff – just swirl about ½ cup into the batter before baking.
Watch Out for These Mistakes While Baking
The biggest mistake when making s’mores quick bread is overmixing the batter once you add the flour – this creates a tough, dense loaf instead of the tender crumb you want, so mix just until the ingredients are barely combined.
Another common error is adding the marshmallows too early in the mixing process, which causes them to melt completely and disappear – fold them in gently at the very end to keep those pockets of gooey sweetness intact.
Don’t skip letting your butter and eggs come to room temperature before mixing, as cold ingredients won’t cream properly and can lead to an uneven texture.
To prevent your graham crackers from turning to mush, crush them into chunky pieces rather than fine crumbs, and save a handful to sprinkle on top for extra crunch and that authentic s’mores look.
What to Serve With S’mores Quick Bread?
This chocolatey quick bread is perfect on its own, but I love serving it with a cold glass of milk or a hot cup of coffee to balance out all that sweet campfire flavor. You can also slice it up and serve it as a dessert with a scoop of vanilla ice cream or a dollop of whipped cream for an extra indulgent treat. For breakfast or brunch, try toasting a slice and spreading a little butter on top – it tastes like having s’mores for breakfast without the guilt! If you’re feeling fancy, drizzle some chocolate sauce or caramel over each slice to really lean into that dessert vibe.
Storage Instructions
Keep Fresh: Wrap your s’mores quick bread tightly in plastic wrap or store it in an airtight container at room temperature for up to 3 days. The marshmallows might get a bit chewy over time, but that’s totally normal and still delicious! For longer storage, pop it in the fridge where it’ll stay good for up to a week.
Freeze: This bread freezes like a dream! Wrap individual slices in plastic wrap and then place them in a freezer bag, or wrap the whole loaf tightly and freeze for up to 3 months. I love having slices ready to grab for a quick breakfast or afternoon snack.
Serve: Thaw frozen slices at room temperature for about 30 minutes, or warm them up in the microwave for 15-20 seconds. If you want that fresh-baked taste, try toasting a slice lightly in the toaster – it brings back some of that gooey marshmallow goodness and makes the graham crackers extra crunchy!
| Preparation Time | 15-20 minutes |
| Cooking Time | 45-50 minutes |
| Total Time | 60-70 minutes |
| Level of Difficulty | Easy |
Estimated Nutrition
Estimated nutrition for the whole recipe (without optional ingredients):
- Calories: 2100-2300
- Protein: 28-34 g
- Fat: 65-75 g
- Carbohydrates: 370-400 g
Ingredients
For the dry mixture:
- 1 1/2 cups all-purpose flour
- 3/4 cup unsweetened cocoa powder
- 1 tsp baking soda
- 1/2 tsp salt
For the wet mixture:
- 1/2 cup unsalted butter, softened
- 1 cup granulated sugar
- 2 large eggs, at room temperature
- 1 cup milk
- 1/2 tsp vanilla extract
For the mix-ins and topping:
- 6 full sheets graham crackers, broken into pieces
- 1 cup mini marshmallows, divided
Step 1: Prepare the Oven and Pan
Preheat your oven to 350ºF (177ºC).
Spray a 9″ x 5″ loaf pan with nonstick spray to prevent sticking, and set it aside until you’re ready to pour in the batter.
Step 2: Mix the Dry Ingredients
- 1 1/2 cups all-purpose flour
- 3/4 cup unsweetened cocoa powder
- 1 tsp baking soda
- 1/2 tsp salt
In a medium bowl, combine the all-purpose flour, unsweetened cocoa powder, baking soda, and salt.
Toss together until the mixture is evenly blended, then set this dry mixture aside for later use.
Step 3: Cream Butter, Sugar, and Incorporate Eggs
- 1/2 cup unsalted butter, softened
- 1 cup granulated sugar
- 2 large eggs, at room temperature
In a large bowl, beat the softened unsalted butter and granulated sugar together using a handheld or stand mixer on medium-high speed until the mixture becomes light and fluffy, about 2-3 minutes.
Add the eggs one at a time, beating well after each addition and scraping the bowl as needed to ensure the eggs are fully incorporated.
Step 4: Incorporate Milk, Vanilla, and Dry Ingredients
- 1 cup milk
- 1/2 tsp vanilla extract
- dry ingredient mixture from Step 2
Reduce the mixer speed to low and slowly add the milk and vanilla extract to the creamed mixture, mixing until just combined and scraping the bowl as needed.
With the mixer still on low, gradually add the prepared dry ingredients from Step 2, mixing until everything is just incorporated.
Do not overmix the batter.
I always take care not to overbeat so the loaf stays tender.
Step 5: Fold in Graham Crackers and Marshmallows
- about 1/2 cup graham crackers (from 6 full sheets, broken into pieces)
- 3/4 cup mini marshmallows
Remove the bowl from the mixer.
Using a spatula, gently fold in half of the broken graham crackers (about ½ cup) and about ¾ cup of the mini marshmallows until they are evenly dispersed throughout the batter.
Step 6: Layer and Assemble the Batter
- remaining 1/2 cup graham crackers
- remaining 1/4 cup mini marshmallows
- bread batter with mix-ins from Step 5
Pour half of the bread batter into the prepared loaf pan.
Evenly sprinkle the remaining 1/2 cup of broken graham crackers on top of the batter.
Carefully spread the rest of the batter over the graham cracker layer.
Then, scatter the remaining 1/4 cup of mini marshmallows over the top.
For a delightful topping, I like to press a few extra marshmallows gently into the surface so they toast up nicely while baking.
Step 7: Bake and Cool
Bake the assembled loaf at 350ºF (177ºC) for 45-50 minutes, or until a toothpick inserted into the center comes out mostly clean with just a few moist crumbs.
Let the loaf cool in the pan for 15 minutes, then remove it from the pan and set it on a wire rack to cool completely before slicing and serving.
Loaf stays fresh covered tightly at room temperature for up to 5 days, and also freezes well for up to 2 months.

