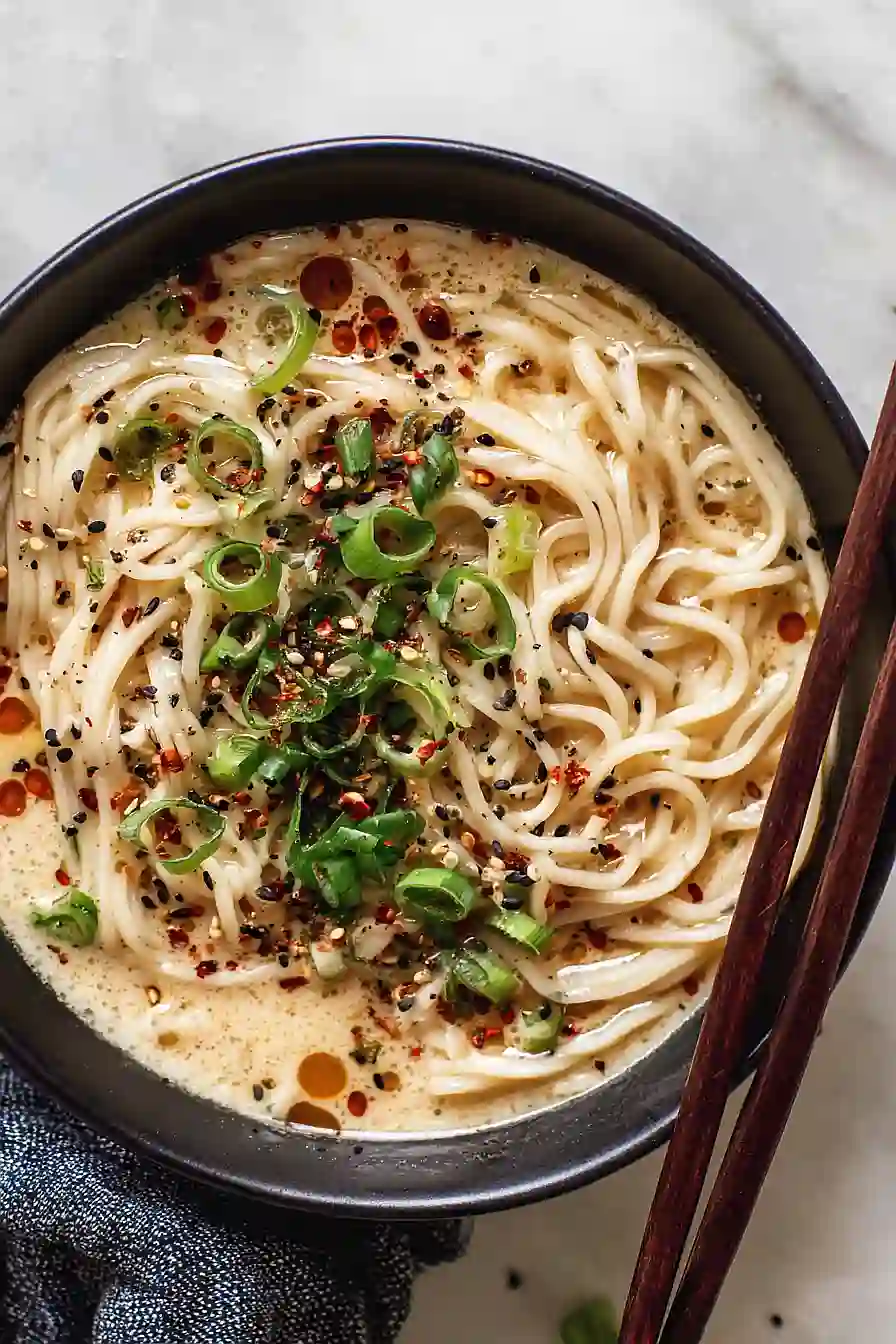
Finding a quick, satisfying lunch that’s both gluten-free and packed with flavor can feel like an impossible task. Between work deadlines, errands, and everything else life throws at you, it’s easy to settle for boring salads or sad desk lunches that leave you hungry an hour later.
That’s where these gluten-free ramen noodles come in. They’re ready in under 20 minutes, taste like they came from your favorite ramen shop, and use simple ingredients you probably already have in your pantry. Plus, they’re completely customizable—add more heat, throw in extra veggies, or keep it simple with just the basics.
Why You’ll Love These Gluten Free Ramen Noodles
- Ready in under 25 minutes – This homemade ramen comes together faster than ordering takeout, making it perfect for busy weeknights when you need dinner on the table quickly.
- Gluten-free friendly – You don’t have to miss out on comforting ramen anymore. This recipe uses gluten-free noodles and tamari so everyone can enjoy a steaming bowl.
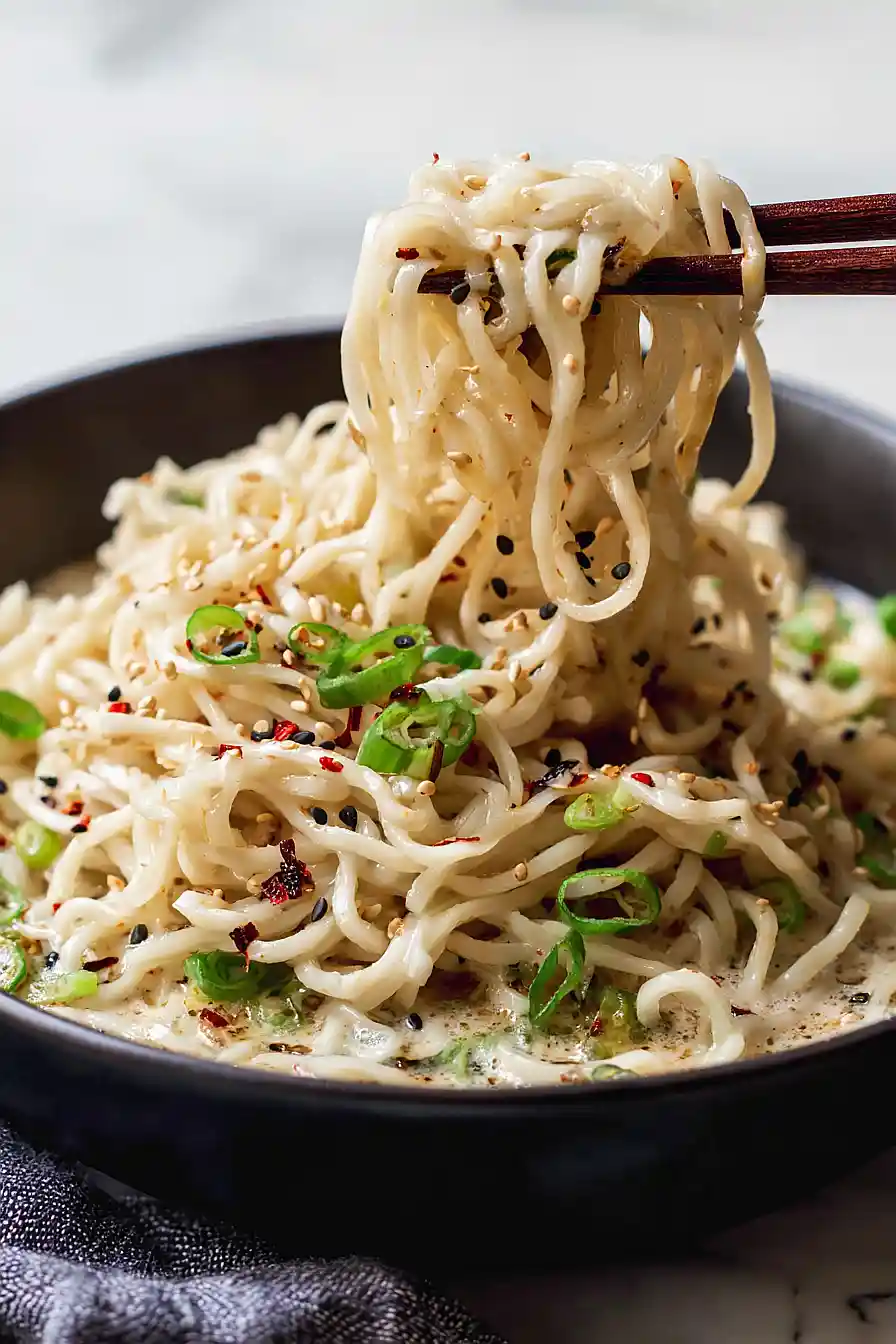
- Creamy, restaurant-quality broth – The soy milk creates a rich, creamy base that rivals your favorite ramen spot, and you can customize the toppings however you like.
- Simple pantry ingredients – Most of these ingredients are probably already in your kitchen, so you can whip up a satisfying meal without a special grocery run.
- Easily customizable – Add as much or as little chili garlic paste as you want, throw in extra veggies, or top with a soft-boiled egg to make it your own.
What Kind of Ramen Should I Use?
For this gluten-free ramen recipe, you’ll need to pick up a package of gluten-free ramen noodles, which are typically made from rice flour or other alternative flours instead of wheat. You can find these at most Asian grocery stores, health food stores, or even in the international aisle of larger supermarkets. Brands like Lotus Foods and King Soba make great gluten-free options that cook up just as nicely as traditional ramen. If you can’t find gluten-free ramen specifically, rice noodles or even gluten-free spaghetti can work in a pinch, though the texture will be a bit different from authentic ramen noodles.
Options for Substitutions
This ramen recipe is pretty adaptable, so here are some swaps you can make based on what you have:
- Gluten-free ramen noodles: If you can’t find gluten-free ramen, try rice noodles, soba noodles (make sure they’re 100% buckwheat for gluten-free), or even zucchini noodles for a low-carb option. Cook according to package directions.
- Soy milk: Regular dairy milk works fine here, or you can use coconut milk for a creamier, slightly sweet flavor. Oat milk or almond milk are also good alternatives.
- Tamari: Regular soy sauce can replace tamari if you’re not worried about gluten. Coconut aminos work too, though they’re a bit sweeter and less salty, so you might need to add a pinch of salt.
- Rice vinegar: Apple cider vinegar or white wine vinegar can step in for rice vinegar. Start with a bit less since they can be stronger.
- Chili garlic paste: Sriracha, sambal oelek, or even red pepper flakes mixed with a bit of minced garlic will give you that spicy kick.
- Egg: You can skip the egg entirely, use tofu cubes for protein, or try a soft-boiled egg instead of whatever style the recipe calls for.
Watch Out for These Mistakes While Cooking
The biggest mistake people make with ramen is overcooking the noodles, which only need 3-4 minutes in the hot broth – set a timer and pull them when they’re still slightly firm since they’ll continue softening in the hot liquid.
Don’t let your soy milk boil rapidly or it can curdle and separate, so keep the heat at a gentle simmer once you add it to the broth.
If you’re adding an egg, the key is to crack it into the simmering broth during the last 2-3 minutes of cooking and resist the urge to stir it immediately – let it sit undisturbed for a minute so the whites can set properly.
Finally, add your sesame oil and chili garlic paste at the very end rather than cooking them, which preserves their flavor and gives your ramen that fresh, aromatic finish.
What to Serve With Ramen?
Ramen is pretty filling on its own, but I love adding some extras to make it a complete meal. A side of crispy gyoza or potstickers is perfect for dipping in a little soy sauce while you slurp your noodles. If you want something lighter, some quick pickled cucumbers or a seaweed salad adds a nice refreshing crunch that balances out the rich broth. You can also serve it with some steamed edamame sprinkled with sea salt, or keep it simple with a few pieces of nori on the side for extra umami flavor.
Storage Instructions
Store: If you have leftover ramen, store the noodles and broth separately in airtight containers in the fridge for up to 3 days. The noodles will soak up the broth if you keep them together, and nobody wants mushy noodles! Keep any toppings like green onions and eggs separate too.
Make Ahead: You can prep the broth base ahead of time and keep it in the fridge for up to 5 days. Just cook your noodles fresh when you’re ready to eat, then heat up the broth and pour it over. This makes for a super quick meal when you’re short on time during the week.
Reheat: Warm the broth in a pot on the stove or in the microwave until it’s hot and steaming. Add your noodles to the hot broth for just a minute or two to warm them through. If you stored a soft-boiled egg, it’s best to eat it cold or at room temperature since reheating can make it rubbery.
| Preparation Time | 10-15 minutes |
| Cooking Time | 5-10 minutes |
| Total Time | 15-25 minutes |
| Level of Difficulty | Easy |
| Servings | 1 serving |
Estimated Nutrition
Estimated nutrition for the whole recipe (without optional ingredients):
- Calories: 420-520
- Protein: 15-19 g
- Fat: 13-18 g
- Carbohydrates: 60-72 g
Ingredients
For the broth base:
- 1.5 tsp sesame oil
- 1 green onion (white and light green parts only, thinly sliced)
- 3/4 tsp garlic (freshly minced for best flavor)
- 3/4 tsp ginger
- 1 cup soy milk (I use West Life unsweetened for the creamiest texture)
- 1 cup broth (I like Kettle & Fire chicken bone broth for depth)
- 2.5 tbsp tamari
- 1.5 tbsp rice vinegar
For assembly and toppings:
- 1 cake gluten free ramen (I prefer Lotus Foods brown rice ramen)
- chili garlic paste (optional, adds a nice kick)
- green onions
- 1 egg (soft-boiled for 6 and a half minutes for a jammy yolk)
Step 1: Prepare Mise en Place and Cook the Egg
- 1 egg
- 3/4 tsp garlic, freshly minced
- 3/4 tsp ginger, sliced
- 1 green onion, thinly sliced
While you bring a pot of water to boil for the noodles, prepare all your ingredients: mince the garlic, slice the ginger, thinly slice the green onion (white and light green parts), and have the soy milk and broth measured and ready.
Gently place one egg in the boiling water and set a timer for 6 and a half minutes—this timing creates that perfect jammy yolk.
When the timer goes off, transfer the egg to an ice bath to stop the cooking.
The egg will be ready to peel and add just before serving.
Step 2: Build the Broth Base with Aromatics
- 1.5 tsp sesame oil
- 3/4 tsp garlic, freshly minced
- 3/4 tsp ginger
Heat the sesame oil in a medium saucepan over medium heat until it’s shimmering and fragrant.
Add the minced garlic and ginger, stirring constantly for about 1-2 minutes until they become deeply fragrant—this is crucial for building flavor layers in your broth.
Watch carefully so they don’t burn; you want them softened and aromatic, not browned.
Step 3: Create the Creamy Broth
- 1 cup soy milk
- 1 cup broth
Pour in the soy milk and broth, stirring to combine with the aromatics from Step 2.
Bring the mixture to a gentle simmer over medium heat and let it simmer for 5 minutes—this allows the flavors to meld and the soy milk to warm through without breaking or becoming separated.
I find that simmering rather than boiling gives a silkier, more cohesive broth.
Step 4: Season the Broth to Perfection
- 2.5 tbsp tamari
- 1.5 tbsp rice vinegar
- chili garlic paste
Remove the saucepan from heat and stir in the tamari and rice vinegar.
The tamari adds umami depth while the vinegar brightens the flavors and balances the richness of the soy milk.
Taste the broth and adjust seasoning as needed—if you’re using the chili garlic paste, add it now in small amounts and stir until dissolved, tasting as you go to reach your preferred heat level.
Step 5: Cook the Noodles and Assemble the Bowl
- 1 cake gluten free ramen
- broth mixture from Step 4
- 1 egg from Step 1, peeled and halved
- green onion slices from Step 1
In a separate pot, bring fresh water to a boil and cook the gluten-free ramen noodles according to the package directions—usually 3-4 minutes for al dente.
Drain the noodles well and transfer them to a serving bowl.
Pour the warm broth from Step 4 over the noodles, then top with the peeled soft-boiled egg (halved if desired) and the sliced green onion from Step 1.
Serve immediately while the broth is hot and steamy.
20-Minute Gluten Free Ramen Noodles
Ingredients
For the broth base::
- 1.5 tsp sesame oil
- 1 green onion (white and light green parts only, thinly sliced)
- 3/4 tsp garlic (freshly minced for best flavor)
- 3/4 tsp ginger
- 1 cup soy milk (I use West Life unsweetened for the creamiest texture)
- 1 cup broth (I like Kettle & Fire chicken bone broth for depth)
- 2.5 tbsp tamari
- 1.5 tbsp rice vinegar
For assembly and toppings::
- 1 cake gluten free ramen (I prefer Lotus Foods brown rice ramen)
- chili garlic paste (optional, adds a nice kick)
- green onions
- 1 egg (soft-boiled for 6 and a half minutes for a jammy yolk)
Instructions
- While you bring a pot of water to boil for the noodles, prepare all your ingredients: mince the garlic, slice the ginger, thinly slice the green onion (white and light green parts), and have the soy milk and broth measured and ready. Gently place one egg in the boiling water and set a timer for 6 and a half minutes—this timing creates that perfect jammy yolk. When the timer goes off, transfer the egg to an ice bath to stop the cooking. The egg will be ready to peel and add just before serving.
- Heat the sesame oil in a medium saucepan over medium heat until it's shimmering and fragrant. Add the minced garlic and ginger, stirring constantly for about 1-2 minutes until they become deeply fragrant—this is crucial for building flavor layers in your broth. Watch carefully so they don't burn; you want them softened and aromatic, not browned.
- Pour in the soy milk and broth, stirring to combine with the aromatics from Step 2. Bring the mixture to a gentle simmer over medium heat and let it simmer for 5 minutes—this allows the flavors to meld and the soy milk to warm through without breaking or becoming separated. I find that simmering rather than boiling gives a silkier, more cohesive broth.
- Remove the saucepan from heat and stir in the tamari and rice vinegar. The tamari adds umami depth while the vinegar brightens the flavors and balances the richness of the soy milk. Taste the broth and adjust seasoning as needed—if you're using the chili garlic paste, add it now in small amounts and stir until dissolved, tasting as you go to reach your preferred heat level.
- In a separate pot, bring fresh water to a boil and cook the gluten-free ramen noodles according to the package directions—usually 3-4 minutes for al dente. Drain the noodles well and transfer them to a serving bowl. Pour the warm broth from Step 4 over the noodles, then top with the peeled soft-boiled egg (halved if desired) and the sliced green onion from Step 1. Serve immediately while the broth is hot and steamy.


