I never thought I’d be the type of person to make themed treats for Halloween, but then I discovered how easy these chocolate covered strawberry pumpkins actually are. My kids came home from school one day talking about the cute snacks their friend’s mom made, and I figured I’d give it a shot.
Turns out, you only need three ingredients and about twenty minutes. No baking, no complicated steps—just dip, decorate, and you’re done. The hardest part is making sure your strawberries are completely dry before you start, because if they’re even a little wet, the candy coating will slide right off. Trust me, I learned that one the hard way my first attempt.
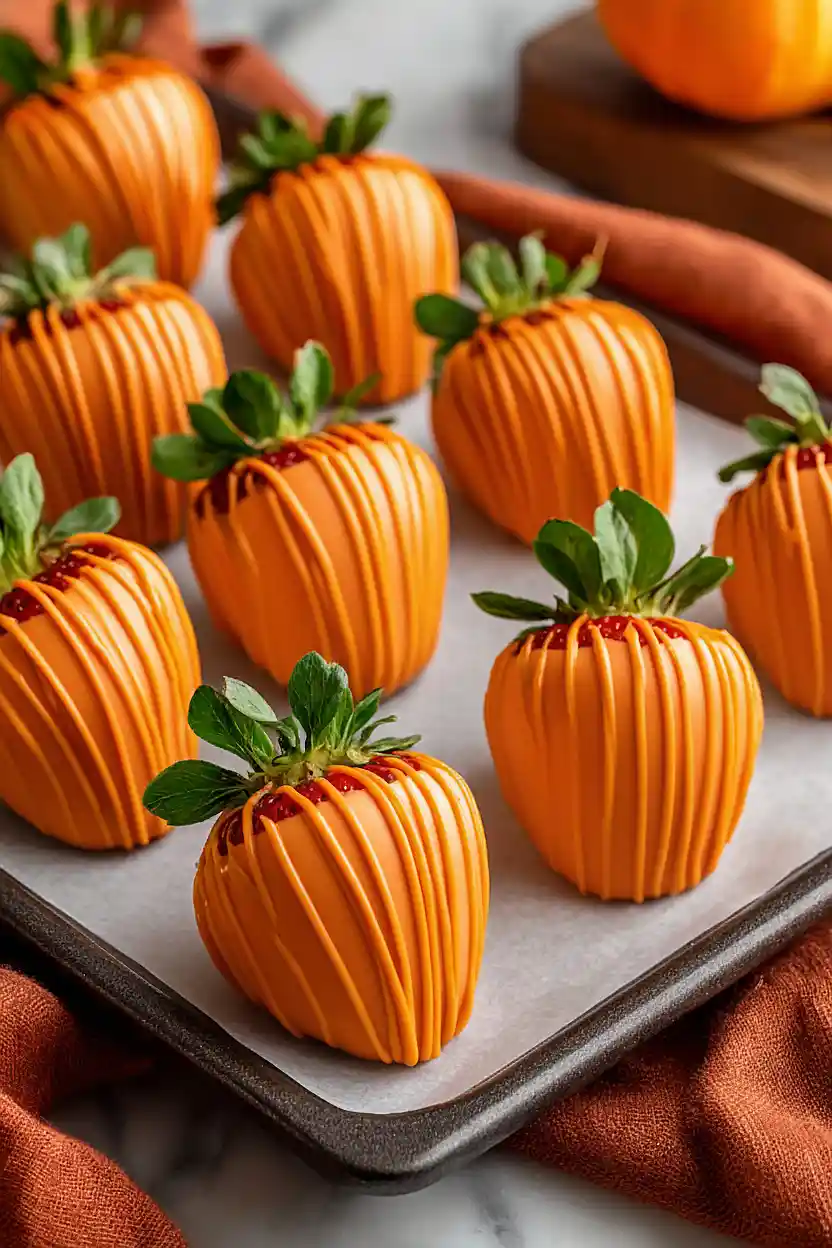
Why You’ll Love These Chocolate Covered Strawberry Pumpkins
- Only 2 ingredients – You just need fresh strawberries and orange candy melts to create these adorable treats—no complicated shopping list required.
- Perfect for fall gatherings – These cute pumpkin-shaped strawberries make a fun addition to Halloween parties, Thanksgiving dessert tables, or any autumn celebration.
- Kid-friendly activity – This is a great recipe to make with children since the dipping process is simple and fun, plus they’ll love eating their creations.
- Ready in under an hour – From start to finish, you can have a whole platter of these festive treats ready in less than an hour, making them ideal for last-minute party prep.
What Kind of Strawberries Should I Use?
Fresh strawberries are definitely the way to go for this recipe, and you’ll want to pick ones that are firm and ripe without any soft spots or bruising. Medium to large strawberries work best since they’re easier to dip and will look more like little pumpkins once decorated. Make sure your strawberries are completely dry before dipping them in the chocolate – any moisture will cause the candy melts to seize up and get clumpy. If you wash them, pat them dry with paper towels and let them sit out for about 30 minutes to make sure all the water has evaporated.
Options for Substitutions
This simple recipe is easy to customize with a few swaps:
- Orange candy melts: If you can’t find orange candy melts, you can use white chocolate or white candy melts and add orange food coloring. Start with a few drops and mix until you get the pumpkin color you want. Regular milk or dark chocolate works too if you’re going for chocolate-covered strawberries instead of the pumpkin look.
- Strawberries: Make sure to use fresh, firm strawberries with the stems still attached – they’re essential for creating that pumpkin shape and giving you something to hold onto while dipping. Avoid substituting with other fruits for this particular recipe since the strawberry shape is what makes these look like little pumpkins.
Watch Out for These Mistakes While Making
The biggest mistake when making chocolate covered strawberry pumpkins is not drying your strawberries completely after washing – even a tiny bit of moisture will cause the candy melts to seize up and become grainy instead of smooth.
Another common error is overheating the candy melts, which can make them thick and difficult to work with, so stick to those 30-second intervals and stir well between each one to check the consistency.
To get clean, professional-looking pumpkin lines, make sure your first layer of orange candy has set for at least 10 minutes before piping on the decorative lines, otherwise they’ll just blend together.
Finally, resist the urge to refrigerate these to speed up setting time – the sudden temperature change can cause condensation and make your candy coating sweat and lose its shine, so just let them sit at room temperature.
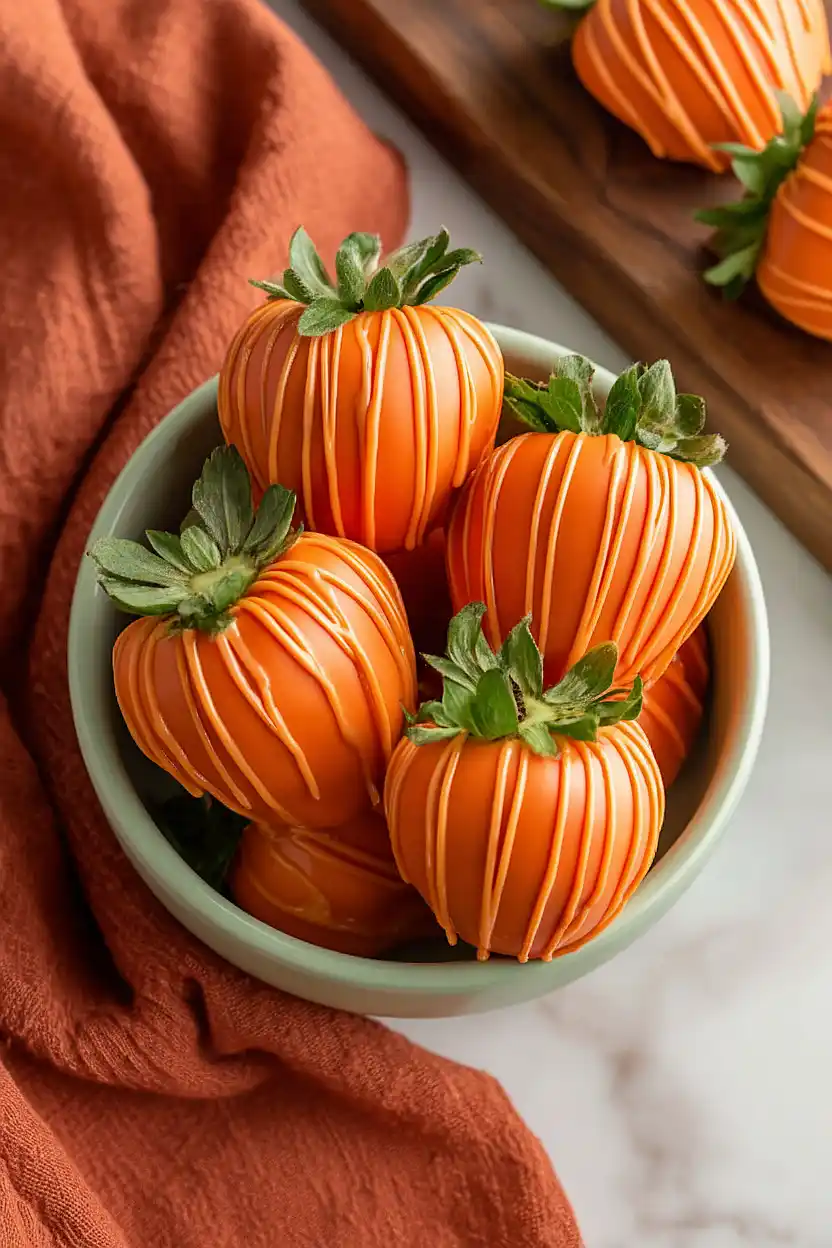
What to Serve With Chocolate Covered Strawberry Pumpkins?
These chocolate covered strawberry pumpkins are perfect for Halloween parties or fall gatherings, and they pair really well with other finger foods and snacks. I like setting them out on a dessert table alongside brownies, cookies, or caramel apples to give guests plenty of sweet options. They also work great as part of a fruit and chocolate platter with grapes, apple slices, and maybe some pretzels dipped in chocolate. Since they’re pretty sweet on their own, I usually serve them with coffee, hot chocolate, or even sparkling cider to balance things out.
Storage Instructions
Store: Keep your chocolate covered strawberry pumpkins in the fridge in a single layer on a parchment-lined plate or in an airtight container. They’ll stay fresh for about 2-3 days, though they taste best within the first day or two since strawberries can get a bit soft over time.
Make Ahead: You can definitely make these a day ahead for a party or gathering. Just store them in the fridge and bring them out about 15 minutes before serving so the chocolate isn’t too hard. I wouldn’t recommend making them more than a day in advance though, as fresh strawberries don’t last super long once they’re dipped.
Avoid Freezing: I don’t recommend freezing these since strawberries get mushy and watery when thawed. They’re really meant to be enjoyed fresh, so it’s best to only make as many as you’ll eat within a couple days.
| Preparation Time | 20-30 minutes |
| Cooking Time | 0 minutes |
| Total Time | 50-60 minutes |
| Level of Difficulty | Easy |
| Servings | 24 pieces |
Estimated Nutrition
Estimated nutrition for the whole recipe (without optional ingredients):
- Calories: 1500-1700
- Protein: 2-3 g
- Fat: 55-65 g
- Carbohydrates: 230-260 g
Ingredients
- 1 pint strawberries (washed and dried thoroughly or the coating won’t stick)
- 2.5 cups orange candy melts (I use Wilton Candy Melts for a smooth finish)
- 1-2 drops green gel food coloring (optional, for pumpkin stems)
Step 1: Prepare Strawberries and Workspace
- 1 pint strawberries, washed and dried thoroughly
Wash the strawberries thoroughly under cool running water, then pat them completely dry with paper towels or a clean kitchen cloth.
Moisture is the enemy here—any water left on the berries will prevent the candy coating from adhering properly.
While the berries dry, line a baking tray with parchment paper to create a non-stick surface for your finished pumpkins.
Step 2: Melt Orange Candy and Prepare Stems
- 2.5 cups orange candy melts
- 1-2 drops green gel food coloring
Place the orange candy melts in a microwave-safe bowl and melt using 30-second intervals, stirring between each interval, until completely smooth and pourable.
This gentle approach prevents overheating and scorching.
Once melted, if using green food coloring for pumpkin stems, reserve about 2-3 tablespoons of the melted orange candy in a separate small bowl and stir in 1-2 drops of green gel coloring to create a deep green shade for piping.
Step 3: Dip Strawberries in Candy Coating
- Dry strawberries from Step 1
- melted orange candy melts from Step 2
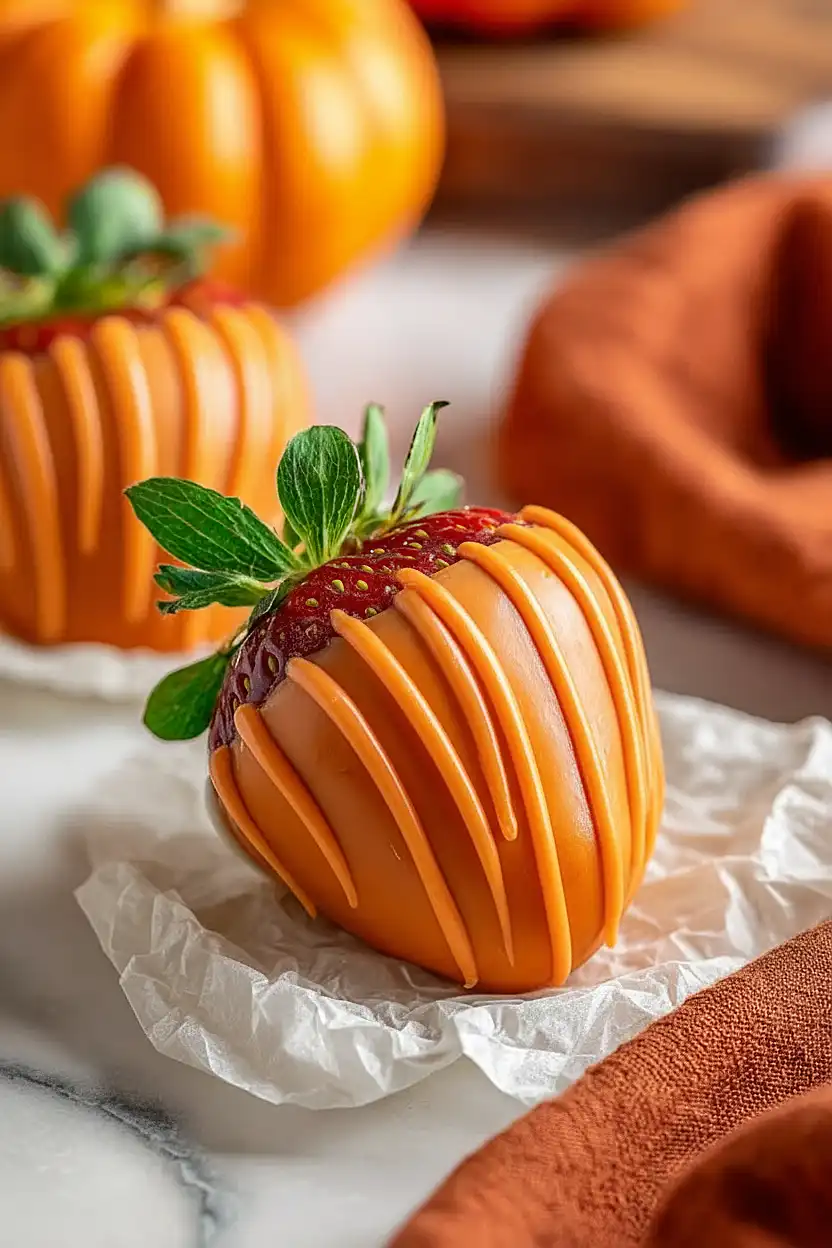
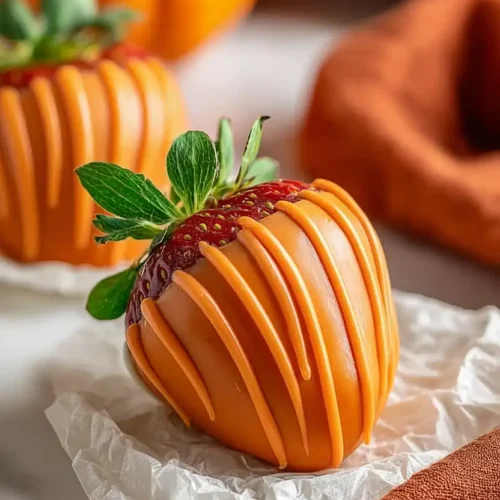
Hold each strawberry by the leafy top and dip it into the warm orange candy melts, twisting gently to ensure full coverage and allowing excess to drip off.
Place each coated berry pointed-end down on the prepared parchment-lined tray.
I like to work quickly but deliberately through this step—if the candy cools too much, you can give it a quick 10-second microwave burst to loosen it up again.
Step 4: Pipe Pumpkin Details and Set
- green-tinted candy from Step 2
Once all berries are coated, transfer the green-tinted candy (from Step 2) to a piping bag fitted with a small round tip, or simply drizzle it freehand to create pumpkin stems on the top of each berry.
If you don’t have piping supplies, a small spoon works just fine.
Let the entire tray sit at room temperature for 30 minutes until the coating is completely firm and the pumpkins are ready to serve.
Best Chocolate Covered Strawberry Pumpkins
Ingredients
- 1 pint strawberries (washed and dried thoroughly or the coating won't stick)
- 2.5 cups orange candy melts (I use Wilton Candy Melts for a smooth finish)
- 1-2 drops green gel food coloring (optional, for pumpkin stems)
Instructions
- Wash the strawberries thoroughly under cool running water, then pat them completely dry with paper towels or a clean kitchen cloth. Moisture is the enemy here—any water left on the berries will prevent the candy coating from adhering properly. While the berries dry, line a baking tray with parchment paper to create a non-stick surface for your finished pumpkins.
- Place the orange candy melts in a microwave-safe bowl and melt using 30-second intervals, stirring between each interval, until completely smooth and pourable. This gentle approach prevents overheating and scorching. Once melted, if using green food coloring for pumpkin stems, reserve about 2-3 tablespoons of the melted orange candy in a separate small bowl and stir in 1-2 drops of green gel coloring to create a deep green shade for piping.
- Hold each strawberry by the leafy top and dip it into the warm orange candy melts, twisting gently to ensure full coverage and allowing excess to drip off. Place each coated berry pointed-end down on the prepared parchment-lined tray. I like to work quickly but deliberately through this step—if the candy cools too much, you can give it a quick 10-second microwave burst to loosen it up again.
- Once all berries are coated, transfer the green-tinted candy (from Step 2) to a piping bag fitted with a small round tip, or simply drizzle it freehand to create pumpkin stems on the top of each berry. If you don't have piping supplies, a small spoon works just fine. Let the entire tray sit at room temperature for 30 minutes until the coating is completely firm and the pumpkins are ready to serve.


