I’ll admit, the first time I heard about corn cob jelly, I thought someone was pulling my leg. Making jelly from the leftover cobs after you’ve cut off the kernels? It sounded like something from a pioneer cookbook gathering dust in my grandmother’s attic. But here’s the thing—those cobs have way more flavor left in them than you’d think.
This recipe turns what would normally go straight into the compost bin into something sweet that actually tastes like fresh corn. It’s mild, a little floral, and honestly pretty neat to spread on your morning toast. Plus, if you’re already planning to freeze or can a bunch of corn, you might as well get double duty out of those cobs.
Making corn cob jelly isn’t complicated. You boil the cobs to make a liquid, add some pectin and sugar, and you’ve got yourself jelly. No fancy equipment needed, just some patience and a few jars.
Why You’ll Love This Corn Cob Jelly
- Zero-waste cooking – This recipe turns corn cobs that you’d normally throw away into a sweet, unique jelly that tastes like honey with a hint of corn.
- Quick and easy – You can make this jelly in under an hour, and the process is straightforward enough for first-time jelly makers.
- Budget-friendly – Since you’re using corn cobs that would otherwise be discarded, you’re essentially making jelly from scraps with just a few pantry staples.
- Unique homemade gift – This unexpected jelly makes a great conversation starter and a thoughtful homemade present that friends and family will remember.
What Kind of Corn Cobs Should I Use?
The best corn cobs for making jelly are the ones left over after you’ve cut off the kernels for dinner – talk about zero waste! Fresh corn cobs work better than older ones since they still have plenty of natural sweetness and flavor locked inside. You can use cobs from any variety of sweet corn, whether it’s white, yellow, or bi-color, though yellow corn will give you that classic golden jelly color. Just make sure your cobs are relatively clean and free from any mold or dark spots before you start boiling them.
Options for Substitutions
This unique jelly recipe is pretty specific, but here are a few things you can adjust:
- Corn cobs: Fresh corn cobs are really the star here and shouldn’t be substituted – they’re what give this jelly its distinctive flavor. Save those cobs after you’ve cut off the kernels for dinner!
- Powdered pectin: Stick with powdered pectin for this recipe. Liquid pectin requires different proportions and timing, which would throw off the whole process and might not set properly.
- Granulated sugar: You can use organic cane sugar if you prefer, but don’t try to reduce the amount or use alternative sweeteners – the sugar is needed for proper jelling and preservation.
- Yellow food coloring: This is totally optional and just for looks. Skip it if you want a more natural appearance, or use a tiny pinch of turmeric for a natural yellow tint instead.
- Water from boiling corn cobs: Don’t substitute this with regular water – the corn cob water is what carries all that sweet corn flavor into your jelly. That’s the whole point of the recipe!
Watch Out for These Mistakes While Cooking
The biggest mistake when making corn cob jelly is not boiling the cobs long enough to extract their natural sweetness – if your liquid tastes bland or watery before adding the pectin, simmer the cobs for an additional 5-10 minutes to concentrate the corn flavor.
Another common error is adding the sugar before the pectin reaches a full rolling boil, which can prevent your jelly from setting properly, so make sure you see those big bubbles that don’t stop when you stir before dumping in the sugar.
Skipping the foam removal step might seem minor, but that foam can make your finished jelly look cloudy instead of clear and pretty, so take an extra minute to skim it off with a spoon.
Finally, don’t forget to sterilize your jars properly before filling them – dirty jars can cause your jelly to spoil or develop mold, even after processing in the water bath.
What to Serve With Corn Cob Jelly?
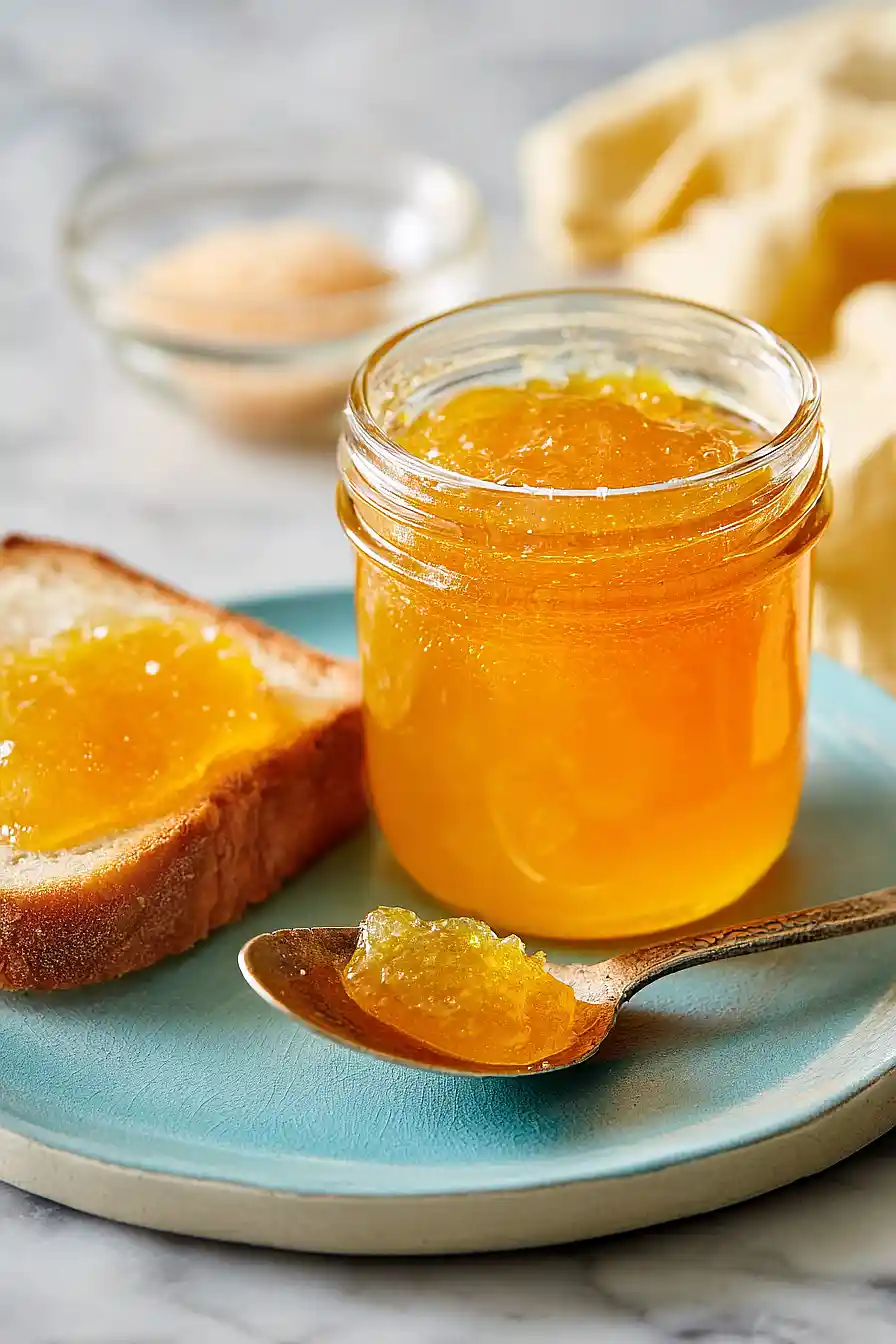
Corn cob jelly has a sweet, mild flavor that works beautifully on your morning toast or English muffins, especially when paired with a little butter. I love spreading it on warm biscuits or cornbread for breakfast, which really brings out its subtle corn sweetness. This jelly also makes a great addition to a cheese board – try it with sharp cheddar or cream cheese and crackers for an unexpected treat that guests always ask about. You can even use it as a glaze for roasted chicken or pork chops during the last few minutes of cooking for a sweet and slightly savory finish.
Storage Instructions
Store: Once your jars have cooled and sealed properly, store them in a cool, dark place like a pantry or cupboard. Unopened jars will keep for up to a year, which is great because you can enjoy this sweet corn flavor all year long!
After Opening: After you crack open a jar, keep it in the refrigerator and use it within 3-4 weeks. The jelly should stay nice and spreadable, perfect for your morning toast or biscuits whenever you want a taste of summer.
| Preparation Time | 10-15 minutes |
| Cooking Time | 20-30 minutes |
| Total Time | 30-45 minutes |
| Level of Difficulty | Easy |
| Servings | 4 cups of jelly |
Estimated Nutrition
Estimated nutrition for the whole recipe (without optional ingredients):
- Calories: 1200-1450
- Protein: 20-25 g
- Fat: 8-12 g
- Carbohydrates: 300-350 g
Ingredients
- 12 corn cobs (shucked and cleaned of all silk)
- 8 cups water
- 1 box (1.75 oz) powdered pectin
- 3 3/4 cups granulated sugar
- 1 tablespoon lemon juice
- 2 drops yellow food coloring (optional)
Step 1: Prepare Corn Cobs and Extract Flavor
- 12 corn cobs
- 8 cups water
Start by removing all kernels from the corn cobs using a knife or corn stripper, then rinse the cleaned cobs thoroughly under cold water to remove any remaining silk or debris.
Place the 12 prepared corn cobs in a large pot and cover with 8 cups of water.
Bring to a boil over high heat, then reduce to a simmer and cook for 10 minutes to extract the corn’s subtle flavor into the liquid.
This brief boil is enough to capture the essence without over-extracting bitter compounds from the cob material.
Step 2: Strain and Measure Corn Cob Liquid
- strained corn cob liquid from Step 1
Remove the pot from heat and carefully strain the liquid through a fine-mesh sieve or cheesecloth into a clean bowl, discarding the spent cobs.
You should have approximately 6-7 cups of flavorful liquid.
Measure out 3½ cups of this liquid and set aside in your jelly pot—this is the ideal ratio for setting with pectin.
I like to taste a small sip of the strained liquid at this point; it should have a delicate corn flavor that’s slightly sweet.
Step 3: Bloom Pectin and Build the Base
- 3 1/2 cups strained corn cob liquid from Step 2
- 1 box powdered pectin
Pour the 3½ cups of measured corn cob liquid into your jelly pot and place over medium heat.
Whisk in the powdered pectin slowly and thoroughly, stirring constantly to break up any lumps so it dissolves evenly throughout the liquid.
Continue stirring for about 1-2 minutes until the pectin is fully incorporated and the mixture is smooth.
Increase heat to high and bring the mixture to a full rolling boil.
Step 4: Add Sugar and Achieve Full Boil
- 3 3/4 cups granulated sugar
- 1 tablespoon lemon juice
- pectin mixture from Step 3
Once the pectin mixture reaches a full rolling boil, stir in all 3¾ cups of granulated sugar, making sure it dissolves completely into the liquid.
Add the lemon juice, which will enhance the corn flavor and help the jelly set properly by adding pectin-supporting acidity.
Return the mixture to a full rolling boil and maintain this vigorous boil for exactly 1 minute—this brief intense heat activates the pectin and allows proper gel formation.
Remove from heat and let sit for 1 minute.
Step 5: Remove Foam and Add Color
- 2 drops yellow food coloring
- jelly mixture from Step 4
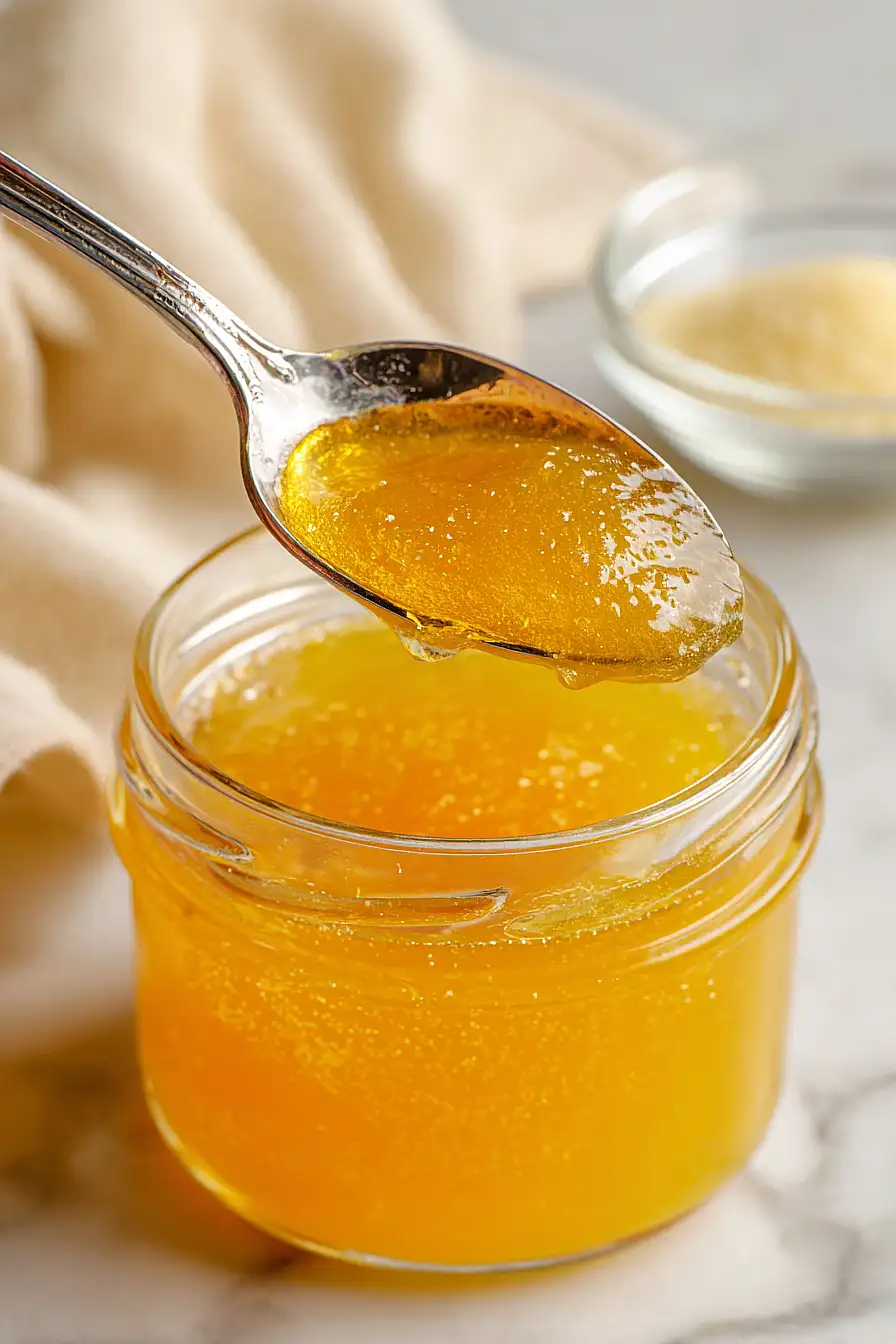
Using a clean spoon or skimmer, skim off any foam that has risen to the surface of the jelly—this creates a clearer, more appealing final product.
If using food coloring, add 2 drops of yellow food coloring now and stir gently to distribute evenly throughout the mixture.
The pale corn cob jelly will take on a lovely golden hue that makes it visually appetizing.
I find that the yellow food coloring really brings out the corn theme and makes the jelly look more inviting on the shelf.
Step 6: Fill Jars and Process
- finished jelly from Step 5
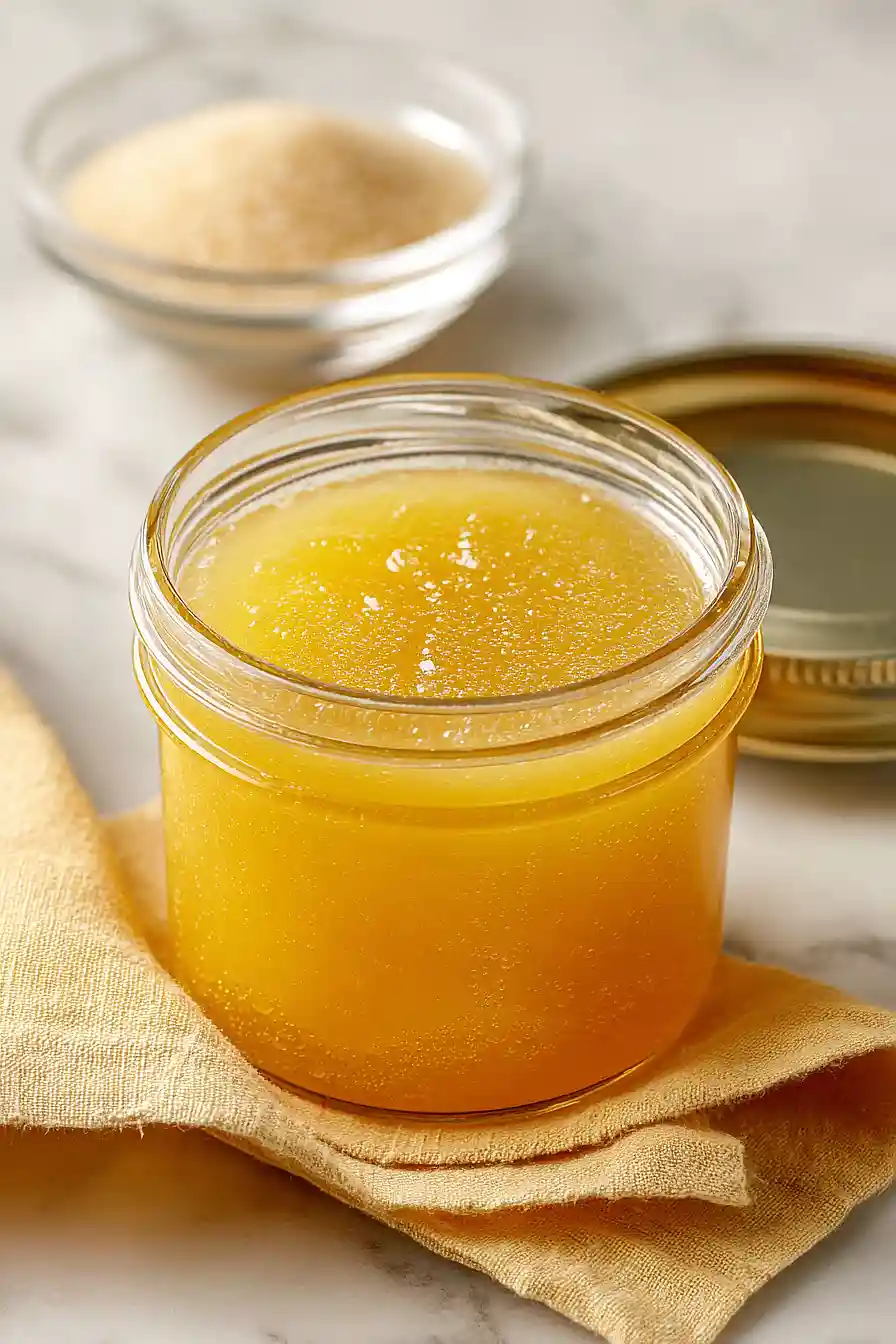
Carefully ladle the hot jelly into sterilized mason jars, leaving ¼ inch of headspace at the top.
Wipe the jar rims clean with a damp cloth, then place sterilized lids and bands on each jar.
Process the filled jars in a boiling water bath for 10-15 minutes, keeping the jars fully submerged beneath the water.
The processing time ensures proper sealing and shelf stability.
Step 7: Cool and Set
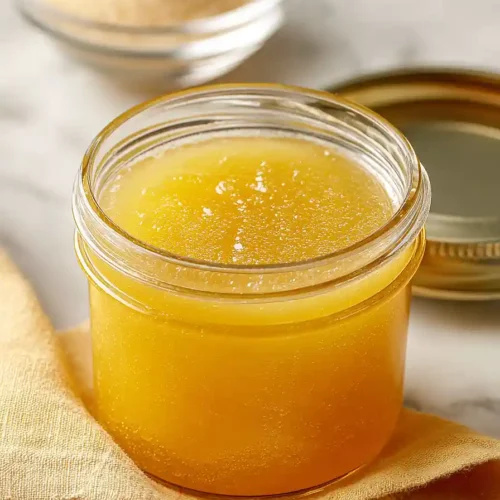
Remove the jars from the water bath using jar lifters and place them on a clean kitchen towel or cooling rack, spacing them apart so air can circulate around each one.
As the jars cool, you’ll hear the satisfying ‘pop’ of the lids sealing.
Let the jars cool completely at room temperature for 12-24 hours before disturbing them—this resting time allows the pectin to fully set into a beautiful, spreadable gel.
Store sealed jars in a cool, dark place; once opened, refrigerate and use within 3-4 weeks.
Best Corn Cob Jelly
Ingredients
- 12 corn cobs (shucked and cleaned of all silk)
- 8 cups water
- 1 box (1.75 oz) powdered pectin
- 3 3/4 cups granulated sugar
- 1 tablespoon lemon juice
- 2 drops yellow food coloring (optional)
Instructions
- Start by removing all kernels from the corn cobs using a knife or corn stripper, then rinse the cleaned cobs thoroughly under cold water to remove any remaining silk or debris. Place the 12 prepared corn cobs in a large pot and cover with 8 cups of water. Bring to a boil over high heat, then reduce to a simmer and cook for 10 minutes to extract the corn's subtle flavor into the liquid. This brief boil is enough to capture the essence without over-extracting bitter compounds from the cob material.
- Remove the pot from heat and carefully strain the liquid through a fine-mesh sieve or cheesecloth into a clean bowl, discarding the spent cobs. You should have approximately 6-7 cups of flavorful liquid. Measure out 3½ cups of this liquid and set aside in your jelly pot—this is the ideal ratio for setting with pectin. I like to taste a small sip of the strained liquid at this point; it should have a delicate corn flavor that's slightly sweet.
- Pour the 3½ cups of measured corn cob liquid into your jelly pot and place over medium heat. Whisk in the powdered pectin slowly and thoroughly, stirring constantly to break up any lumps so it dissolves evenly throughout the liquid. Continue stirring for about 1-2 minutes until the pectin is fully incorporated and the mixture is smooth. Increase heat to high and bring the mixture to a full rolling boil.
- Once the pectin mixture reaches a full rolling boil, stir in all 3¾ cups of granulated sugar, making sure it dissolves completely into the liquid. Add the lemon juice, which will enhance the corn flavor and help the jelly set properly by adding pectin-supporting acidity. Return the mixture to a full rolling boil and maintain this vigorous boil for exactly 1 minute—this brief intense heat activates the pectin and allows proper gel formation. Remove from heat and let sit for 1 minute.
- Using a clean spoon or skimmer, skim off any foam that has risen to the surface of the jelly—this creates a clearer, more appealing final product. If using food coloring, add 2 drops of yellow food coloring now and stir gently to distribute evenly throughout the mixture. The pale corn cob jelly will take on a lovely golden hue that makes it visually appetizing. I find that the yellow food coloring really brings out the corn theme and makes the jelly look more inviting on the shelf.
- Carefully ladle the hot jelly into sterilized mason jars, leaving ¼ inch of headspace at the top. Wipe the jar rims clean with a damp cloth, then place sterilized lids and bands on each jar. Process the filled jars in a boiling water bath for 10-15 minutes, keeping the jars fully submerged beneath the water. The processing time ensures proper sealing and shelf stability.
- Remove the jars from the water bath using jar lifters and place them on a clean kitchen towel or cooling rack, spacing them apart so air can circulate around each one. As the jars cool, you'll hear the satisfying 'pop' of the lids sealing. Let the jars cool completely at room temperature for 12-24 hours before disturbing them—this resting time allows the pectin to fully set into a beautiful, spreadable gel. Store sealed jars in a cool, dark place; once opened, refrigerate and use within 3-4 weeks.


