I never thought about canning pico de gallo until my neighbor’s tomato plants went crazy one summer. She was literally dropping off bags of tomatoes on my doorstep every other day, and I was running out of ways to use them all before they went bad.
That’s when my mom suggested canning some pico de gallo. I figured fresh pico was always better, but canned pico de gallo actually holds up really well. Plus, there’s something nice about opening a jar in the middle of winter and tasting that summer freshness again.
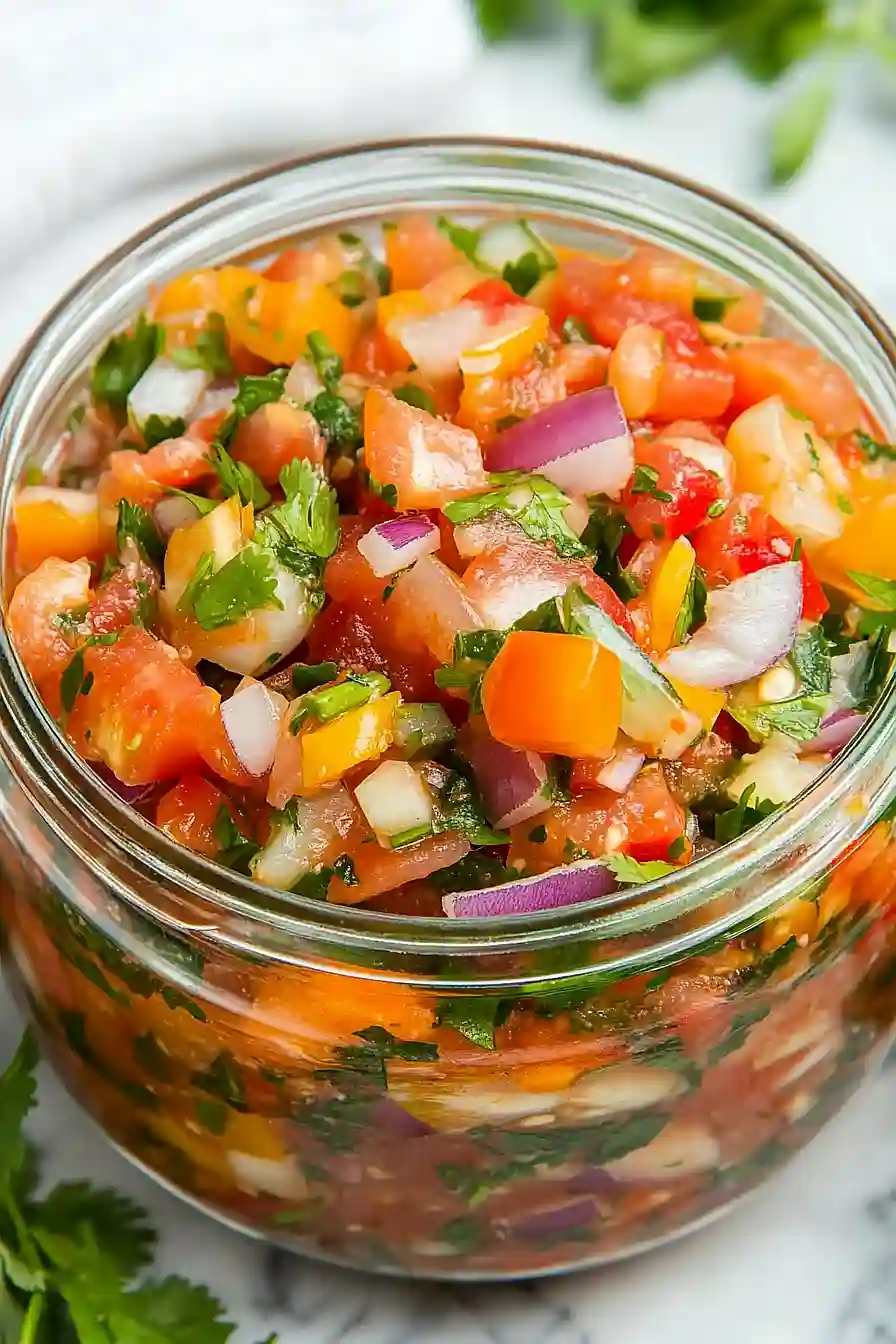
Why You’ll Love This Pico de Gallo
- Long-lasting freshness – Canning this pico de gallo means you can enjoy that fresh, zesty flavor for months instead of just a few days in the fridge.
- Simple ingredients – You only need six basic ingredients that you can easily find at any grocery store, making this recipe accessible and budget-friendly.
- Perfect for meal prep – Make a big batch once and have ready-to-eat salsa for tacos, chips, eggs, or any dish that needs a fresh kick of flavor.
- Great for preserving garden harvest – If you have an abundance of tomatoes and peppers from your garden, this is the perfect way to preserve them without any waste.
- Safe home canning recipe – This tested recipe uses the right amount of acid to ensure safe preservation, so you can feel confident about your homemade canned goods.
What Kind of Tomatoes Should I Use?
Roma tomatoes are definitely your best bet for canning pico de gallo since they’re meaty with fewer seeds and less water content than other varieties. This means your pico won’t get watery during the canning process, which is exactly what you want for a good shelf-stable product. If you can’t find Roma tomatoes, other paste tomatoes like San Marzano or plum tomatoes will work just as well. Make sure your tomatoes are ripe but still firm – overly soft tomatoes can make your pico mushy, and you’ll want them to hold their shape nicely in the jar.

Options for Substitutions
While canning recipes require some precision for safety, there are still a few swaps you can make with this pico de gallo:
- Roma tomatoes: You can use other paste tomatoes like San Marzano or plum tomatoes, but avoid watery varieties like beefsteak. Make sure to maintain the same weight after removing seeds and excess juice.
- Jalapeno pepper: Feel free to swap with serrano peppers for more heat, or use poblano peppers for a milder kick. You can also adjust the amount – use half a pepper for less spice or add another half for more fire.
- Bottled lime juice: This is one ingredient you shouldn’t substitute when canning. Fresh lime juice has variable acidity levels, which can affect the safety of your preserved pico. Stick with bottled lime juice for consistent acidity.
- Pickling salt: You can use kosher salt or sea salt instead, but avoid table salt with iodine as it can cloud your liquid and affect the taste.
- Cilantro: If you’re not a cilantro fan, try fresh oregano or even fresh parsley, though the flavor will be different. Use the same amount.
Watch Out for These Mistakes While Canning
The biggest safety risk when canning pico de gallo is using fresh lime juice instead of bottled – fresh juice doesn’t have consistent acidity levels, which can lead to dangerous bacteria growth in your sealed jars.
Another critical mistake is not removing all the seeds and gel from your tomatoes, as this extra moisture can throw off the recipe’s pH balance and create an unsafe product for canning.
Make sure to follow the processing time exactly for your altitude and jar size, and never skip the headspace measurement of 1/2 inch – too much or too little space can prevent proper sealing.
Finally, resist the urge to double the recipe or change ingredient ratios, since canning recipes are carefully tested for safety and any modifications can make your preserved pico de gallo unsafe to eat.

What to Serve With Pico de Gallo?
This fresh pico de gallo is perfect with just about any Mexican or Tex-Mex dish you can think of! I love spooning it over tacos, burritos, or quesadillas for that bright, zesty kick that cuts through rich flavors. It’s also amazing as a dip with tortilla chips for parties or game day snacking. You can even use it to top grilled chicken, fish, or steak to add some fresh flavor, or mix it into scrambled eggs for a tasty breakfast twist.
Storage Instructions
Pantry Storage: Once your canned pico de gallo has been properly processed and sealed, you can store those jars in a cool, dark pantry for up to one year. Make sure to check that all the lids have sealed properly – they should be firm and not pop when pressed. Any jars that didn’t seal should go straight to the fridge and be used within a week.
Refrigerate After Opening: After you crack open a jar, keep it in the refrigerator and use it within 7-10 days for the best flavor and safety. The texture might be a bit softer than fresh pico, but it’s still perfect for tacos, chips, or adding to your favorite Mexican dishes.
Label and Date: Don’t forget to label each jar with the date you canned it! I like to write it right on the lid with a permanent marker. This way you can easily keep track of which jars to use first and make sure you’re always enjoying the freshest batch.
| Preparation Time | 30-45 minutes |
| Cooking Time | 15-25 minutes |
| Total Time | 45-70 minutes |
| Level of Difficulty | Medium |
Estimated Nutrition
Estimated nutrition for the whole recipe (without optional ingredients):
- Calories: 250-300
- Protein: 7-9 g
- Fat: 1-2 g
- Carbohydrates: 55-65 g
Ingredients
For the fresh ingredients:
- 2 tbsp fresh cilantro (finely chopped)
- 1 large jalapeno (seeds removed, minced for medium heat)
- 1 medium white onion (finely diced)
- 2 lb Roma tomatoes (diced into 1/4-inch pieces)
For the liquid and seasoning:
- 1 tsp pickling salt (not table salt, prevents cloudiness)
- 1/2 cup bottled lime juice (I use ReaLime for consistent acidity in canning)
Step 1: Prepare Equipment and Ingredients
- 2 lb Roma tomatoes
- 1 medium white onion
- 1 large jalapeno
- 2 tbsp fresh cilantro
Start by washing your jars, lids, and screw bands thoroughly, then sterilize the jars in 180°F water for 10 minutes to ensure they’re ready for canning—keep them hot in the water until you’re ready to fill them.
While the jars sterilize, wash your tomatoes, onion, and jalapeno.
Dice the tomatoes into 1/4-inch pieces, finely dice the onion, and mince the jalapeno after removing the seeds for medium heat (I like to remove the seeds and ribs completely to control the heat level).
Finely chop your fresh cilantro and have all ingredients prepped and ready before you begin cooking.
Step 2: Build and Cook the Pico de Gallo
- diced tomatoes, onion, and jalapeno from Step 1
- 1/2 cup bottled lime juice
- 1 tsp pickling salt
- cilantro from Step 1
Transfer the diced tomatoes and onion to a saucepan and place over medium-high heat.
Once the mixture begins to warm, add the minced jalapeno, cilantro, bottled lime juice, and pickling salt—I always use bottled lime juice for canning because it gives consistent acidity, which is critical for food safety.
Stir everything together well to combine, then bring the mixture to a rolling boil.
Once boiling, reduce the heat to a simmer and cook for 3 minutes, stirring occasionally to ensure even cooking and flavor distribution.
Step 3: Fill and Seal the Jars
- hot pico de gallo from Step 2
Using a ladle, carefully transfer the hot pico de gallo from Step 2 into the hot sterilized jars, leaving exactly 1/2 inch of headspace at the top of each jar.
Run a clean knife or bubble remover around the inside edge of each jar to release any trapped air bubbles.
Wipe the jar rims completely clean with a damp cloth—any residue will prevent a proper seal.
Place the hot lids on each jar and screw the bands on fingertip tight, meaning snug but not forcefully tight, which allows steam to escape during processing.
Step 4: Process Jars in Boiling Water Bath
Place the filled jars into a boiling water canner, ensuring the water level is 1-2 inches above the jar lids.
Bring the water to a rolling boil and maintain it throughout processing.
Process according to your elevation: 15 minutes for 0-1,000 feet, 20 minutes for 1,001-6,000 feet, or 25 minutes above 6,000 feet.
Once the processing time is complete, turn off the heat and let the jars sit in the water for 5 minutes before removing them.
Step 5: Cool and Test for Seals
Carefully remove the jars from the boiling water canner using a jar lifter and place them on a clean surface, spacing them apart so air can circulate around them.
Let the jars cool completely for 12-24 hours without moving or disturbing them—this resting period is crucial for the seals to set properly.
Once cooled, check each lid by pressing down gently on the center; a properly sealed lid should not flex up and down.
Any jar that didn’t seal should be refrigerated and used within 2-3 weeks, while sealed jars can be stored in a cool, dark place for up to 1 year.








Sounds wonderful. How many pints does this make?
How many pints does this make?
How many jars does this make?