Chicken tenders aren’t just for kids. Sure, my family goes through them like crazy, but I’m not ashamed to admit I love them just as much as my children do. The problem? Traditional fried chicken tenders mean dealing with a pot of hot oil and a greasy stovetop. I’d rather spend my time eating than cleaning.
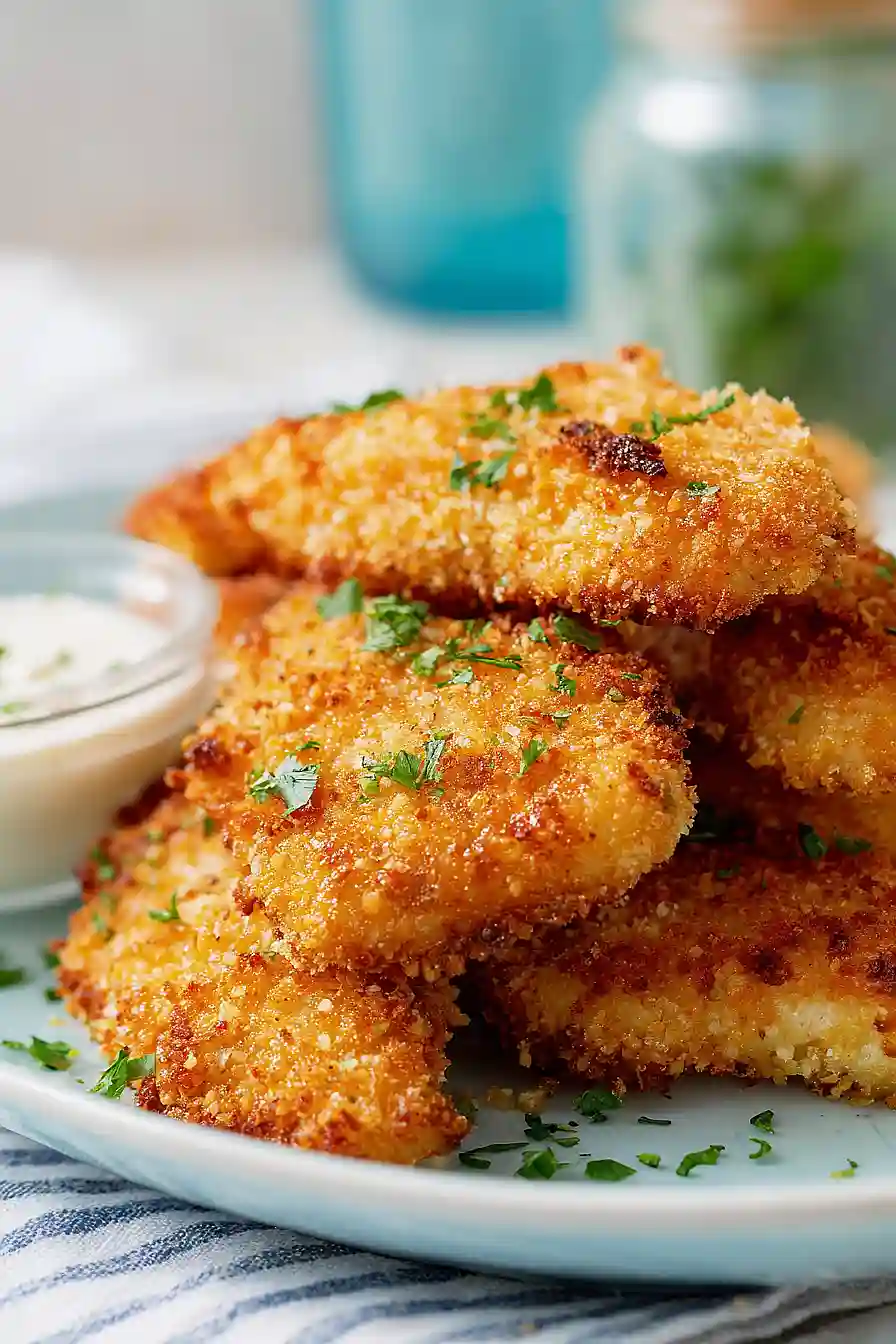
That’s why I started making chicken tenders in my air fryer. They come out crispy on the outside and juicy on the inside, without all the mess. The secret is a quick brine and a good coating of panko breadcrumbs. I prep everything while I’m already in the kitchen making lunch, so it’s ready to cook for dinner.
Want restaurant-quality chicken tenders without leaving your house? You’re in the right place. These are so good that even my pickiest eater asks for seconds.

Why You’ll Love These Air Fryer Chicken Tenders
- Crispy without deep frying – The air fryer gives you that satisfying crunch you crave without all the oil, making these tenders way healthier than traditional fried chicken.
- Kid-friendly favorite – These chicken tenders are always a hit with children and adults alike, making them perfect for family dinners or game day snacks.
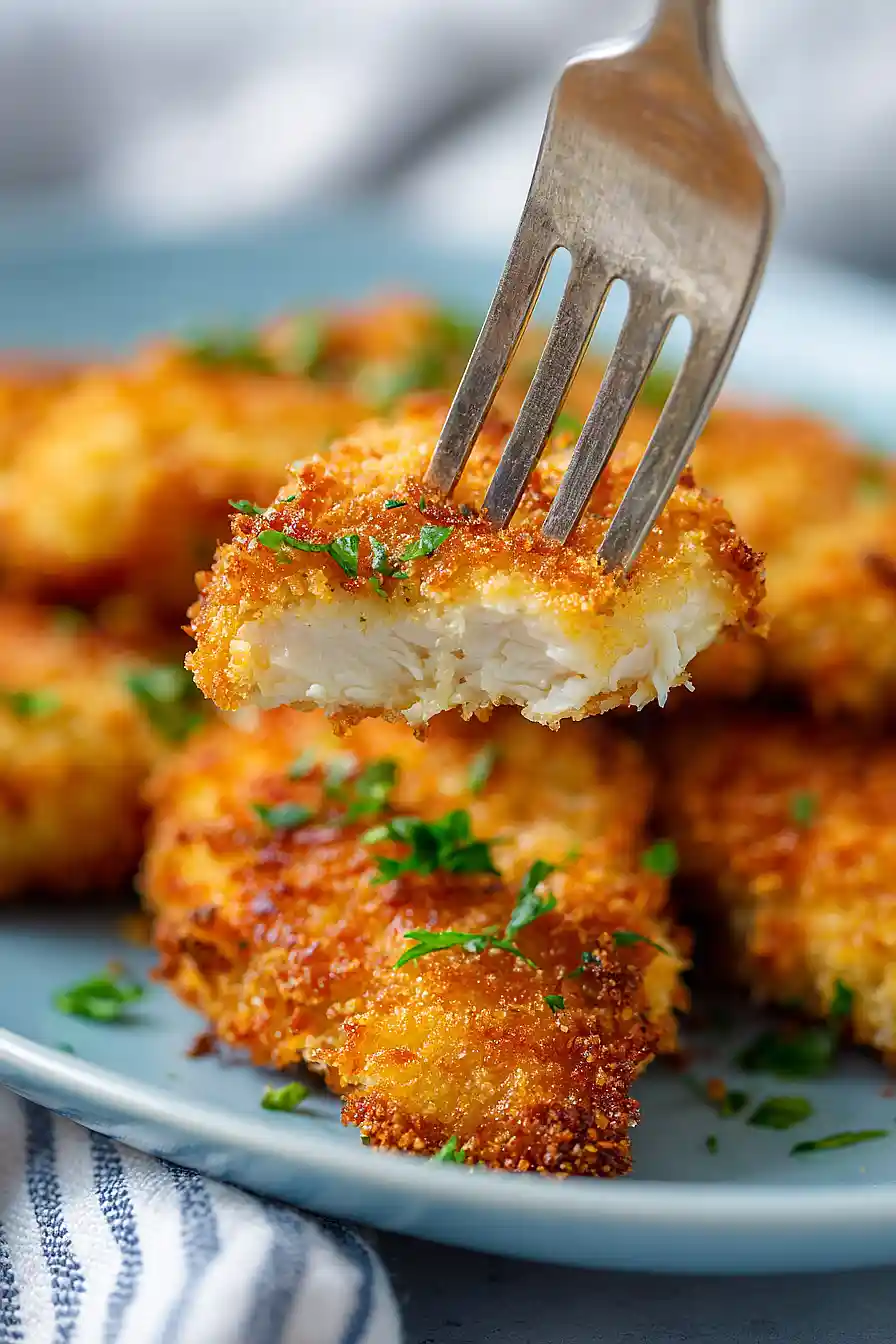
- Juicy and flavorful – Brining the chicken beforehand keeps the meat tender and moist, while the spice blend adds just the right amount of flavor without being overwhelming.
- Quick cleanup – Using the air fryer means no messy oil splatters or greasy pans to scrub, so you can enjoy your meal without dreading the dishes afterward.
What Kind of Chicken Tenders Should I Use?
You can use either pre-cut chicken tenders (also called chicken tenderloins) or make your own by slicing chicken breasts into strips – both work great for this recipe. If you’re buying pre-cut tenders, look for ones that are roughly the same size so they cook evenly in the air fryer. Fresh chicken is ideal, but if you’re working with frozen tenders, just make sure to thaw them completely in the fridge overnight before you start. Try to avoid tenders that look too thin or raggedy, as they can dry out quickly during cooking.
Options for Substitutions
This recipe is pretty forgiving when it comes to swaps, so here are some options that work well:
- Chicken tenders: You can use chicken breast cut into strips instead of tenders. Just slice them about 1 inch thick so they cook evenly. Cooking time stays about the same.
- Panko breadcrumbs: Regular breadcrumbs work fine here, though your coating won’t be quite as crispy. You can also use crushed cornflakes or crushed crackers for a different crunch.
- Spice mix: Feel free to adjust the spices to your taste. If you don’t like heat, skip the cayenne. You can also use a store-bought seasoning blend like Cajun or Italian seasoning instead of making your own.
- Eggs: For an egg-free version, use buttermilk or plain yogurt thinned with a bit of water. It’ll still help the breading stick just fine.
- Brine: Short on time? You can skip the brining step, though your chicken won’t be quite as juicy. If you do skip it, consider marinating in buttermilk for 30 minutes instead.
Watch Out for These Mistakes While Cooking
Overcrowding the air fryer basket is the biggest mistake you can make with chicken tenders, as it prevents proper air circulation and leaves you with soggy breading instead of crispy coating – cook them in batches with space between each tender for the best results.
Skipping the brine might seem like a time-saver, but those 30 minutes in the salt-sugar water make a huge difference in keeping the chicken juicy and flavorful, so don’t skip this step even if you’re in a rush.
Another common error is not drying the chicken well after brining, which creates a wet surface that prevents the breading from sticking properly and can lead to bare spots.
Finally, resist the urge to skip the oil spray – even though it’s an air fryer, that light coating of oil is what turns the panko golden brown and crispy rather than pale and dry.
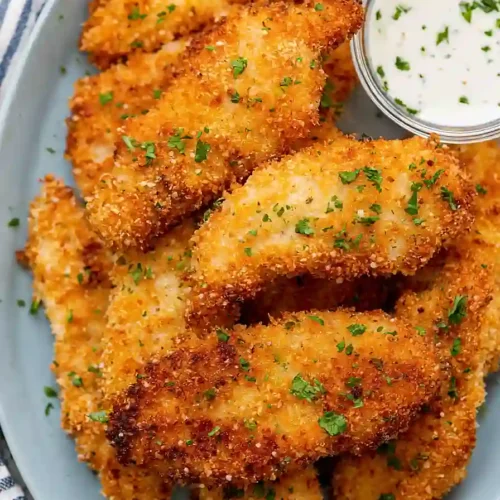
What to Serve With Chicken Tenders?
Chicken tenders are perfect for dipping, so set out a variety of sauces like honey mustard, ranch, BBQ sauce, or buffalo sauce to keep things interesting. I love serving them alongside crispy french fries or sweet potato fries for a classic combo that everyone enjoys. For a lighter option, pair your tenders with a simple coleslaw or a fresh garden salad with your favorite dressing. You can also make them part of a bigger meal by adding mac and cheese, corn on the cob, or some roasted vegetables on the side.
Storage Instructions
Store: Keep your leftover chicken tenders in an airtight container in the fridge for up to 4 days. They’re great for quick lunches or snacks throughout the week, and honestly taste pretty good cold too if you’re in a rush!
Freeze: These freeze really well for up to 3 months. Let them cool completely, then arrange them in a single layer on a baking sheet and freeze until solid. After that, transfer them to a freezer bag so they don’t stick together.
Reheat: Pop them back in the air fryer at 350°F for about 5-7 minutes to get that crispy coating back. You can also use the oven at 400°F for 10 minutes if you don’t have an air fryer handy. Skip the microwave though, or they’ll get soggy.
| Preparation Time | 45-60 minutes |
| Cooking Time | 10-15 minutes |
| Total Time | 55-75 minutes |
| Level of Difficulty | Medium |
| Servings | 4 servings |
Estimated Nutrition
Estimated nutrition for the whole recipe (without optional ingredients):
- Calories: 1700-2000
- Protein: 180-200 g
- Fat: 30-40 g
- Carbohydrates: 130-160 g
Ingredients
For the brine:
- 4 cups water
- 2.5 tbsp salt
- 1.5 tbsp sugar
For the spice mix:
- 1.25 tsp salt
- 0.75 tsp black pepper
- 0.75 tsp paprika
- 0.75 tsp garlic powder
- 0.75 tsp onion powder
- 0.5 tsp cayenne pepper
For the chicken tenders:
- 2 lb chicken tenders
- 3 tbsp flour (I use King Arthur all-purpose)
- 0.25 tsp baking powder
- 2 eggs
- 1 tbsp water
- 2.25 cups panko breadcrumbs (for extra crispiness)
- oil spray (like avocado oil)
Step 1: Brine the Chicken for Juiciness and Flavor
- 4 cups water
- 2.5 tbsp salt
- 1.5 tbsp sugar
- 2 lb chicken tenders
In a bowl, combine 4 cups water with 2.5 tbsp salt and 1.5 tbsp sugar, stirring until completely dissolved.
Submerge the chicken tenders in this brine and refrigerate for at least 30 minutes, or up to overnight for deeper seasoning.
Brining ensures the chicken stays moist during air frying by allowing it to absorb seasoned liquid throughout the meat.
Step 2: Prepare the Seasoning Blend and Breading Station
- 1.25 tsp salt
- 0.75 tsp black pepper
- 0.75 tsp paprika
- 0.75 tsp garlic powder
- 0.75 tsp onion powder
- 0.5 tsp cayenne pepper
- 2.25 cups panko breadcrumbs
In a small bowl, combine 1.25 tsp salt, 0.75 tsp black pepper, 0.75 tsp paprika, 0.75 tsp garlic powder, 0.75 tsp onion powder, and 0.5 tsp cayenne pepper—this is your master spice blend.
On a plate, mix the panko breadcrumbs with two-thirds of the spice blend and set aside.
This separation allows you to create a flavorful batter and a well-seasoned coating.
Step 3: Make the Flour and Egg Batter
- 3 tbsp flour
- 0.25 tsp baking powder
- 2 eggs
- 1 tbsp water
- spice blend from Step 2
In a separate bowl, whisk together 3 tbsp flour, 0.25 tsp baking powder, 2 eggs, 1 tbsp water, and the remaining one-third of the spice blend from Step 2.
Mix until you achieve a slightly loose batter—it should coat the chicken but not be too thick.
If the batter seems too dense, add water one tablespoon at a time until it reaches the right consistency.
I like to let this batter rest for a minute so the baking powder has time to activate slightly, which helps create an extra-crispy exterior.
Step 4: Bread the Chicken and Prepare for Air Frying
- brined chicken from Step 1
- batter from Step 3
- panko-spice mixture from Step 2
Remove the brined chicken from the liquid and pat dry thoroughly with paper towels—this is crucial for achieving crispiness.
Working one tender at a time, dip it into the batter from Step 3, allowing excess to drip off, then immediately press it into the panko mixture from Step 2, making sure all sides are well coated.
Arrange the breaded tenders on a clean plate without overlapping.
I find that pressing the panko firmly onto the wet batter helps it adhere better during cooking.
Step 5: Air Fry the Chicken to Golden Crispiness
- breaded chicken from Step 4
- oil spray
Lightly spray oil on one side of each breaded chicken tender, then place them oil-side down in the air fryer basket.
Spray the top sides generously with oil as well.
Air fry at 400°F for 8 minutes, then flip each tender carefully and air fry for an additional 4-6 minutes until golden brown and cooked through.
The chicken is done when the internal temperature reaches 165°F at the thickest part.
The oil spray combined with the baking powder in the coating creates that satisfying crunch you’d get from deep frying, but with much less oil.
Breaded Air Fryer Chicken Tenders
Ingredients
For the brine::
- 4 cups water
- 2.5 tbsp salt
- 1.5 tbsp sugar
For the spice mix::
- 1.25 tsp salt
- 0.75 tsp black pepper
- 0.75 tsp paprika
- 0.75 tsp garlic powder
- 0.75 tsp onion powder
- 0.5 tsp cayenne pepper
For the chicken tenders::
- 2 lb chicken tenders
- 3 tbsp flour (I use King Arthur all-purpose)
- 0.25 tsp baking powder
- 2 eggs
- 1 tbsp water
- 2.25 cups panko breadcrumbs (for extra crispiness)
- oil spray (like avocado oil)
Instructions
- In a bowl, combine 4 cups water with 2.5 tbsp salt and 1.5 tbsp sugar, stirring until completely dissolved. Submerge the chicken tenders in this brine and refrigerate for at least 30 minutes, or up to overnight for deeper seasoning. Brining ensures the chicken stays moist during air frying by allowing it to absorb seasoned liquid throughout the meat.
- In a small bowl, combine 1.25 tsp salt, 0.75 tsp black pepper, 0.75 tsp paprika, 0.75 tsp garlic powder, 0.75 tsp onion powder, and 0.5 tsp cayenne pepper—this is your master spice blend. On a plate, mix the panko breadcrumbs with two-thirds of the spice blend and set aside. This separation allows you to create a flavorful batter and a well-seasoned coating.
- In a separate bowl, whisk together 3 tbsp flour, 0.25 tsp baking powder, 2 eggs, 1 tbsp water, and the remaining one-third of the spice blend from Step 2. Mix until you achieve a slightly loose batter—it should coat the chicken but not be too thick. If the batter seems too dense, add water one tablespoon at a time until it reaches the right consistency. I like to let this batter rest for a minute so the baking powder has time to activate slightly, which helps create an extra-crispy exterior.
- Remove the brined chicken from the liquid and pat dry thoroughly with paper towels—this is crucial for achieving crispiness. Working one tender at a time, dip it into the batter from Step 3, allowing excess to drip off, then immediately press it into the panko mixture from Step 2, making sure all sides are well coated. Arrange the breaded tenders on a clean plate without overlapping. I find that pressing the panko firmly onto the wet batter helps it adhere better during cooking.
- Lightly spray oil on one side of each breaded chicken tender, then place them oil-side down in the air fryer basket. Spray the top sides generously with oil as well. Air fry at 400°F for 8 minutes, then flip each tender carefully and air fry for an additional 4-6 minutes until golden brown and cooked through. The chicken is done when the internal temperature reaches 165°F at the thickest part. The oil spray combined with the baking powder in the coating creates that satisfying crunch you'd get from deep frying, but with much less oil.


