There’s something special about a really good fried chicken sandwich. It’s crispy, juicy, and hits all the right spots when you’re craving comfort food. But let’s be honest – most of us think we need to head to our favorite restaurant to get one that’s actually worth eating.
That’s where this homemade version comes in. You don’t need fancy equipment or hard-to-find ingredients to make restaurant-quality fried chicken at home. I’ve been making this recipe for years, and it’s become our go-to weekend meal when we want something that feels like a treat.
The best part? You control everything – the spice level, the crunch, and especially the size of that chicken breast. No more tiny sandwiches that leave you hungry an hour later. This one actually fills you up and tastes better than anything you’ll get in a drive-through.
Why You’ll Love This Fried Chicken Sandwich
- Crispy, golden coating – The seasoned flour mixture creates that perfect crunch you’re craving, while keeping the chicken juicy and tender inside.
- Restaurant-quality at home – You can make this popular sandwich right in your own kitchen without paying those high restaurant prices.
- Simple ingredients – Most of these items are probably already sitting in your pantry and fridge, making it easy to whip up whenever the craving hits.
- Quick weeknight dinner – Ready in under an hour, this sandwich is perfect when you want something special but don’t have all day to cook.
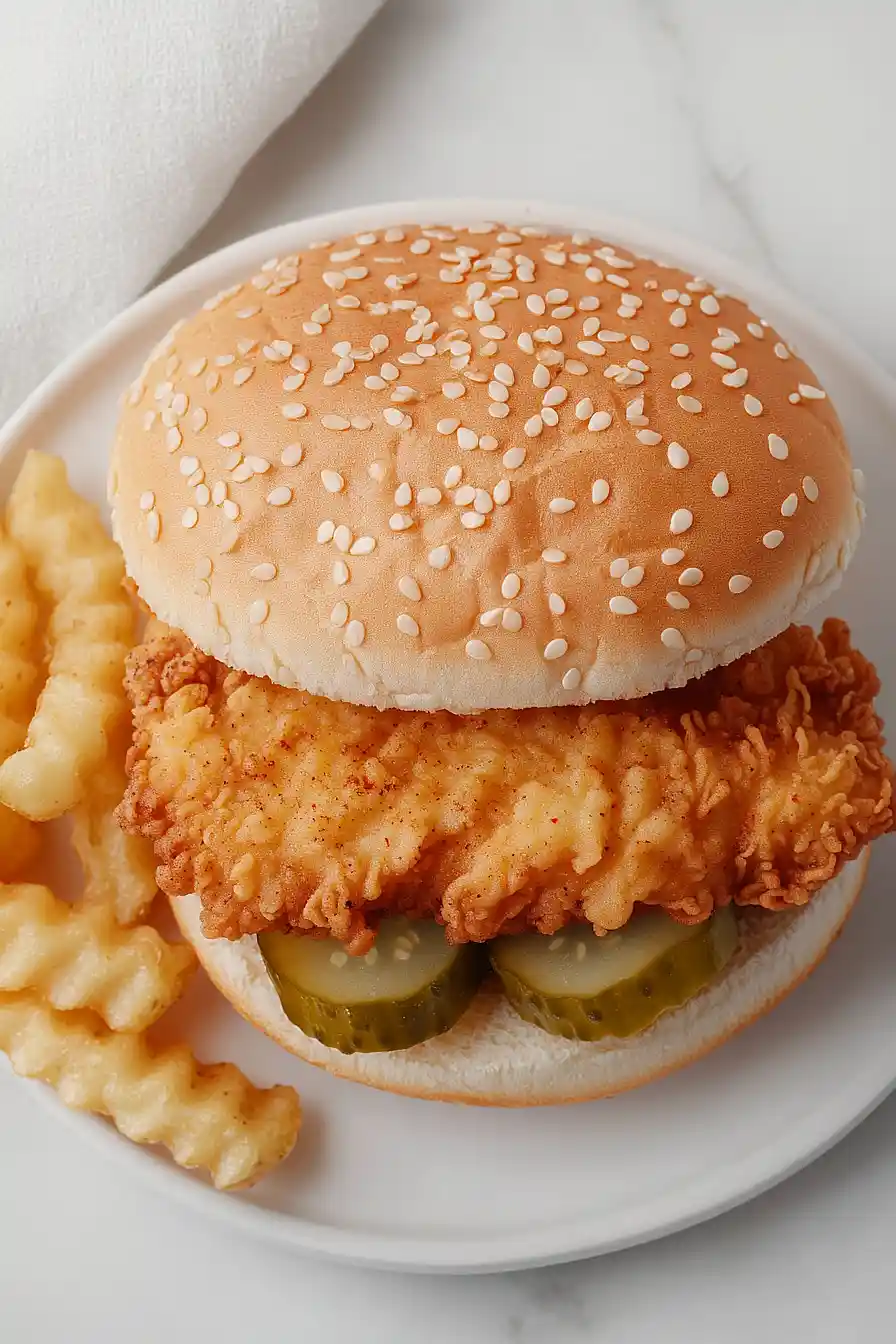
- Customizable toppings – The pickles add that classic tangy crunch, but you can easily add your favorite sauces and toppings to make it your own.
What Kind of Chicken Should I Use?
For the best fried chicken sandwich, you’ll want to stick with boneless, skinless chicken breasts since they cook evenly and are easy to bite through in a sandwich. If your chicken breasts are really thick, consider pounding them out to about ¾ inch thickness so they cook through without burning the coating. You can also slice one large breast in half horizontally to create two thinner pieces. Fresh chicken will give you the best results, but if you’re using frozen, make sure it’s completely thawed and patted dry before you start cooking. Some people like to brine their chicken for extra juiciness, but with the pickle brine in this recipe, you’re already getting some of that flavor boost.

Options for Substitutions
This fried chicken sandwich recipe is pretty adaptable if you need to make some swaps:
- Chicken breasts: Chicken thighs work great here too and actually stay juicier during frying. You can also use chicken tenders if you want smaller portions – just adjust the cooking time accordingly.
- Peanut oil: If you don’t have peanut oil, vegetable oil, canola oil, or even lard will work perfectly for frying. Just make sure whatever oil you use has a high smoke point.
- Dill pickle slices: Regular dill pickles work fine if you can’t find the specific slices. You can even use bread and butter pickles if you prefer a sweeter flavor, though you’ll miss that classic tangy kick.
- All-purpose flour: You can substitute with self-rising flour, but skip the added salt in the recipe since self-rising flour already contains it.
- Milk: Buttermilk makes an even better substitute here – it’ll give you extra tender chicken and more flavor. Heavy cream or even water will work in a pinch.
- Sandwich buns: Brioche buns are fantastic if you want something richer, or you can use regular hamburger buns or even thick slices of good bread.
Watch Out for These Mistakes While Cooking
The biggest mistake when making fried chicken sandwiches is not maintaining the right oil temperature – if it’s too low, your chicken will absorb grease and turn soggy, while too high heat will burn the coating before the chicken cooks through, so aim for 350°F and use a thermometer to check.
Another common error is skipping the pickle brine step, which not only adds flavor but helps tenderize the chicken, so let those breasts soak for at least 30 minutes before breading.
Don’t forget to pound your chicken breasts to an even thickness of about ¾ inch, as this ensures they cook evenly and prevents dry, overcooked edges while the center is still raw.
Finally, resist the urge to press down on the chicken while it’s frying – this squeezes out the juices and makes the coating less crispy, so just let it do its thing in the oil.

What to Serve With Fried Chicken Sandwich?
A fried chicken sandwich is pretty satisfying on its own, but I love pairing it with crispy fries or onion rings for the full comfort food experience. Coleslaw is another great side that adds a nice crunch and helps balance out all that crispy, juicy goodness. If you want something a bit lighter, try some pickled vegetables or a simple side salad with ranch dressing. Sweet potato fries are also a fun option that pairs really well with the savory flavors of the chicken and those tangy pickles.
Storage Instructions
Store: Leftover fried chicken sandwiches are best stored with the components separated. Keep the fried chicken in the fridge for up to 3 days in an airtight container, and store the buns separately so they don’t get soggy. The pickles and any other toppings should go in their own containers too.
Freeze: You can freeze the cooked chicken pieces for up to 3 months in freezer-safe bags. I like to wrap each piece individually in plastic wrap first, then put them all in a freezer bag. The buns freeze well too, just make sure they’re completely cool before freezing.
Reheat: To get that crispy coating back, reheat the chicken in a 375°F oven for about 10-15 minutes until heated through and crispy again. You can also use an air fryer at 350°F for 5-7 minutes. Avoid the microwave since it’ll make the coating soggy and chewy.
| Preparation Time | 15-30 minutes |
| Cooking Time | 20-30 minutes |
| Total Time | 35-60 minutes |
| Level of Difficulty | Medium |
Estimated Nutrition
Estimated nutrition for the whole recipe (without optional ingredients):
- Calories: 2000-2200
- Protein: 110-120 g
- Fat: 100-110 g
- Carbohydrates: 200-220 g
Ingredients
For the chicken:
- 12 dill pickle slices with brine (I use Vlasic)
- 3 boneless, skinless chicken breasts (pounded to 3/4-inch thickness)
For frying:
- Peanut oil (for deep frying, about 2-3 quarts)
For the breading:
- 2 tbsp powdered sugar
- 1 tsp salt
- 1/2 tsp celery salt
- 1/2 tsp dried basil
- Paprika (to taste, for color and flavor)
- 1 cup all-purpose flour (I use King Arthur)
- 1/2 tsp ground black pepper (freshly ground preferred)
For the egg wash:
- Milk (splash, about 2 tbsp for whisking)
- 2 large eggs
For sandwich assembly:
- 2 tbsp softened butter (for toasting buns)
- 6 sandwich buns (brioche or potato buns work great)
Step 1: Prepare and Marinate the Chicken
- 3 boneless, skinless chicken breasts
- 12 dill pickle slices with brine
Pound each chicken breast to an even 3/4-inch thickness, then cut each one in half lengthwise to create six pieces total.
Place the chicken pieces in a bowl and pour the pickle brine over them, ensuring all pieces are submerged.
Cover and refrigerate for at least 1 hour—the acid from the brine tenderizes the chicken while infusing it with subtle flavor that complements the crispy coating beautifully.
Step 2: Create the Breading Station
- 1 cup all-purpose flour
- 2 tbsp powdered sugar
- 1 tsp salt
- Paprika
- 1/2 tsp ground black pepper
- 1/2 tsp celery salt
- 1/2 tsp dried basil
- 2 large eggs
- Milk
In one shallow bowl, combine the flour, powdered sugar, salt, paprika, celery salt, and dried basil—the sugar adds subtle sweetness and helps create an extra-golden, crispy crust.
In a second shallow bowl, whisk together the eggs and a splash of milk until well combined.
Set both bowls side by side with a clean plate nearby; this three-station setup makes the breading process quick and efficient.
Step 3: Bread the Chicken
- breaded chicken from marinating step
- flour mixture from Step 2
- egg wash from Step 2
Remove chicken from brine and pat dry with paper towels—this is crucial for achieving a crispy crust rather than a soggy one.
Working with one piece at a time, coat it thoroughly in the flour mixture, shaking off excess, then dip it into the egg wash, then dredge it again in the flour mixture for a double-breaded coating.
Place each breaded piece on the clean plate and let it sit for a few minutes while you prepare the oil; I find this resting period helps the coating adhere better during frying.
Step 4: Fry the Chicken to Golden Perfection
- Peanut oil
- breaded chicken from Step 3
Heat the peanut oil to 350°F (175°C) in a heavy pot or deep skillet, using a thermometer to ensure accuracy.
Carefully place the breaded chicken pieces into the hot oil—they should sizzle immediately but not violently.
Fry for 2-3 minutes per side until the coating is deep golden brown and the internal temperature reaches 165°F (74°C).
Transfer the cooked chicken to a paper towel-lined plate to drain excess oil.
Step 5: Toast the Buns
- 2 tbsp softened butter
- 6 sandwich buns
While the chicken rests, spread a thin layer of softened butter on the cut side of each bun.
Heat a skillet over medium heat and toast the buns buttered-side down for 1-2 minutes until golden and lightly crispy.
Toasted buttered buns add textural contrast and prevent the bread from becoming soggy when the warm chicken is placed on it.
Step 6: Assemble and Serve
- toasted buns from Step 5
- 12 dill pickle slices
- fried chicken from Step 4
Place a toasted bun bottom on your work surface and arrange 2 pickle slices on it.
Top with a piece of fried chicken from Step 4, then cover with the top bun.
Repeat with remaining buns and chicken.
Serve immediately while everything is still warm and the chicken is at peak crispiness.


How much paprika did you use?