Getting a tasty weeknight dinner on the table without spending hours in the kitchen can feel impossible, especially when you’re juggling work, family, and everything else life throws at you. Between soccer practice pickups and helping with homework, the last thing you need is a complicated recipe with a million steps.
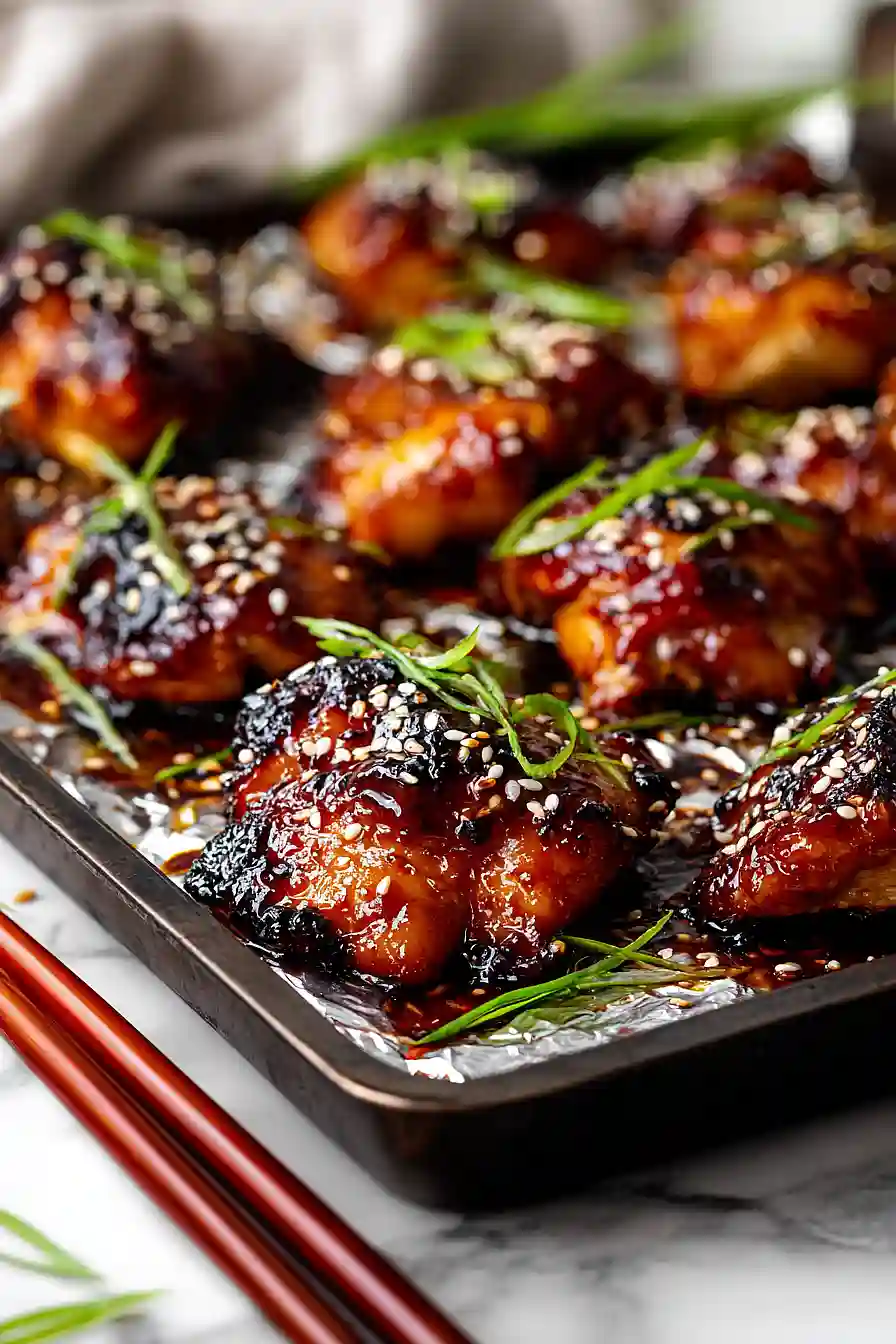
That’s where this oven baked teriyaki chicken comes in. It’s seriously easy to throw together, uses ingredients you probably already have in your pantry, and bakes hands-free while you tackle other things. Plus, it’s way better than takeout and costs a fraction of the price.
Why You’ll Love This Oven Baked Teriyaki Chicken
- Quick weeknight dinner – Ready in just 30-40 minutes, this teriyaki chicken is perfect for busy evenings when you need something fast but flavorful.
- Minimal ingredients – With just chicken, teriyaki sauce, and green onions, you can create a restaurant-quality meal without a long shopping list.
- Baked, not fried – The oven does all the work, giving you tender, saucy chicken without the mess and extra calories of frying.
- Flexible and customizable – Use chicken thighs or breasts depending on what you have, and serve it over rice, with veggies, or however you like.
What Kind of Chicken Should I Use?
Both chicken thighs and chicken breasts work great for this recipe, so it really comes down to personal preference. Thighs tend to be more forgiving since they have a bit more fat, which means they’ll stay juicier even if you accidentally overcook them by a few minutes. Breasts are leaner and will give you a slightly cleaner flavor, but you’ll want to watch them a bit more carefully to avoid drying them out. If you’re using breasts, try to pick pieces that are similar in thickness so they cook evenly, or consider pounding them to an even thickness before baking.
Options for Substitutions
This recipe is super adaptable, so feel free to make these swaps based on what you have:
- Chicken thighs or breasts: The recipe works with either, but keep in mind that thighs stay juicier while breasts are leaner. You can also use bone-in chicken pieces – just increase the baking time by about 10-15 minutes and check that the internal temperature reaches 165°F.
- Teriyaki sauce: If you’re out of teriyaki sauce, you can make a quick version by mixing ½ cup soy sauce, ¼ cup water, 3 tablespoons brown sugar, 1 tablespoon honey, 1 teaspoon minced garlic, and 1 teaspoon grated ginger. Simmer it for a few minutes until slightly thickened.
- Green onions: Regular yellow or white onions work fine – just dice them small and sprinkle on top. You could also use chives for a milder onion flavor.
- Nonstick cooking spray: A light coating of vegetable oil, olive oil, or even a bit of butter rubbed on the baking dish works just as well.
Watch Out for These Mistakes While Baking
The biggest mistake when making oven baked teriyaki chicken is overcrowding the pan, which causes the chicken to steam instead of getting those nice caramelized edges – make sure to leave some space between each piece.
Since teriyaki sauce contains sugar, it can burn quickly under the broiler, so keep a close eye on your chicken during those final 4-5 minutes and don’t walk away from the oven.
For juicier results, use an instant-read thermometer and pull the chicken when it hits 160°F (it’ll reach 165°F as it rests), and if you’re using chicken breasts instead of thighs, reduce the initial baking time by a few minutes since breasts cook faster and dry out more easily.
One more tip: save some of that teriyaki sauce for drizzling after cooking rather than using it all during baking, as the fresh sauce adds a punch of flavor that the cooked sauce loses.
What to Serve With Teriyaki Chicken?
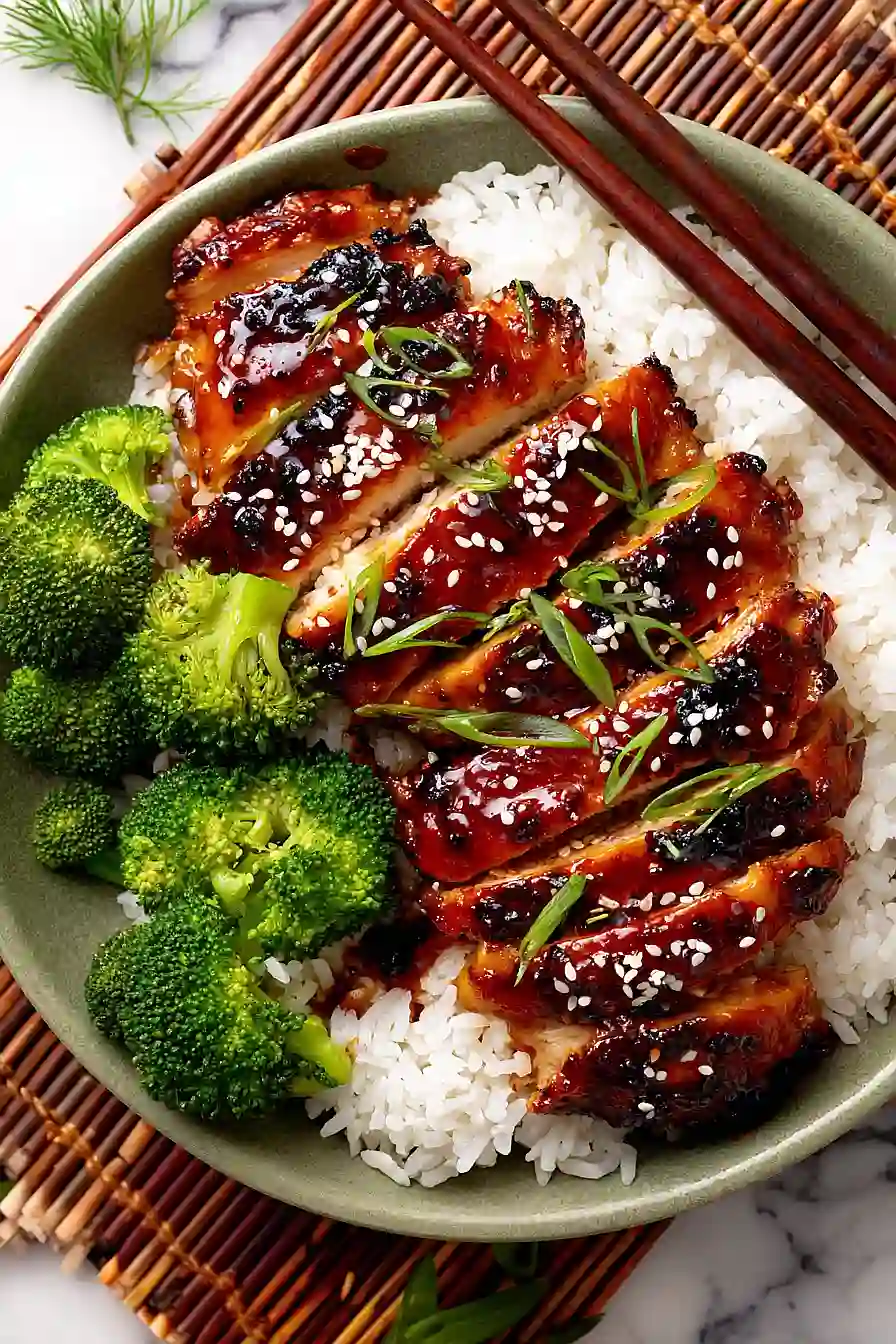
I always serve teriyaki chicken over a big bowl of steamed white or brown rice – it’s perfect for soaking up all that sweet and savory sauce. Steamed broccoli, snap peas, or green beans make great veggie sides that balance out the richness of the chicken. If you want something a bit different, try serving it with fried rice or noodles like lo mein or udon for a more filling meal. A simple cucumber salad with rice vinegar adds a nice refreshing crunch that cuts through the sweetness of the teriyaki glaze.
Storage Instructions
Store: Leftover teriyaki chicken keeps really well in the fridge for up to 4 days in an airtight container. I like to store it with a little extra sauce drizzled over top so it stays moist and flavorful. It’s great for quick lunches throughout the week served over rice or with some veggies.
Freeze: This chicken freezes beautifully for up to 3 months. Let it cool completely, then portion it out into freezer-safe containers or bags with some of the sauce. I find it helpful to freeze individual portions so I can just grab what I need for a quick dinner.
Reheat: Warm the chicken in the microwave for 1-2 minutes, or heat it gently in a skillet over medium-low heat with a splash of water or extra teriyaki sauce to keep it from drying out. If reheating from frozen, let it thaw in the fridge overnight first for best results.
| Preparation Time | 10-15 minutes |
| Cooking Time | 20-25 minutes |
| Total Time | 30-40 minutes |
| Level of Difficulty | Easy |
| Servings | 4 servings |
Estimated Nutrition
Estimated nutrition for the whole recipe (without optional ingredients):
- Calories: 1100-1300
- Protein: 160-180 g
- Fat: 24-30 g
- Carbohydrates: 50-60 g
Ingredients
For the chicken:
- 2.25 lb chicken thighs (cut into 1-inch chunks)
- 1/2 cup teriyaki sauce
- 1 teaspoon freshly grated ginger
- cooking spray
For the finish and garnish:
- 1/3 cup teriyaki sauce
- 1 tablespoon honey
- 3 scallions (thinly sliced on a bias)
- 1 tablespoon toasted sesame seeds
For serving:
- 3 cups cooked rice (Nishiki medium grain)
- 2 cups steamed vegetables
- 1.5 cups cabbage (shredded finely)
Step 1: Prep and Marinate the Chicken
- 2.25 lb chicken thighs, cut into 1-inch chunks
- 1/2 cup teriyaki sauce
- 1 teaspoon freshly grated ginger
Cut the chicken thighs into 1-inch chunks and place them in a bowl with 1/2 cup teriyaki sauce and the freshly grated ginger.
Stir to coat evenly and let sit for 10 minutes—this brief marinating time allows the chicken to absorb some of the savory flavors while you prepare your oven and pan.
The ginger adds a subtle warmth that complements the teriyaki perfectly.
Step 2: Prepare the Pan and Oven
- cooking spray
While the chicken marinates, preheat your oven to 400°F.
Line a baking pan with foil and lightly coat it with cooking spray—the foil makes cleanup effortless, and the spray prevents sticking without adding extra fat.
I find having everything ready before the chicken finishes marinating keeps the workflow smooth and ensures the chicken goes into a properly heated oven.
Step 3: Bake the Chicken
- marinated chicken from Step 1
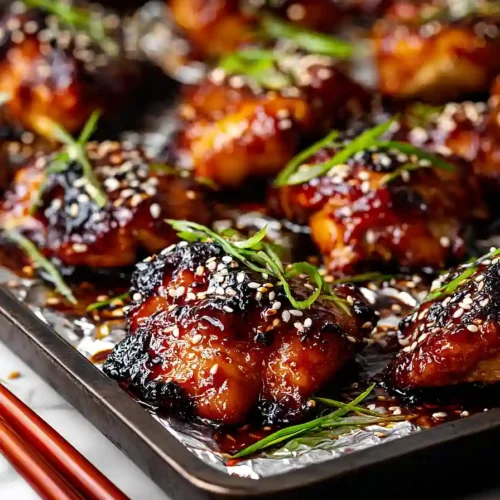
Spread the marinated chicken from Step 1 in a single layer on the prepared pan, making sure pieces are in contact with the pan surface for better browning.
Pour any remaining marinade over the chicken.
Bake on the center oven rack for 15 minutes until the chicken begins to cook through and the edges start to caramelize.
The single layer is important—it ensures even cooking and allows the chicken to develop flavorful browned edges.
Step 4: Broil and Glaze the Chicken
- partially cooked chicken from Step 3
After 15 minutes, switch your oven to broiler setting.
Flip the chicken pieces to expose the uncooked side, then move the pan to the top rack and broil for 4-5 minutes.
Watch carefully as broiler heat is intense—you’re looking for the chicken to finish cooking through and develop caramelized, slightly charred edges.
This high-heat finish adds complexity to the flavor and gives the dish that restaurant-quality appearance.
Step 5: Finish with Glaze and Garnish
- 1/3 cup teriyaki sauce
- 1 tablespoon honey
- 3 scallions, thinly sliced on a bias
- 1 tablespoon toasted sesame seeds
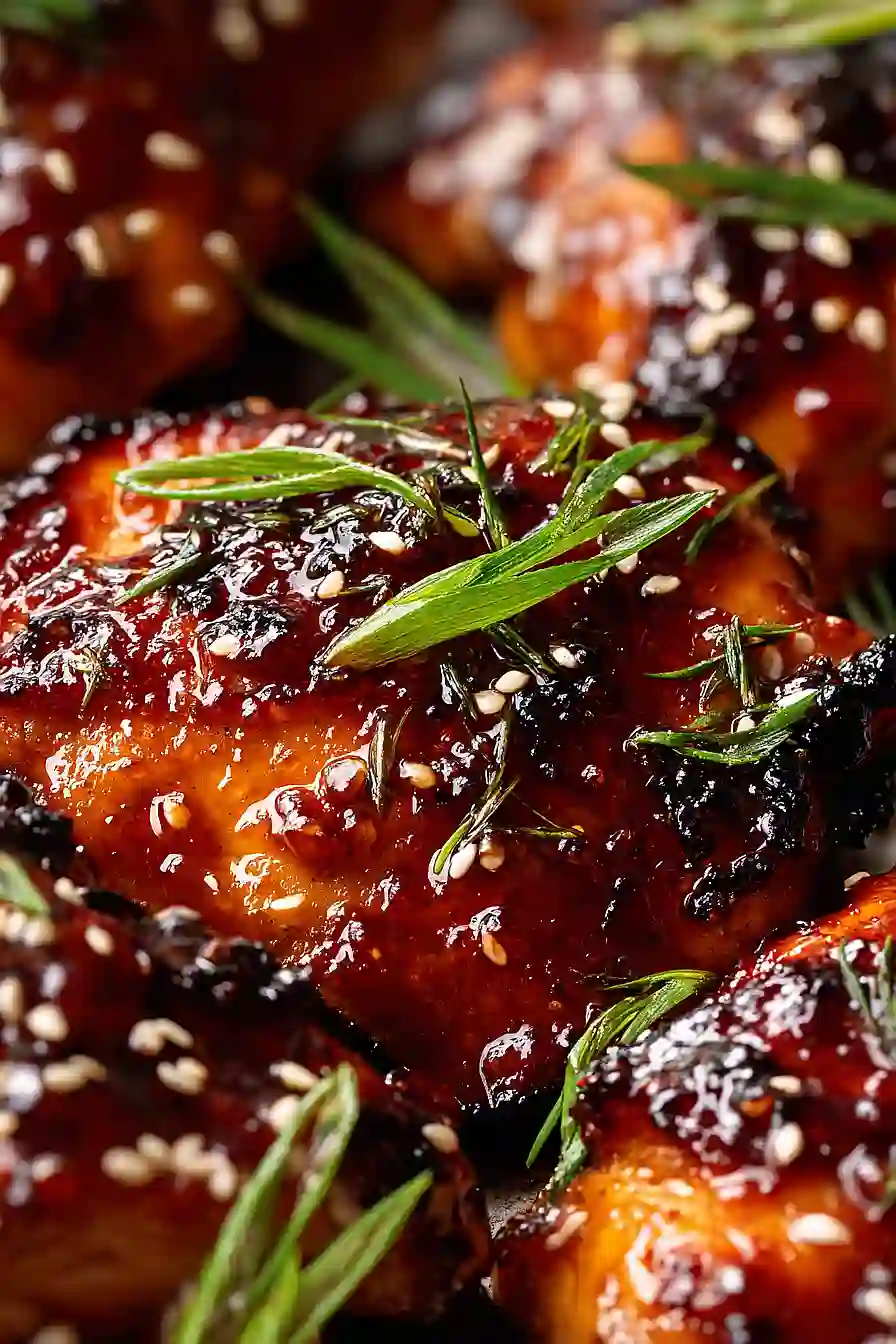
Remove the chicken from the broiler and immediately drizzle the remaining 1/3 cup teriyaki sauce mixed with 1 tablespoon honey over the top.
The honey adds a touch of sweetness that balances the savory teriyaki and creates a light glaze.
Sprinkle with sliced scallions and toasted sesame seeds for freshness, crunch, and visual appeal.
I like to add the sesame seeds just before serving so they stay crispy rather than absorbing moisture from the hot chicken.
Step 6: Plate and Serve
- 3 cups cooked rice
- 2 cups steamed vegetables
- 1.5 cups shredded cabbage
- glazed teriyaki chicken from Step 5
Divide the cooked rice among serving plates or bowls.
Arrange the steamed vegetables and shredded cabbage alongside the rice as fresh, crunchy components.
Top with the glazed teriyaki chicken from Step 5.
The combination of warm rice, bright vegetables, and succulent glazed chicken creates a well-balanced, restaurant-quality meal.
Classic Oven Baked Teriyaki Chicken
Ingredients
For the chicken
- 2.25 lb chicken thighs (cut into 1-inch chunks)
- 1/2 cup teriyaki sauce
- 1 teaspoon freshly grated ginger
- cooking spray
For the finish and garnish
- 1/3 cup teriyaki sauce
- 1 tablespoon honey
- 3 scallions (thinly sliced on a bias)
- 1 tablespoon toasted sesame seeds
For serving
- 3 cups cooked rice (Nishiki medium grain)
- 2 cups steamed vegetables
- 1.5 cups cabbage (shredded finely)
Instructions
- Cut the chicken thighs into 1-inch chunks and place them in a bowl with 1/2 cup teriyaki sauce and the freshly grated ginger. Stir to coat evenly and let sit for 10 minutes—this brief marinating time allows the chicken to absorb some of the savory flavors while you prepare your oven and pan. The ginger adds a subtle warmth that complements the teriyaki perfectly.
- While the chicken marinates, preheat your oven to 400°F. Line a baking pan with foil and lightly coat it with cooking spray—the foil makes cleanup effortless, and the spray prevents sticking without adding extra fat. I find having everything ready before the chicken finishes marinating keeps the workflow smooth and ensures the chicken goes into a properly heated oven.
- Spread the marinated chicken from Step 1 in a single layer on the prepared pan, making sure pieces are in contact with the pan surface for better browning. Pour any remaining marinade over the chicken. Bake on the center oven rack for 15 minutes until the chicken begins to cook through and the edges start to caramelize. The single layer is important—it ensures even cooking and allows the chicken to develop flavorful browned edges.
- After 15 minutes, switch your oven to broiler setting. Flip the chicken pieces to expose the uncooked side, then move the pan to the top rack and broil for 4-5 minutes. Watch carefully as broiler heat is intense—you're looking for the chicken to finish cooking through and develop caramelized, slightly charred edges. This high-heat finish adds complexity to the flavor and gives the dish that restaurant-quality appearance.
- Remove the chicken from the broiler and immediately drizzle the remaining 1/3 cup teriyaki sauce mixed with 1 tablespoon honey over the top. The honey adds a touch of sweetness that balances the savory teriyaki and creates a light glaze. Sprinkle with sliced scallions and toasted sesame seeds for freshness, crunch, and visual appeal. I like to add the sesame seeds just before serving so they stay crispy rather than absorbing moisture from the hot chicken.
- Divide the cooked rice among serving plates or bowls. Arrange the steamed vegetables and shredded cabbage alongside the rice as fresh, crunchy components. Top with the glazed teriyaki chicken from Step 5. The combination of warm rice, bright vegetables, and succulent glazed chicken creates a well-balanced, restaurant-quality meal.


