Looking for a brownie recipe that takes things up a notch without a ton of extra work? Sometimes regular chocolate brownies just don’t cut it, especially when you’re trying to impress at a potluck or bake sale, or when your family is craving something a little more special than the usual weeknight dessert.
That’s where these red velvet Oreo brownies come in. They’ve got that classic red velvet flavor everyone loves, plus chunks of Oreo cookies mixed right into the batter for extra texture and chocolatey goodness. They’re rich, fudgy, and way easier to make than you’d think.
Why You’ll Love These Red Velvet Oreo Brownies
- Perfect mashup of two classics – These brownies combine the rich flavor of red velvet with crunchy Oreo cookies for a dessert that’s twice as good as either one alone.
- Fudgy, decadent texture – The high butter and cocoa content creates incredibly moist, dense brownies that practically melt in your mouth.
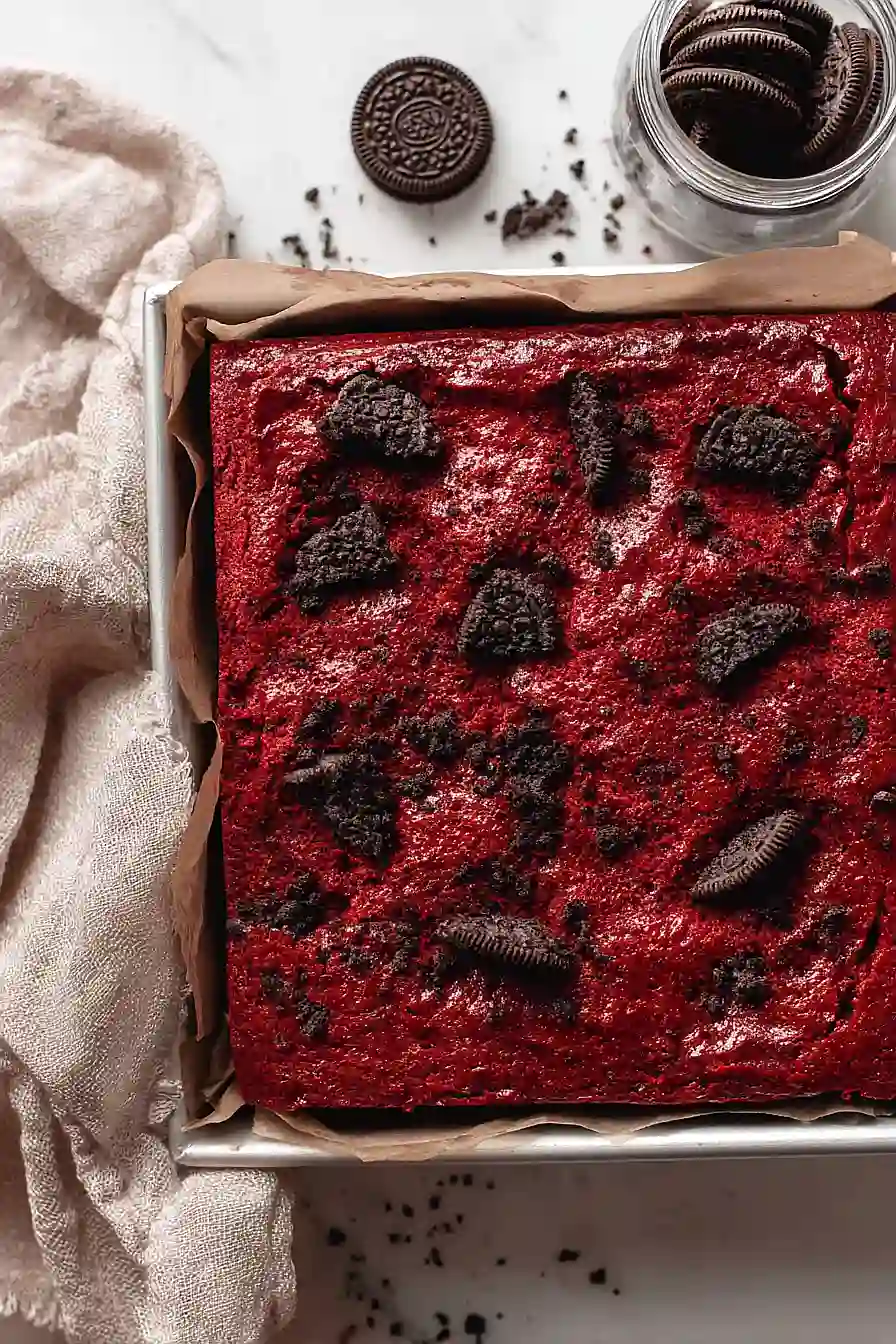
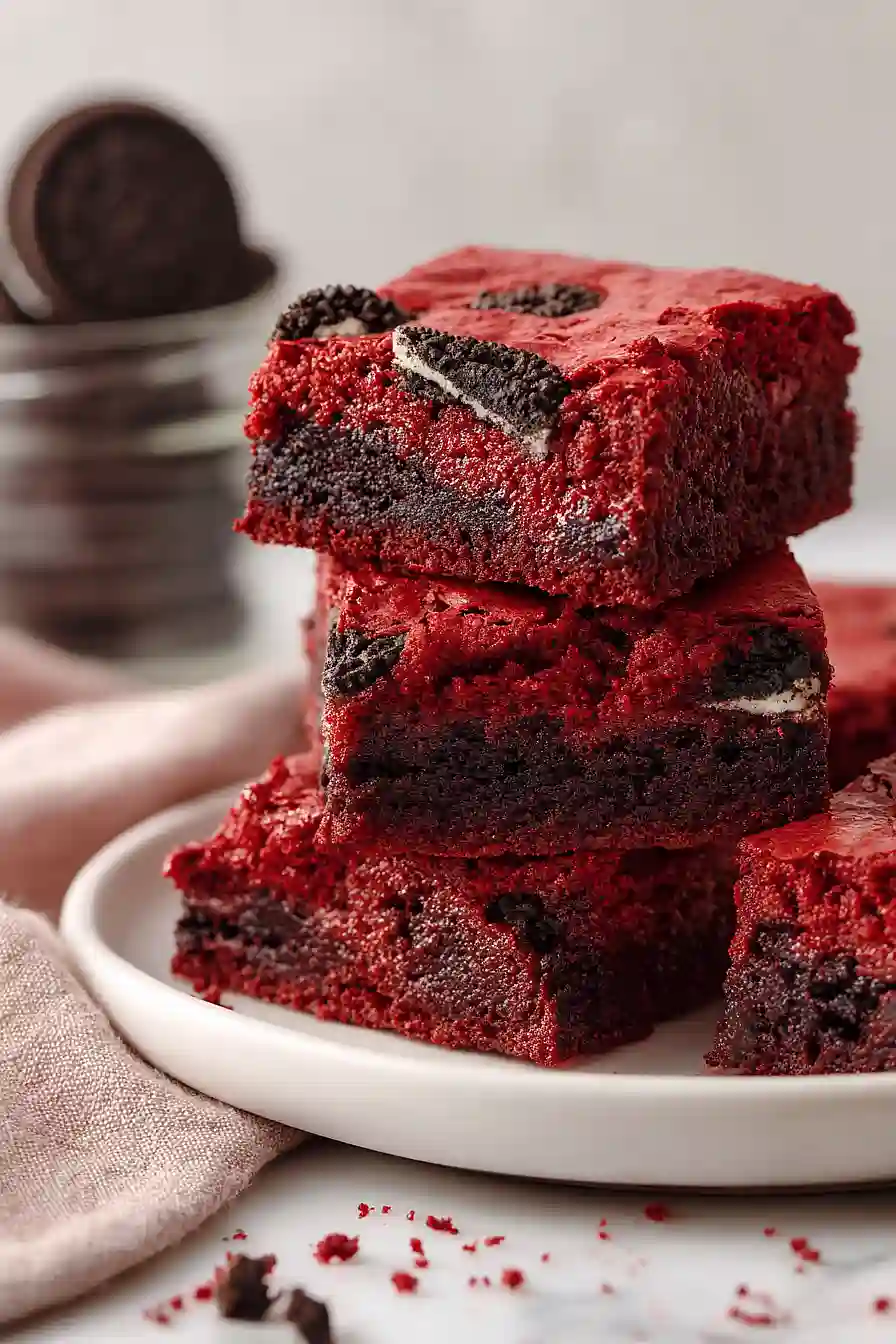
- Eye-catching presentation – The deep red color with Oreo pieces peeking through makes these brownies look as impressive as they taste, perfect for parties or potlucks.
- Simple ingredients – You probably have most of these pantry staples on hand already, and the Oreos are easy to find at any grocery store.
- Crowd-pleaser guaranteed – I’ve never met anyone who could resist the combination of red velvet and Oreos, making these brownies a surefire hit with kids and adults alike.
What Kind of Oreos Should I Use?
For this recipe, regular Oreos work perfectly fine and are what most people have in their pantry. You can use the classic chocolate sandwich cookies, or if you’re feeling adventurous, try red velvet Oreos to really amp up that red velvet flavor. Some folks like to use double-stuffed Oreos for extra creaminess, though the standard version gives you a nice balance of cookie crunch and cream filling. Just make sure to crush most of them up as directed, but keep a few whole ones for topping – they’ll look great and give you those picture-perfect brownie squares.
Options for Substitutions
Here are some swaps you can make if you need to work with what you have:
- Red velvet emulsion: If you can’t find red velvet emulsion, use 2 tablespoons of red food coloring plus 1 teaspoon of vanilla extract. The emulsion gives a slightly different flavor, but this combo works well in a pinch.
- Brown sugar: You can use granulated white sugar instead, though your brownies will have a slightly less rich flavor. For a closer match, use 2½ cups white sugar mixed with 2 tablespoons molasses.
- Butter: Margarine or coconut oil can work as substitutes, but stick with butter if possible since it really makes a difference in the texture and taste of brownies.
- Oreos: Feel free to use any sandwich cookie you like – chocolate chip cookies, vanilla wafers, or even graham crackers will give you different but tasty results. Golden Oreos would make an interesting twist too.
- Cocoa powder: Dutch-process or natural cocoa both work here. Just don’t substitute with hot chocolate mix as it contains sugar and won’t give you the right chocolate intensity.
Watch Out for These Mistakes While Baking
The biggest mistake with brownies is overbaking them, which turns fudgy brownies into dry cake – pull them out when a toothpick inserted in the center comes out with a few moist crumbs, not completely clean.
Don’t skip the cooling step after melting the butter and sugar together, as adding eggs to a hot mixture will scramble them and ruin the texture of your brownies.
When mixing in the dry ingredients, stir just until combined and avoid overmixing, which develops the gluten in the flour and creates tough, chewy brownies instead of the dense, fudgy texture you’re after.
For cleaner cuts, let the brownies cool completely in the pan and use a hot, wet knife to slice them, wiping it clean between each cut.
What to Serve With Red Velvet Oreo Brownies?
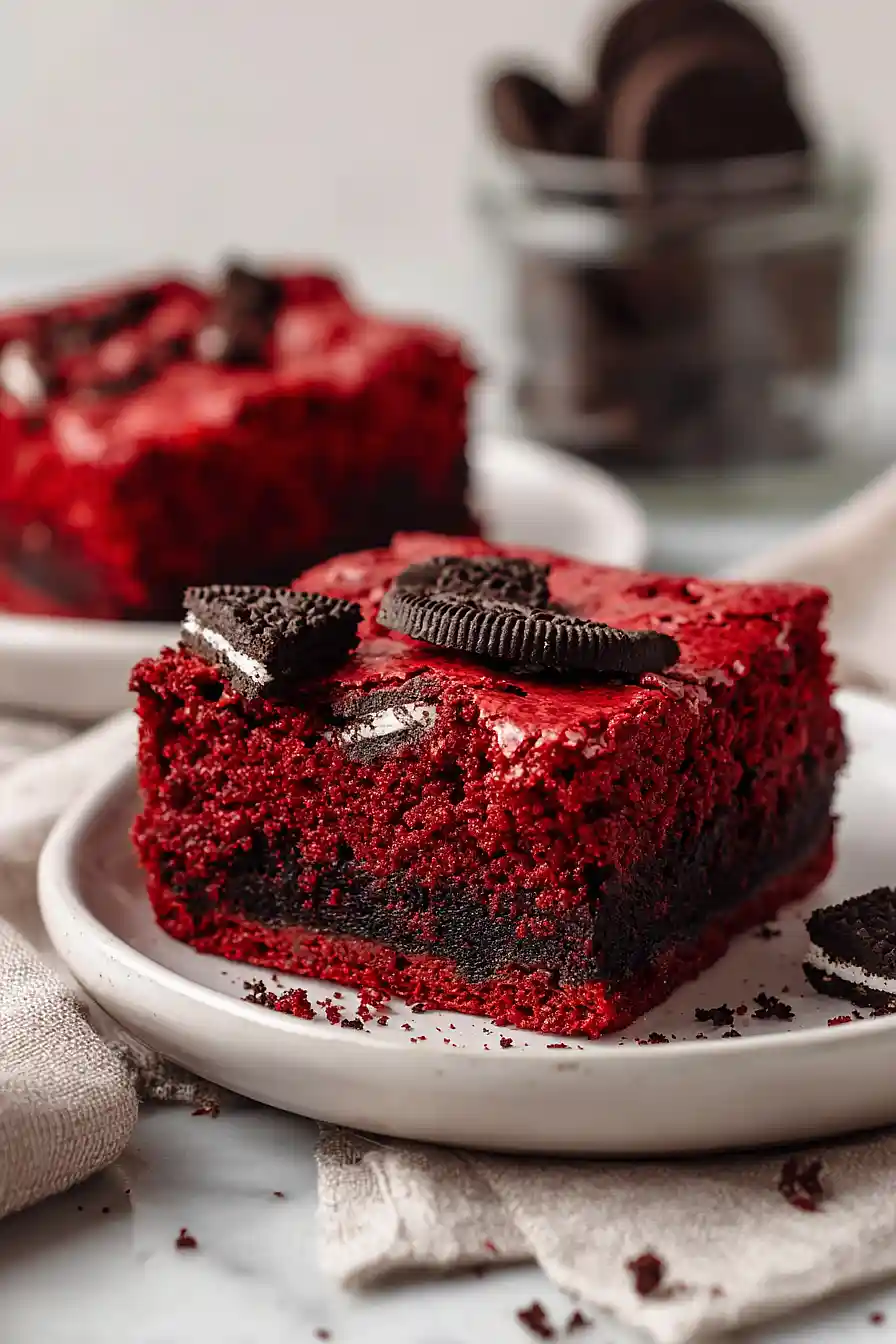
These brownies are rich and decadent on their own, but they’re even better with a big scoop of vanilla ice cream on top while they’re still warm. A drizzle of chocolate or cream cheese frosting takes them to the next level if you’re feeling extra indulgent. I also love serving them with a glass of cold milk or hot coffee, especially since the Oreos and chocolate make them pretty sweet. If you’re making these for a party, try cutting them into small squares and serving them alongside fresh strawberries or raspberries to balance out the richness.
Storage Instructions
Store: Keep your red velvet Oreo brownies in an airtight container at room temperature for up to 3 days, or in the fridge for up to a week. I like to cut a piece of parchment paper between layers if I’m stacking them so they don’t stick together.
Freeze: These brownies freeze really well for up to 3 months. Wrap individual pieces in plastic wrap, then put them all in a freezer bag. That way you can grab just one or two whenever a chocolate craving hits without thawing the whole batch.
Enjoy: Frozen brownies taste amazing straight from the freezer if you like a fudgy, almost ice cream-like texture. Otherwise, just let them sit at room temperature for about 30 minutes to thaw completely before digging in.
| Preparation Time | 20-25 minutes |
| Cooking Time | 55-65 minutes |
| Total Time | 80-90 minutes |
| Level of Difficulty | Medium |
| Servings | 16 pieces |
Estimated Nutrition
Estimated nutrition for the whole recipe (without optional ingredients):
- Calories: 4350-4600
- Protein: 55-65 g
- Fat: 265-290 g
- Carbohydrates: 510-550 g
Ingredients
For the brownies:
- 1.5 cups butter (I like Kerrygold unsalted butter for this)
- 2.25 cups brown sugar
- 4 eggs (room temperature, about 70°F for better emulsion)
- 1.5 cups cocoa powder
- 1 tsp salt
- 2 tbsp red velvet emulsion
- 0.75 cup flour (I always use King Arthur all-purpose flour)
- 1 tsp vanilla extract
- 16 oreo cookies (roughly chopped into 1/2-inch pieces)
For the garnish:
- 4 oreo cookies
Step 1: Prepare Pan and Preheat Oven
Preheat your oven to 350°F.
While it heats, grease a 9×13 inch baking dish thoroughly with butter or non-stick spray, making sure to coat the bottom and all sides evenly.
This prevents sticking and helps the brownies bake uniformly.
Step 2: Melt Butter and Combine with Sugar
- 1.5 cups butter
- 2.25 cups brown sugar
Cut the butter into smaller chunks and place in a microwave-safe bowl.
Microwave in 30-second intervals, stirring between each, until completely melted (this usually takes 1-1.5 minutes total).
Add the brown sugar to the melted butter and stir vigorously until well combined and smooth.
The mixture should look like wet sand with no visible butter streaks.
Step 3: Temper Eggs and Build the Wet Base
- 4 eggs
- 2 tbsp red velvet emulsion
- 1 tsp vanilla extract
Let the butter-sugar mixture cool for about 5 minutes until it’s warm but no longer steaming—this prevents the eggs from scrambling.
Add the room temperature eggs one at a time, stirring well after each addition to create an emulsified batter.
The mixture should look glossy and thick.
Stir in the red velvet emulsion and vanilla extract until the color is evenly distributed throughout.
I find that room temperature eggs incorporate much more smoothly into the batter, creating a better texture in the final brownie.
Step 4: Mix Dry Ingredients and Fold in Oreos
- 1.5 cups cocoa powder
- 1 tsp salt
- 0.75 cup flour
- 16 oreo cookies
- wet ingredient mixture from Step 3
In a separate bowl, whisk together the cocoa powder, salt, and flour until no lumps remain—this distributes the ingredients evenly and prevents streaks of cocoa in the final brownies.
Pour the wet mixture from Step 3 into the dry ingredients and stir until just combined, being careful not to overmix.
Fold in the 16 roughly chopped Oreo pieces gently, distributing them throughout the batter.
Step 5: Assemble and Top with Oreos Before Baking
- brownie batter from Step 4
- 4 oreo cookies
Pour the batter into the prepared pan from Step 1, using a spatula to spread it evenly into the corners.
Crush the remaining 4 Oreo cookies into rough 1/4-inch pieces and sprinkle them evenly over the top of the batter.
I like to press them down slightly so they set into the brownie as it bakes, creating pockets of cookie throughout.
Step 6: Bake Until Set and Cool
Place the pan in the preheated 350°F oven and bake for 55 to 65 minutes, until a toothpick inserted into the center comes out with just a few moist crumbs (not wet batter).
The brownies should look slightly set on top but still have a slight jiggle in the very center.
Remove from the oven and let cool in the pan for 15 to 20 minutes—this allows the structure to set properly without the brownies becoming too firm.
Once cooled, cut into squares and serve.
Classic Red Velvet Oreo Brownies
Ingredients
For the brownies::
- 1.5 cups butter (I like Kerrygold unsalted butter for this)
- 2.25 cups brown sugar
- 4 eggs (room temperature, about 70°F for better emulsion)
- 1.5 cups cocoa powder
- 1 tsp salt
- 2 tbsp red velvet emulsion
- 0.75 cup flour (I always use King Arthur all-purpose flour)
- 1 tsp vanilla extract
- 16 oreo cookies (roughly chopped into 1/2-inch pieces)
For the garnish::
- 4 oreo cookies
Instructions
- Preheat your oven to 350°F. While it heats, grease a 9x13 inch baking dish thoroughly with butter or non-stick spray, making sure to coat the bottom and all sides evenly. This prevents sticking and helps the brownies bake uniformly.
- Cut the butter into smaller chunks and place in a microwave-safe bowl. Microwave in 30-second intervals, stirring between each, until completely melted (this usually takes 1-1.5 minutes total). Add the brown sugar to the melted butter and stir vigorously until well combined and smooth. The mixture should look like wet sand with no visible butter streaks.
- Let the butter-sugar mixture cool for about 5 minutes until it's warm but no longer steaming—this prevents the eggs from scrambling. Add the room temperature eggs one at a time, stirring well after each addition to create an emulsified batter. The mixture should look glossy and thick. Stir in the red velvet emulsion and vanilla extract until the color is evenly distributed throughout. I find that room temperature eggs incorporate much more smoothly into the batter, creating a better texture in the final brownie.
- In a separate bowl, whisk together the cocoa powder, salt, and flour until no lumps remain—this distributes the ingredients evenly and prevents streaks of cocoa in the final brownies. Pour the wet mixture from Step 3 into the dry ingredients and stir until just combined, being careful not to overmix. Fold in the 16 roughly chopped Oreo pieces gently, distributing them throughout the batter.
- Pour the batter into the prepared pan from Step 1, using a spatula to spread it evenly into the corners. Crush the remaining 4 Oreo cookies into rough 1/4-inch pieces and sprinkle them evenly over the top of the batter. I like to press them down slightly so they set into the brownie as it bakes, creating pockets of cookie throughout.
- Place the pan in the preheated 350°F oven and bake for 55 to 65 minutes, until a toothpick inserted into the center comes out with just a few moist crumbs (not wet batter). The brownies should look slightly set on top but still have a slight jiggle in the very center. Remove from the oven and let cool in the pan for 15 to 20 minutes—this allows the structure to set properly without the brownies becoming too firm. Once cooled, cut into squares and serve.







