Finding a dessert that satisfies your sweet tooth without derailing your health goals can feel nearly impossible. Most brownies are loaded with refined sugar, white flour, and tons of butter—ingredients that leave you feeling sluggish and guilty after just one square.
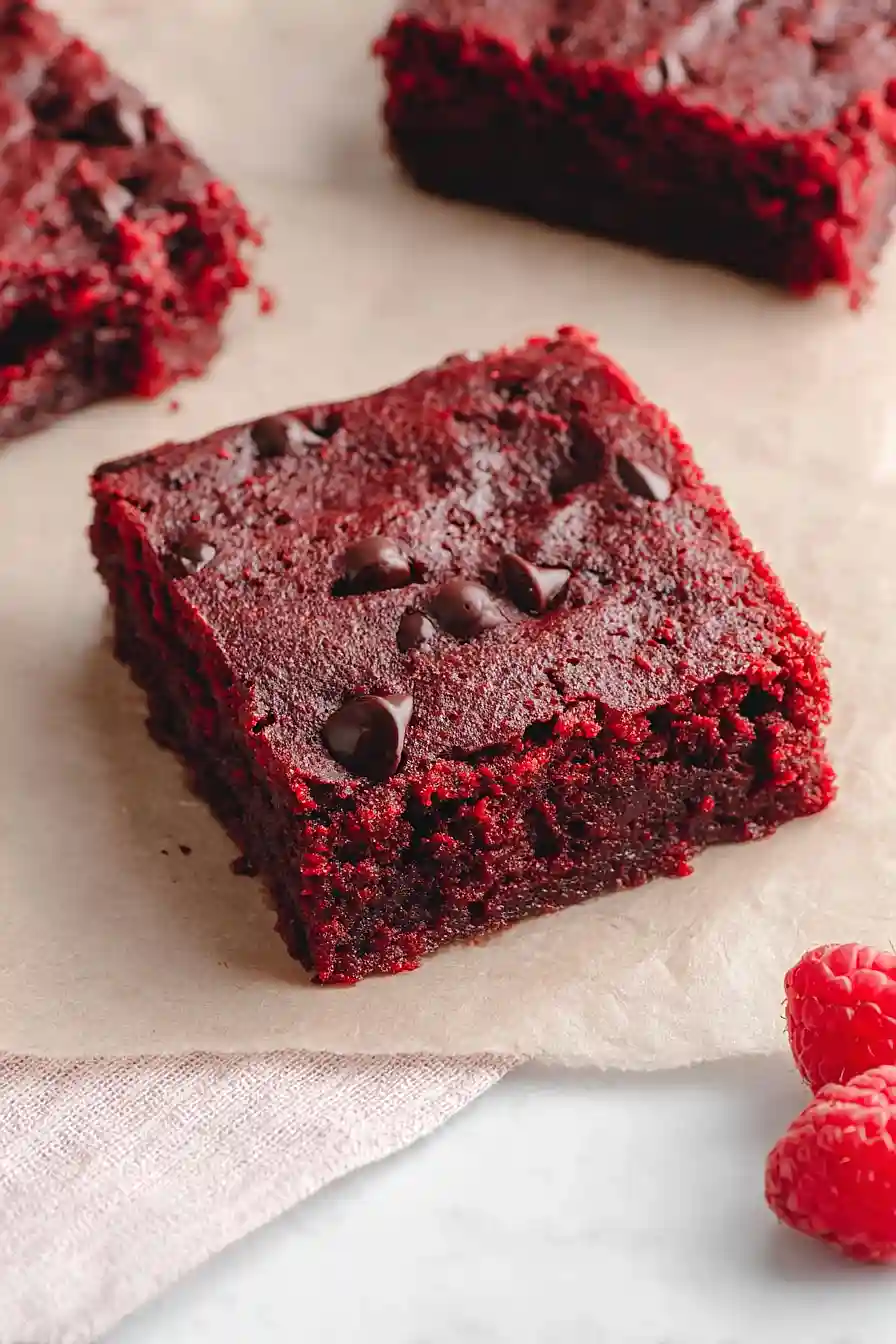
That’s where these healthy red velvet brownies come in. They use smart swaps like applesauce, coconut sugar, and oat flour to keep things on the lighter side, while still delivering that rich, chocolatey flavor and gorgeous red color you expect from classic red velvet. Best of all, they’re simple to whip up on a weekend and store well for whenever a craving hits.

Why You’ll Love These Red Velvet Brownies
- Healthier twist on a classic – These brownies use applesauce and oat flour instead of traditional ingredients, making them a lighter option that still satisfies your sweet tooth.
- Quick and easy – Ready in just 30-40 minutes, these brownies come together fast when you need a last-minute dessert or treat.
- Simple pantry ingredients – You probably have most of these items in your kitchen already, so no special shopping trip required.
- Perfect for special occasions – The classic red velvet look makes these brownies feel fancy enough for Valentine’s Day, birthdays, or any celebration.
What Kind of Cocoa Powder Should I Use?
For red velvet brownies, you can use either natural or Dutch-processed cocoa powder, though each will give you slightly different results. Natural cocoa powder has a lighter color and more acidic taste, which is traditional for red velvet recipes and helps the red color pop more. Dutch-processed cocoa is darker and has a smoother, less bitter flavor, so if you go this route, your brownies might have a deeper chocolate taste and slightly darker color. Whichever you choose, make sure your cocoa powder is fresh and not clumpy – old cocoa can taste stale and affect the texture of your brownies.
Options for Substitutions
These brownies are pretty forgiving when it comes to swapping ingredients:
- Applesauce: This is what keeps the brownies moist without adding eggs or extra fat, so I’d recommend keeping it. But if you’re out, mashed banana or pumpkin puree can work – just know your brownies will have a slight banana or pumpkin flavor.
- Coconut sugar: Regular granulated sugar, brown sugar, or even maple sugar work fine here. The texture and sweetness will be similar, though coconut sugar gives a slightly caramel-like taste.
- Oat flour: You can make your own by blending rolled oats in a food processor until fine. All-purpose flour works too, though it won’t be gluten-free anymore. Use the same amount.
- Almond milk: Any milk works here – dairy, soy, oat, or even water in a pinch. It’s just there to help bind everything together.
- Butter essence: This is totally optional and can be left out if you don’t have it. You can also just use an extra 1/2 teaspoon of vanilla instead.
- Red food coloring: You can skip this entirely for chocolate brownies, or use beet powder for a natural red color (though you’ll need about 2-3 tablespoons for visible color).
Watch Out for These Mistakes While Baking
The biggest mistake with healthy brownies is overbaking them, which turns fudgy brownies into dry, cake-like squares – since these bake at a lower temperature of 300°F, pull them out when a toothpick inserted in the center comes out with a few moist crumbs, not completely clean.
Another common error is skipping the cooling step, but letting your brownies cool completely in the pan is essential because they continue to set as they cool and will fall apart if you cut them too early.
To get the best texture, make sure your oat flour is finely ground (you can pulse regular oats in a blender if needed), and don’t skip greasing the pan well since these healthier brownies can stick more easily than traditional ones.
If your brownies turn out too dense, try adding an extra tablespoon of almond milk next time to loosen the batter slightly.

What to Serve With Red Velvet Brownies?
These brownies are pretty rich on their own, so I love serving them with a simple scoop of vanilla ice cream or some fresh whipped cream on top. A cold glass of milk is always a good call too, especially if you’re going for that classic dessert vibe. If you’re serving these at a party or get-together, they pair nicely with fresh berries like strawberries or raspberries, which add a little tartness that balances out the sweetness. You could also drizzle some cream cheese frosting on top if you want to go full red velvet cake mode, but honestly, they’re delicious just as they are.
Storage Instructions
Store: Keep your red velvet brownies in an airtight container at room temperature for up to 3 days, or in the fridge for about a week. I actually prefer them chilled because they get this nice fudgy texture that’s perfect with a cup of coffee.
Freeze: These brownies freeze really well for up to 3 months. Just cut them into individual squares, wrap each one in plastic wrap, and store them in a freezer bag. It’s great for portion control when you just want one brownie instead of the whole pan staring at you!
Enjoy: Let frozen brownies thaw at room temperature for about 30 minutes, or if you’re impatient like me, pop one in the microwave for 15-20 seconds. They taste amazing either way, whether you eat them cold straight from the fridge or slightly warmed up.
| Preparation Time | 15-20 minutes |
| Cooking Time | 15-20 minutes |
| Total Time | 30-40 minutes |
| Level of Difficulty | Easy |
| Servings | 12 pieces |
Estimated Nutrition
Estimated nutrition for the whole recipe (without optional ingredients):
- Calories: 900-1050
- Protein: 10-13 g
- Fat: 28-34 g
- Carbohydrates: 170-185 g
Ingredients
- 1.5 tbsp butter (I like Kerrygold unsalted butter for this)
- 1 tsp vanilla
- 1/2 tsp butter extract
- 1/4 tsp salt
- 4 tsp red food coloring (essential for that deep velvet hue)
- 5 fl oz applesauce (I use Mott’s Unsweetened to keep it healthy)
- 2/3 cup coconut sugar
- 1 tbsp almond milk
- 1.125 cups oat flour (I always use Bob’s Red Mill for a consistent bake)
- 6 tbsp cocoa powder
- 1/8 tsp espresso powder
- 1/4 tsp baking powder
- 3 tbsp chocolate chips (optional but recommended for extra richness)
Step 1: Prepare Your Pan and Preheat the Oven
- 8-inch baking pan
Preheat your oven to 300°F and grease an 8-inch square baking pan with butter or cooking spray, ensuring all corners are well coated to prevent sticking.
While the oven heats, gather all your ingredients and measure them out—this mise en place will keep you organized and ensure the batter comes together smoothly without scrambling for ingredients mid-mix.
Step 2: Create the Wet Ingredient Base with Red Velvet Flavor
- 1.5 tbsp butter
- 1 tsp vanilla
- 1/2 tsp butter extract
- 1/4 tsp salt
- 4 tsp red food coloring
- 5 fl oz applesauce
- 2/3 cup coconut sugar
- 1 tbsp almond milk
In a medium mixing bowl, combine the melted butter, vanilla extract, butter extract, salt, and red food coloring, stirring well until the color is evenly distributed and vibrant.
This layering of extracts and the food coloring early on creates the signature red velvet depth of flavor.
Then add the applesauce, coconut sugar, and almond milk, mixing until smooth and fully combined.
I like to use unsweetened applesauce here because it keeps the brownies healthier without adding extra sugar, and the natural pectin helps bind everything together beautifully.
Step 3: Fold in the Dry Ingredients and Chocolate
- wet ingredient mixture from Step 2
- 1.125 cups oat flour
- 6 tbsp cocoa powder
- 1/8 tsp espresso powder
- 1/4 tsp baking powder
- 2.5 tbsp chocolate chips
In a separate bowl, whisk together the oat flour, cocoa powder, baking powder, and espresso powder until there are no lumps.
The espresso powder won’t make these taste like coffee—instead, it deepens and intensifies the chocolate flavor in a subtle way.
Pour the wet ingredient mixture from Step 2 into the dry ingredients and fold gently with a spatula until just combined; don’t overmix, as this keeps the brownies tender.
Fold in 2½ tablespoons of the chocolate chips, reserving the remaining chips for topping.
Step 4: Pour Batter and Add Final Chocolate Topping
- batter from Step 3
- remaining chocolate chips
Pour the batter from Step 3 into your prepared 8-inch pan, using a spatula to spread it into an even layer.
Sprinkle the remaining chocolate chips evenly over the top—I find that distributing them across the surface ensures every bite has that little burst of chocolate richness.
Step 5: Bake Until Fudgy and Set
Bake at 300°F for 16-20 minutes, checking at the 16-minute mark.
The brownies are done when the edges are set and a toothpick inserted in the center comes out with just a few moist crumbs—they should look slightly underbaked because they’ll continue to cook slightly as they cool.
Don’t overbake these, or they’ll lose their fudgy, velvet texture.
Step 6: Cool and Serve
Remove the pan from the oven and let the brownies cool in the pan to room temperature—this allows them to set properly and develop their full flavor.
Once cooled, cut into squares and serve.
These brownies are best enjoyed the same day but can be stored in an airtight container for up to 2 days.

Dairy-Free Red Velvet Brownies
Ingredients
- 1.5 tbsp butter (I like Kerrygold unsalted butter for this)
- 1 tsp vanilla
- 1/2 tsp butter extract
- 1/4 tsp salt
- 4 tsp red food coloring (essential for that deep velvet hue)
- 5 fl oz applesauce (I use Mott's Unsweetened to keep it healthy)
- 2/3 cup coconut sugar
- 1 tbsp almond milk
- 1.125 cups oat flour (I always use Bob's Red Mill for a consistent bake)
- 6 tbsp cocoa powder
- 1/8 tsp espresso powder
- 1/4 tsp baking powder
- 3 tbsp chocolate chips (optional but recommended for extra richness)
Instructions
- Preheat your oven to 300°F and grease an 8-inch square baking pan with butter or cooking spray, ensuring all corners are well coated to prevent sticking. While the oven heats, gather all your ingredients and measure them out—this mise en place will keep you organized and ensure the batter comes together smoothly without scrambling for ingredients mid-mix.
- In a medium mixing bowl, combine the melted butter, vanilla extract, butter extract, salt, and red food coloring, stirring well until the color is evenly distributed and vibrant. This layering of extracts and the food coloring early on creates the signature red velvet depth of flavor. Then add the applesauce, coconut sugar, and almond milk, mixing until smooth and fully combined. I like to use unsweetened applesauce here because it keeps the brownies healthier without adding extra sugar, and the natural pectin helps bind everything together beautifully.
- In a separate bowl, whisk together the oat flour, cocoa powder, baking powder, and espresso powder until there are no lumps. The espresso powder won't make these taste like coffee—instead, it deepens and intensifies the chocolate flavor in a subtle way. Pour the wet ingredient mixture from Step 2 into the dry ingredients and fold gently with a spatula until just combined; don't overmix, as this keeps the brownies tender. Fold in 2½ tablespoons of the chocolate chips, reserving the remaining chips for topping.
- Pour the batter from Step 3 into your prepared 8-inch pan, using a spatula to spread it into an even layer. Sprinkle the remaining chocolate chips evenly over the top—I find that distributing them across the surface ensures every bite has that little burst of chocolate richness.
- Bake at 300°F for 16-20 minutes, checking at the 16-minute mark. The brownies are done when the edges are set and a toothpick inserted in the center comes out with just a few moist crumbs—they should look slightly underbaked because they'll continue to cook slightly as they cool. Don't overbake these, or they'll lose their fudgy, velvet texture.
- Remove the pan from the oven and let the brownies cool in the pan to room temperature—this allows them to set properly and develop their full flavor. Once cooled, cut into squares and serve. These brownies are best enjoyed the same day but can be stored in an airtight container for up to 2 days.







