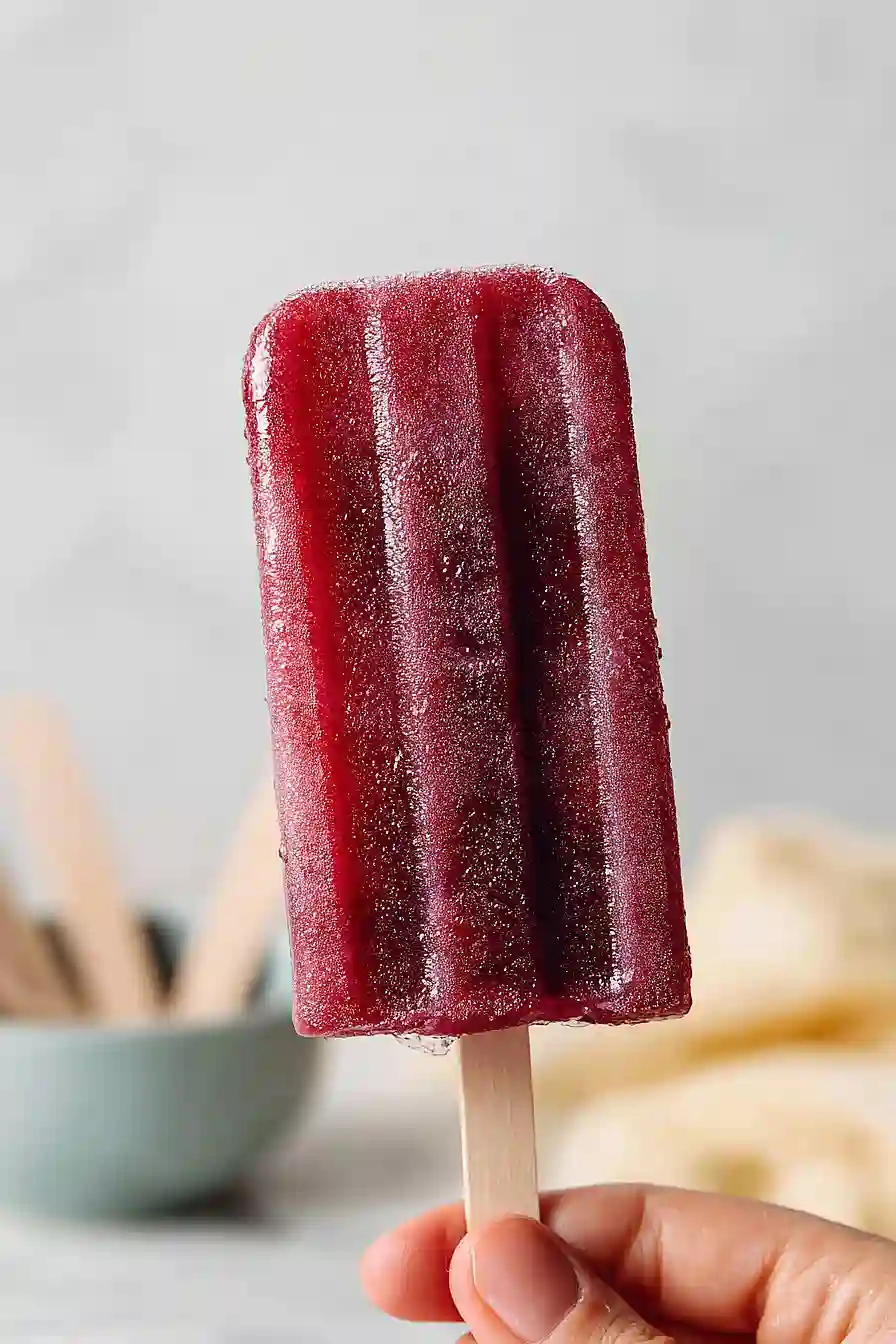
Here is my favorite cherry popsicle recipe, with fresh cherries, a splash of lime juice, and just the right amount of sugar to make these frozen treats perfectly sweet and refreshing.
These cherry popsicles are what my kids ask for all summer long. I always make a double batch so we have plenty in the freezer. Nothing beats a cold, homemade popsicle on a hot afternoon, right?
Why You’ll Love These Cherry Popsicles
- Made with real fruit – These popsicles use fresh cherries instead of artificial flavors, giving you a naturally sweet treat that tastes like summer.
- Simple ingredients – Just four basic ingredients – cherries, water, sugar, and lime juice – and you’ve got a refreshing frozen dessert.
- Healthier alternative – Skip the store-bought popsicles loaded with dyes and preservatives, and make your own with ingredients you can actually pronounce.
- Kid-friendly – These homemade popsicles are perfect for hot days, and kids love helping make them almost as much as they love eating them.
- Budget-friendly – Making your own popsicles costs way less than buying fancy frozen treats at the store, and you can make a whole batch at once.
What Kind of Cherries Should I Use?
Fresh or frozen cherries both work great for these popsicles, so use whatever you have on hand or what’s in season. Sweet cherries like Bing or Rainier will give you a naturally sweeter popsicle, while tart cherries like Montmorency will create a more tangy, refreshing treat. If you’re using frozen cherries, there’s no need to thaw them first – just toss them right into your blender. Keep in mind that if you go with tart cherries, you might want to add an extra tablespoon or two of sugar to balance out the sourness.
Options for Substitutions
This simple popsicle recipe is easy to customize based on what you have in your kitchen:
- Cherries: Fresh cherries are ideal, but frozen cherries work just as well. You can also try other berries like strawberries, raspberries, or blueberries for a different flavor profile.
- Granulated sugar: Swap granulated sugar with honey, maple syrup, or agave nectar if you prefer. Start with about 4 tablespoons and adjust to taste since liquid sweeteners tend to be a bit sweeter.
- Lime juice: Lemon juice makes a great substitute and gives a slightly different citrus note. You can also reduce the amount to ¼ cup if you prefer less tartness.
- Water: For creamier popsicles, replace half or all of the water with coconut milk, regular milk, or yogurt. This will change the texture but creates a nice creamy treat.
Watch Out for These Mistakes While Making
The biggest mistake when making cherry popsicles is not blending the mixture long enough, which leaves chunks that can create air pockets and uneven freezing – blend for at least 60 seconds until completely smooth for the best texture.
Another common error is filling the molds all the way to the top, but leaving about a quarter-inch of space prevents overflow as the liquid expands when it freezes.
If your popsicles are too icy rather than creamy, you likely added too much water or didn’t use enough sugar, which acts as a natural anti-freeze agent to keep the texture smooth.
For easier removal, run the molds under warm (not hot) water for just 10-15 seconds – too much heat can melt the outer layer and make your popsicles messy to eat.
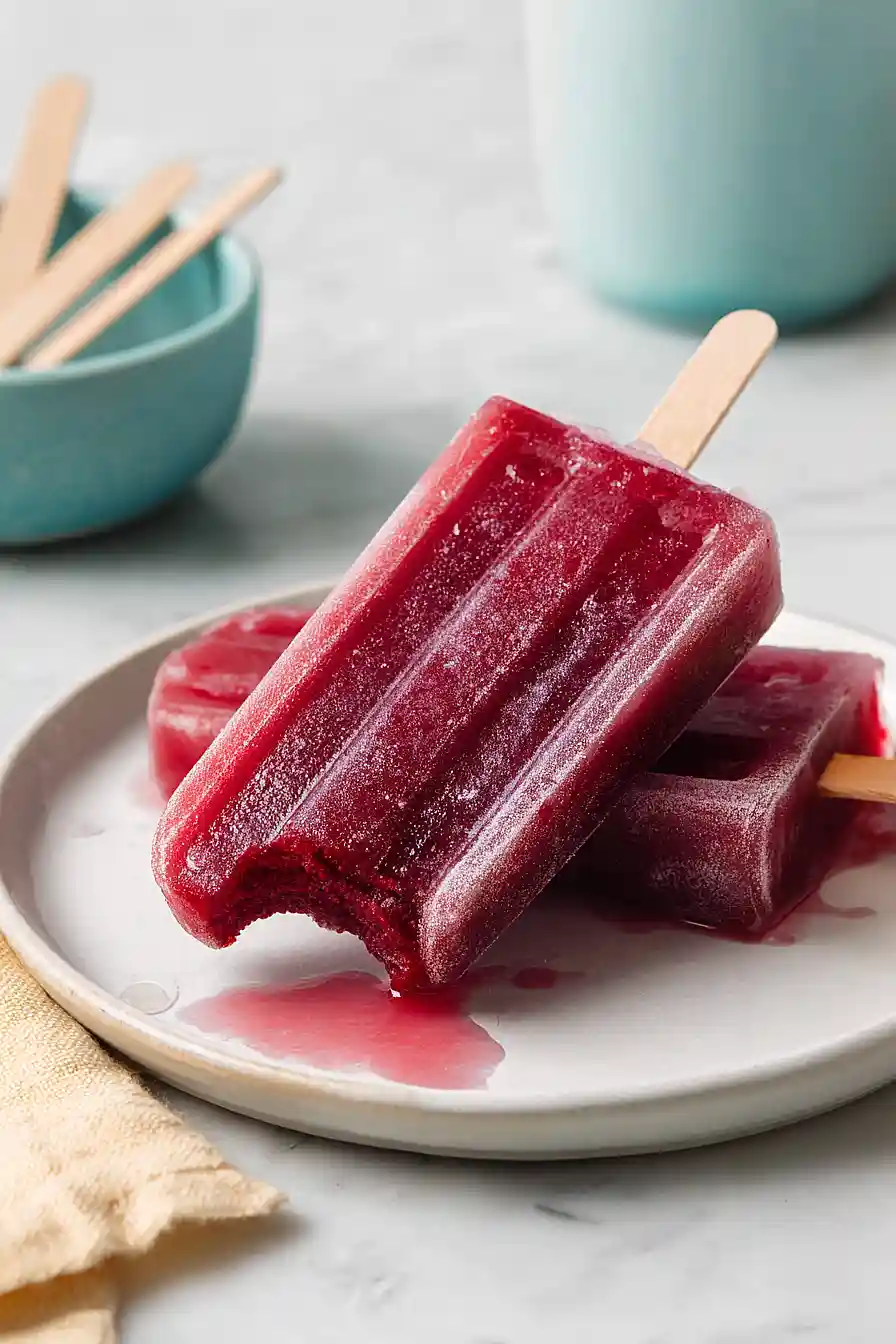
What to Serve With Cherry Popsicles?
Cherry popsicles are perfect on their own as a refreshing summer treat, but they’re also great alongside other poolside snacks. I love serving them at backyard barbecues with grilled burgers and hot dogs, or as a cool-down treat after playing outside on hot days. They pair nicely with fresh fruit like watermelon slices or strawberries if you’re putting together a fruit platter for a party. For a fun dessert spread, set them out with other frozen treats like ice cream sandwiches or fruit bars so everyone can pick their favorite.
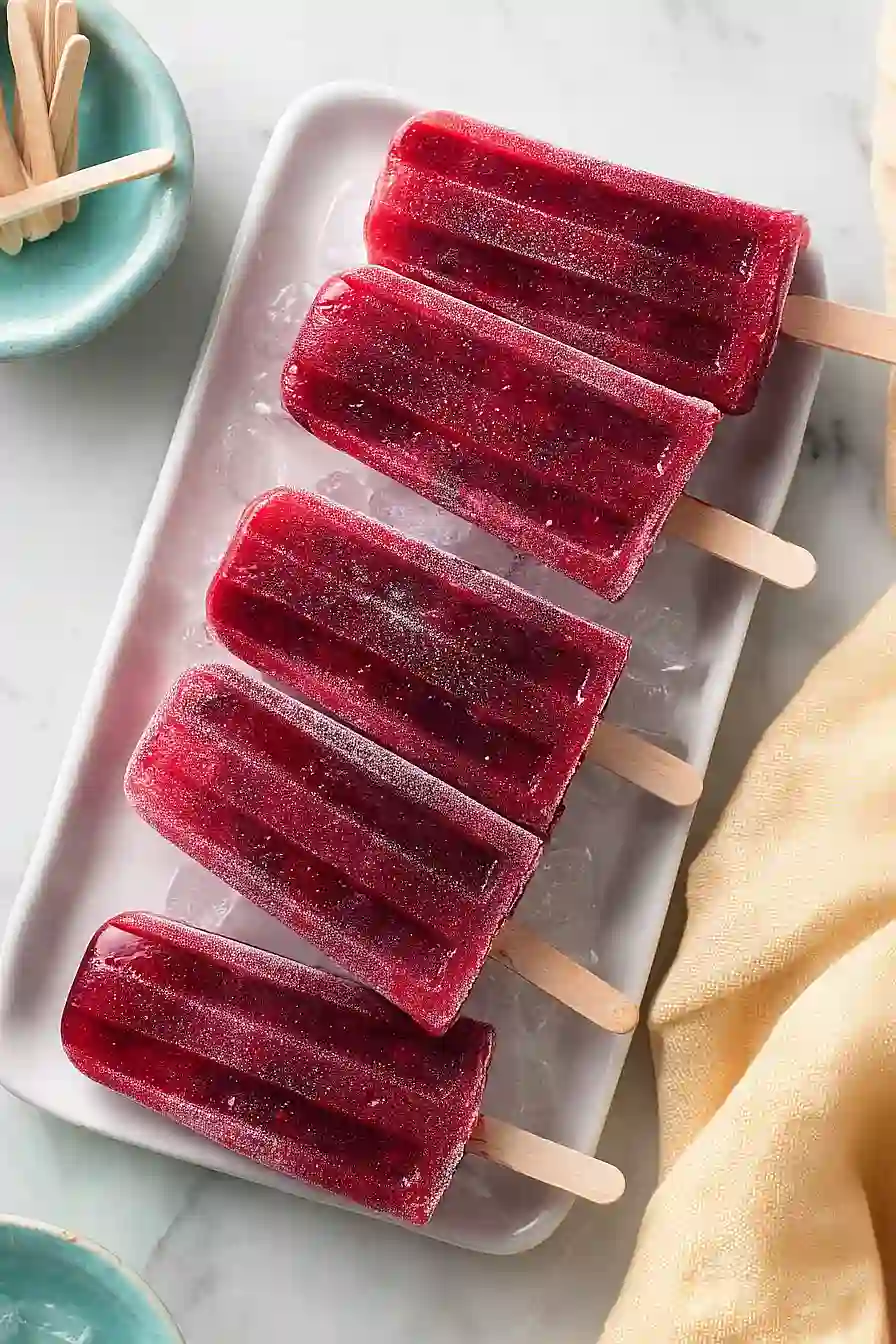
Storage Instructions
Freeze: These cherry popsicles need to stay in the freezer, of course! They’ll keep perfectly for up to 2 months in an airtight container or wrapped individually in plastic wrap. I like to make a big batch on the weekend so we have them ready to grab whenever a craving hits.
Serve: If your popsicles are stuck in the molds, just run warm water over the outside of the mold for about 10-15 seconds and they should slide right out. Let them sit at room temperature for a minute or two if they’re too frozen to bite into comfortably.
| Preparation Time | 20-30 minutes |
| Cooking Time | 360-360 minutes |
| Total Time | 380-390 minutes |
| Level of Difficulty | Easy |
| Servings | 8 popsicles |
Estimated Nutrition
Estimated nutrition for the whole recipe (without optional ingredients):
- Calories: 320-360
- Protein: 1-2 g
- Fat: 0-1 g
- Carbohydrates: 80-90 g
Ingredients
- 2 1/2 cups cherries (pitted and halved)
- 1 1/4 cups water
- 7 tbsp C&H cane sugar
- 4.5 fl oz lime juice (freshly squeezed)
- 1/8 tsp salt
- 1/2 tsp vanilla extract
Step 1: Prepare and Puree the Cherry Base
- 2 1/2 cups cherries
- 1 1/4 cups water
- 7 tbsp C&H cane sugar
- 4.5 fl oz lime juice
- 1/8 tsp salt
- 1/2 tsp vanilla extract
Wash the cherries thoroughly and pit them, then halve each one.
In a blender, combine the pitted and halved cherries with the water, cane sugar, freshly squeezed lime juice, salt, and vanilla extract.
Blend on high speed until you achieve a completely smooth puree with no cherry chunks remaining.
I like to taste the mixture at this point and adjust the lime juice or sugar if needed—the tartness of the lime should complement the sweetness of the cherries without overpowering them.
Step 2: Fill Molds and Insert Sticks
- cherry puree from Step 1
Pour the cherry puree from Step 1 evenly into popsicle molds, filling each cavity to just below the rim.
Insert popsicle sticks into the center of each mold, positioning them so they stand upright and won’t tip over during freezing.
I recommend using molds with built-in stick holders if you have them, as they keep the sticks perfectly centered and prevent them from shifting.
Step 3: Freeze Until Solid
Place the filled molds in the freezer and freeze for at least 6 hours, though overnight (8-12 hours) is ideal for completely solid popsicles.
The longer freezing time ensures the popsicles are firm enough to handle without breaking apart.
Step 4: Release and Serve
Remove the molds from the freezer and run the outside of each mold under warm (not hot) running water for 30-45 seconds, gently wiggling the sticks as you do.
This warms the outer edges of the puree just enough to release it from the mold without melting the inside.
Gently push up from the bottom of each mold or pull on the stick to release the popsicle, then serve immediately.
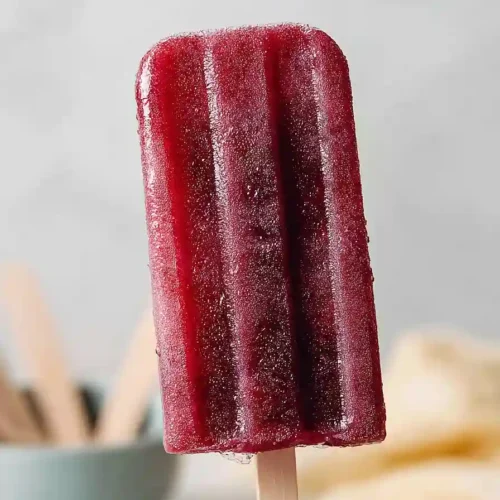
Easy Cherry Popsicles
Ingredients
- 2 1/2 cups cherries (pitted and halved)
- 1 1/4 cups water
- 7 tbsp C&H cane sugar
- 4.5 fl oz lime juice (freshly squeezed)
- 1/8 tsp salt
- 1/2 tsp vanilla extract
Instructions
- Wash the cherries thoroughly and pit them, then halve each one. In a blender, combine the pitted and halved cherries with the water, cane sugar, freshly squeezed lime juice, salt, and vanilla extract. Blend on high speed until you achieve a completely smooth puree with no cherry chunks remaining. I like to taste the mixture at this point and adjust the lime juice or sugar if needed—the tartness of the lime should complement the sweetness of the cherries without overpowering them.
- Pour the cherry puree from Step 1 evenly into popsicle molds, filling each cavity to just below the rim. Insert popsicle sticks into the center of each mold, positioning them so they stand upright and won't tip over during freezing. I recommend using molds with built-in stick holders if you have them, as they keep the sticks perfectly centered and prevent them from shifting.
- Place the filled molds in the freezer and freeze for at least 6 hours, though overnight (8-12 hours) is ideal for completely solid popsicles. The longer freezing time ensures the popsicles are firm enough to handle without breaking apart.
- Remove the molds from the freezer and run the outside of each mold under warm (not hot) running water for 30-45 seconds, gently wiggling the sticks as you do. This warms the outer edges of the puree just enough to release it from the mold without melting the inside. Gently push up from the bottom of each mold or pull on the stick to release the popsicle, then serve immediately.


